I have always loved to bake.
At times I am seized by the desire to bake an old favorite, something I can whip up with my eyes closed. Other days, I want an hours- or days-long project that will keep me working until the last batch is out of the oven. Often this latter whim comes when I should be doing something more productive. Someone wittier than I called it “procrastibaking.” Behold, my procrastination…
babchallah
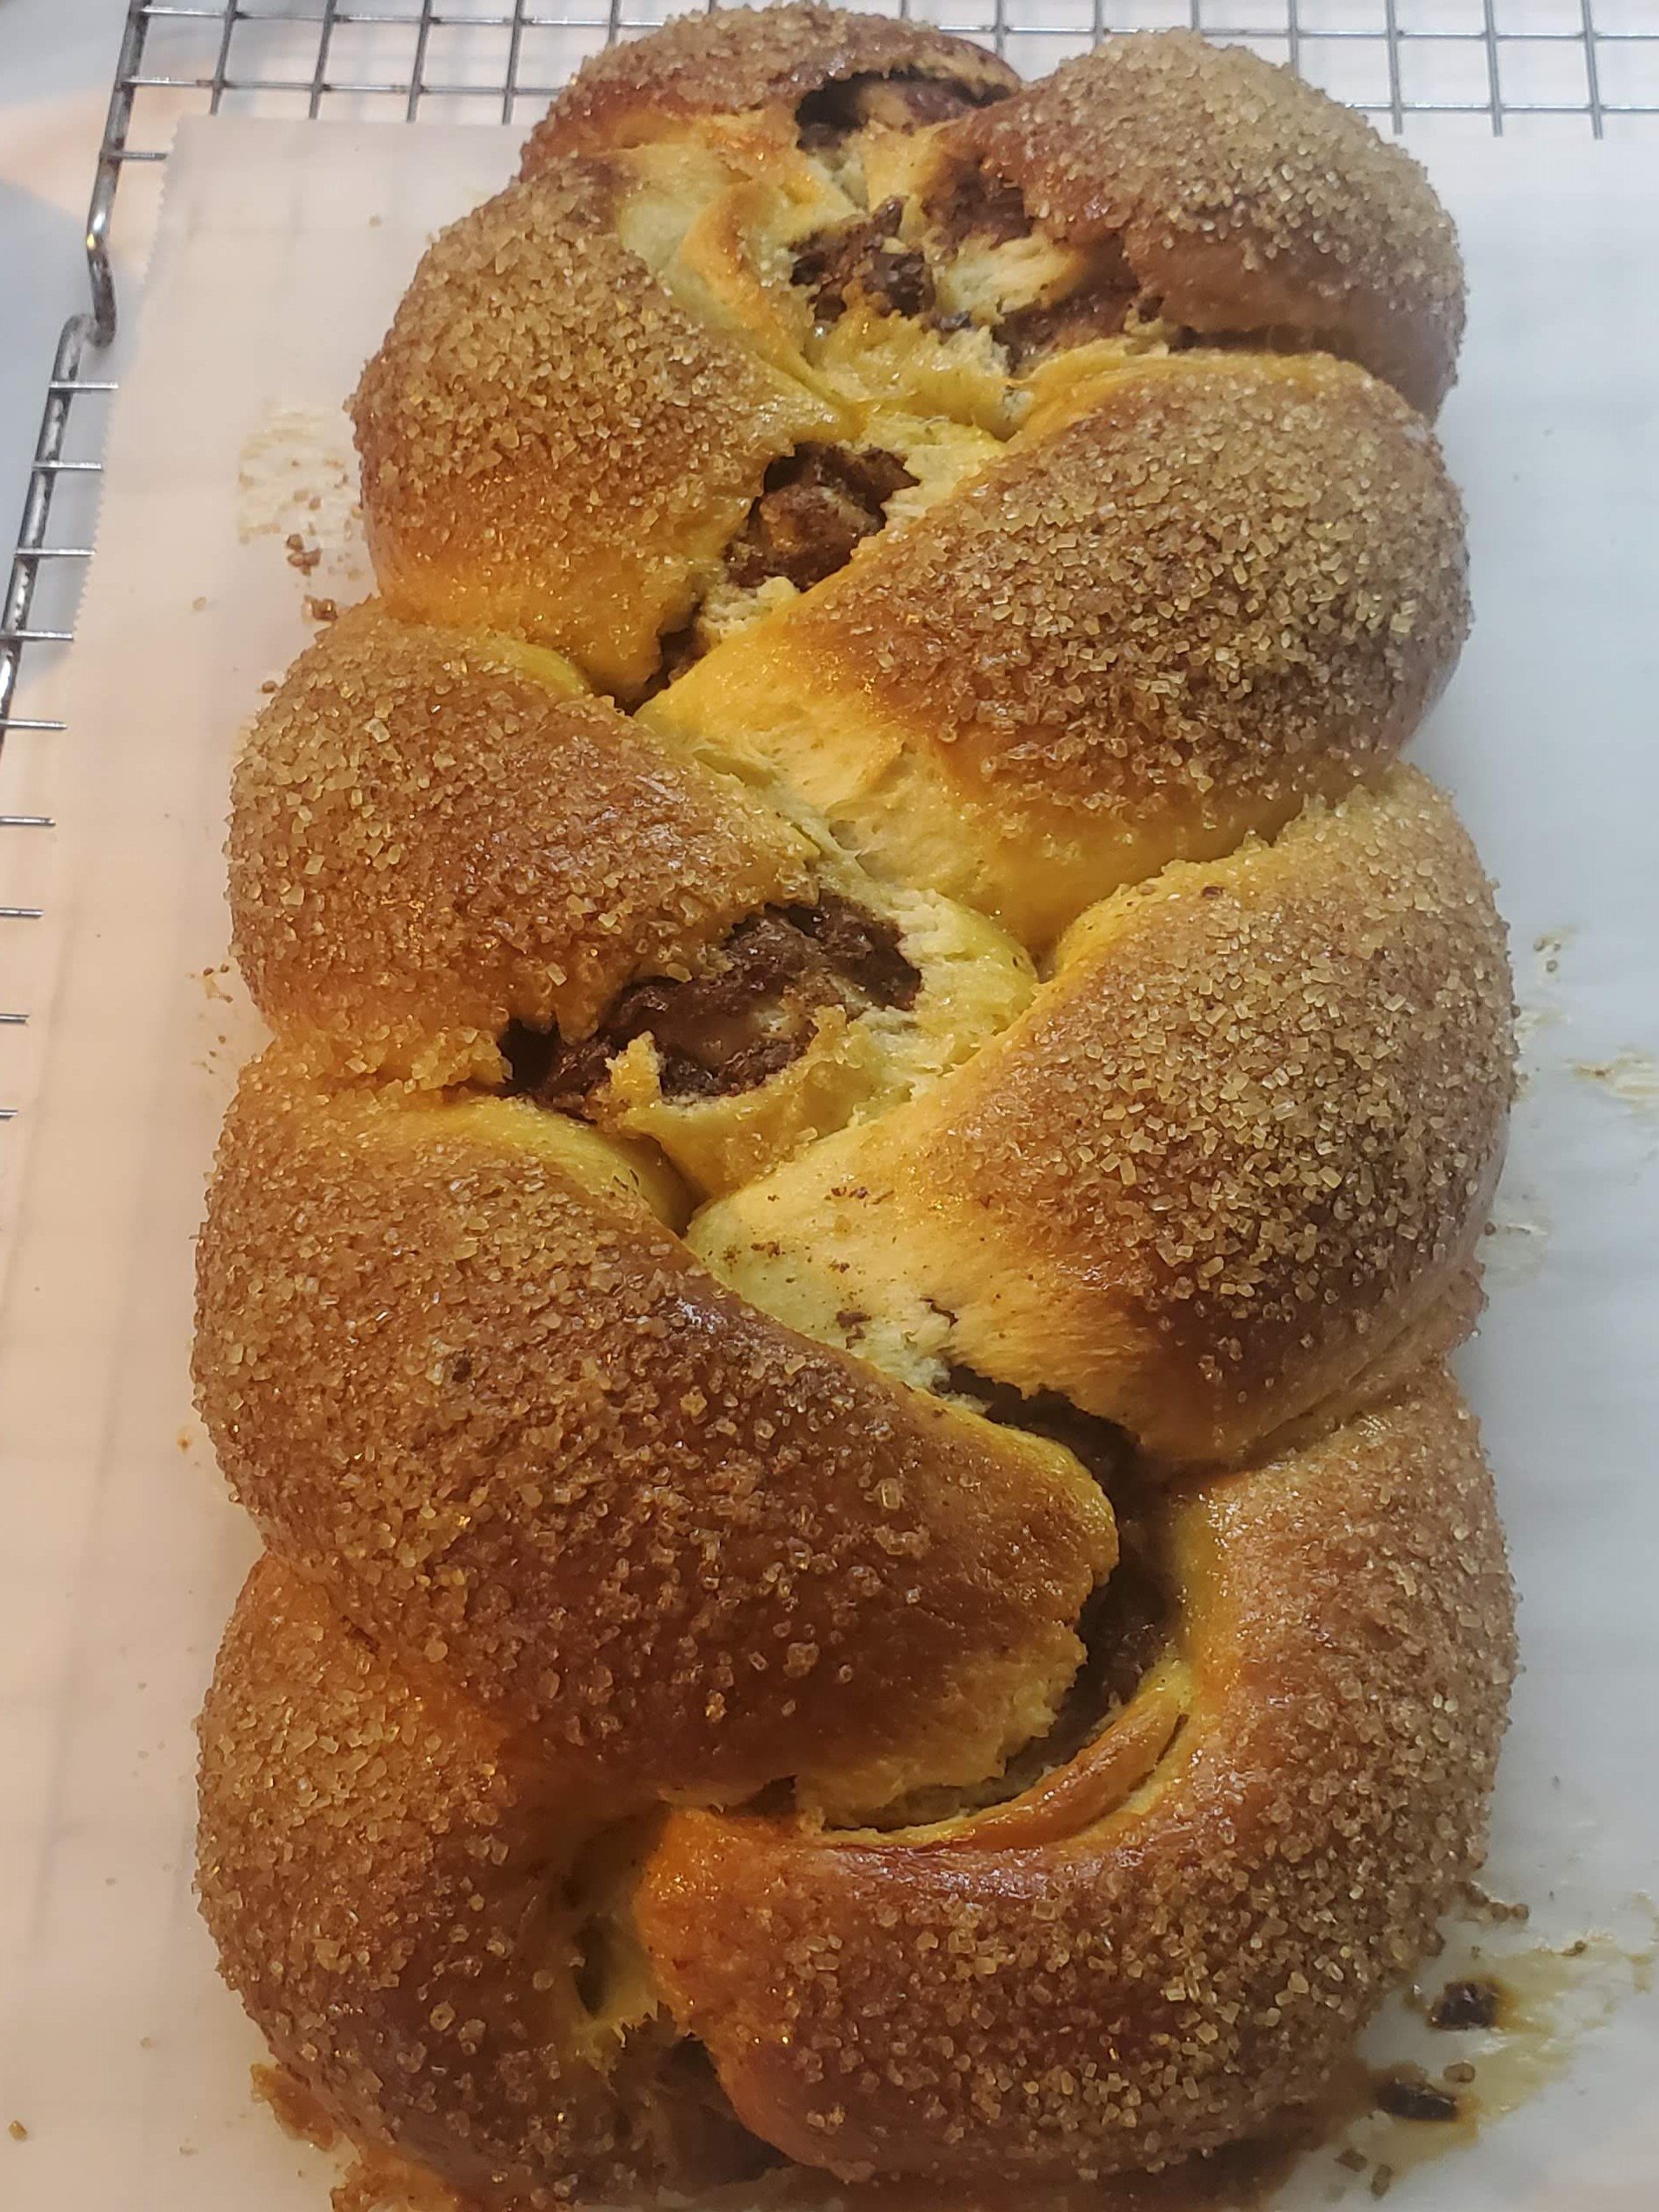
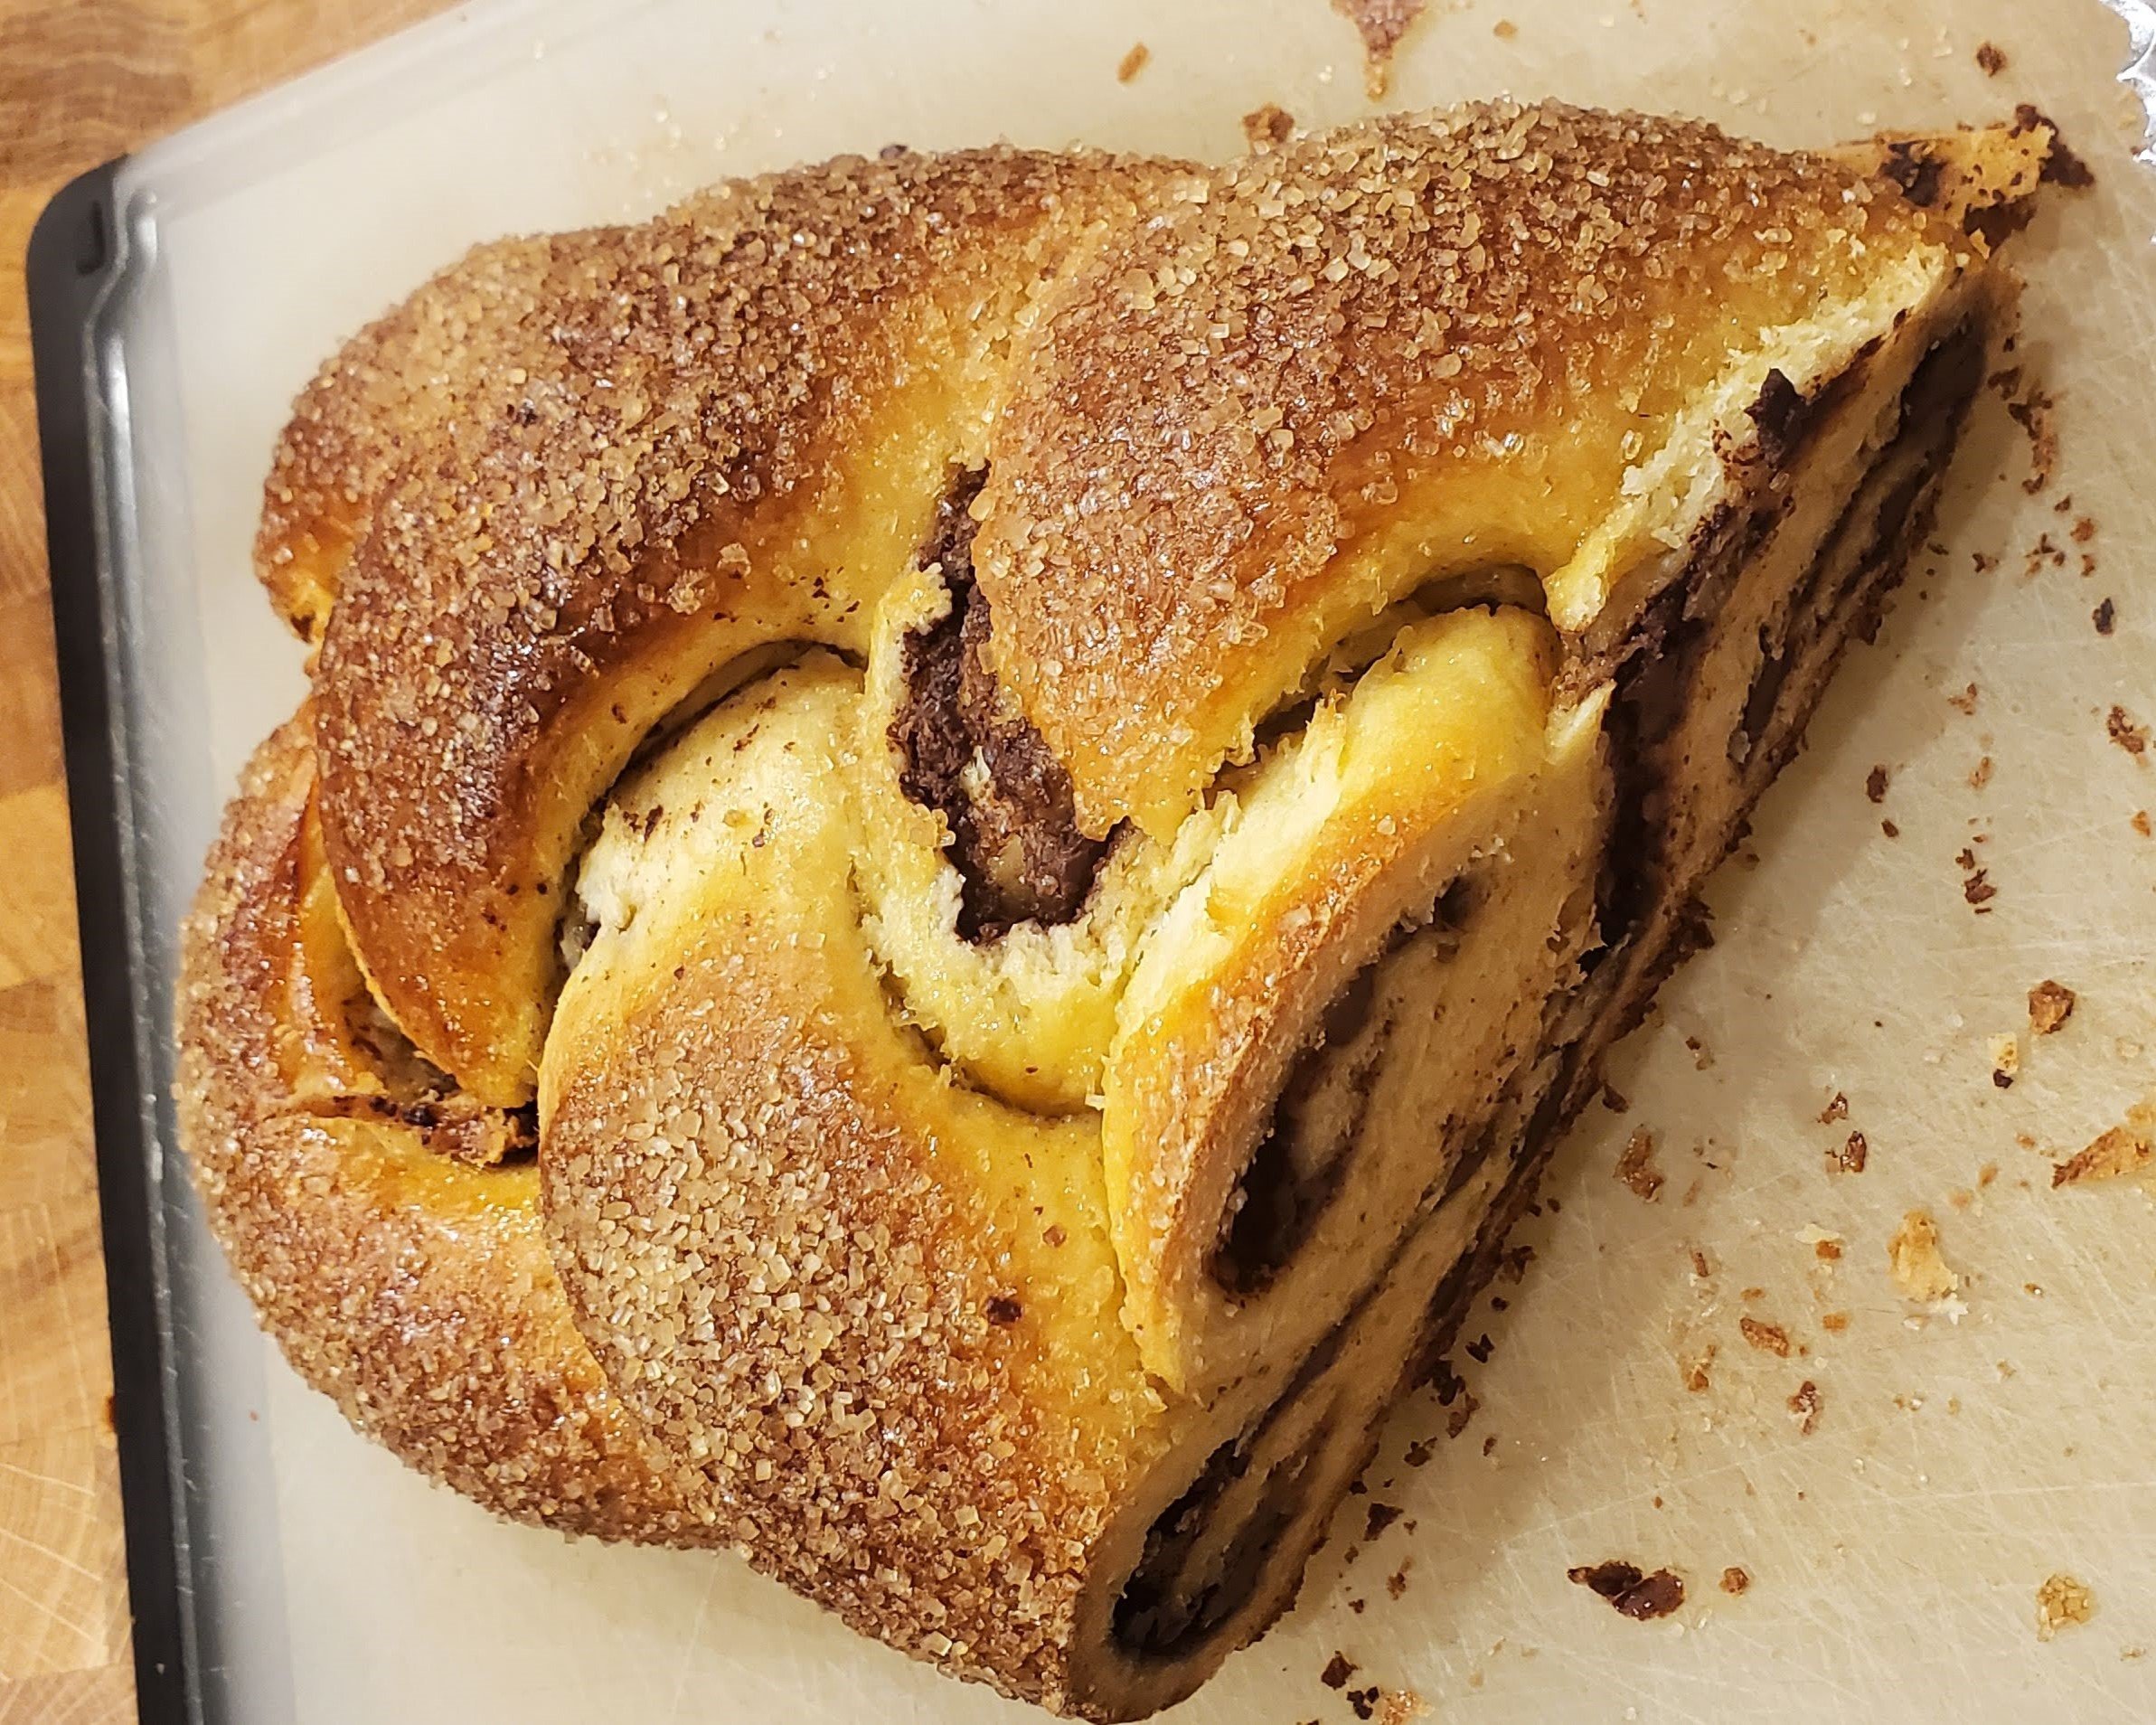
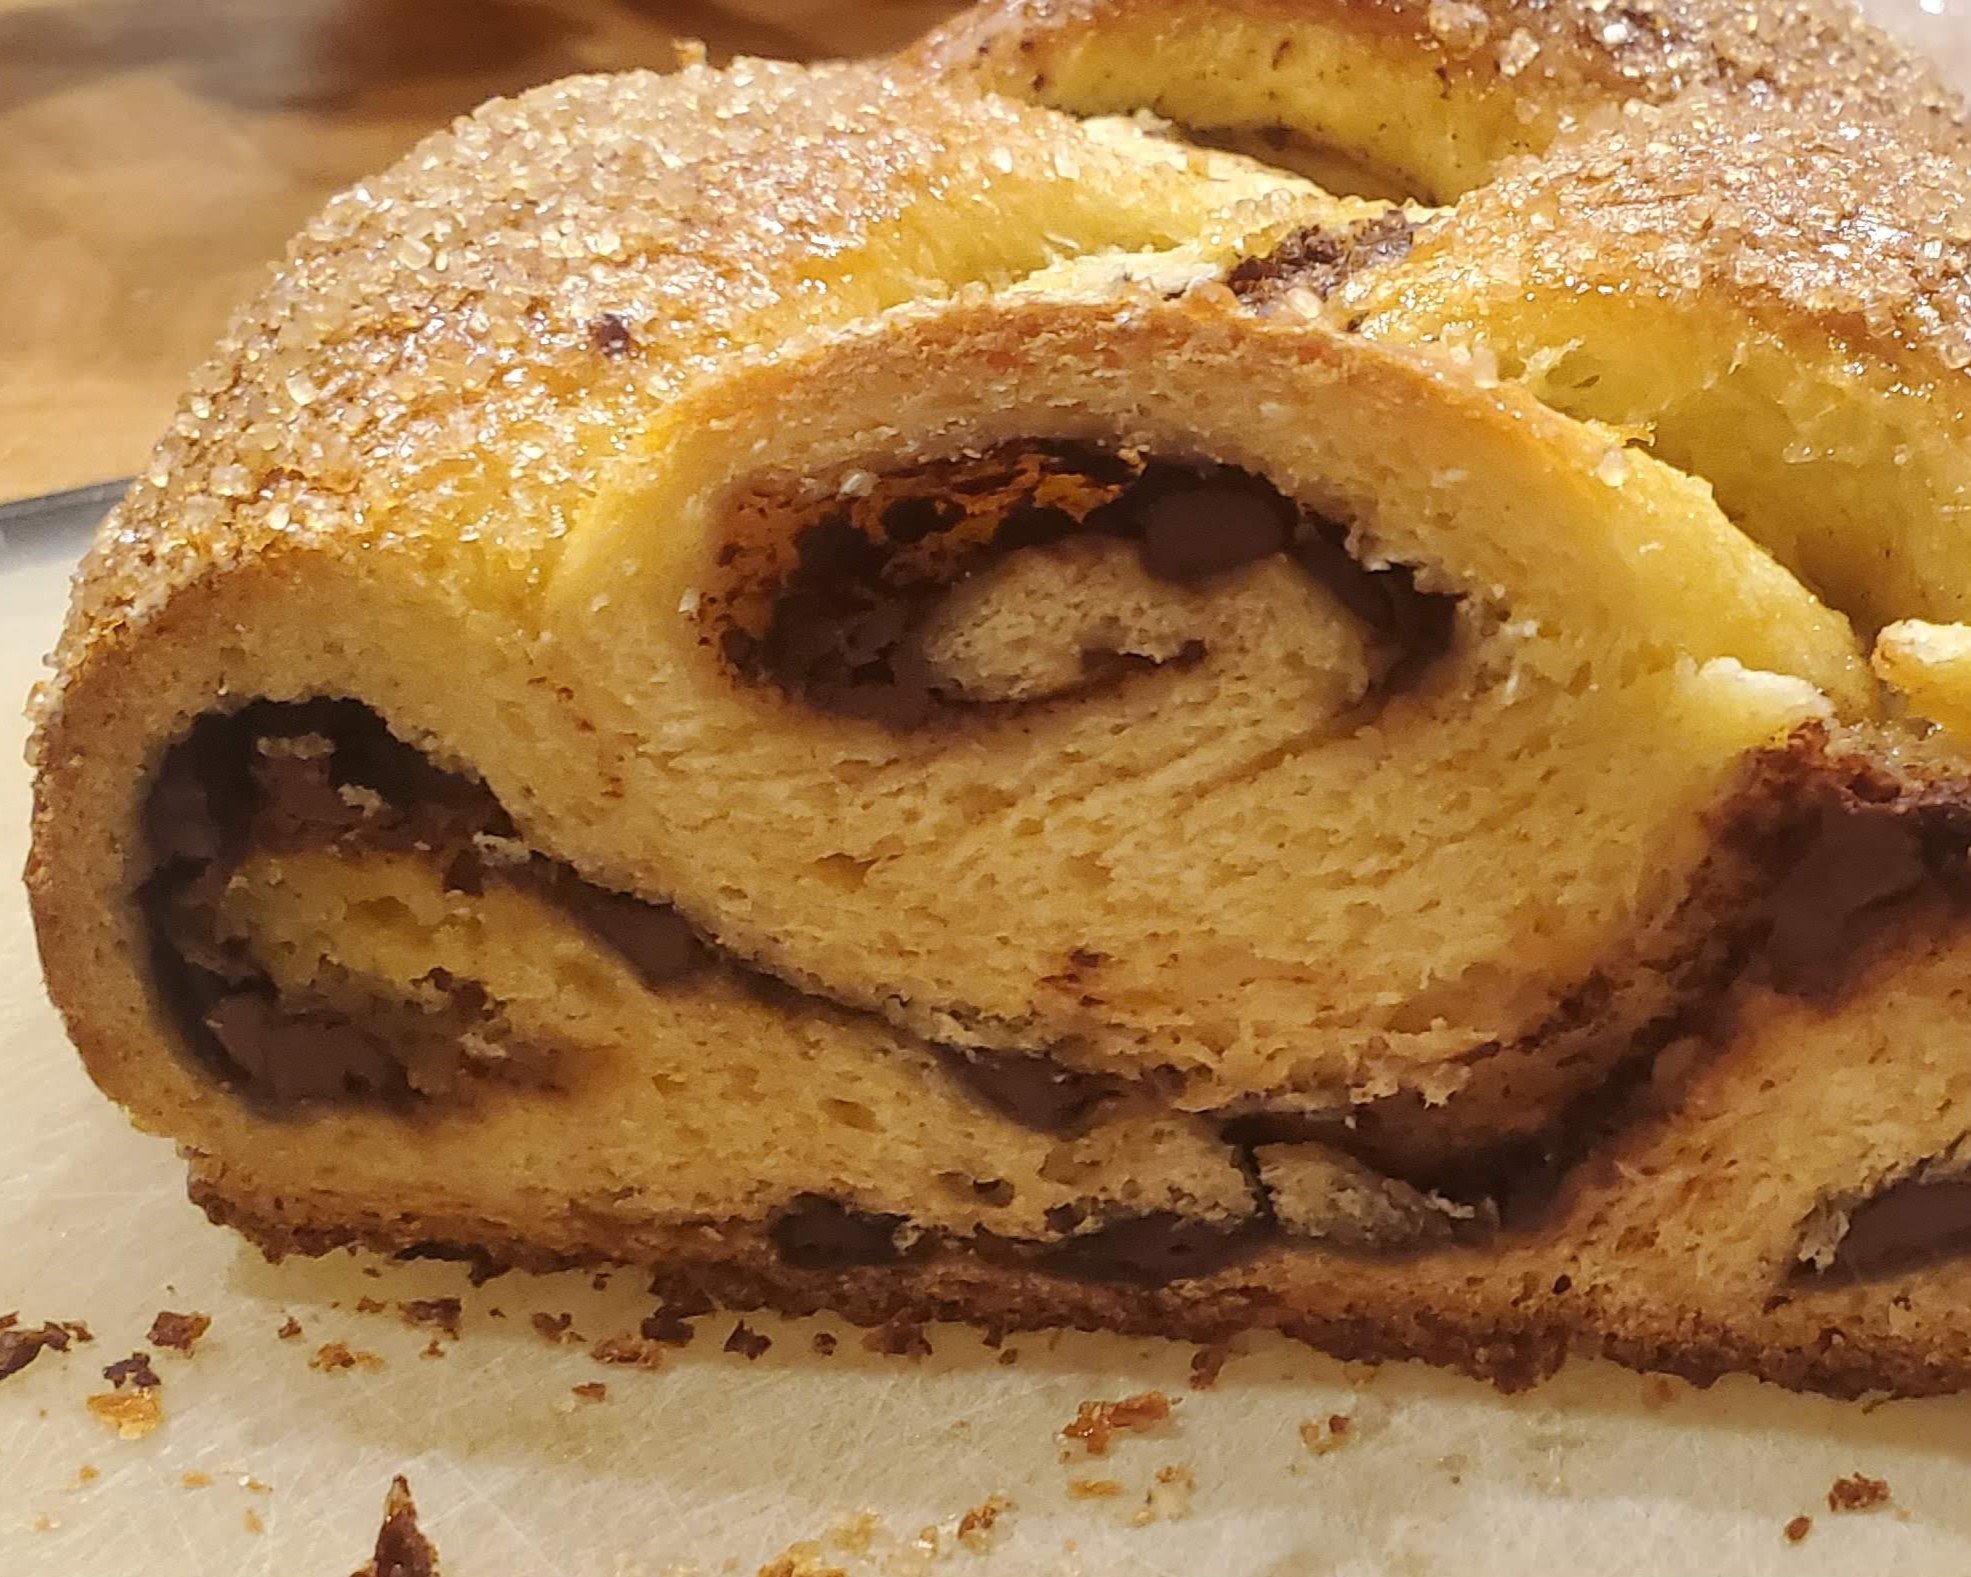
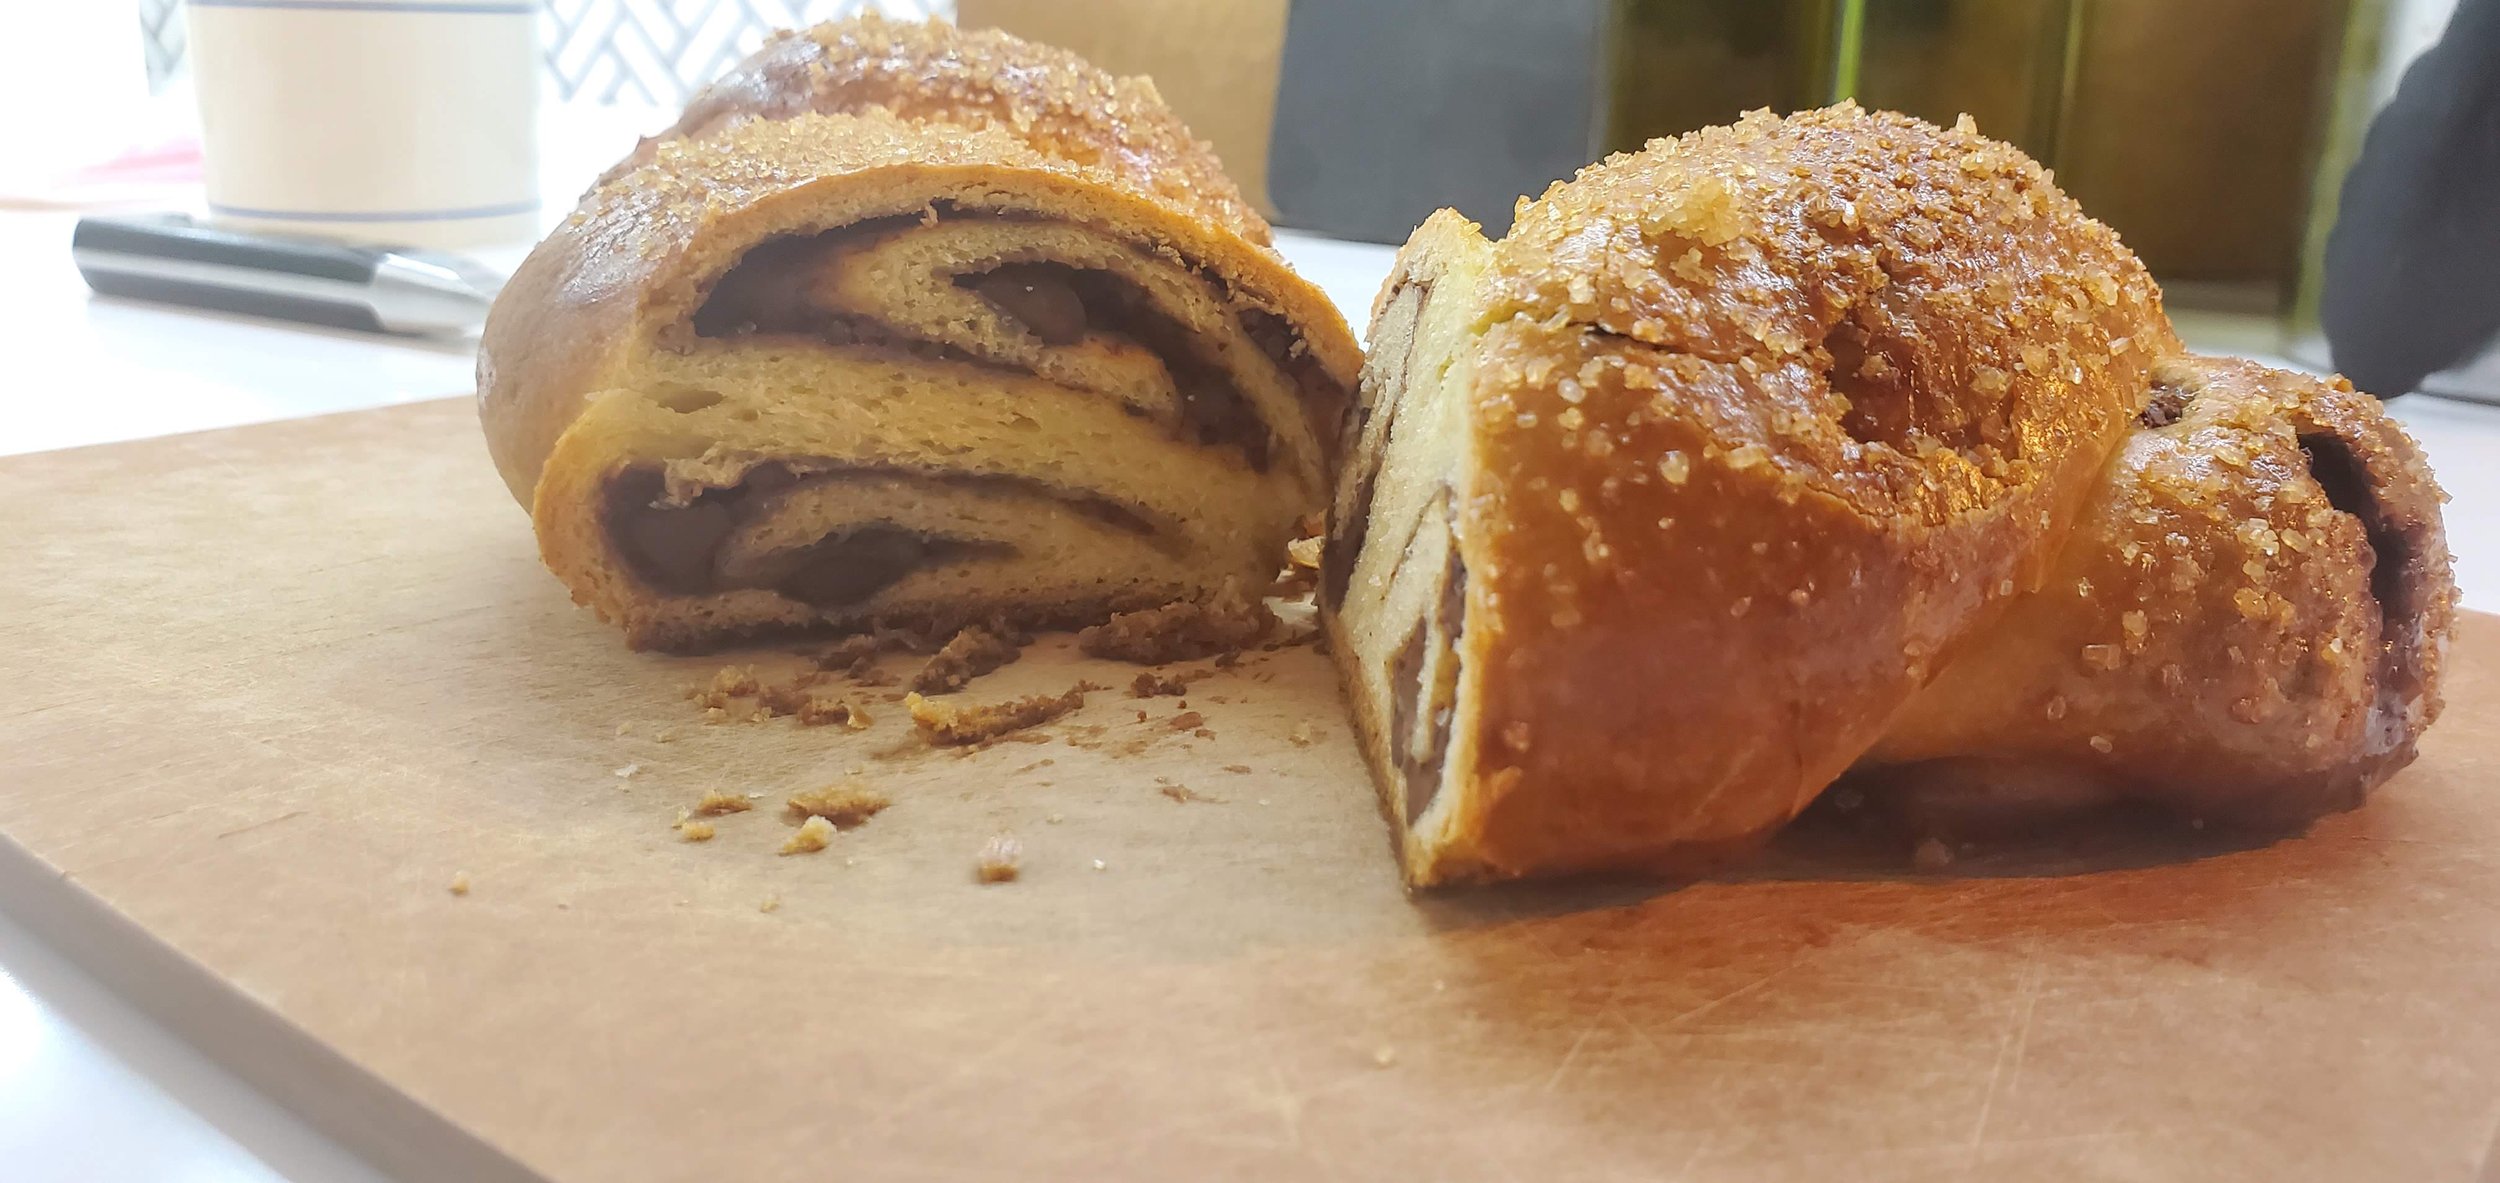
The last time I made this recipe was when we welcomed Pinot home. Maybe it’s appropriate that I should make it again almost 1.5 years later as we’re approaching his second birthday. This time I made it as directed: three strands of rolled dough with chocolate-cinnamon filling, braided together and baked with an egg wash and demerara sugar sprinkled on top. It was delicious! We ate it at our friends’ house while we watched the new J Lo movie, which was… spectacular.
boozy fruit cake
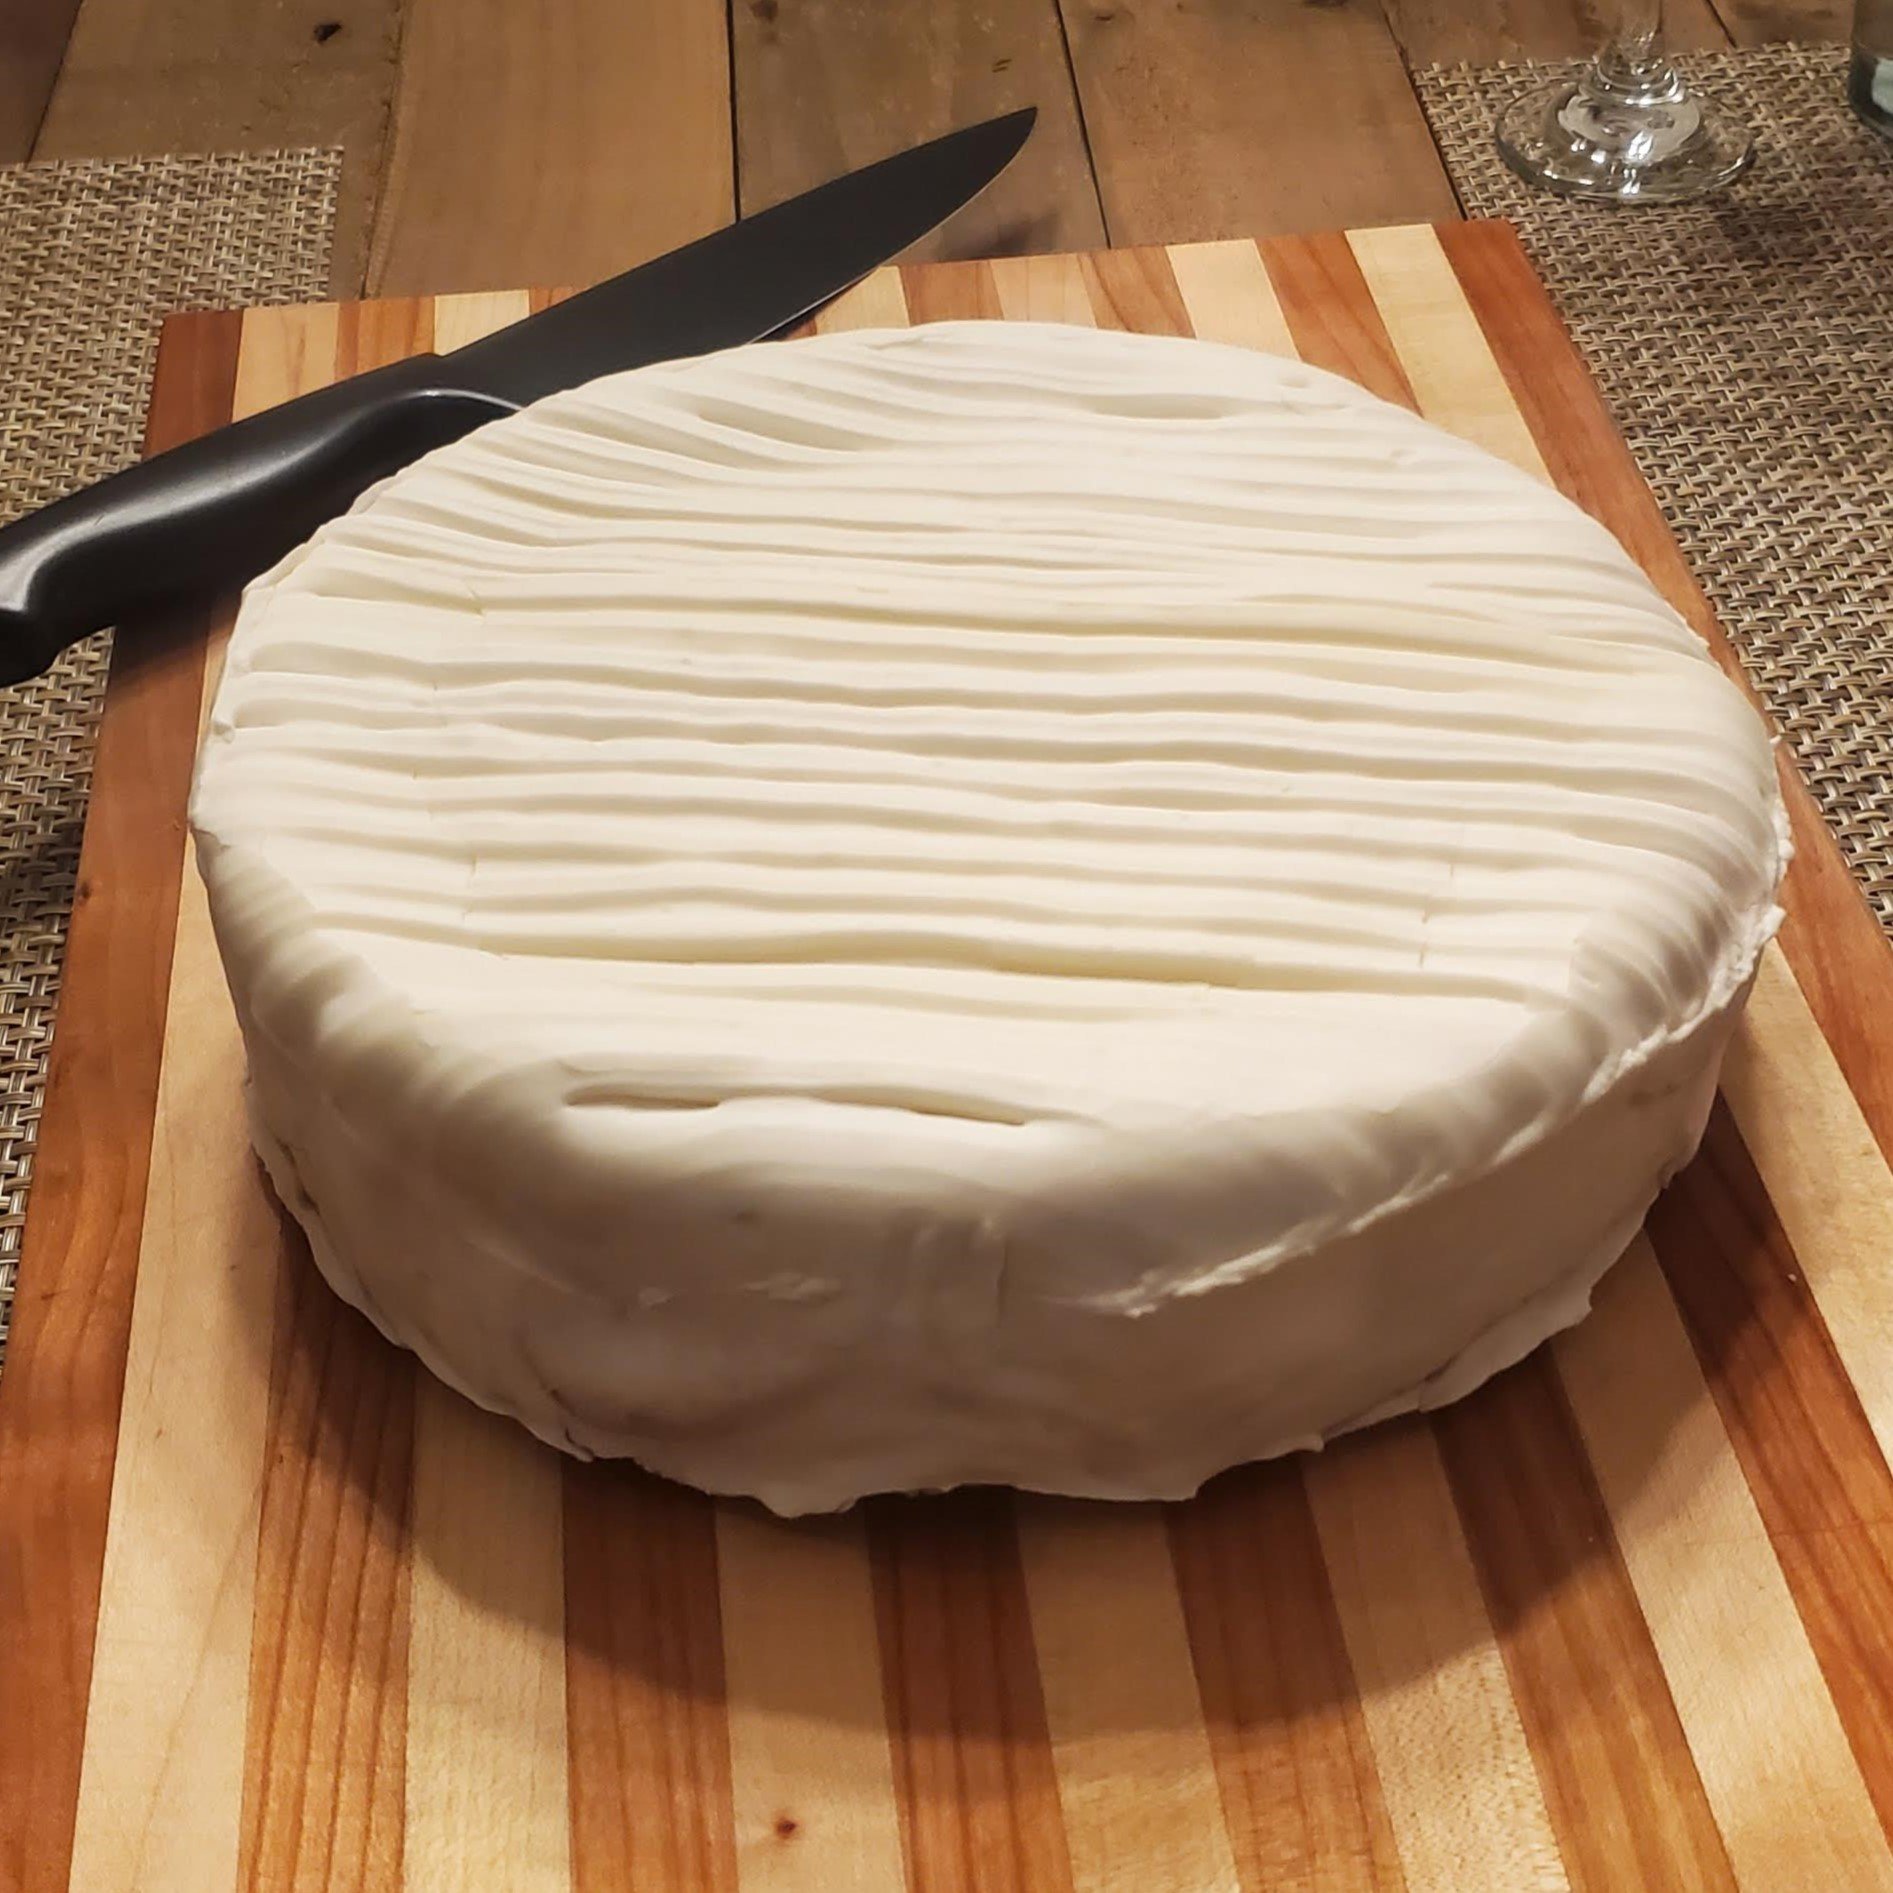
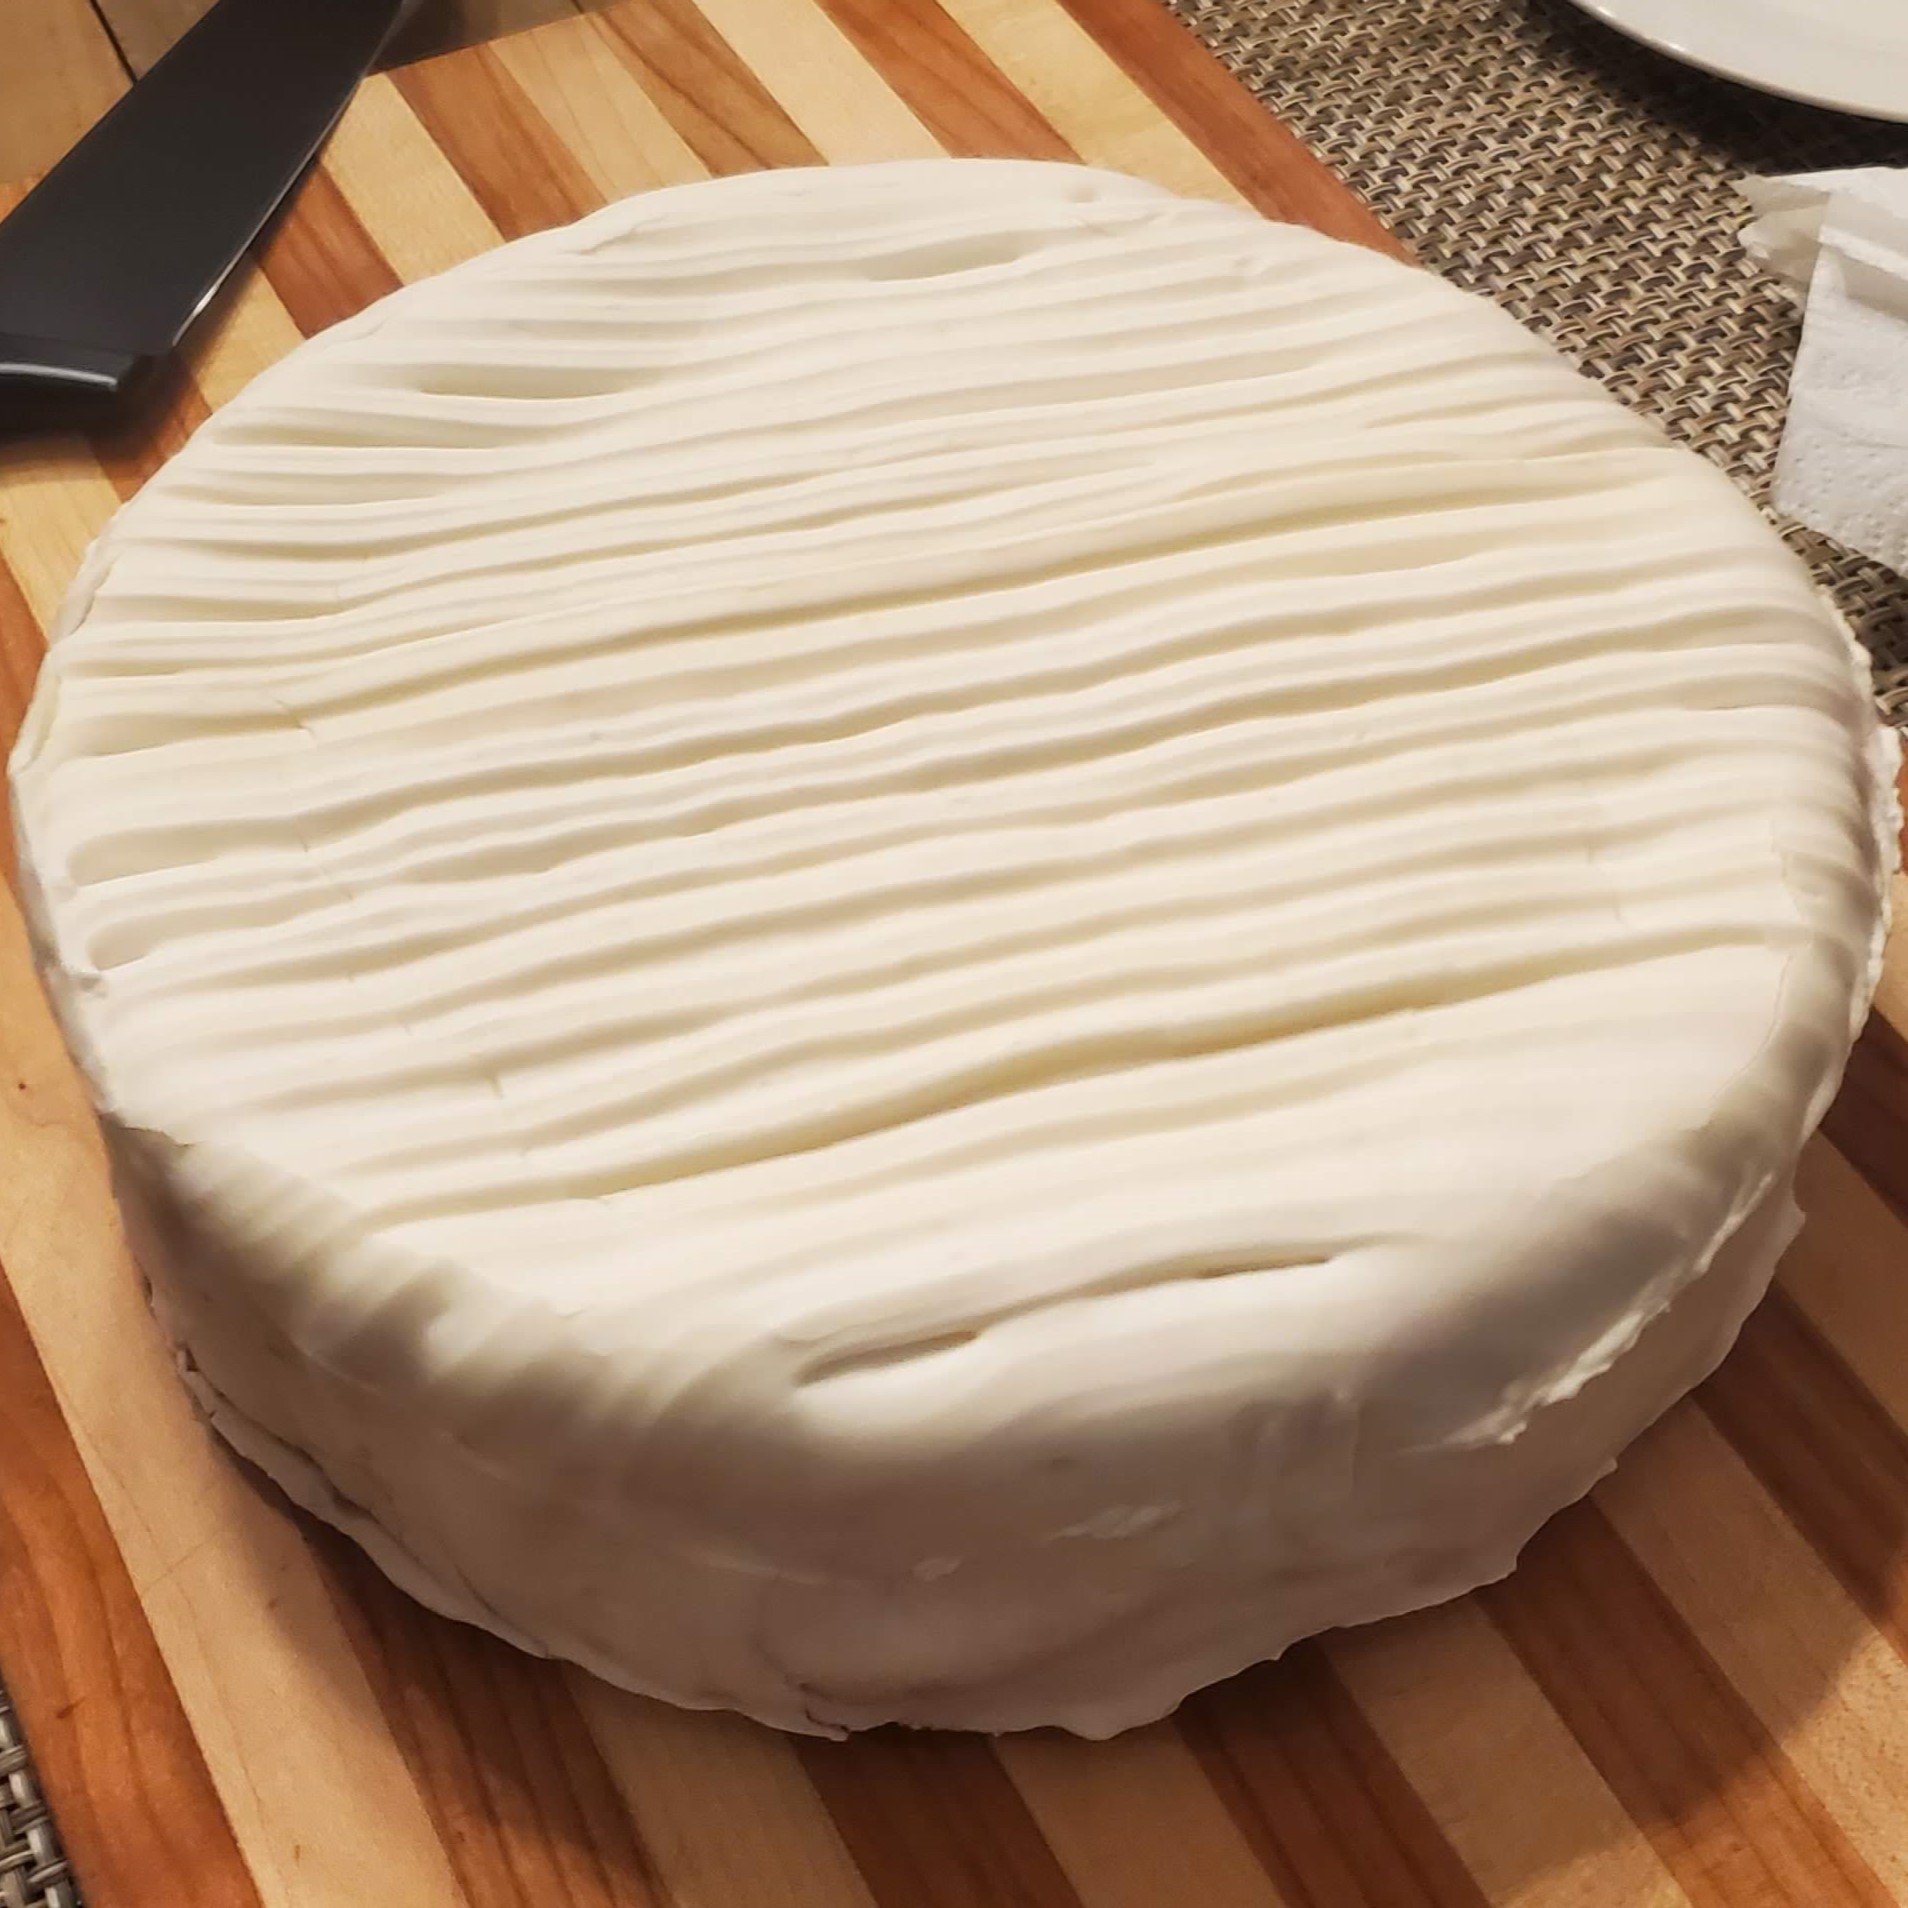
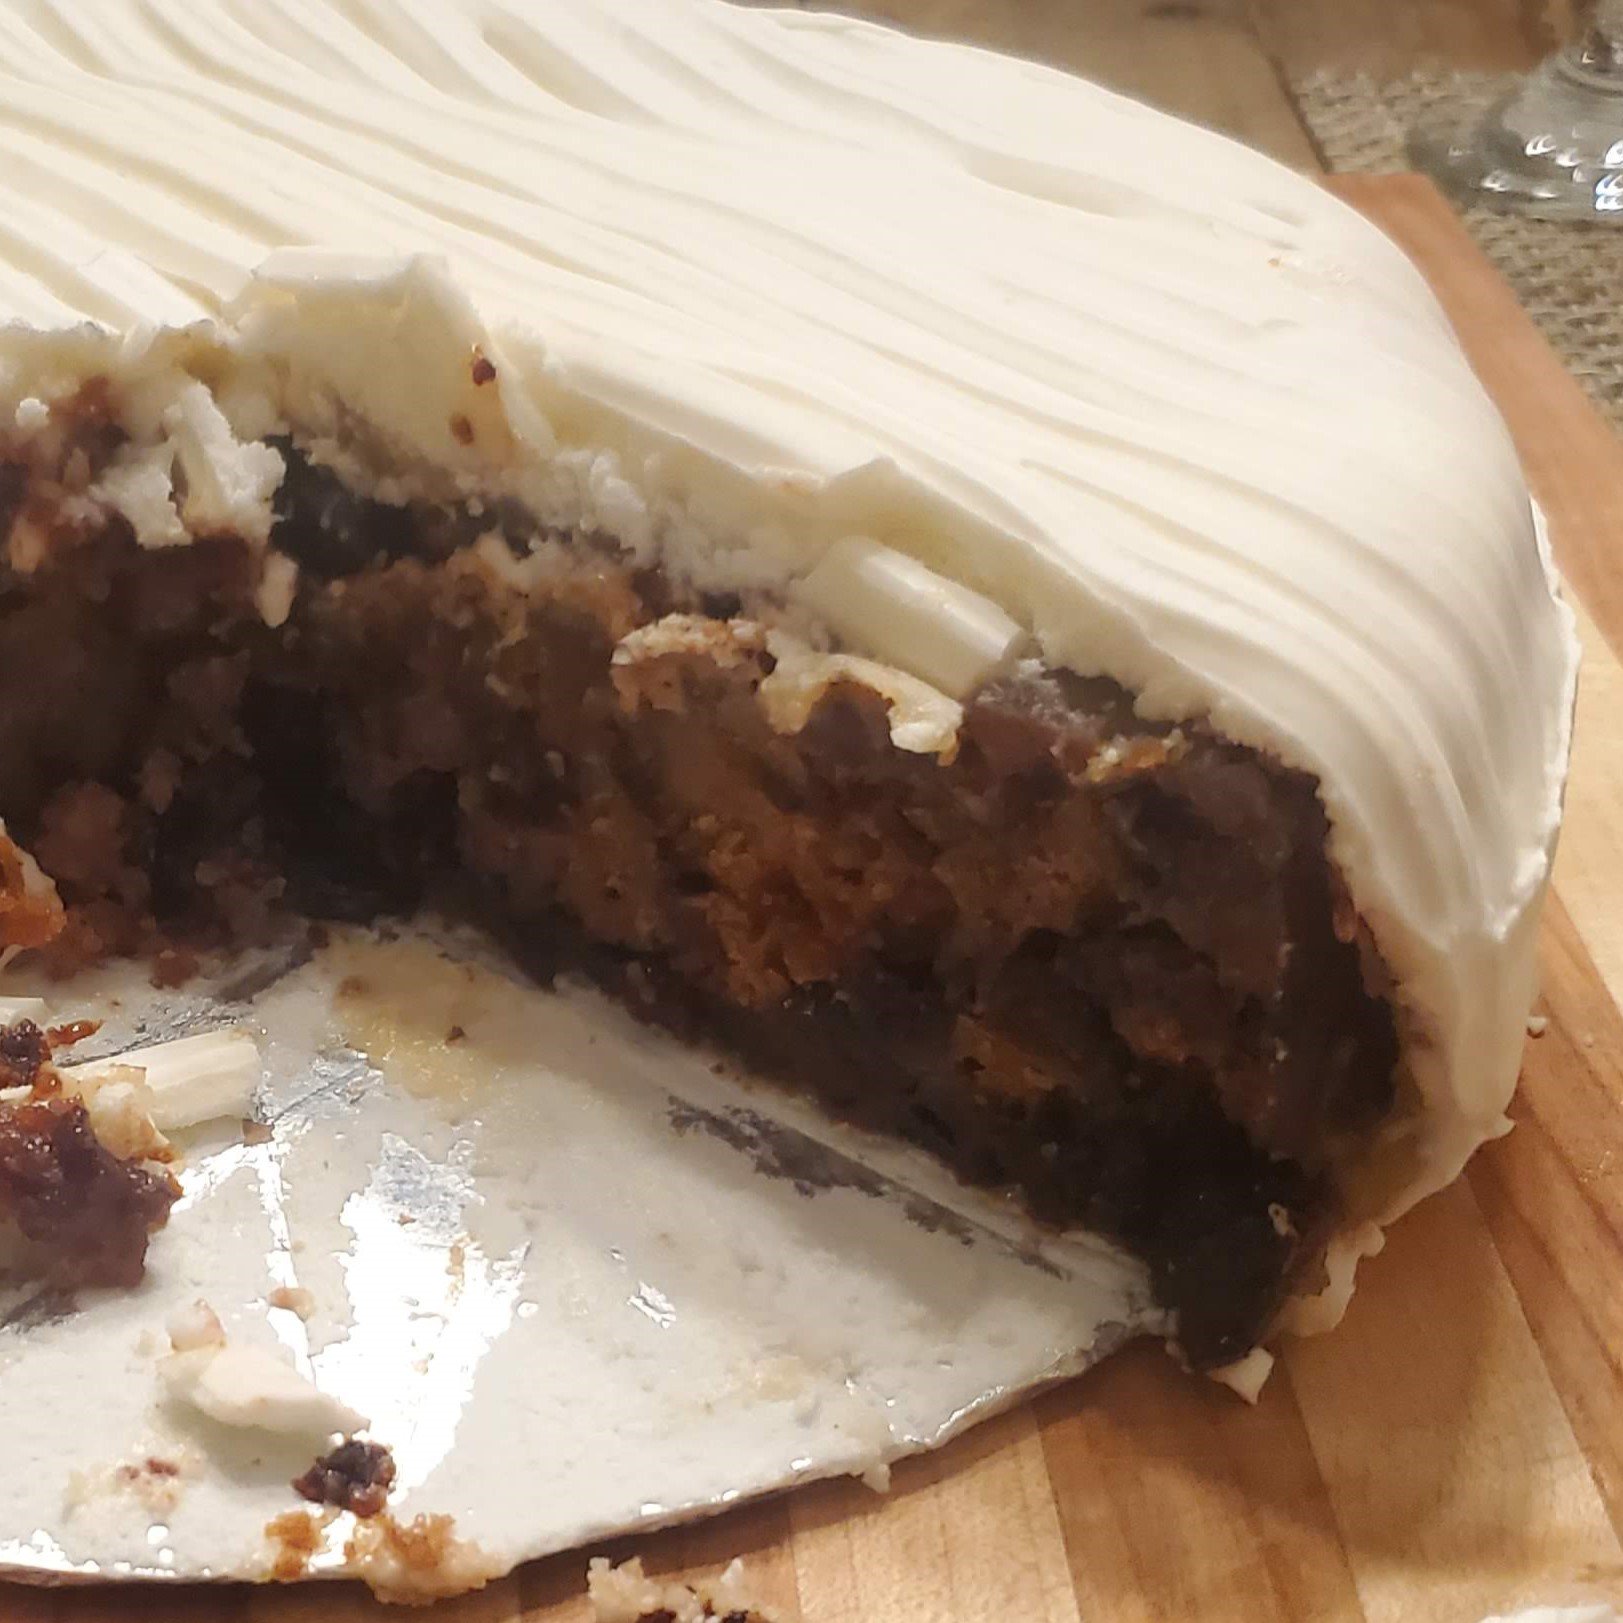
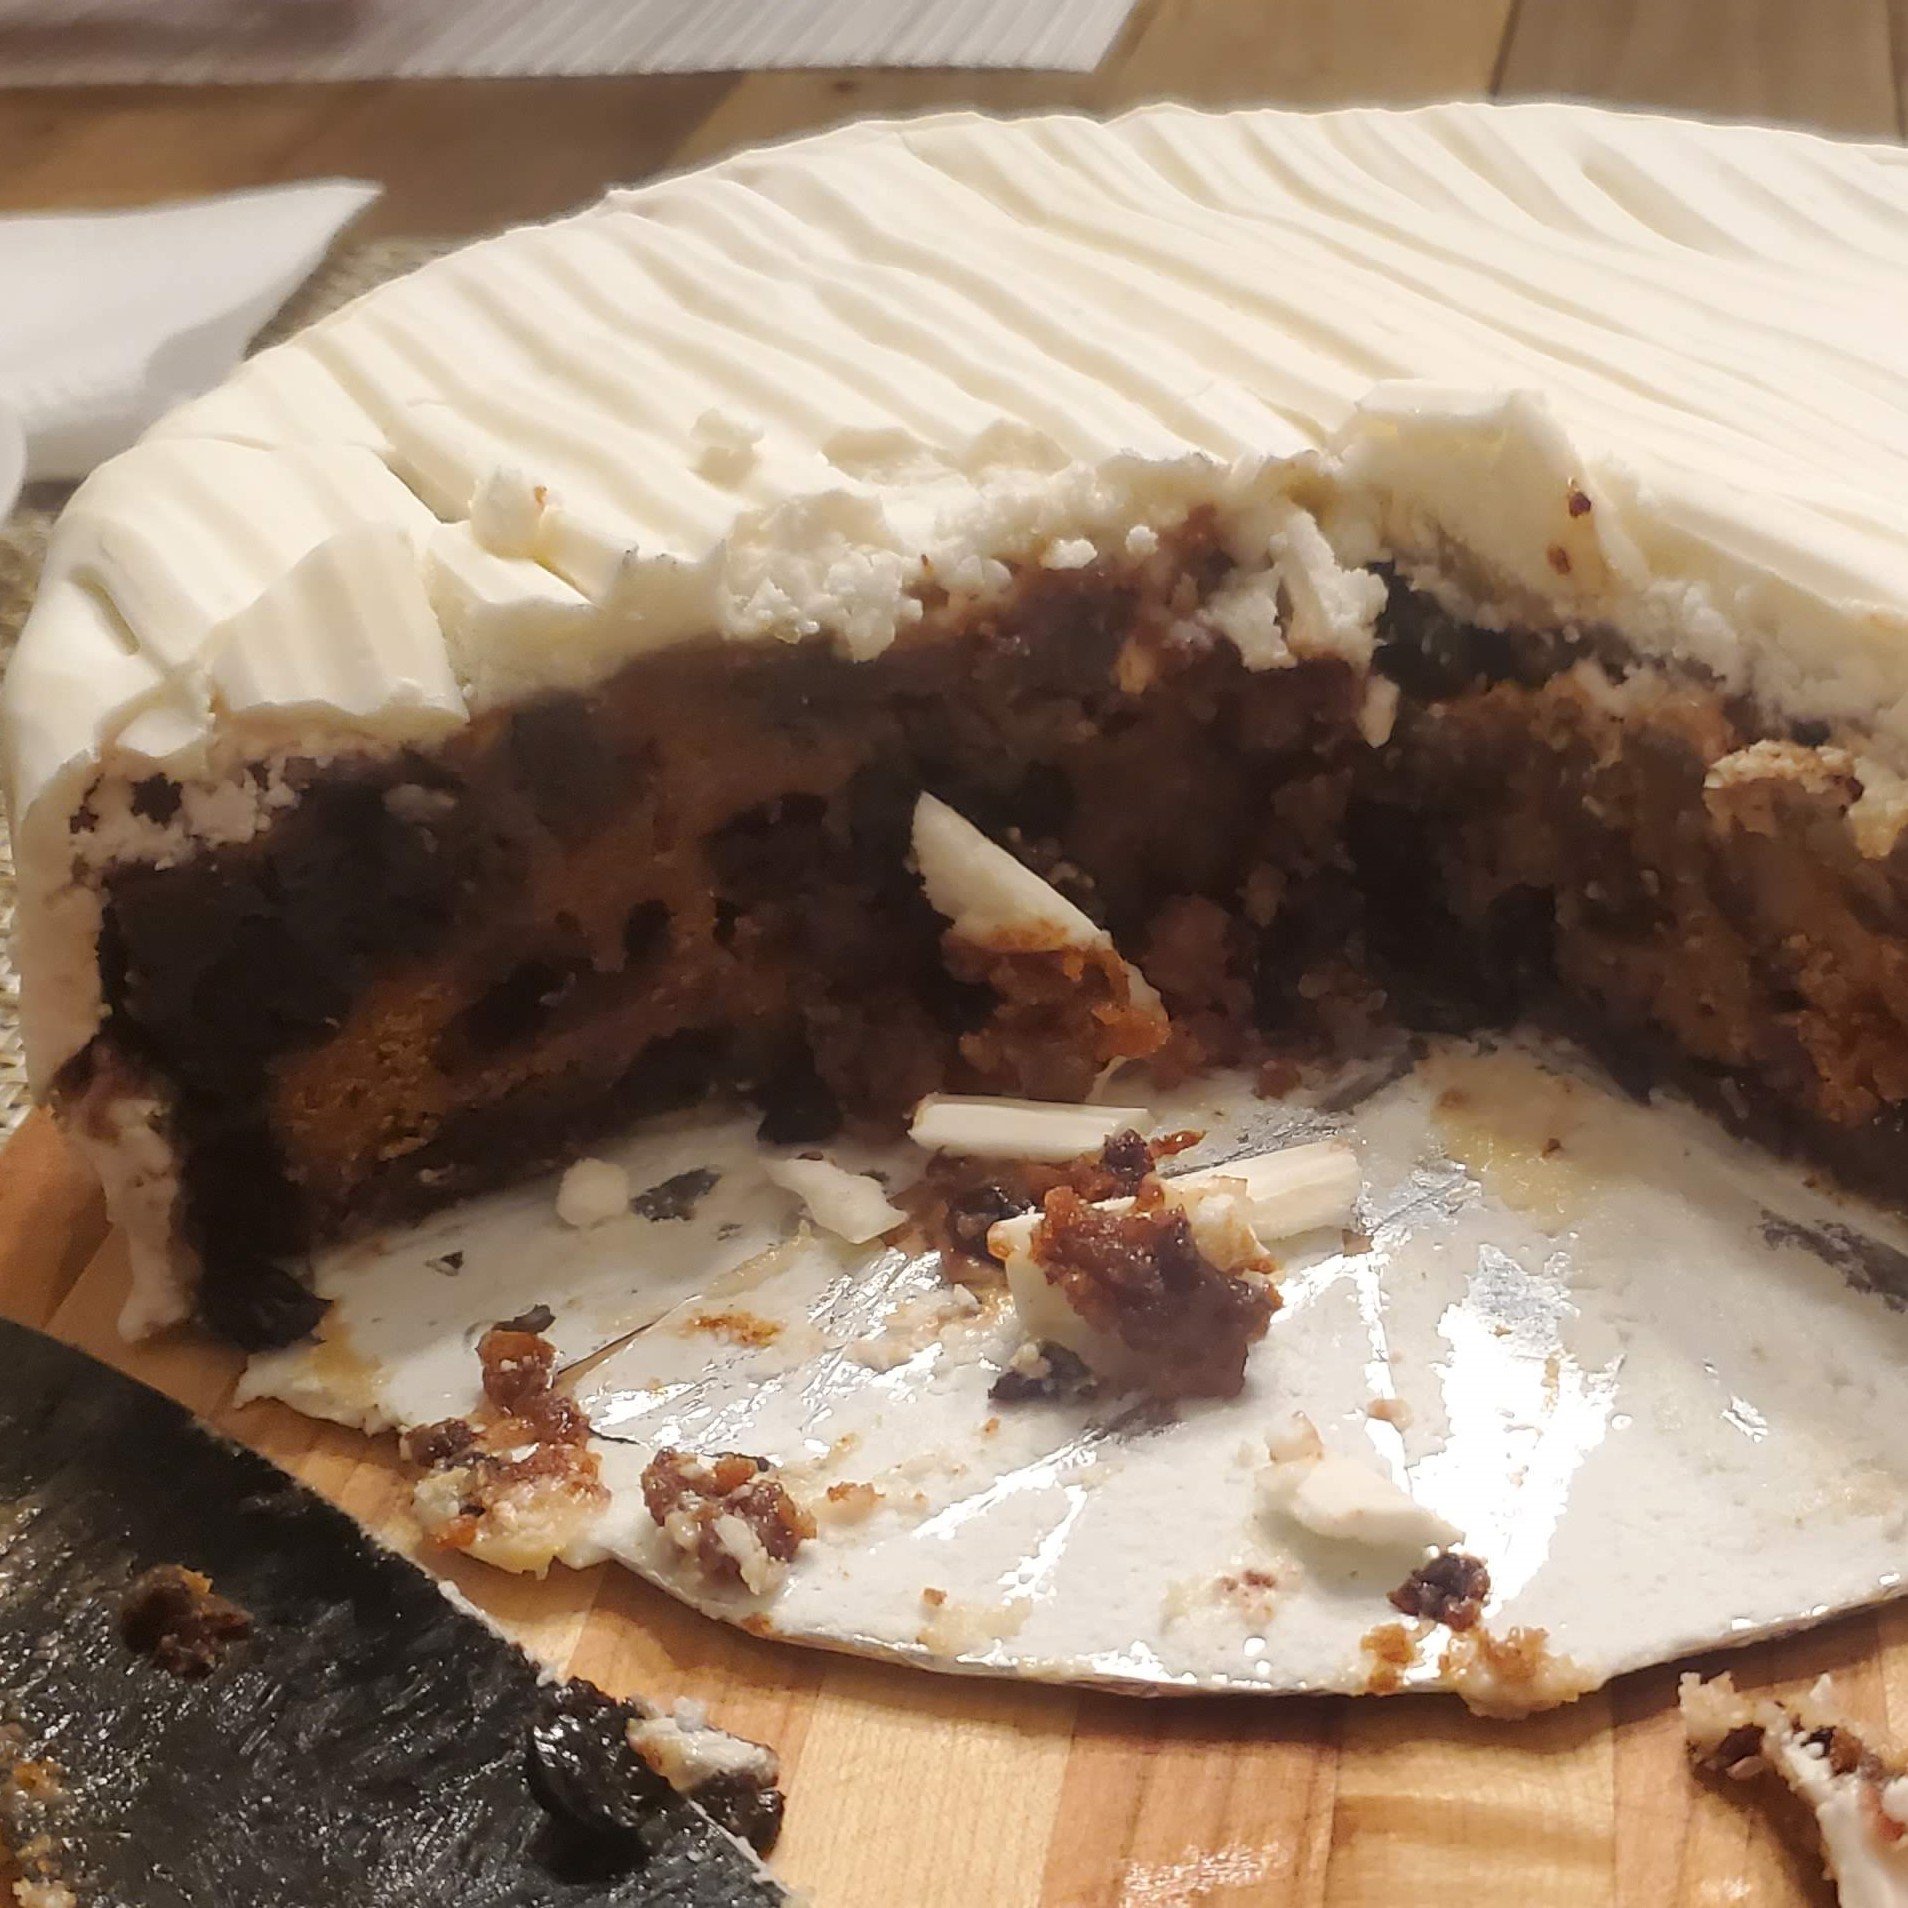
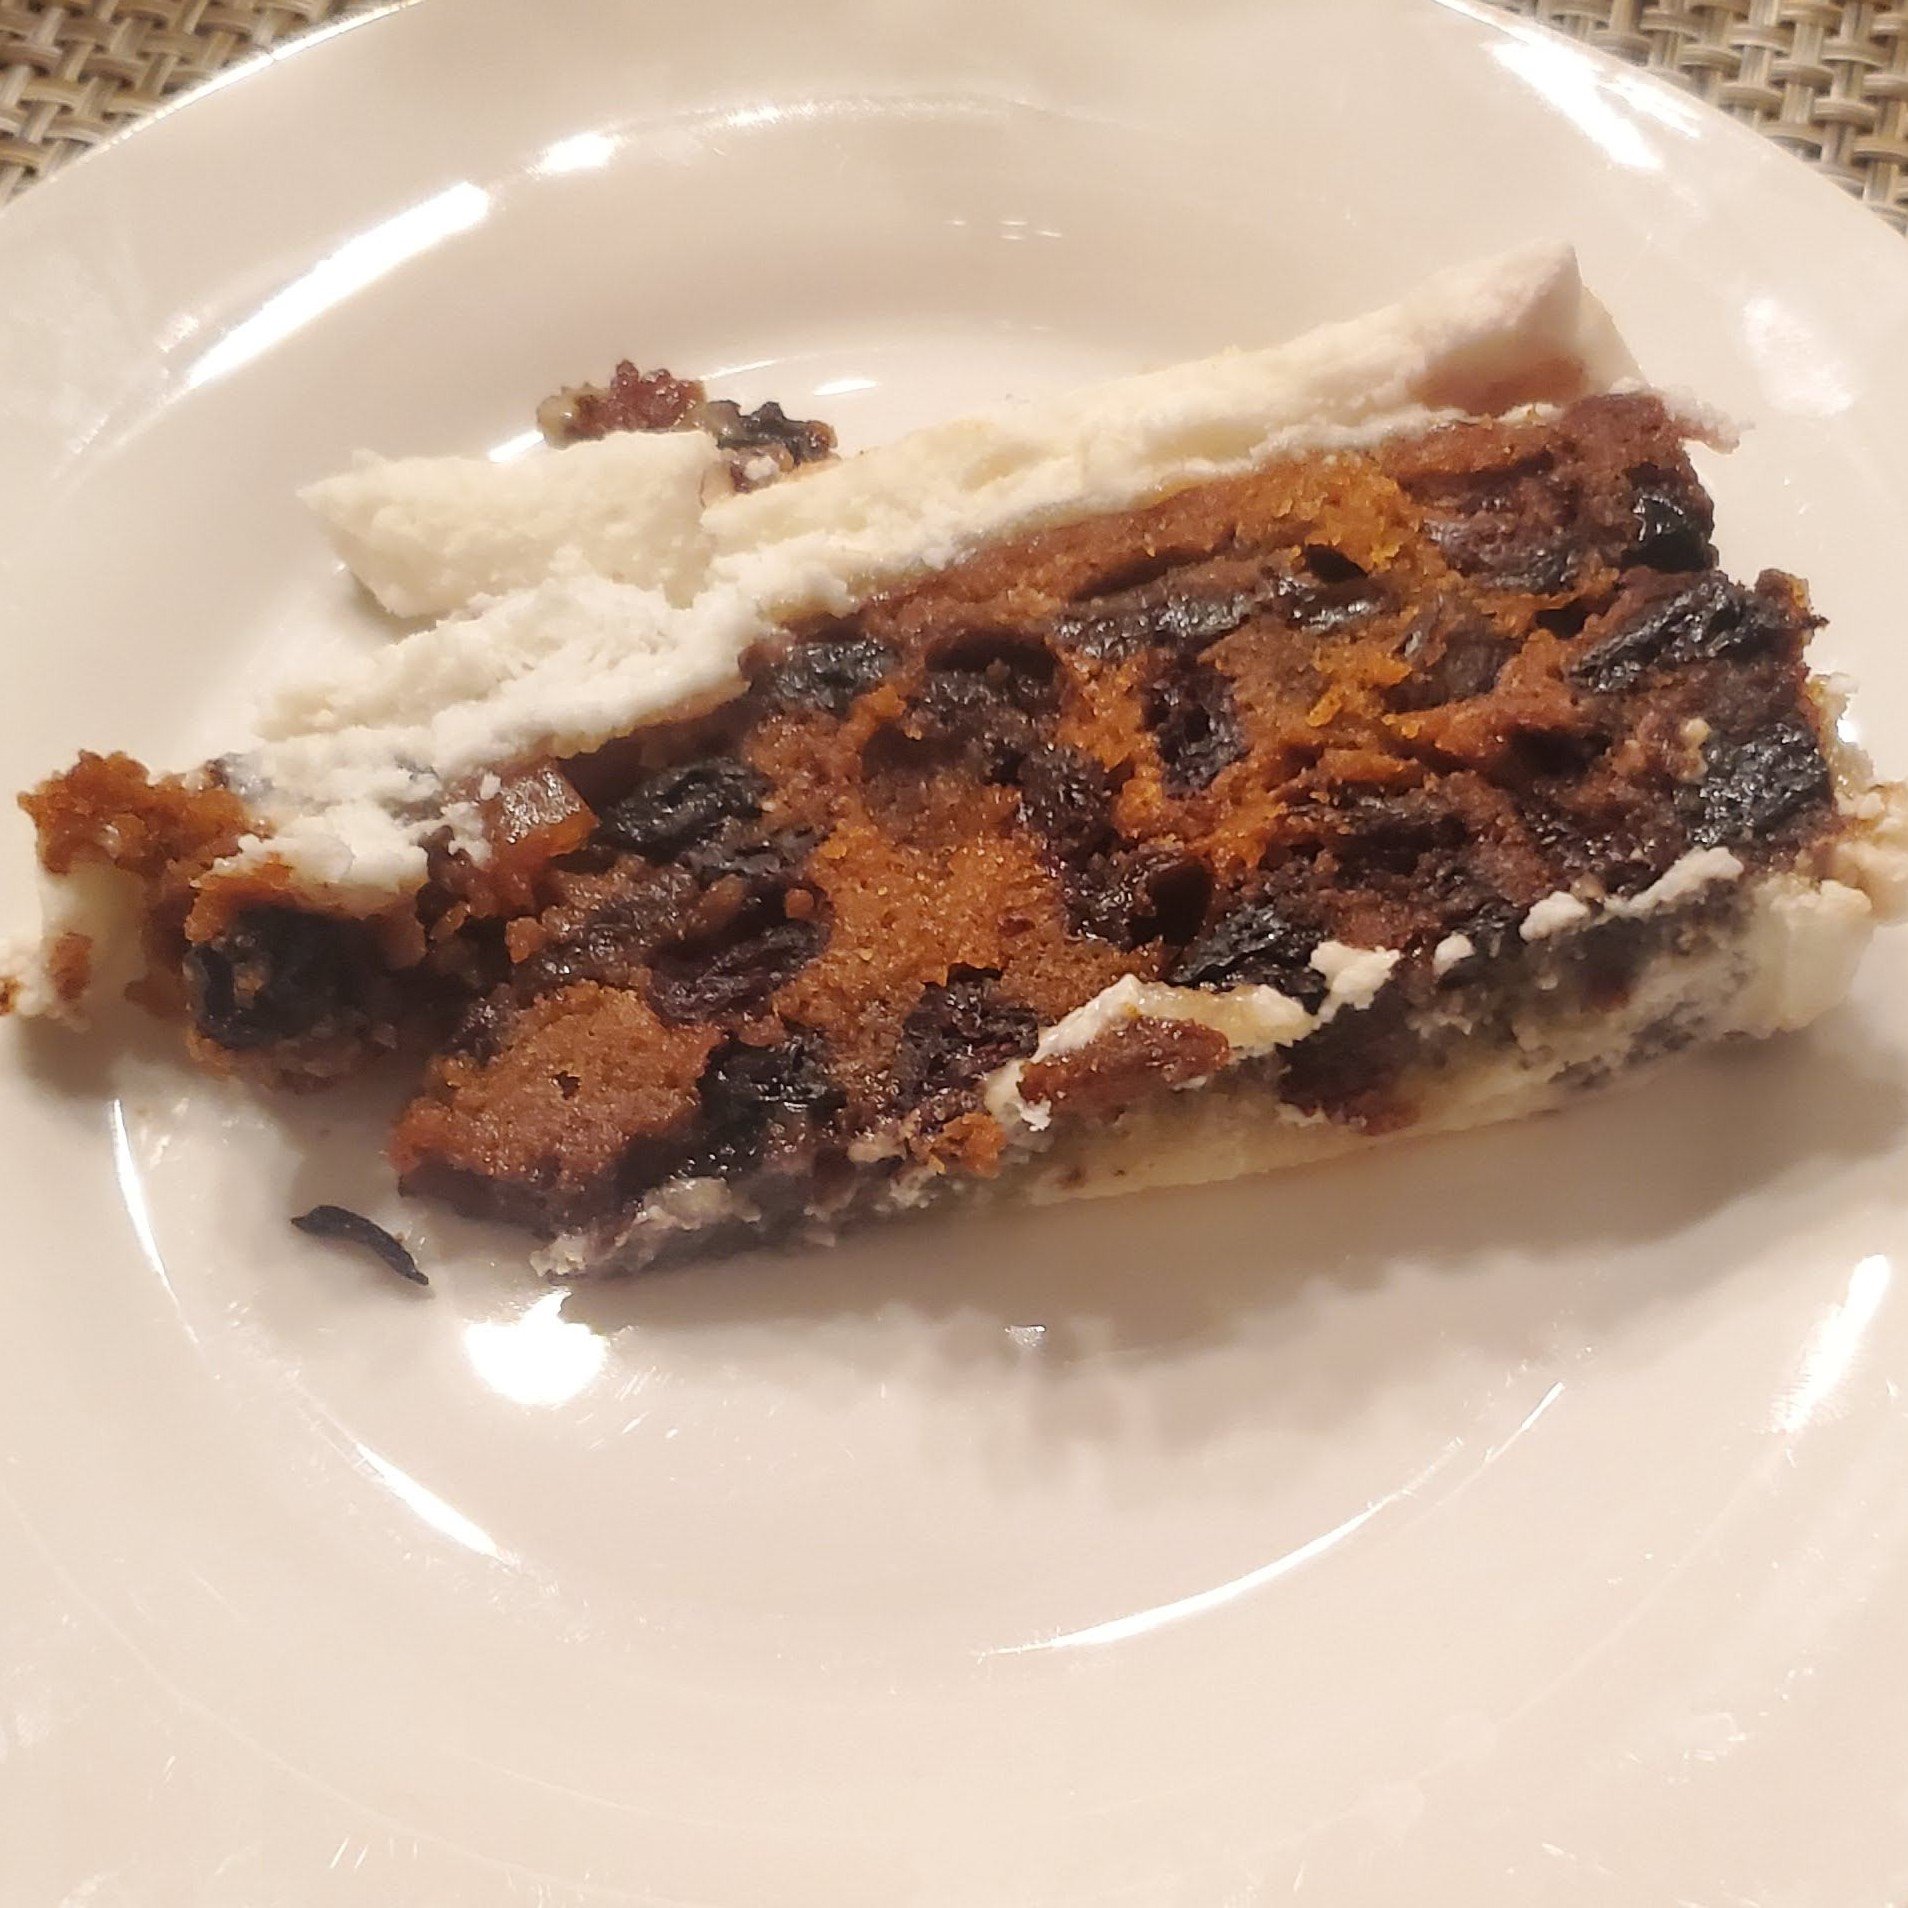
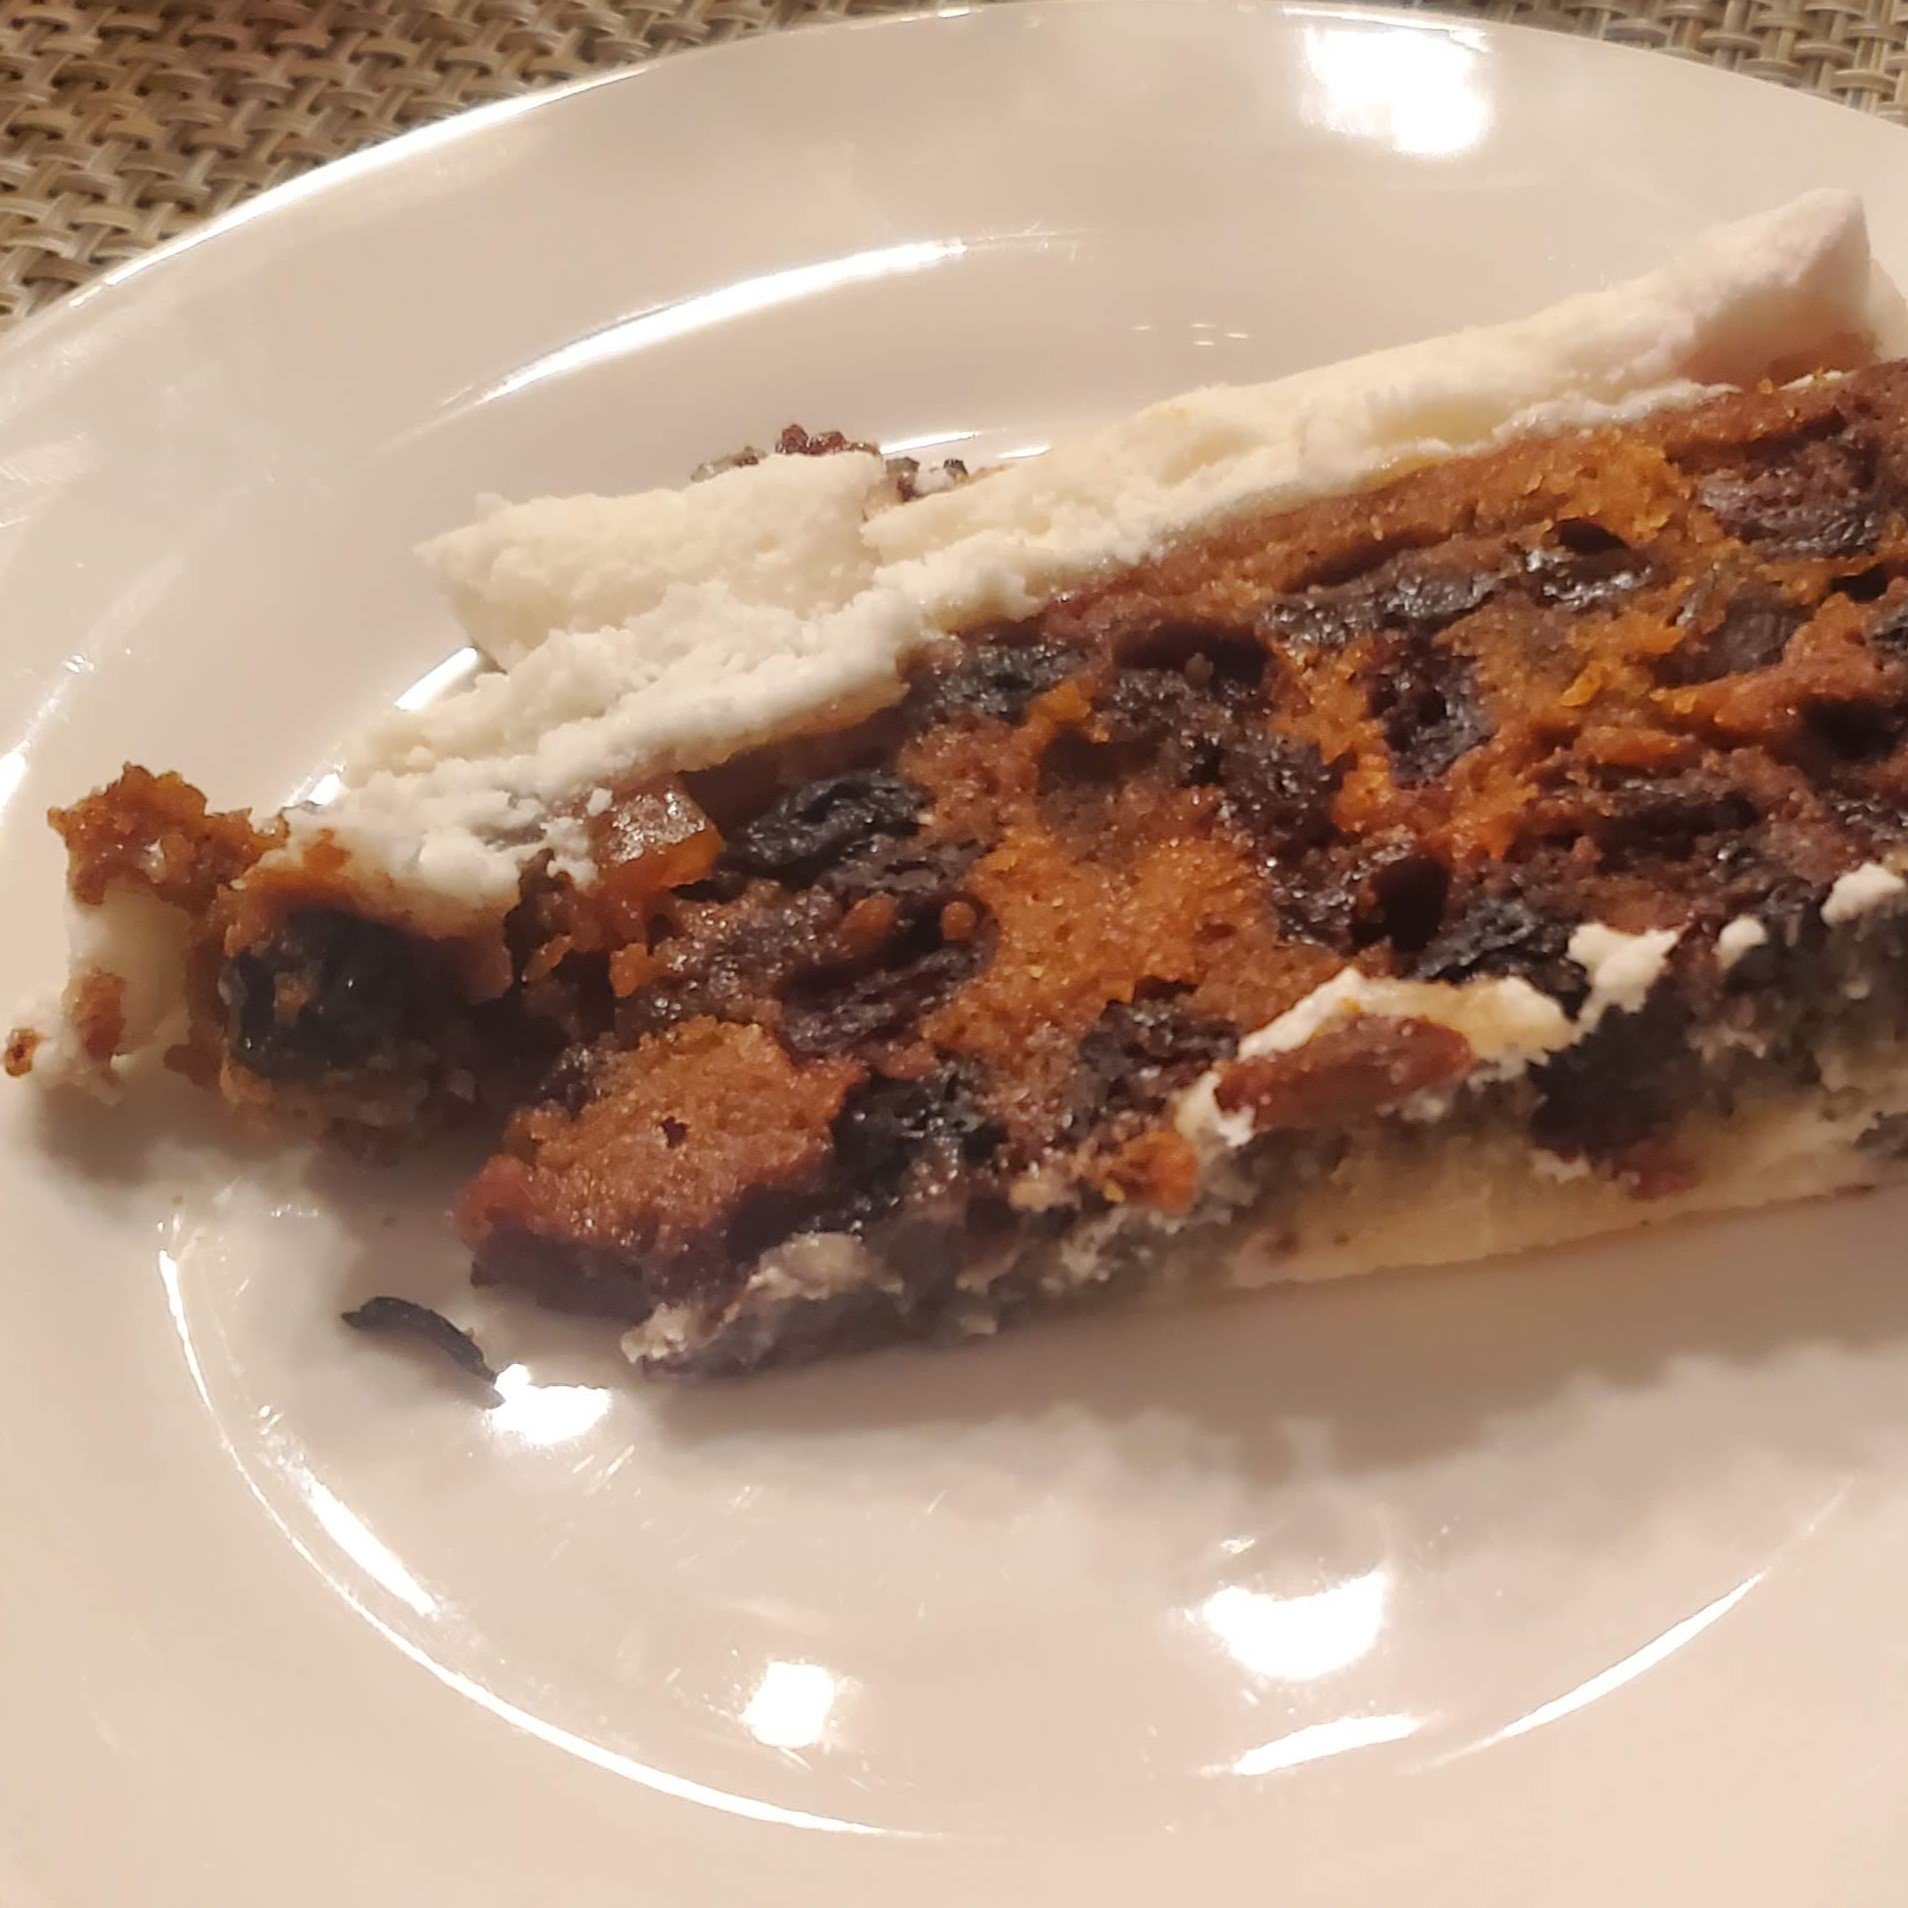
Way back in October, I decided to make Claire Saffitz’ fruit cake recipe, the description of which tells you to turn back and try again next year if you’re reading the recipe in December hoping for a holiday bake. The cake itself is straight-forward except that it has no leavening at all. The dried fruits (apricots, cherries, cranberries, golden raisins, black currants) and crystallized ginger are pre-soaked in orange and lemon juice as well as Grand Marnier the day before baking.
Thereafter, the cake is drizzled weekly in 2 tbs (30 ml) of the Grand Marnier but otherwise spends its time wrapped in parchment paper and foil. After eight weeks of “feeding,” I covered the cakes in a thin layer of raspberry jam, and then thinly rolled-out marzipan. Once dried overnight, the whole cake is covered with royal icing. This way, the cake can keep for years!
If I’d read the recipe carefully, I would have seen that it made two cakes. So I ended up with two, huge cakes that you only eat small slices of at a time due to its richness. I’ve been slowly parting out pieces to neighbors and friends. It’s good - I’ll definitely make it again next year, but only one cake.
duck pithivier
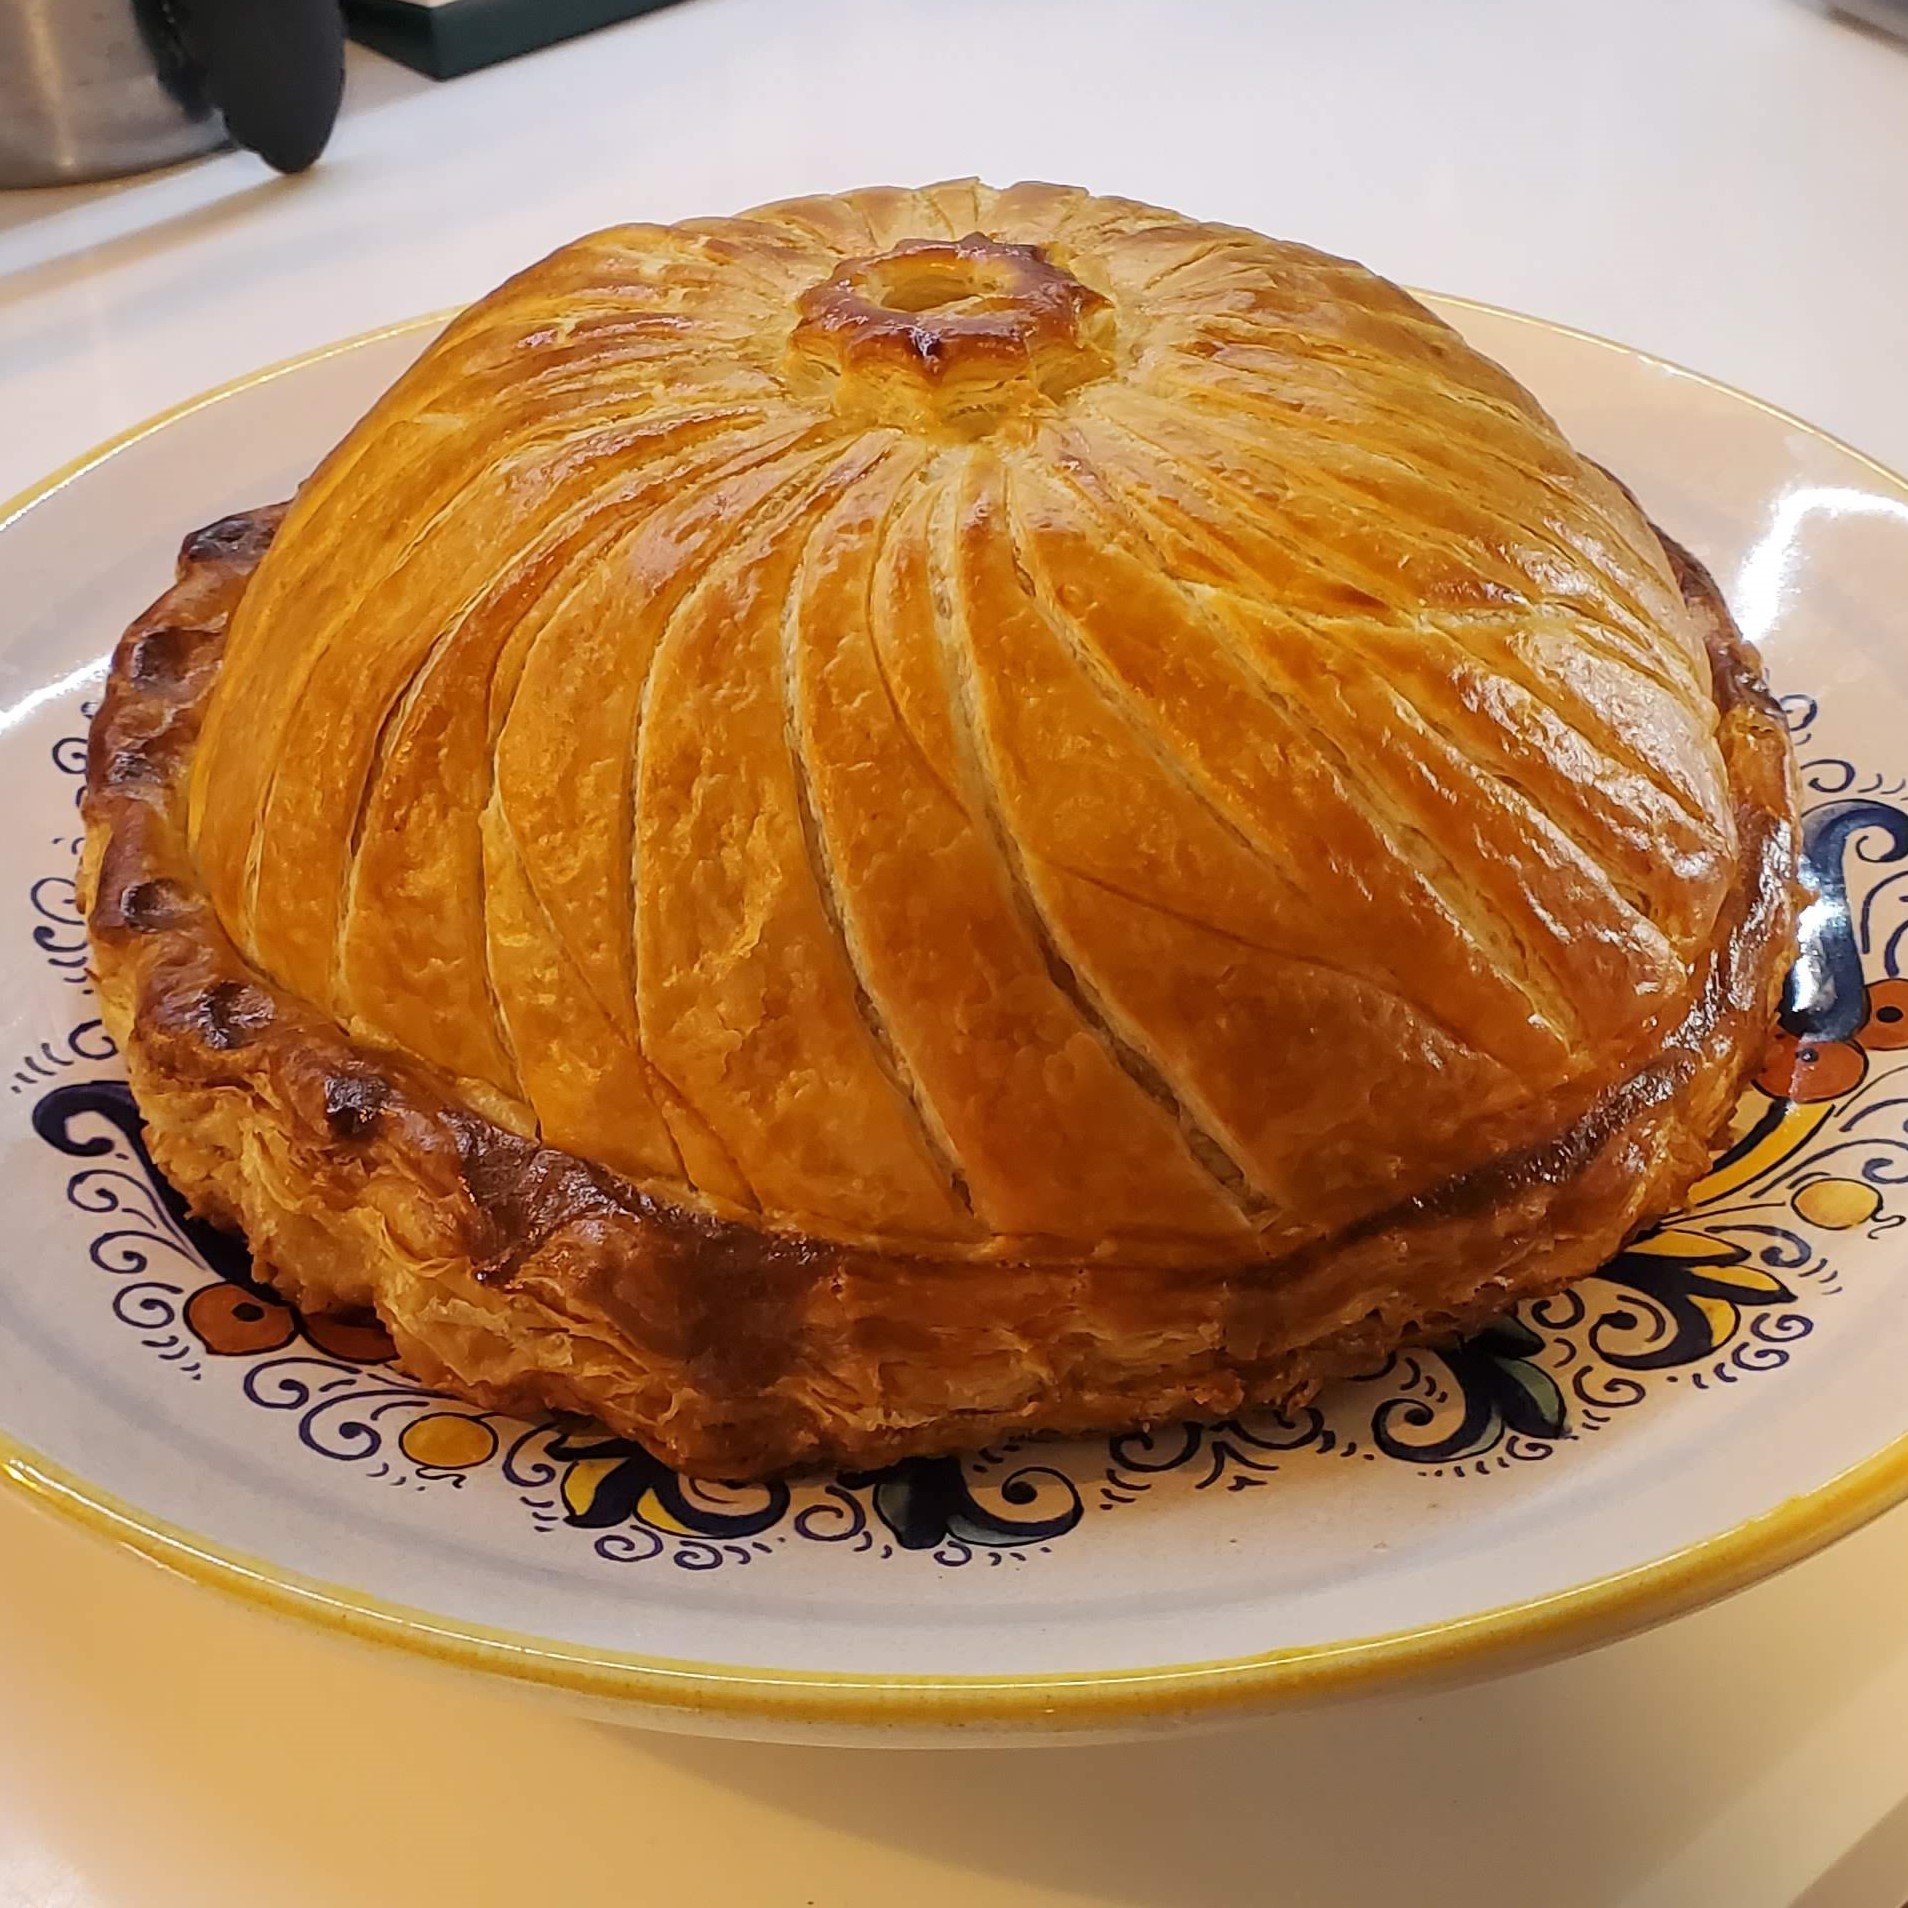
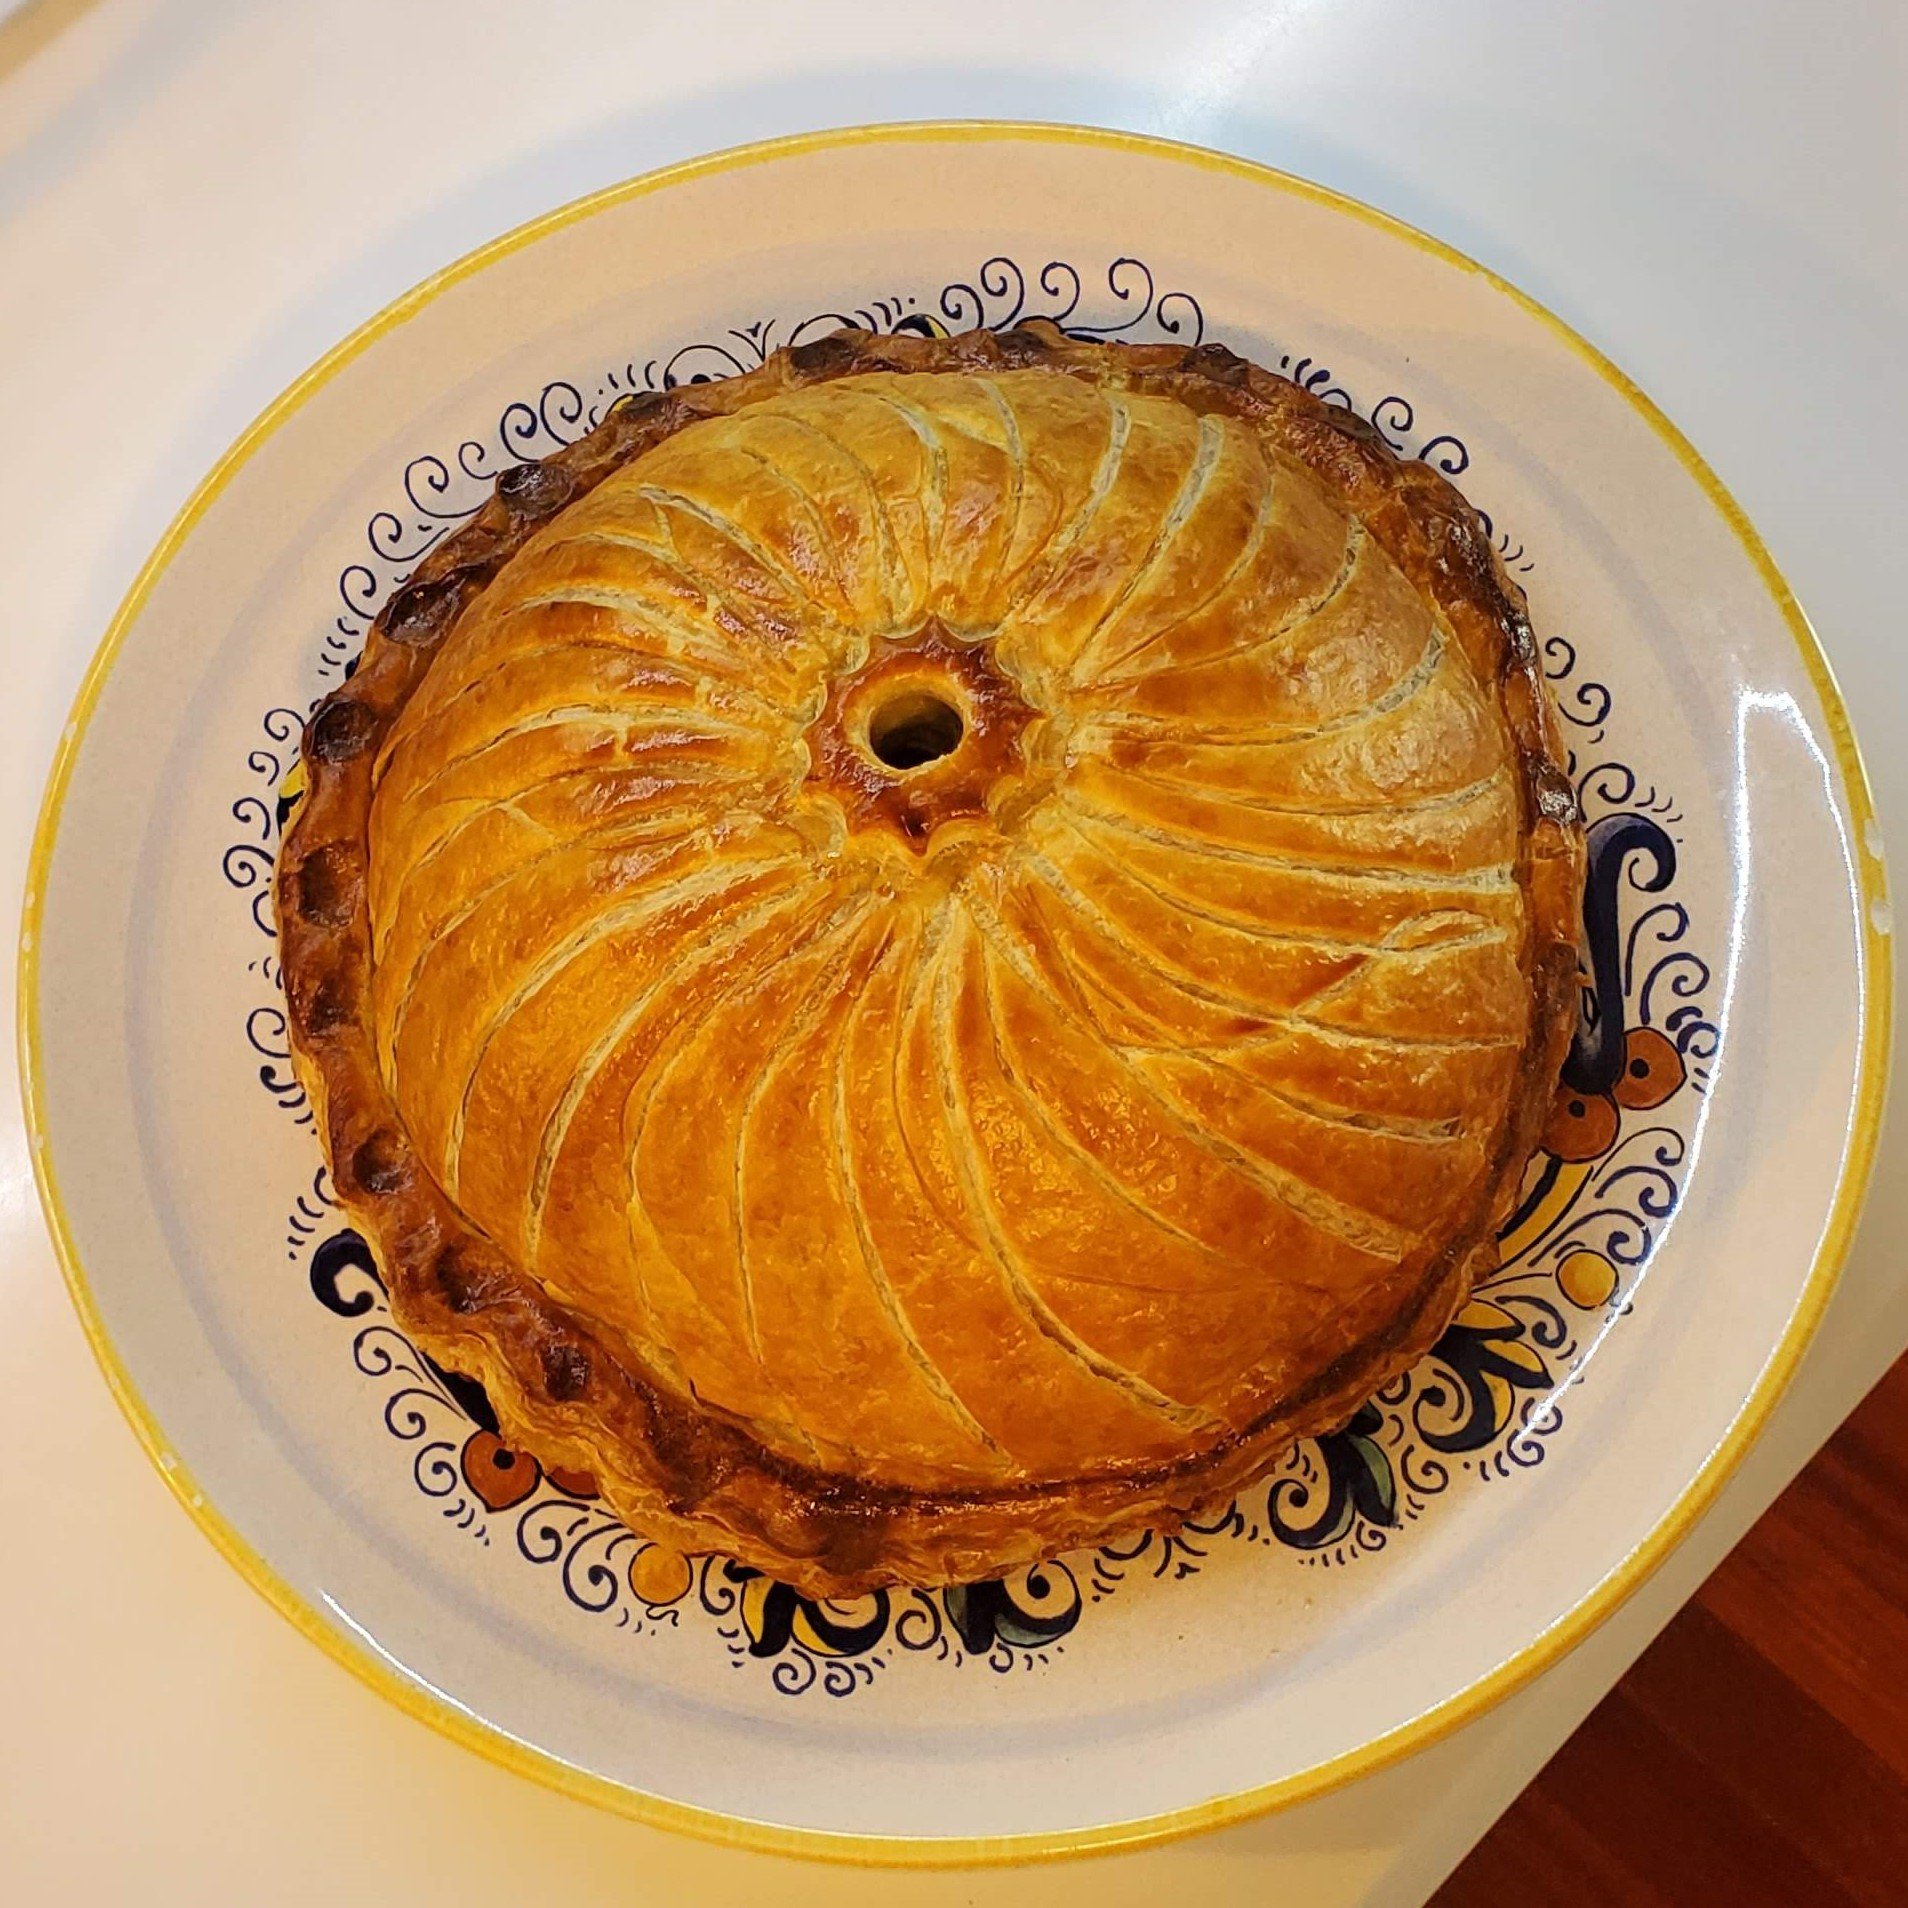
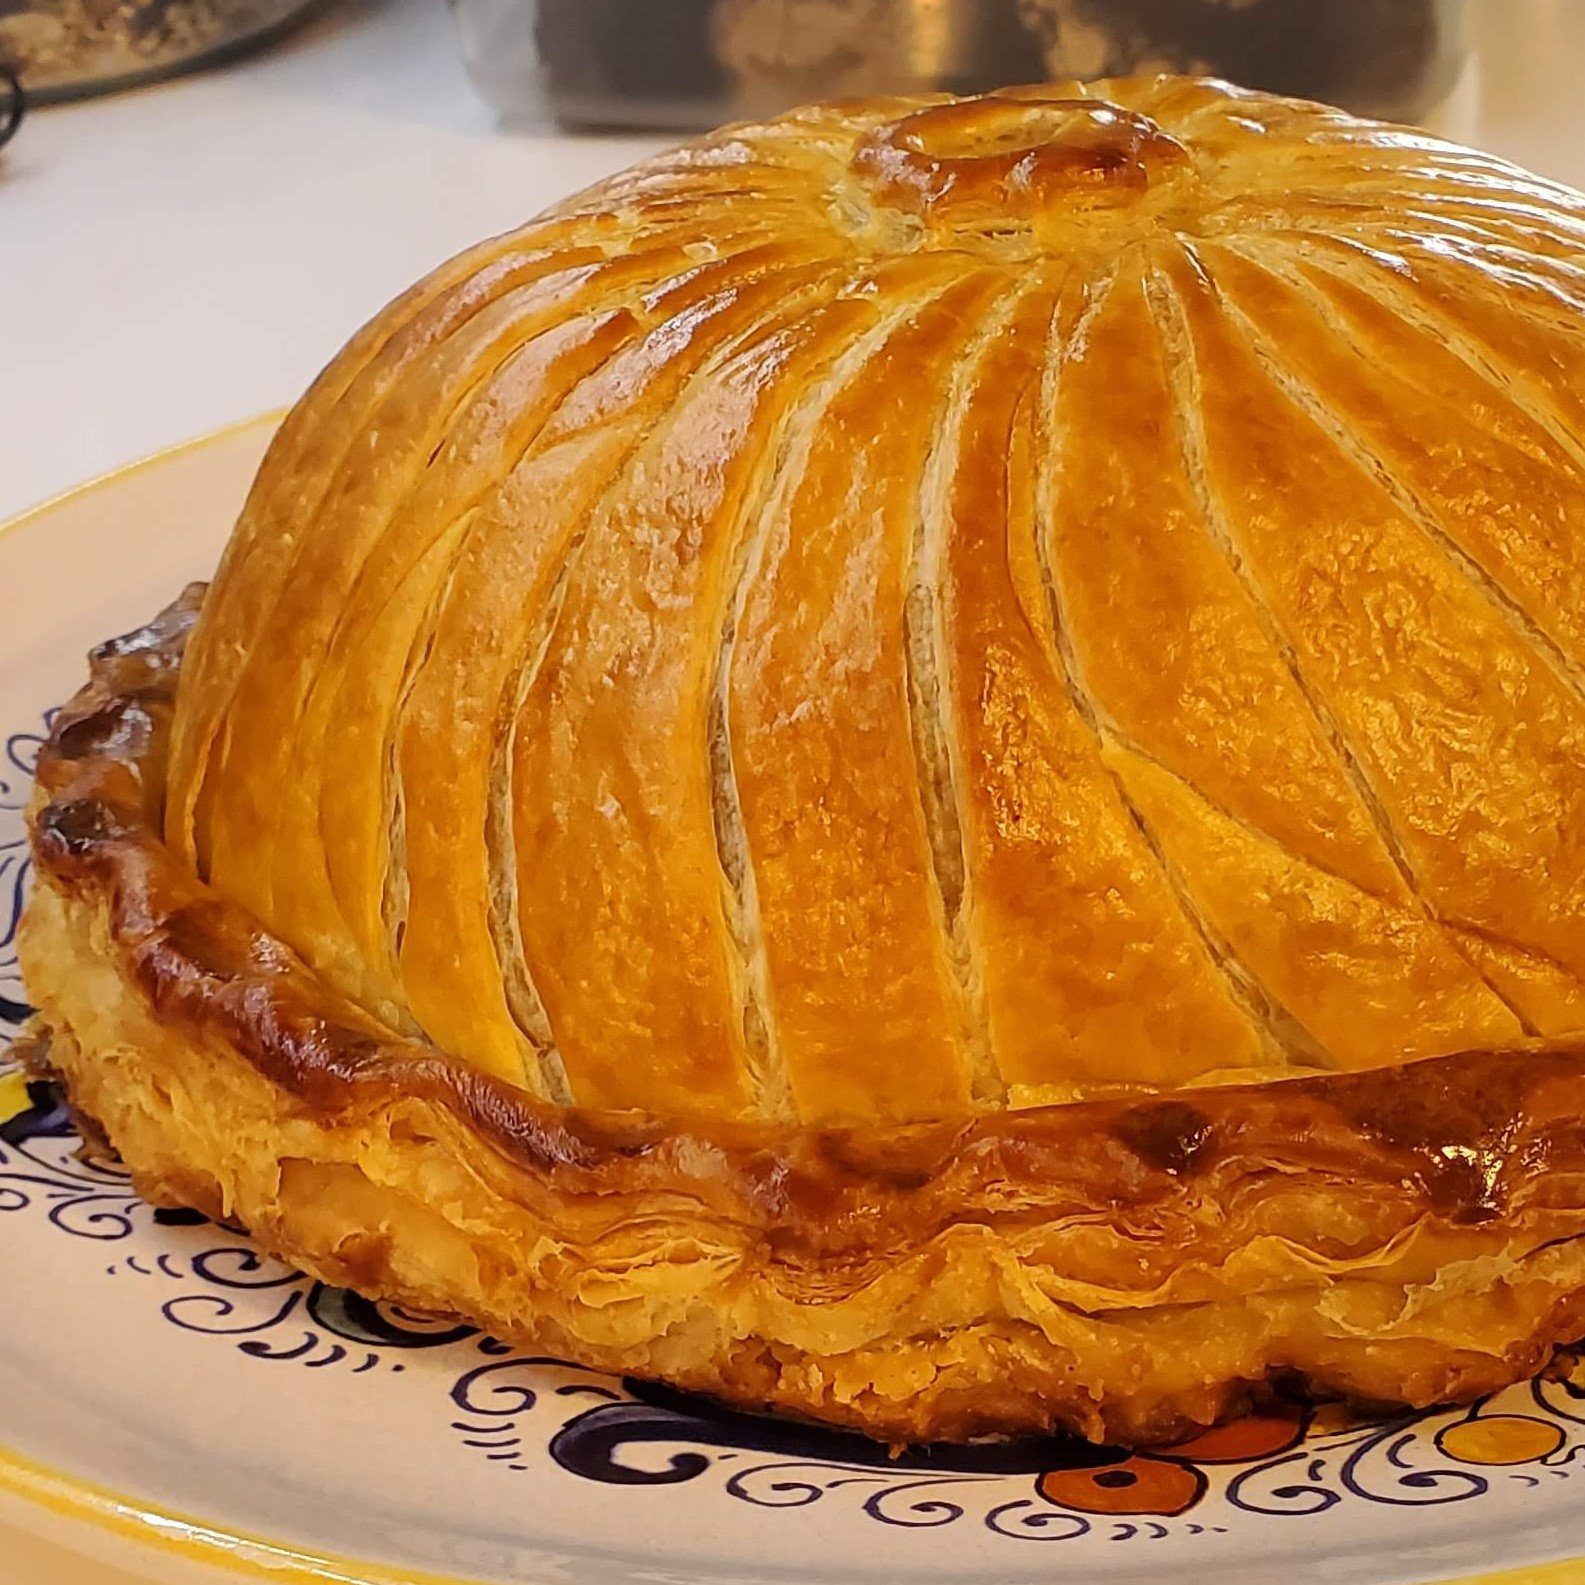
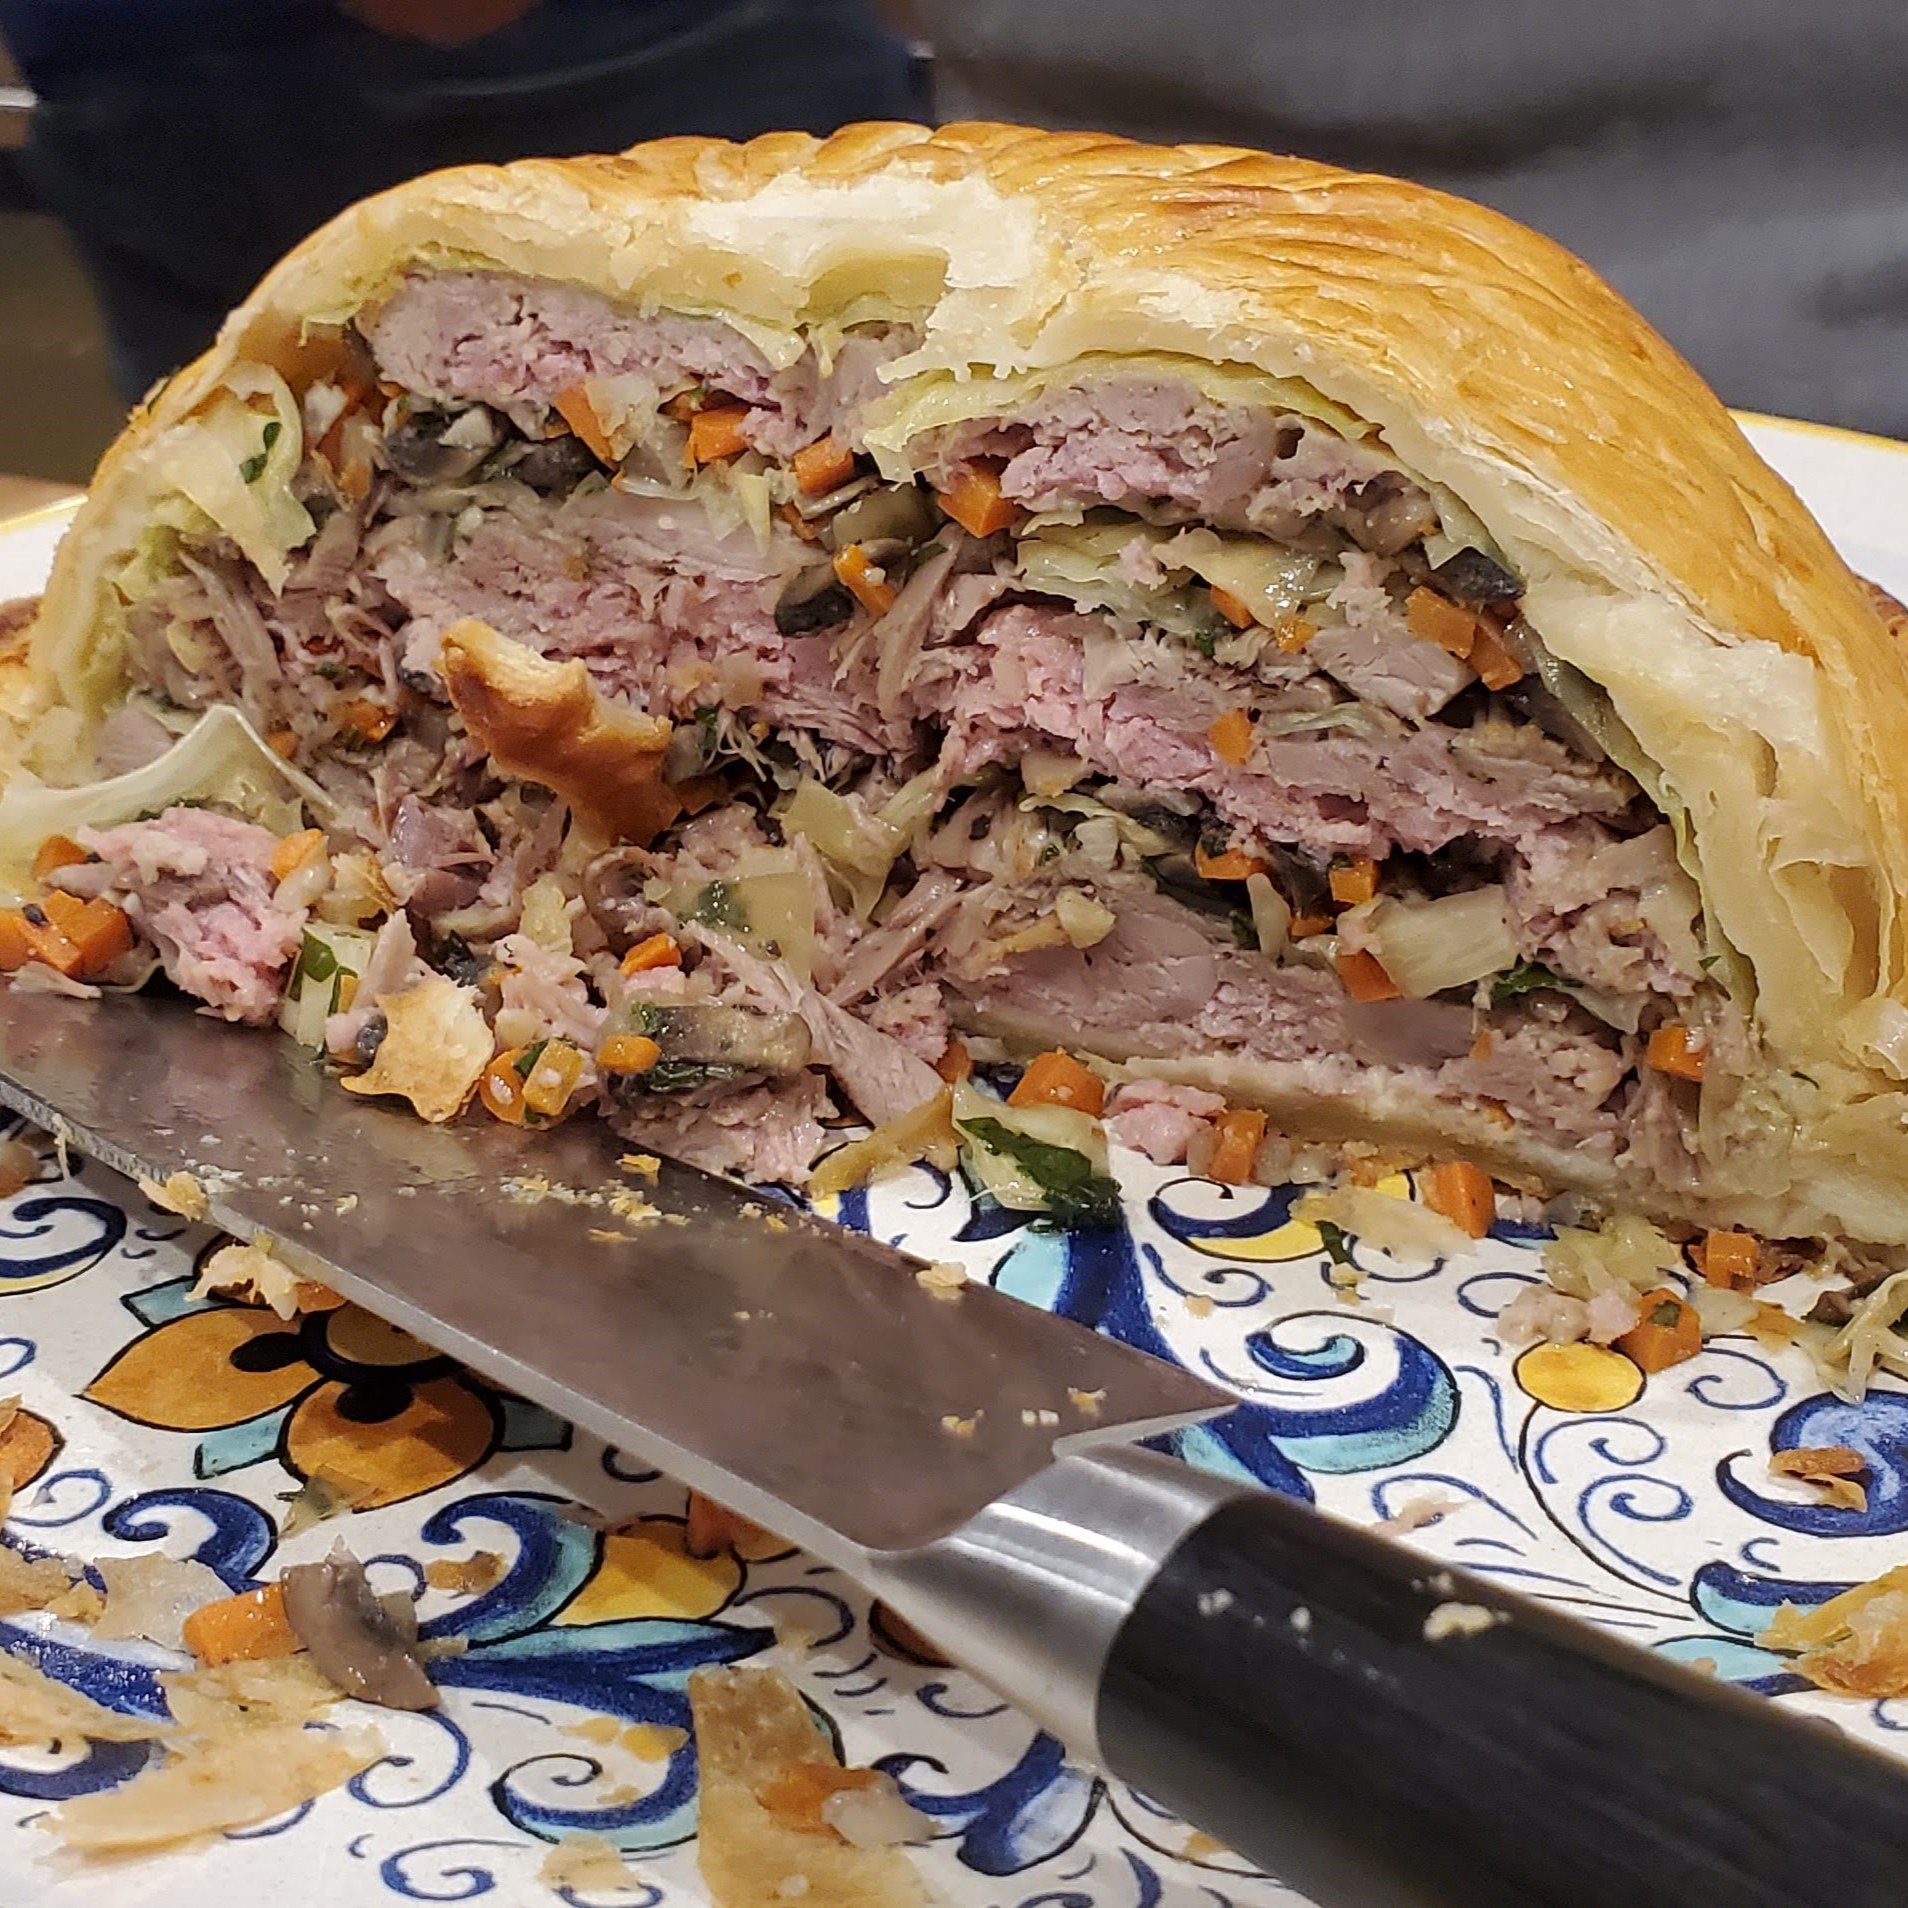
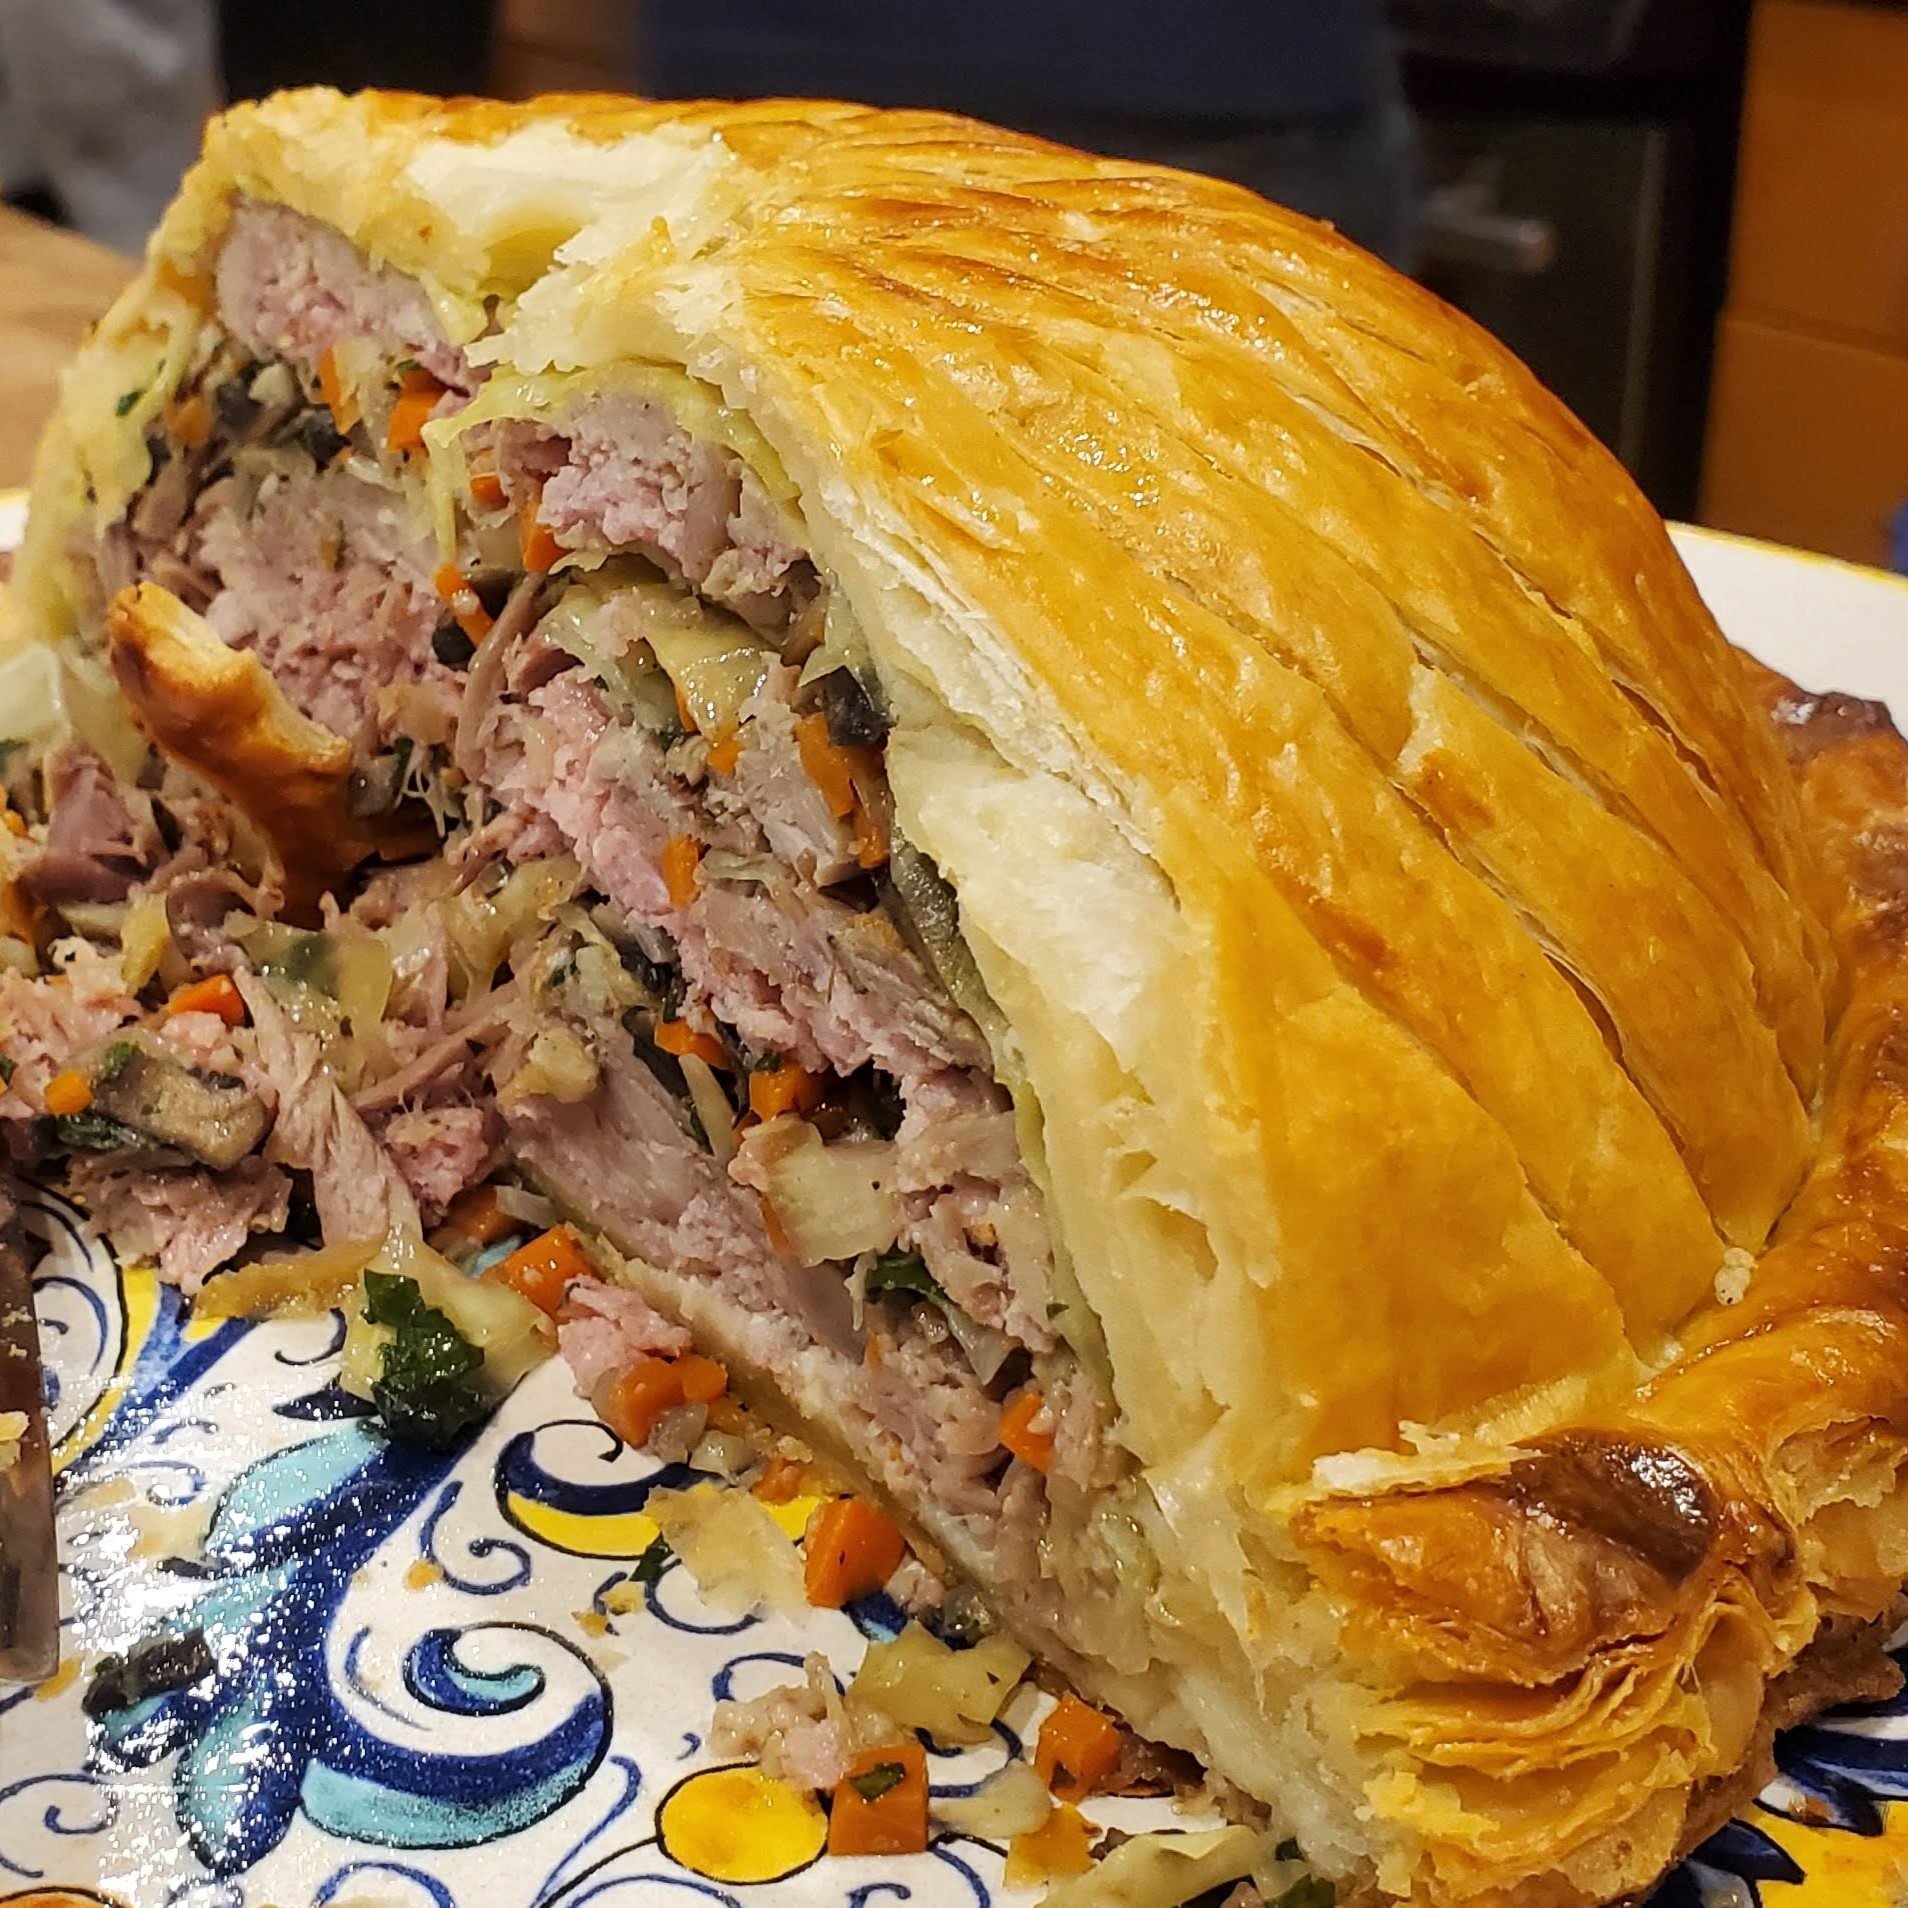
I was served a YouTube video from Bruno Albouze about how to make a duck pithivier. Knowing how much I love a big, complex baking project, I undertook this one! I even bought a subscription to his site so I could get the full recipe. unfortunately, the recipe had several errors and omissions in it, so I had to do a bit of back-filling in order to execute the whole recipe. Despite this, and my inability to source foie gras (and my forgetting to buy chicken livers!), the recipe turned out excellent and Andy has requested I make it again next year.
The first step is to make the puff pastry and the pie crust (this is the bottom crust, which is more resistant to absorbing juices and thus doesn’t get as soggy). Nothing special here if you’ve made these before. The next step is to confit the duck legs, all 4 pounds of them! This is surprisingly easy: dry marinate them in thyme, garlic, and salt overnight in the fridge. Then shake off the thyme and garlic, and bake at a low heat for about 3.5 hours with 1.5 pounds of duck fat. Let this cool and then drain on a wire rack. Shred the meat from the bones, reserving the bones. You can mix some of the duck in with the ground pork, spices, and heavy cream. The rest, save for the pithivier.
Then you can make the vegetable filling, which is pretty straight forward: shallot, garlic, cabbage, mushrooms, carrots all sauteed together. Then line a bowl with plastic wrap and assemble the filling: some pork stuffing, duck, and vegetables, repeating these layers until you’ve filled the bowl. I lined the bowl with cabbage leaves as well, to try to keep a bit of the juices from the puff pastry.
Roast the duck bones in some duck fat and then add the aromatics, including Madeira wine and tomato paste. Cook until reduced, and then add a liter of chicken stock. Cook this for about three hours until it reduces significantly. Mount with butter and a some Madeira with cornstarch. This is the duck sauce.
Assemble the pithivier, by inverting the stuffing on top of the pie crust. Brush the edges with water and then lay on top the puff pastry. Brush with an egg wash, delicately cut the decorative pattern, and make a chimney in the top with a piping tip. Bake until done and serve warm with the sauce.
Black Forest Cake (kind of) from YouTube
I don’t know why this random YouTube video inspired me, but it did. I saw the video and thought it might be a fun recipe to try. By coincidence, my brother-in-law was going to be visiting in a few weeks and had suggested we do an involved baking project. The two seemed like a perfect combination! So we were off to the races.
The first step was to buy the equipment that I lacked: an adjustable cake form, a shallow silicon baking sheet, some gold leaf. I’m not sure if edible gold leaf should go in the equipment or ingredients category. It doesn’t seem like much of an ingredient since you can’t taste it and it has no nutritional value (it just passes through you undigested). Then I needed to sit down and figure out what the recipe actually was. As you can see from watching the video, it’s quite sketchy on the details, and there are a couple of places where I needed to improvise. So here’s the recipe I used, based largely on Denise Castagno’s video but with some changes for US ingredient availability and filling in the gaps in the recipe:
-
Whipped Vanilla Ganache
100 g white chocolate
seeds from 1/2 vanilla pod
500 ml cream, divided
5 g powdered gelatin
Dark Chocolate Biscuit
30 g dark chocolate
70 g butter
33 g almond flour
33 g powdered sugar
22 g cocoa powder
5 eggs, separated
33 g granulated sugar
25 ml cream
Crunchy Layer
75 g corn flakes, lightly crushed
75 g dark chocolate, melted
25 g hazelnut praline
300 g raw hazelnuts
225 g granulated sugar
3 tbsp water
3 tsp neutral oil
Cherry Gelée
400 g cherries, pitted and halved
120 g granulated sugar
1 tsp lemon juice
8 g powdered gelatin
Chocolate Ganache
100 g dark chocolate
100 g cream
Chocolate Collar
300 g dark chocolate
Assembly
3 tsp chopped pistachios
edible gold leaf
fruit glaze
1 cup cherry juice
1 cup sugar
2 tsp lemon juice
3 tbs corn syrup
-
Whipped Vanilla Ganache
1. Break up the white chocolate into pieces and add the vanilla seeds. Pour in 200 ml hot cream and stir until completely melted and homogeneous.
2. Soak gelatin sheets in cold water and then add to the warm mixture, stirring until dissolved.
3. Add 300 ml cold cream and mix well. Cover with plastic film, pressing it against the surface and hold in fridge overnight.
Dark Chocolate Biscuit
4. In a medium bowl, break the dark chocolate into pieces and melt with the butter in the microwave. Let cool.
5. Sift together the almond flour, powdered sugar, and cocoa powder.
6. Whip together the egg whites and 33 g granulated sugar until stiff peaks form. Add 103 g egg yolks. Mix until blended.
7. Add the dry ingredients by hand with a rubber spatula, careful not to knock out the air.
8. Add 25 ml cream to the cooled chocolate-butter mixture. Stir well. Add a small amount of the egg batter and mix.
9. Add this mixture back to the rest of the batter and mix with a spatula carefully until well mixed, but still light.
10. Spread onto a silicone mat and bake at 340F/170C for 12 minutes. Let cool.
11. Remove the silicone mat and cut an 18 cm circle in both biscuits.
12. Line the 18 cm ring with acetate, place the biscuit on the bottom.
Crunchy Layer
13. Mix together the corn flakes, melted dark chocolate, and hazelnut praline.
14. Spread the mixture on top of the chocolate biscuit layer in the 18 cm ring.
15. Place in the freezer for 30 minutes.
16. Meanwhile, whip ½ the vanilla ganache with a whisk until light. Reserve the rest for the final layer.
17. Transfer to a pastry bag and pipe an even layer of cream over the crunchy layer.
18. Spread evenly across the top and return the cake to the freezer for 2 hours.
Cherry Gelée
19. Bring the cherries, sugar, and lemon to a rolling boil for a few minutes until cherries are softened. Purée with an immersion blender.
20. Soak 4 g gelatin sheets in cold water. Add gelatin to the cherry purée and stir to dissolve. Let cool to room temperature.
21. Pour over the cream layer and return to the freezer for 1 hour.
Chocolate Ganache
22. Add 100 g hot cream to the dark chocolate, finely chopped, and stir until completely melted.
23. Pour over a second cake and freeze for 1 hour. Remove from the ring and place, cake-side down, on top of the cherry gelée.
Chocolate Strip
24. Make a chocolate strip 8 cm high
25. Cover with parchment paper and wrap around the 18 cm cake to set.
Assembly
26. Remove the cake from its mold and wrap with the chocolate strip.
27. Cover with the remaining ½ of the vanilla ganache. Spread evenly.
28. Prepare the cherries for decoration by pitting and halving them, and spraying them with gelatin spray. Arrange on top of the cake.
29. Top with chopped pistachios and gold leaf.
The above video was shot and edited by my brother-in-law.
sourdough carrot cake rolls
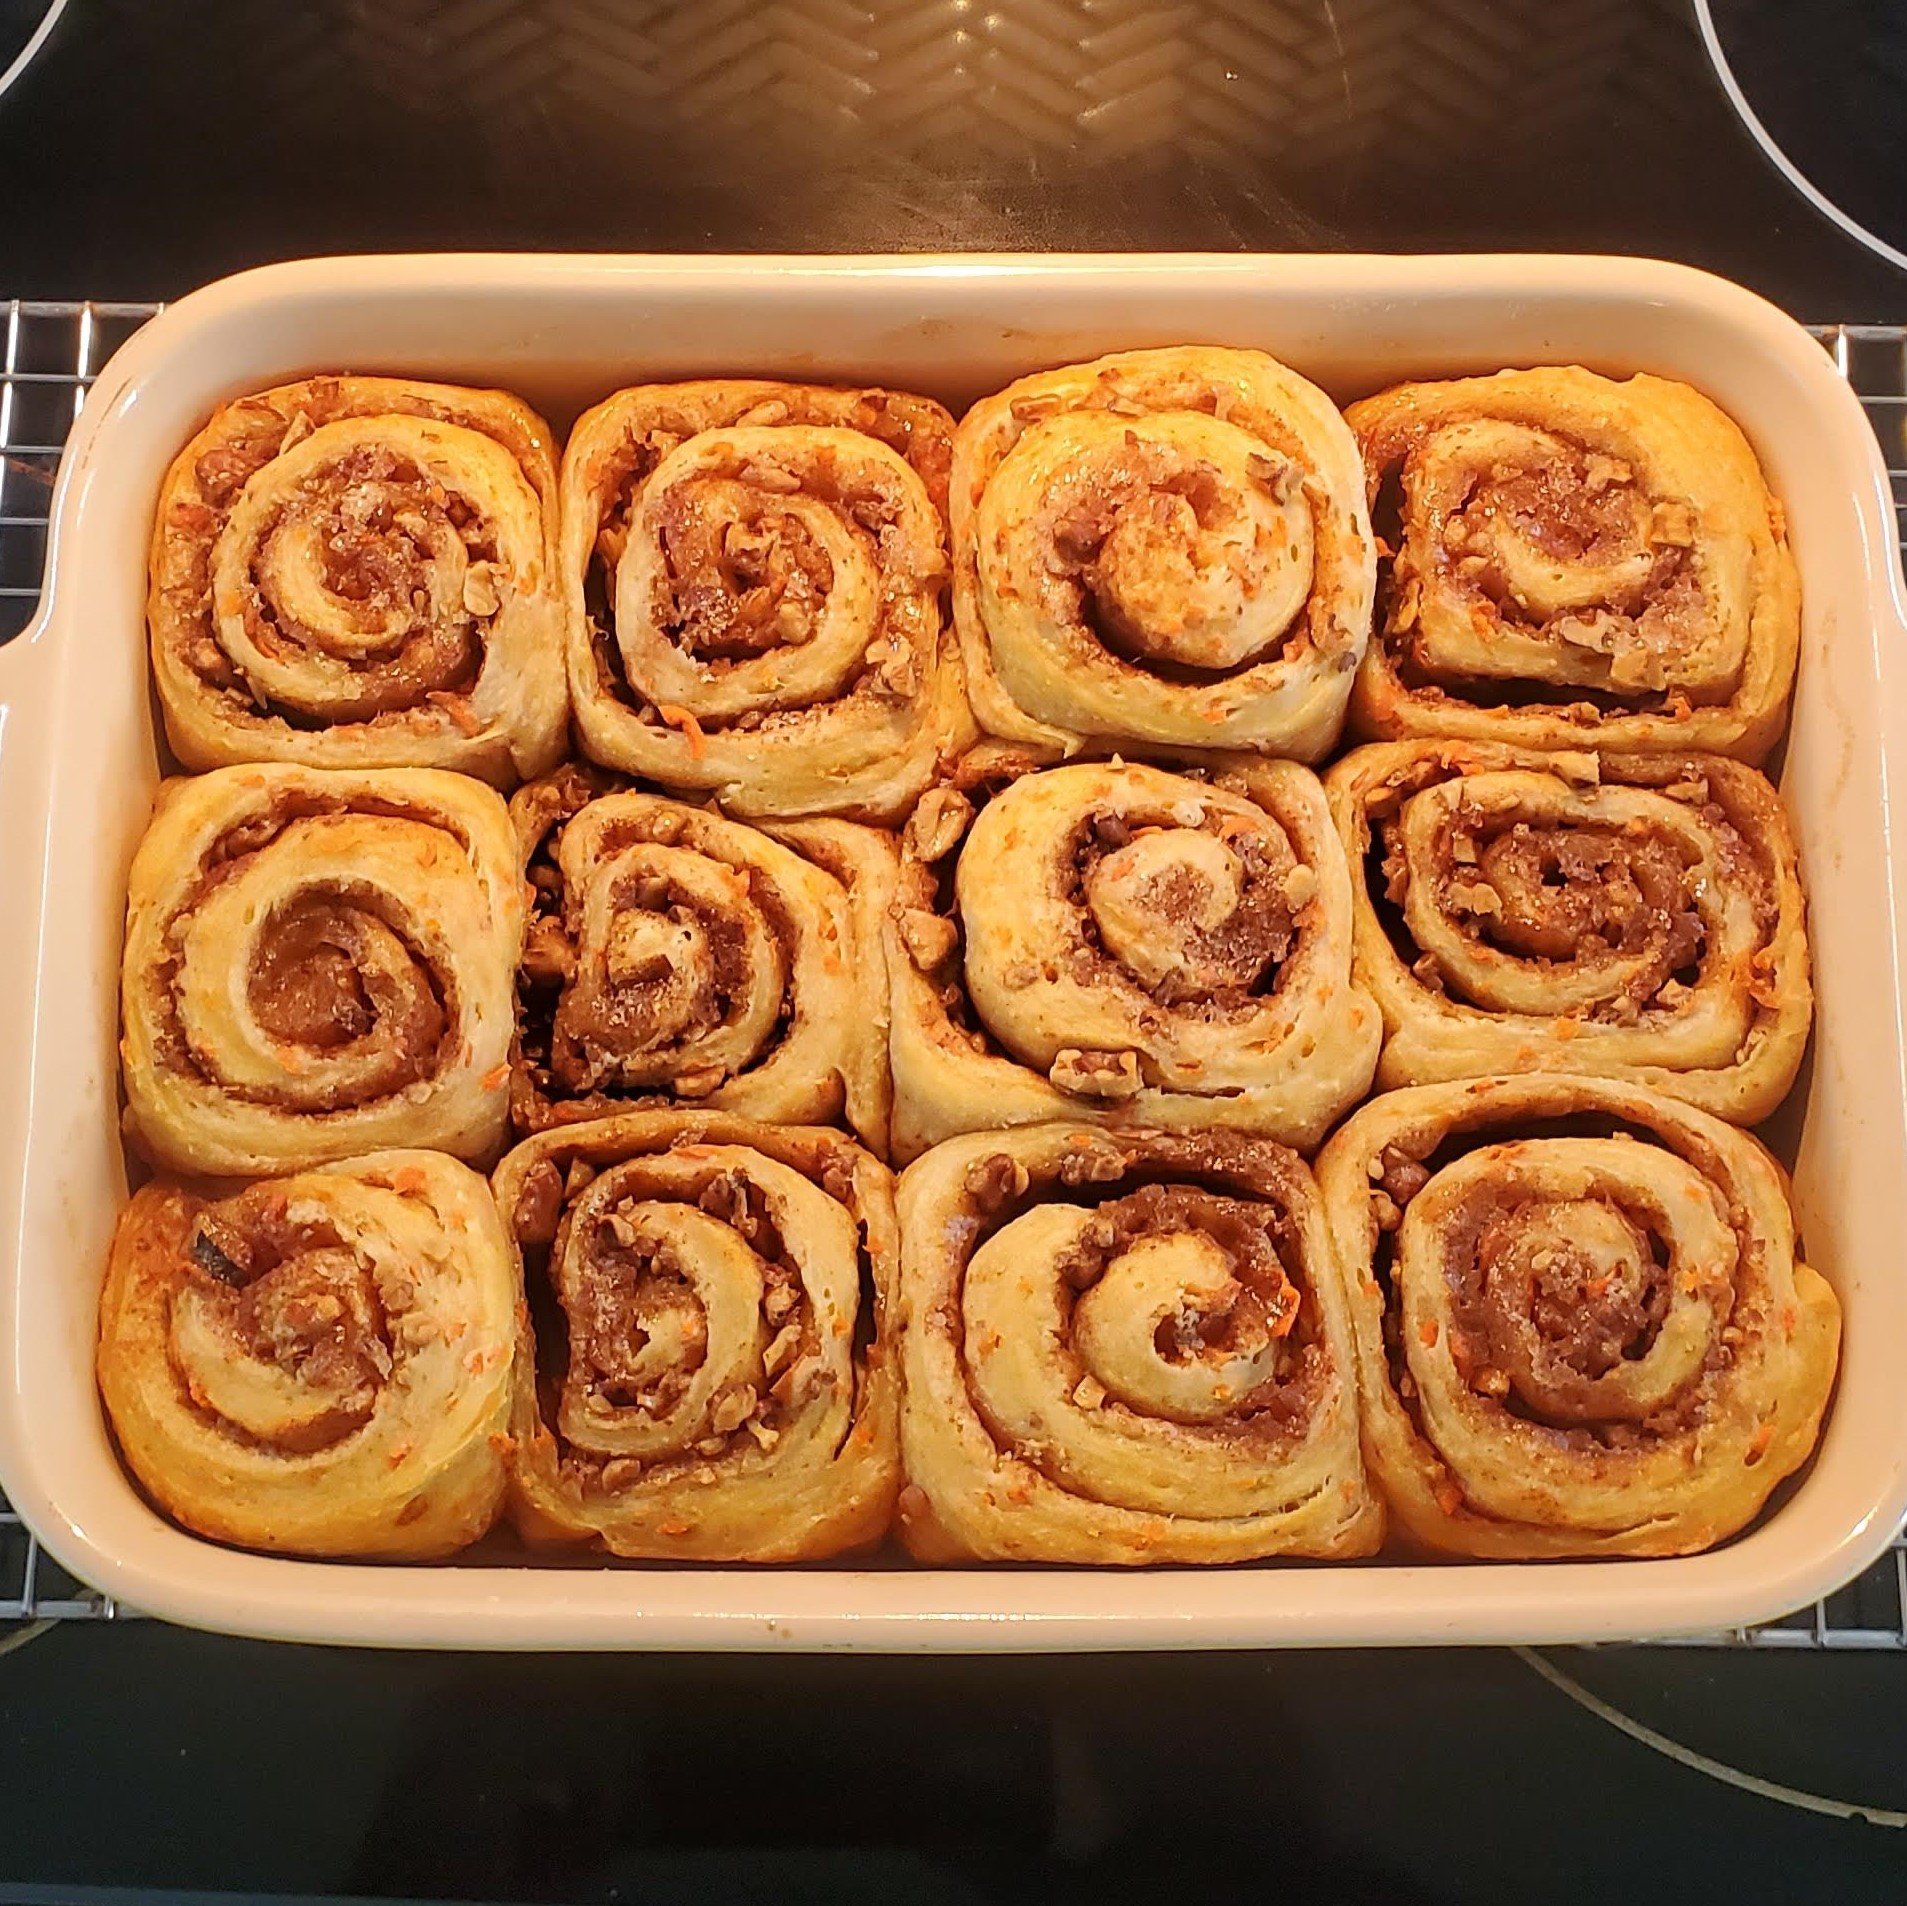
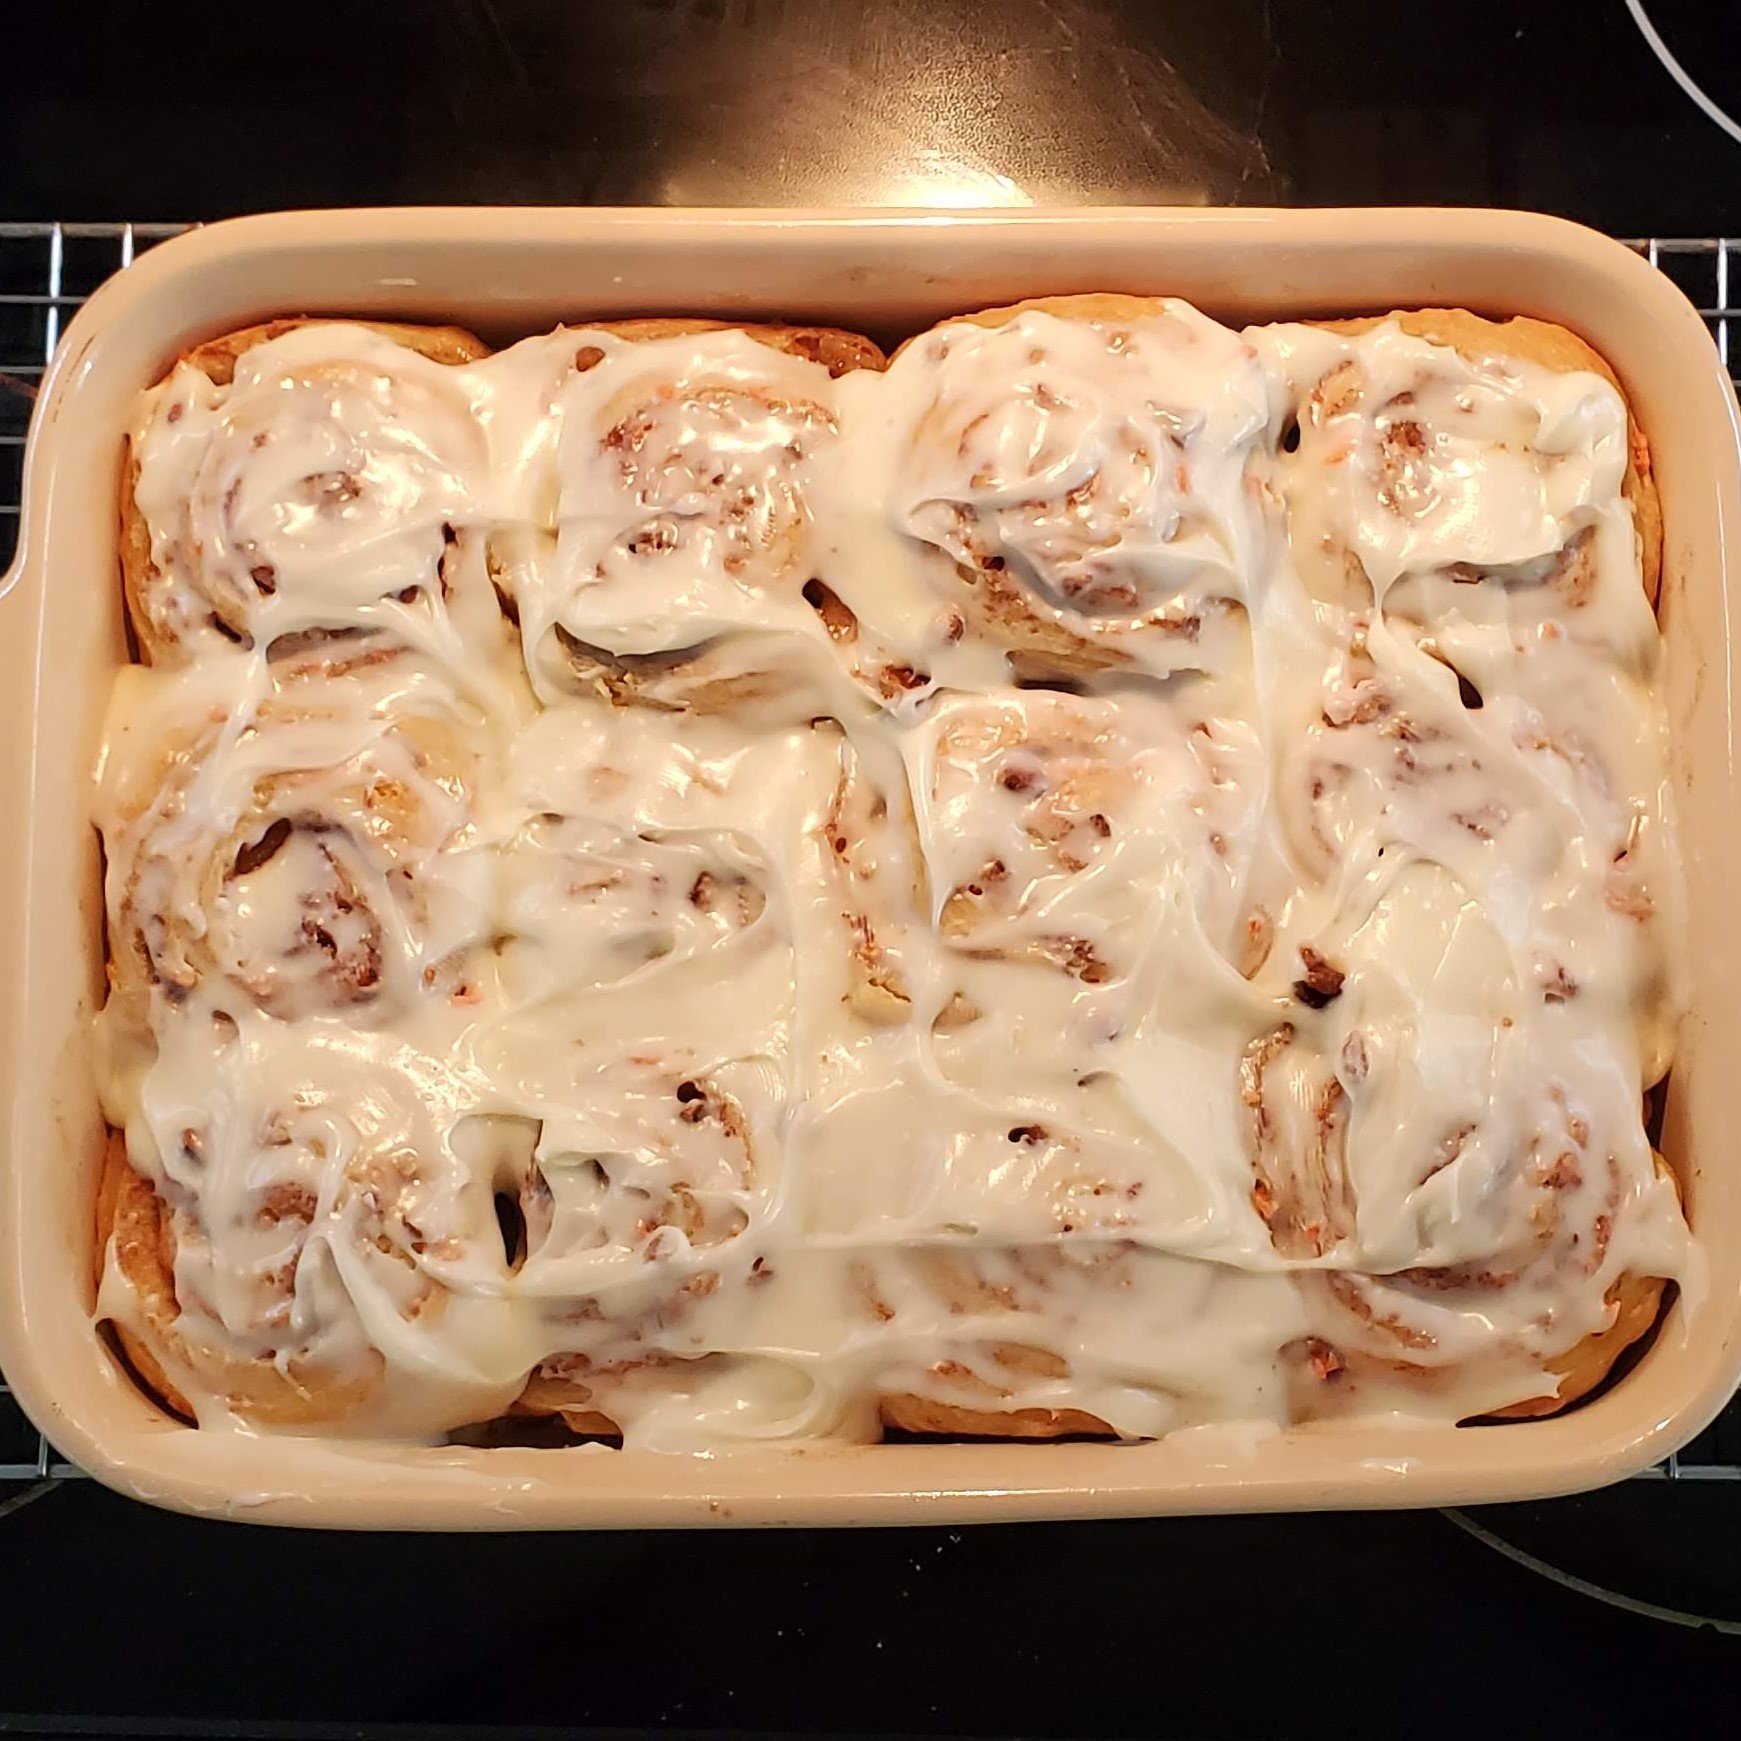
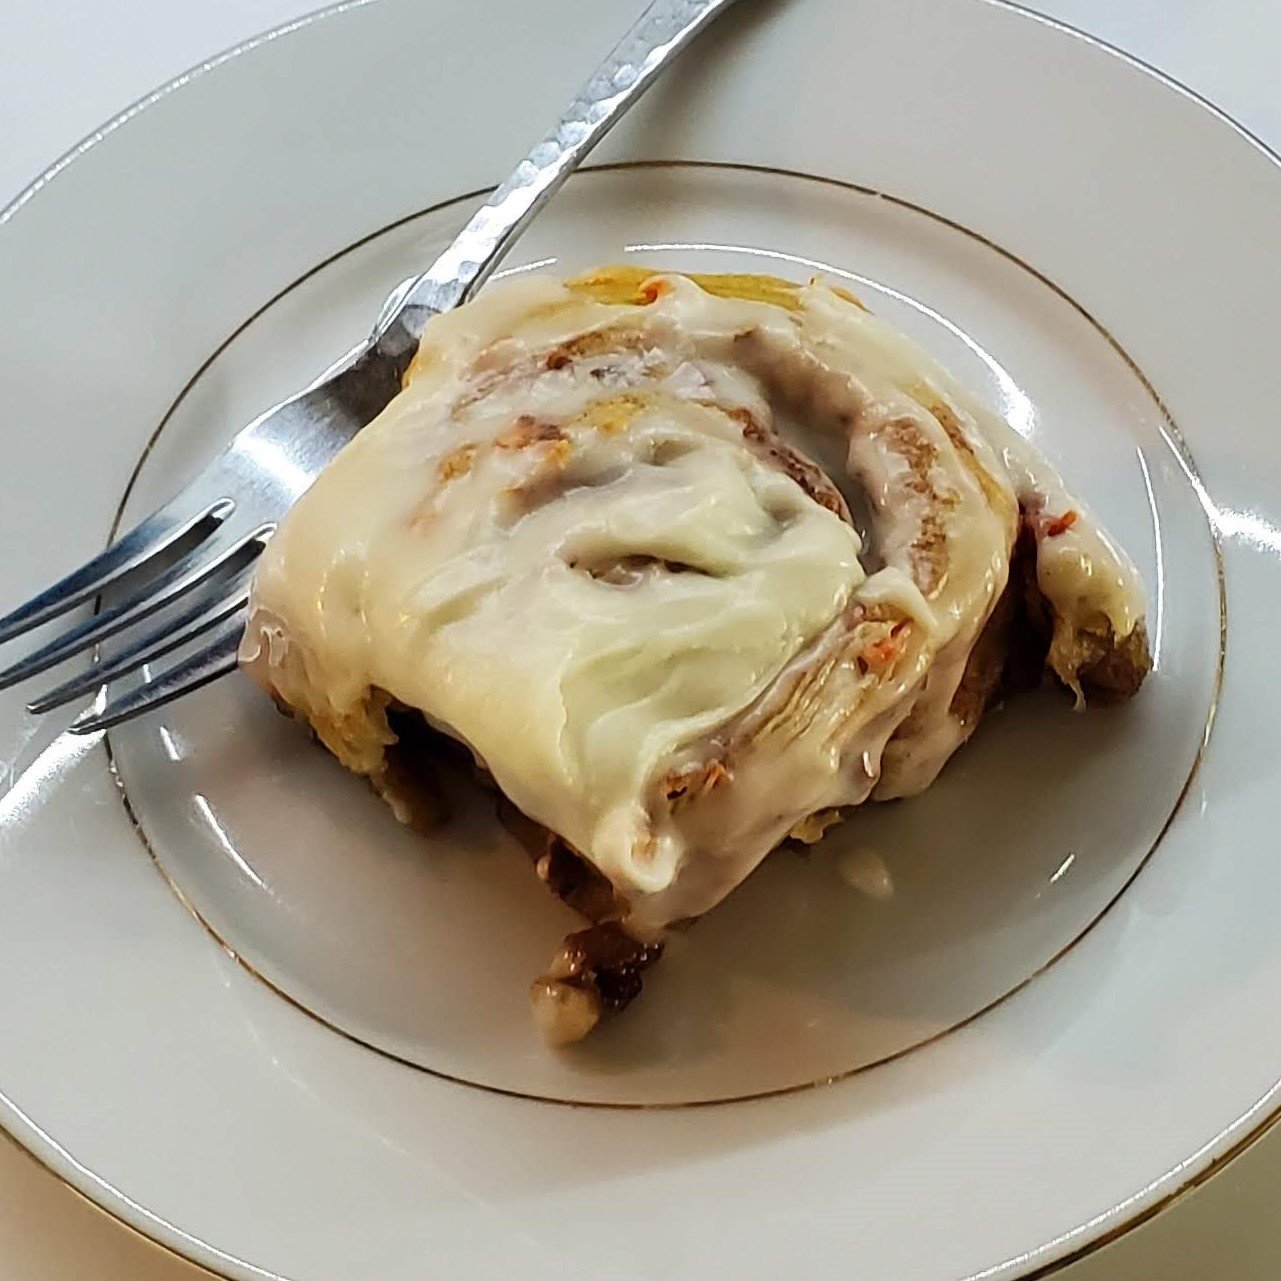
My neighbor turned me on to this recipe as she’s been experimenting more with sourdough recently. She made a delicious-looking pizza the other week and then sent this recipe late last week. I had all the ingredients and it was time to feed my starter, so away we went! The basic principle is the same as all cinnamon rolls - you make an enriched yeast dough (but this time, no yeast - just starter) and then roll it out into a rectangle. This dough has shredded carrots in it and some cinnamon, ginger, and nutmeg. You spread it with your filling (butter, sugar, molasses, cinnamon, ginger, and nutmeg) and then roll it up into a cylinder. I was able to use a technique I learned more than a decade ago to cut soft dough without deforming it - use waxed, unflavored dental floss and hold a 10-inch strip underneath the cylinder of dough, perpendicular to it. Bring the two ends up and cross them, pulling sharply. The dental floss cuts the dough from the outside-in, resulting in a quick, circular slice. No more lumpy rolls! I also put lightly toasted walnuts in the dough, although my husband has requested I not do that again. The frosting is a simple cream cheese and butter frosting, and I think if I may these again, I’ll use less of it. It’s a good recipe but I think it’s a bit sweet with that must frosting. Maybe I’d serve it on the side?
Speculoos Babka
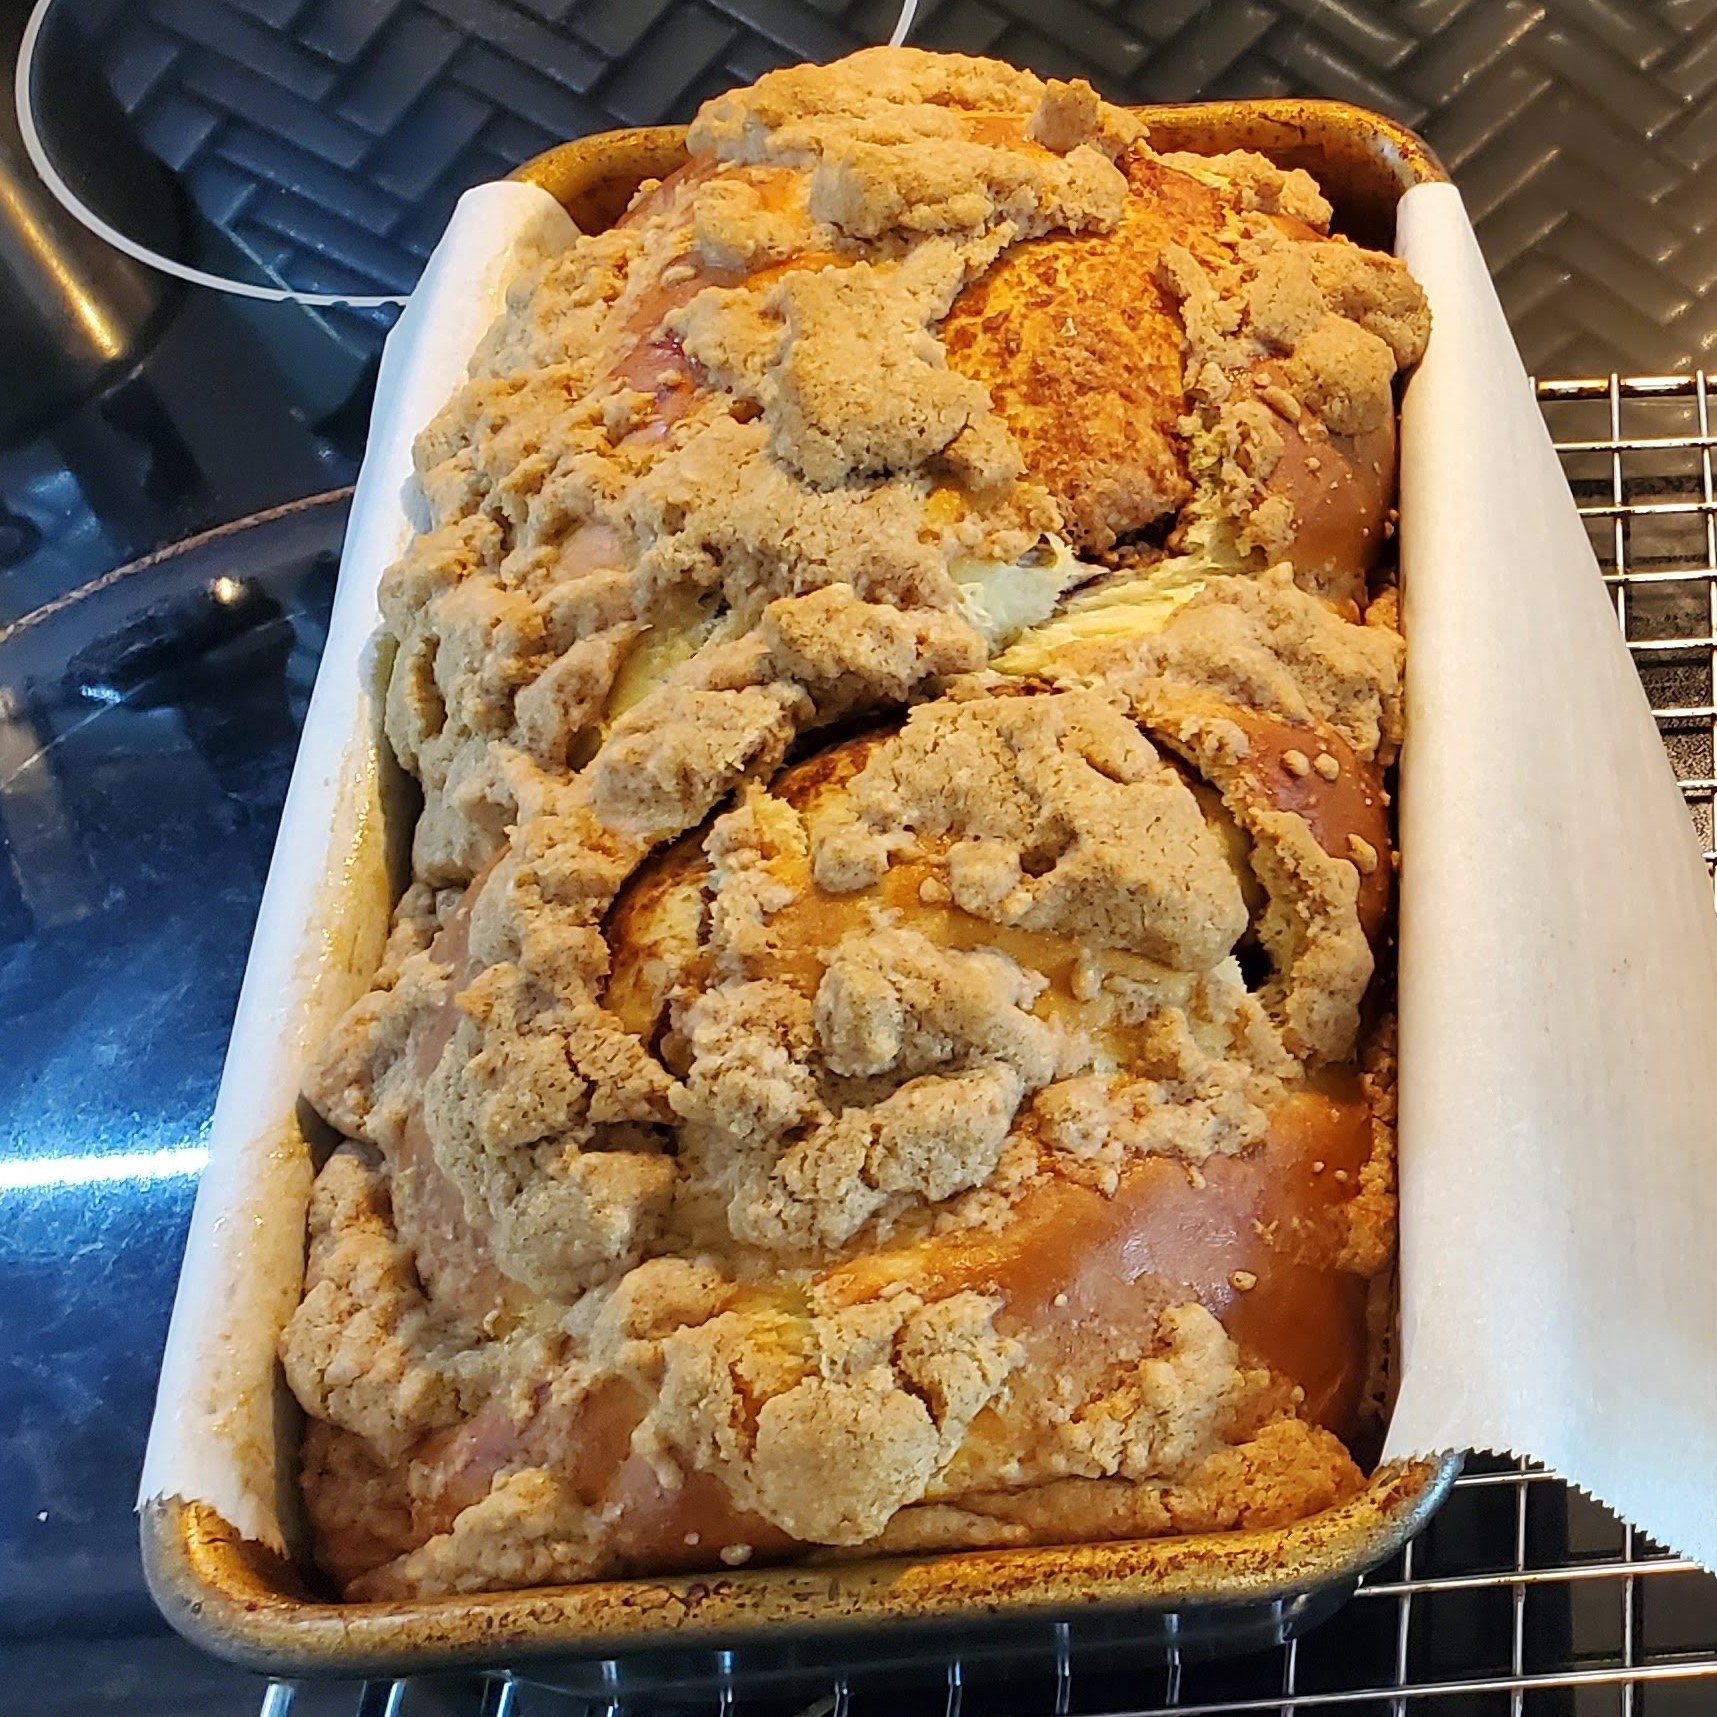
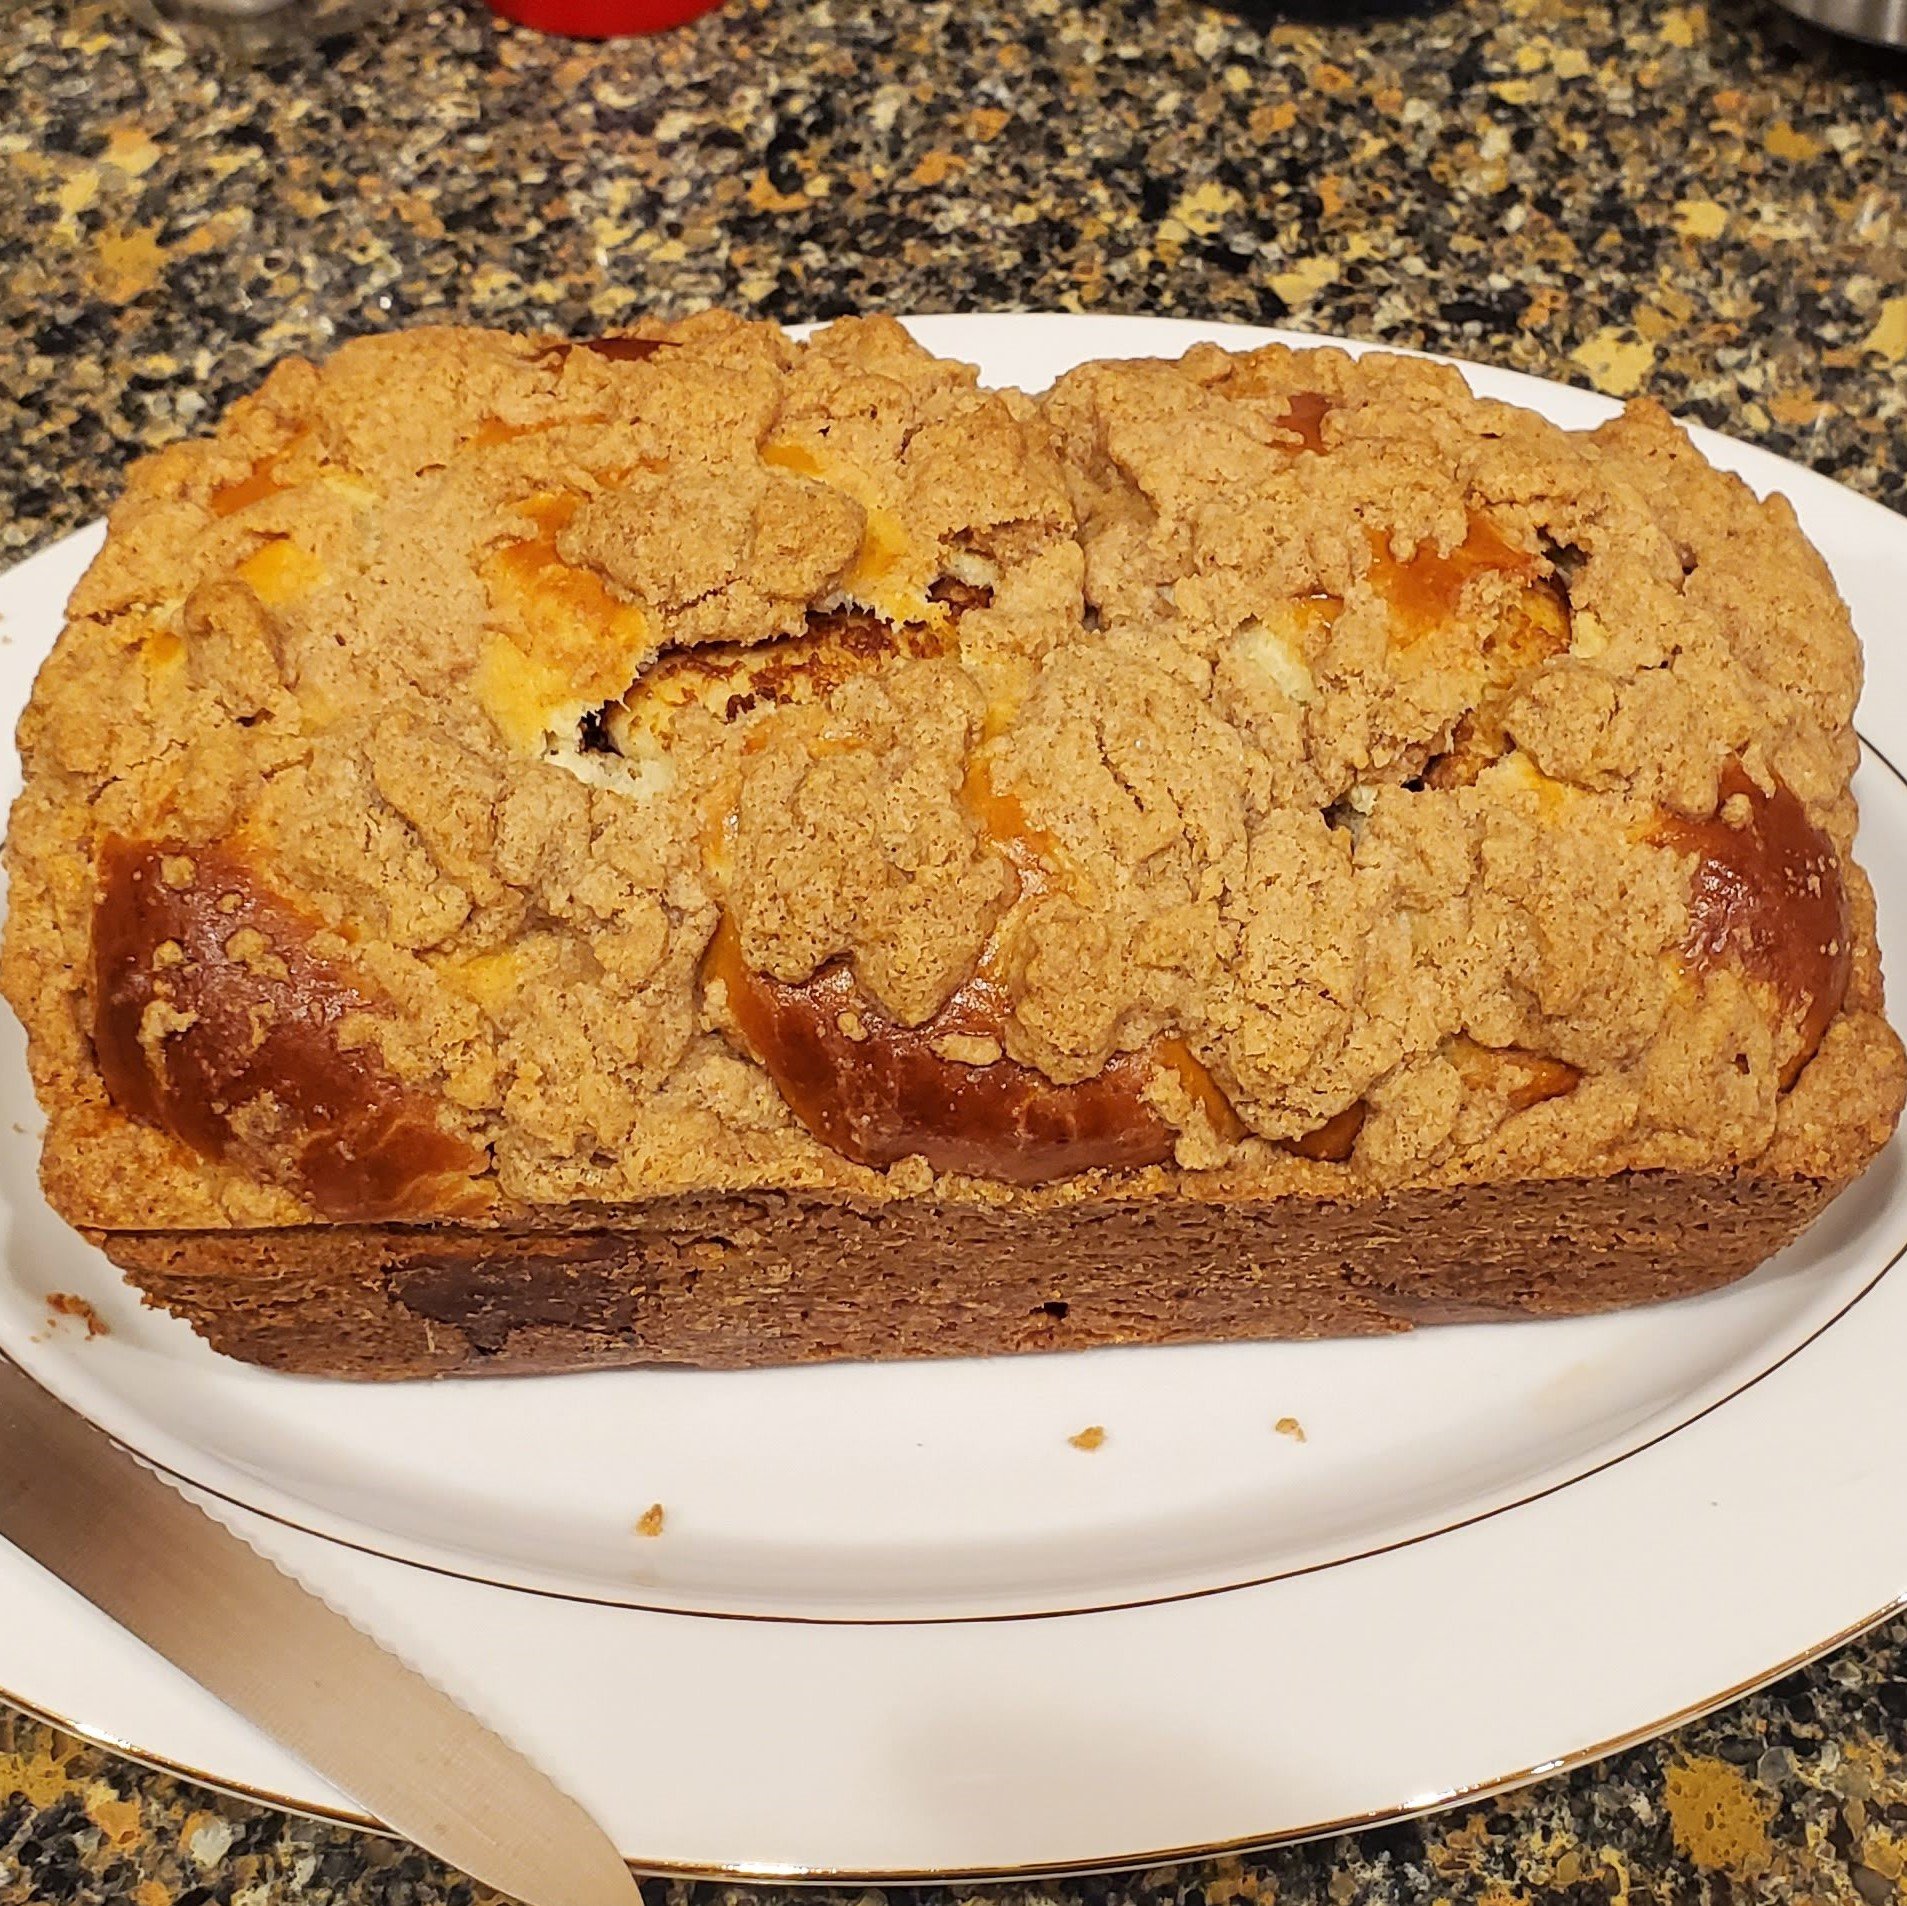
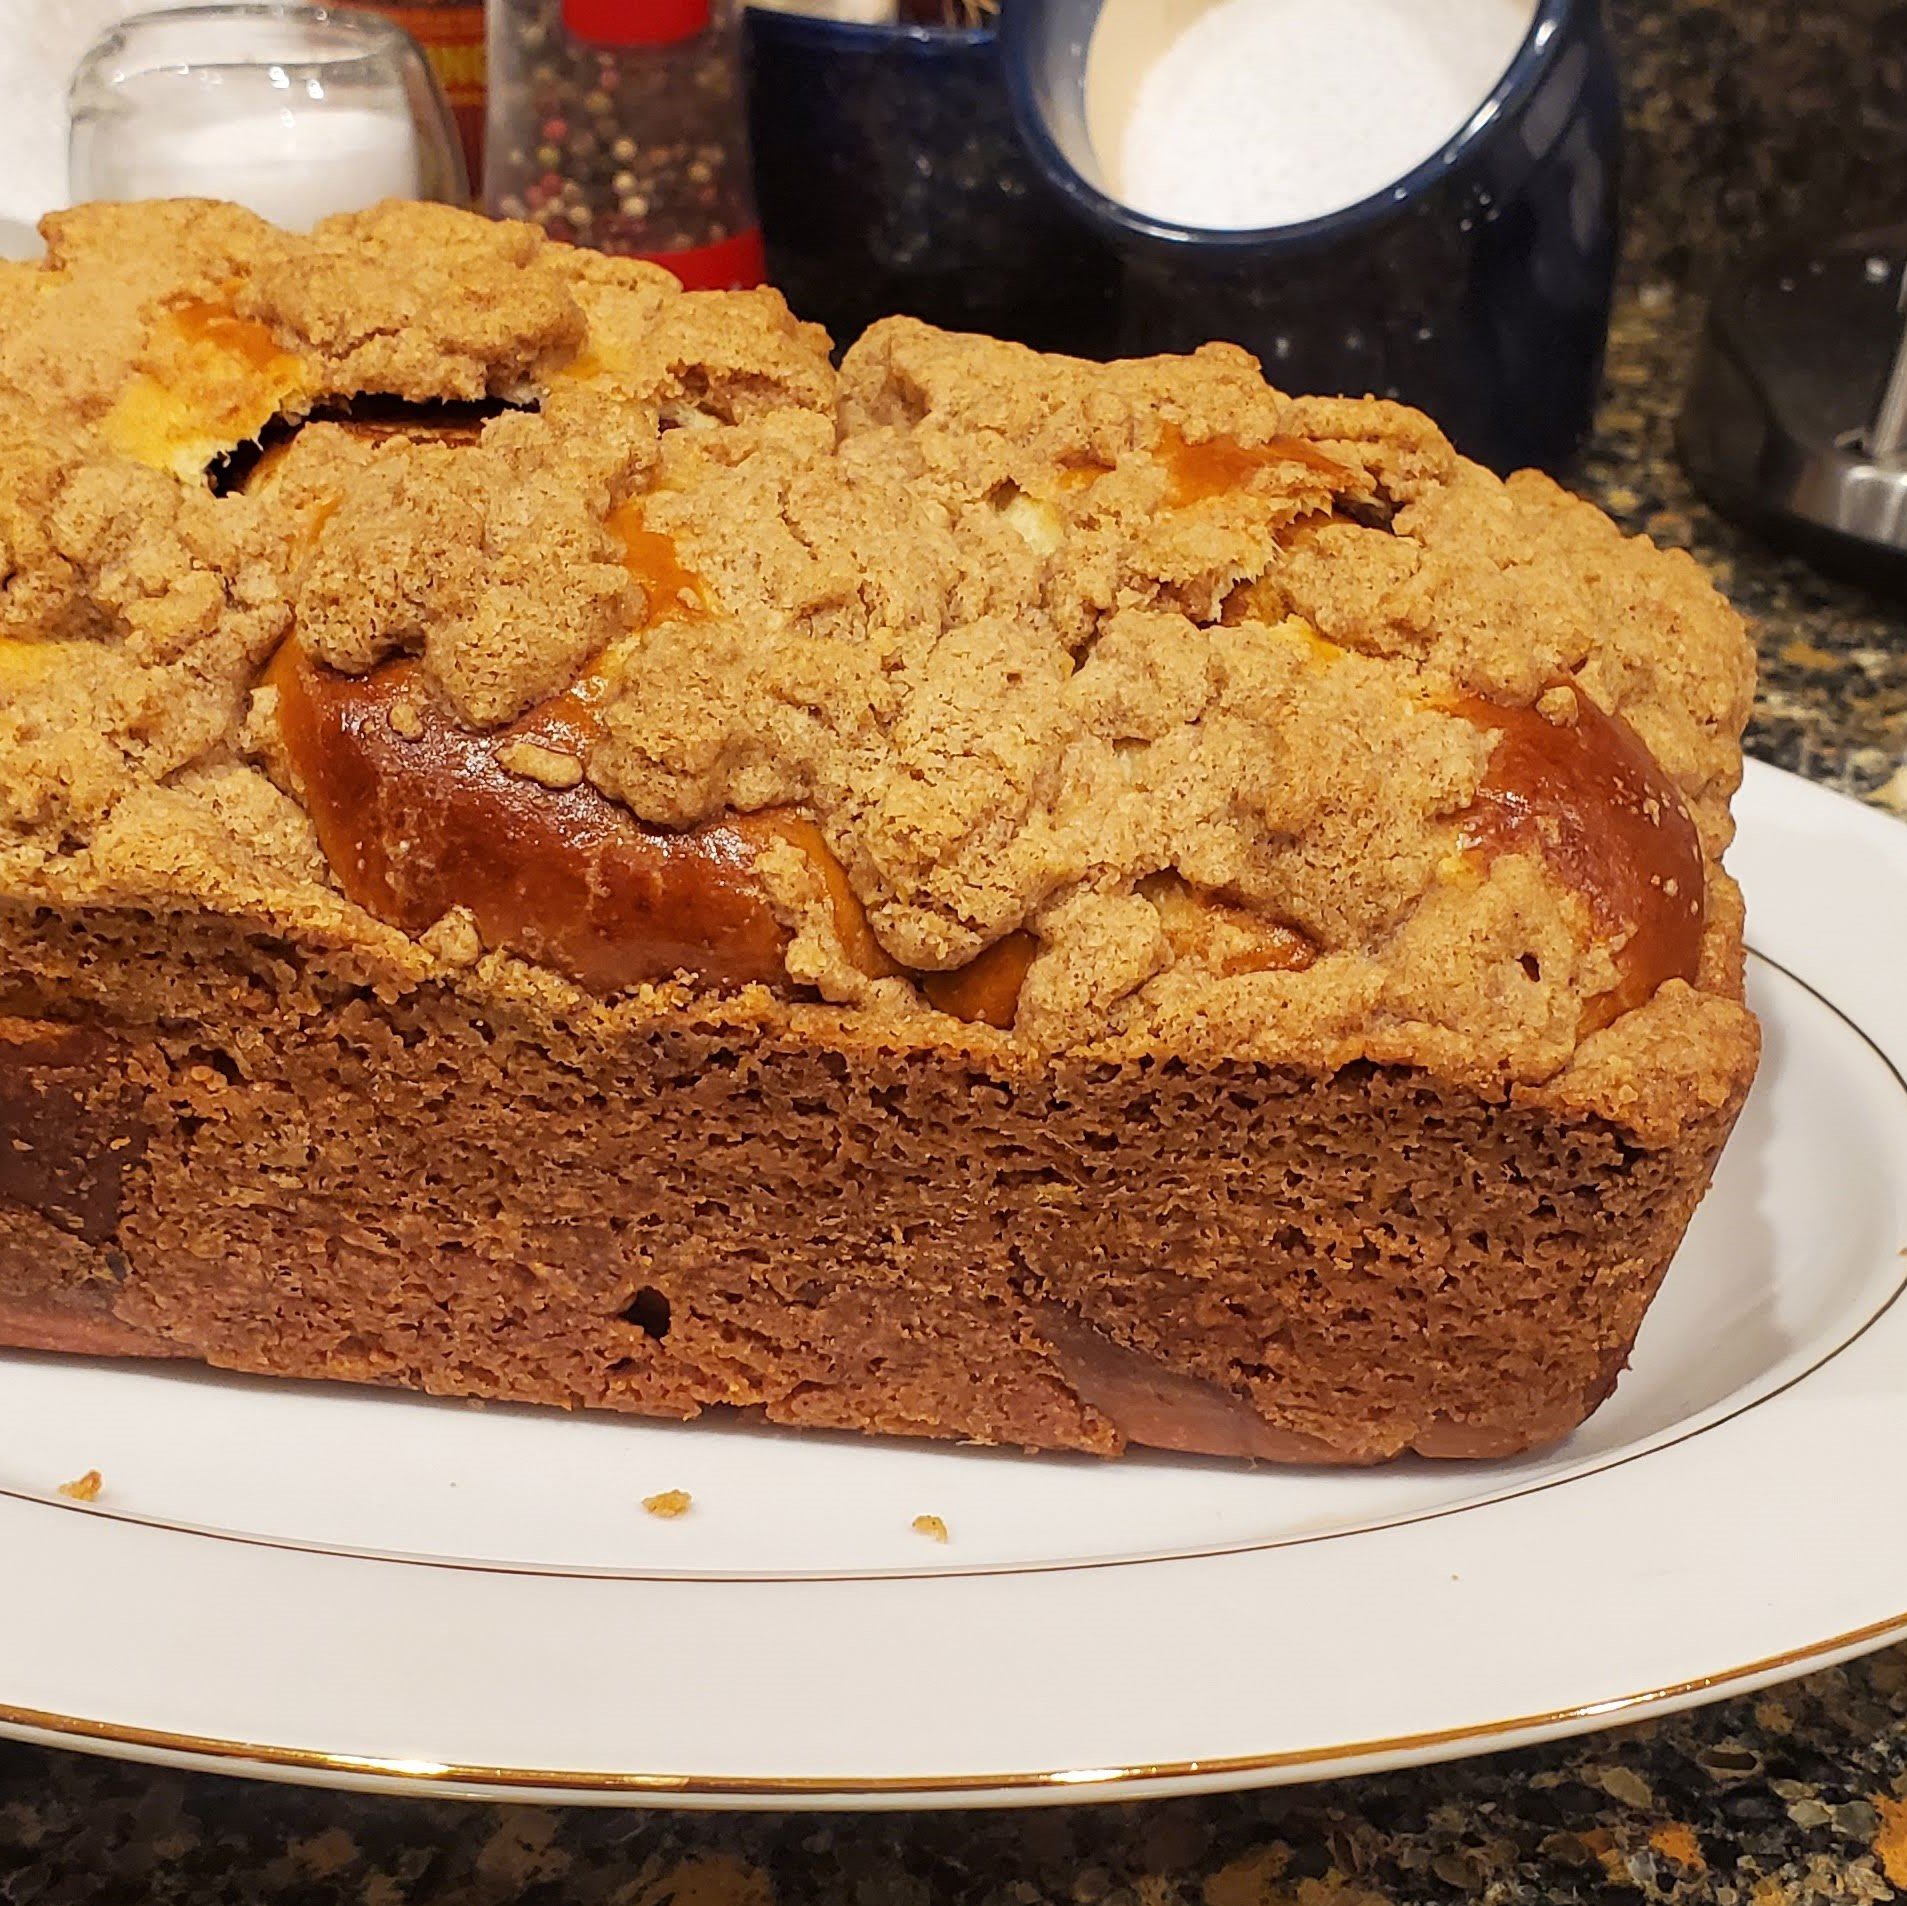
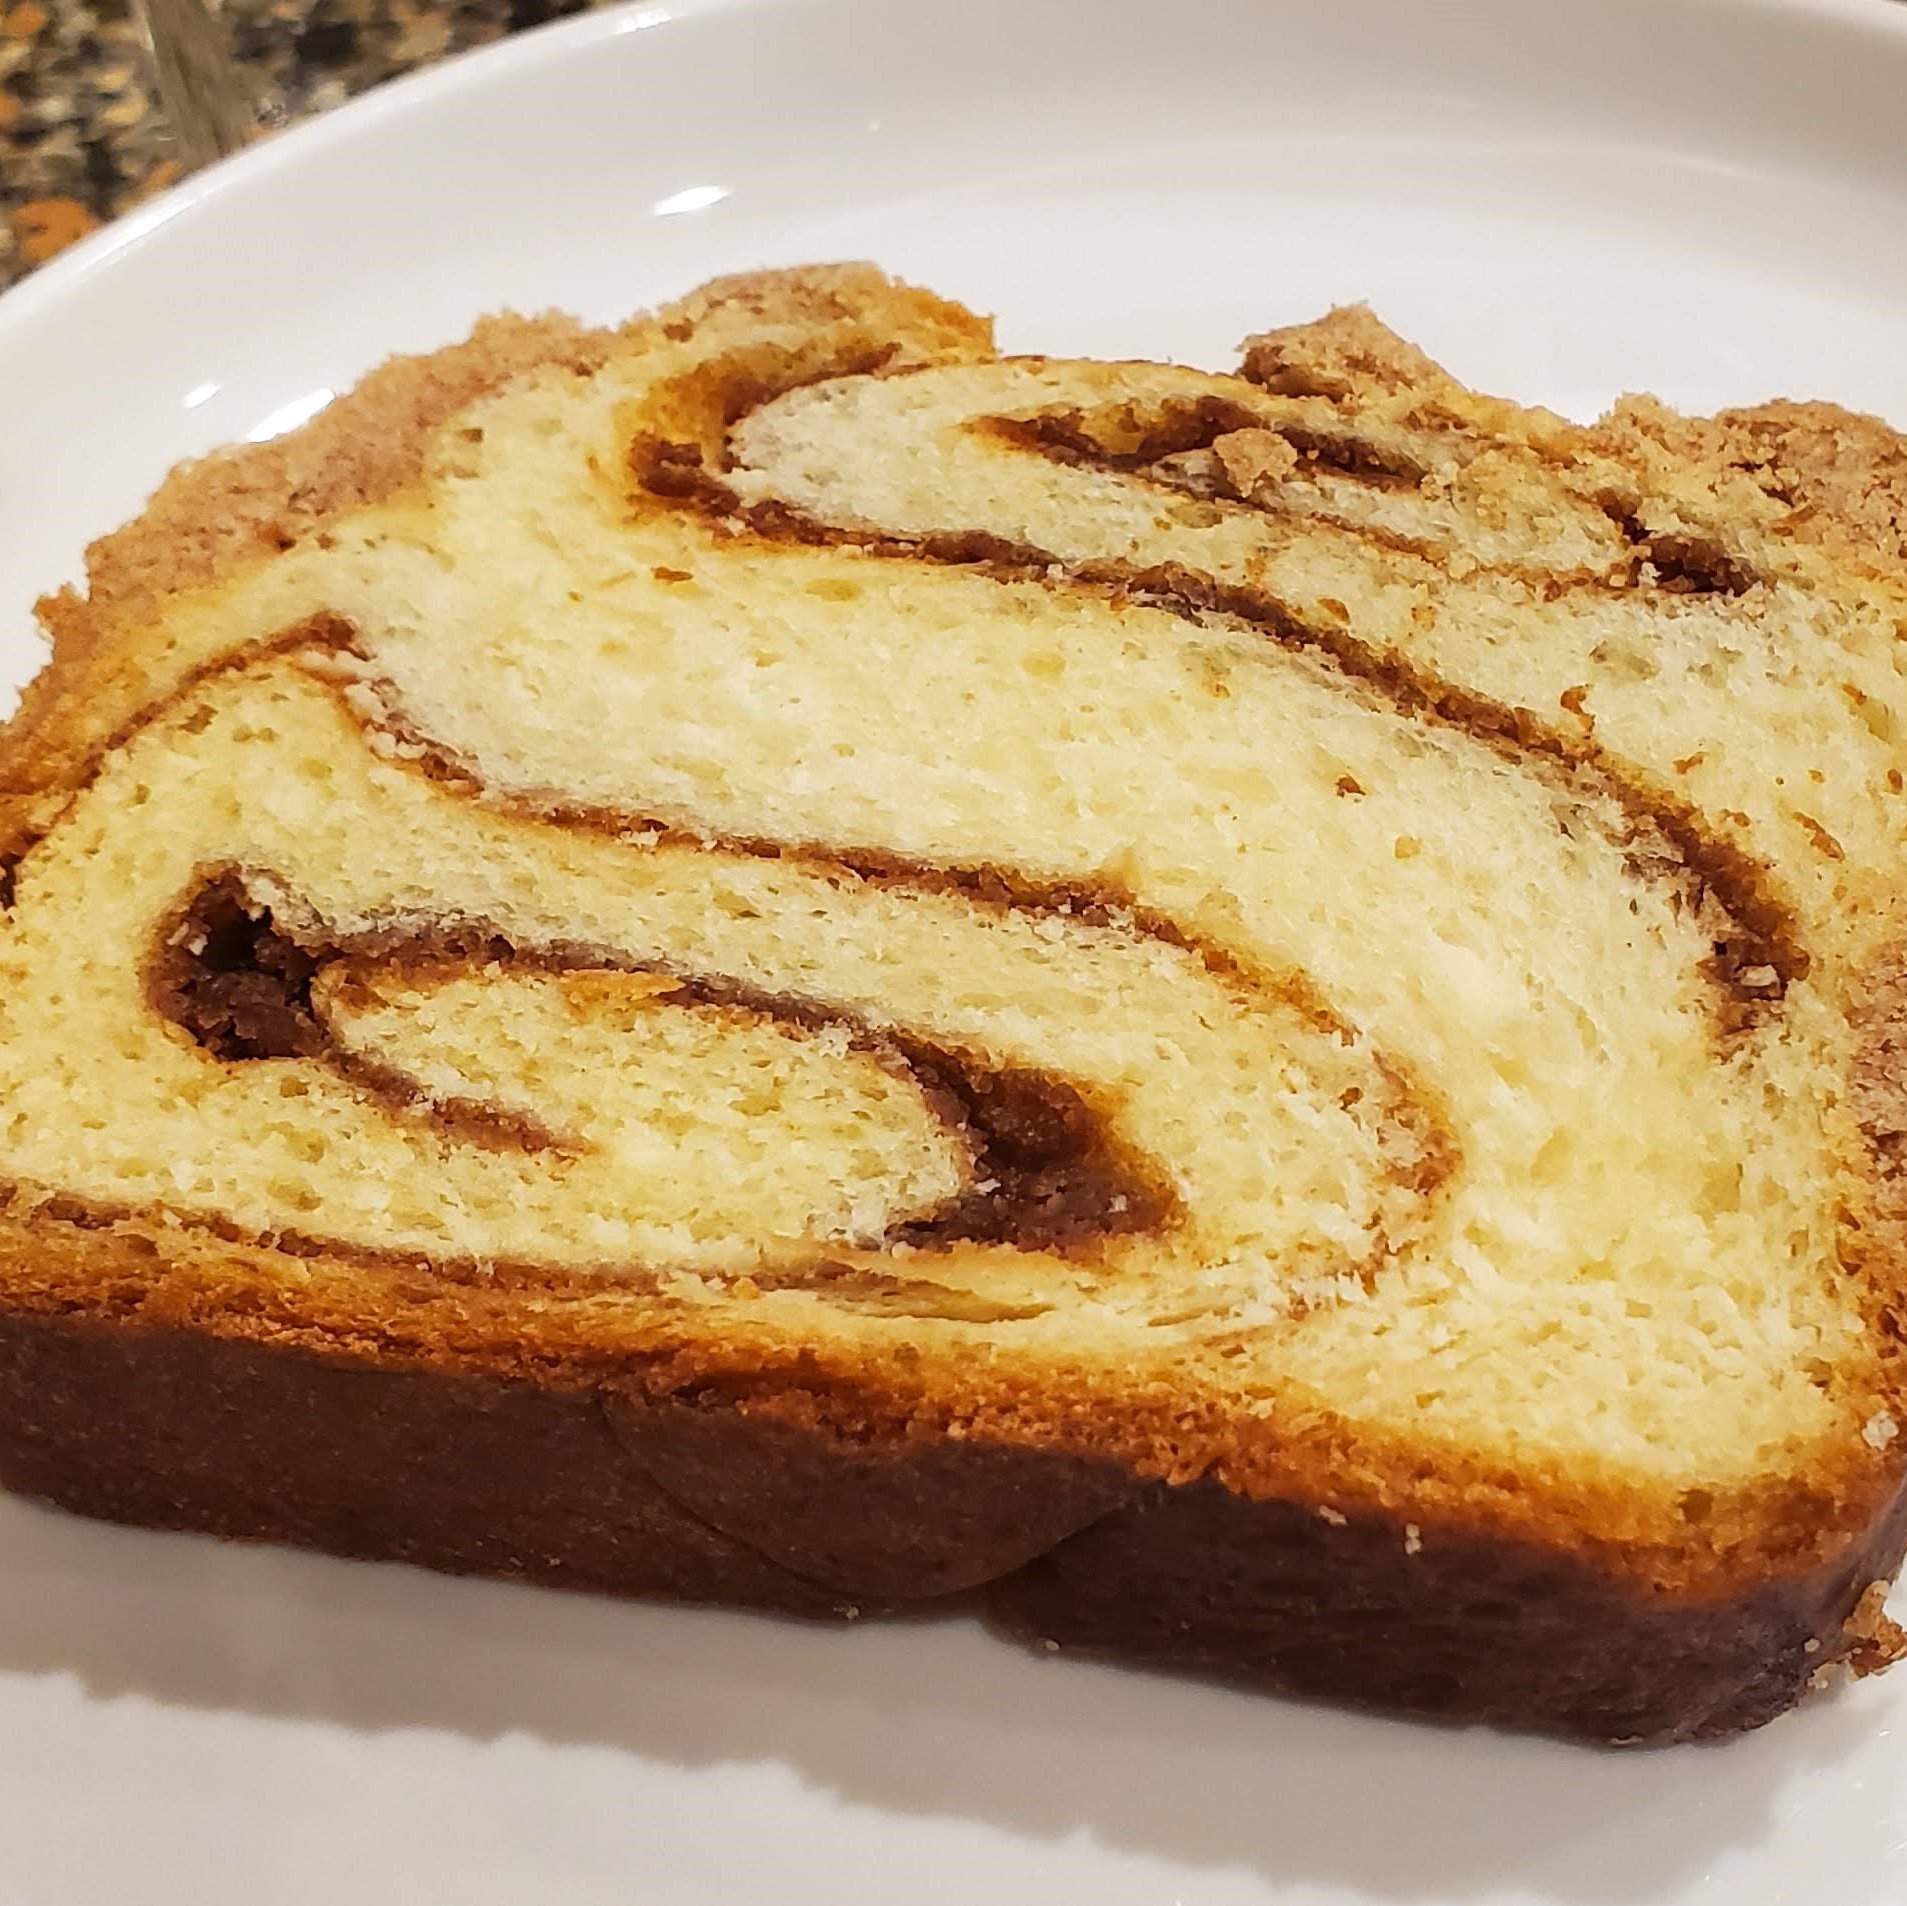
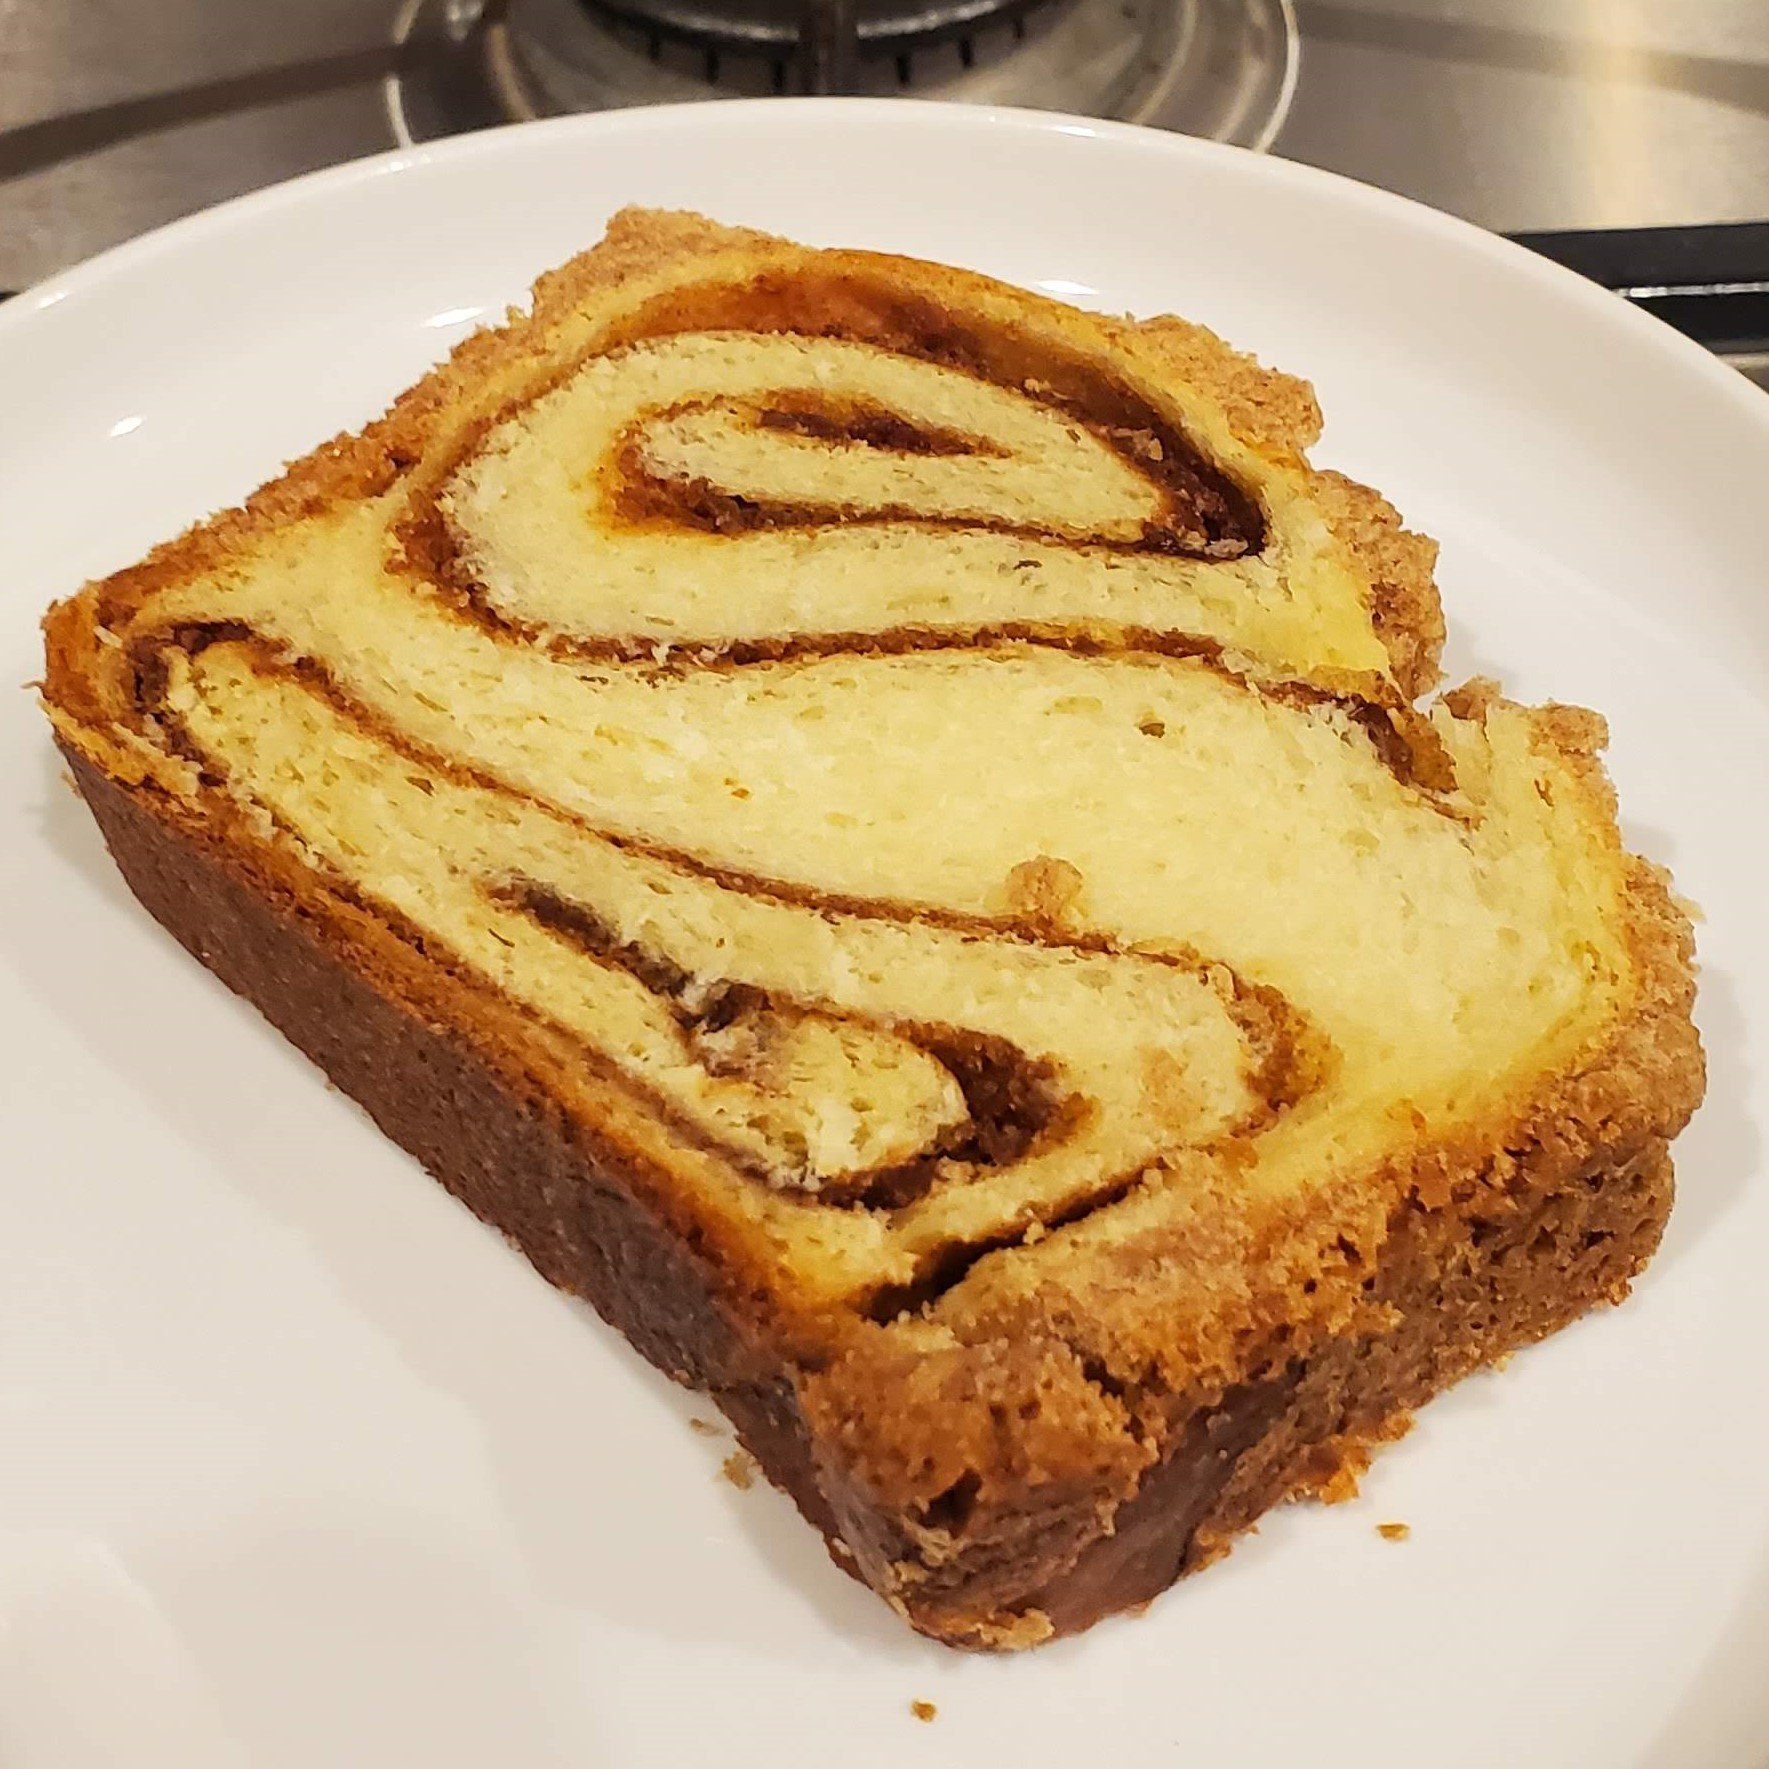
Our friends invited us over this past weekend for dinner and I wanted to bring a dessert that would be easy to transport and delicious. As usual, I turned to Claire Saffitz and her first cookbook Dessert Person for help. I first discovered spéculoos cookies while living in France and was delighted when they made their way over to North America, most famously as the cookies handed out during Delta flights. Here, they’re branded as Biscoff cookies, sold by Lotus. Now, you can get Biscoff butter, a peanut-butter like spread made with the Biscoff cookies.
So this is exactly the filling in Saffitz’ spéculoos babka. It’s a sweet yeast dough filled with cookie butter mixed with a little melted butter, salt, and cinnamon. The loaf is covered in a crumble topping which didn’t really break up into crumbs and instead ended up looking quite unappetizing, in my opinion. Everyone else was polite about it, but I think it looks like some sad skin disease. Nonetheless, when sliced, it looked great and tasted even better.
tarte tropézienne
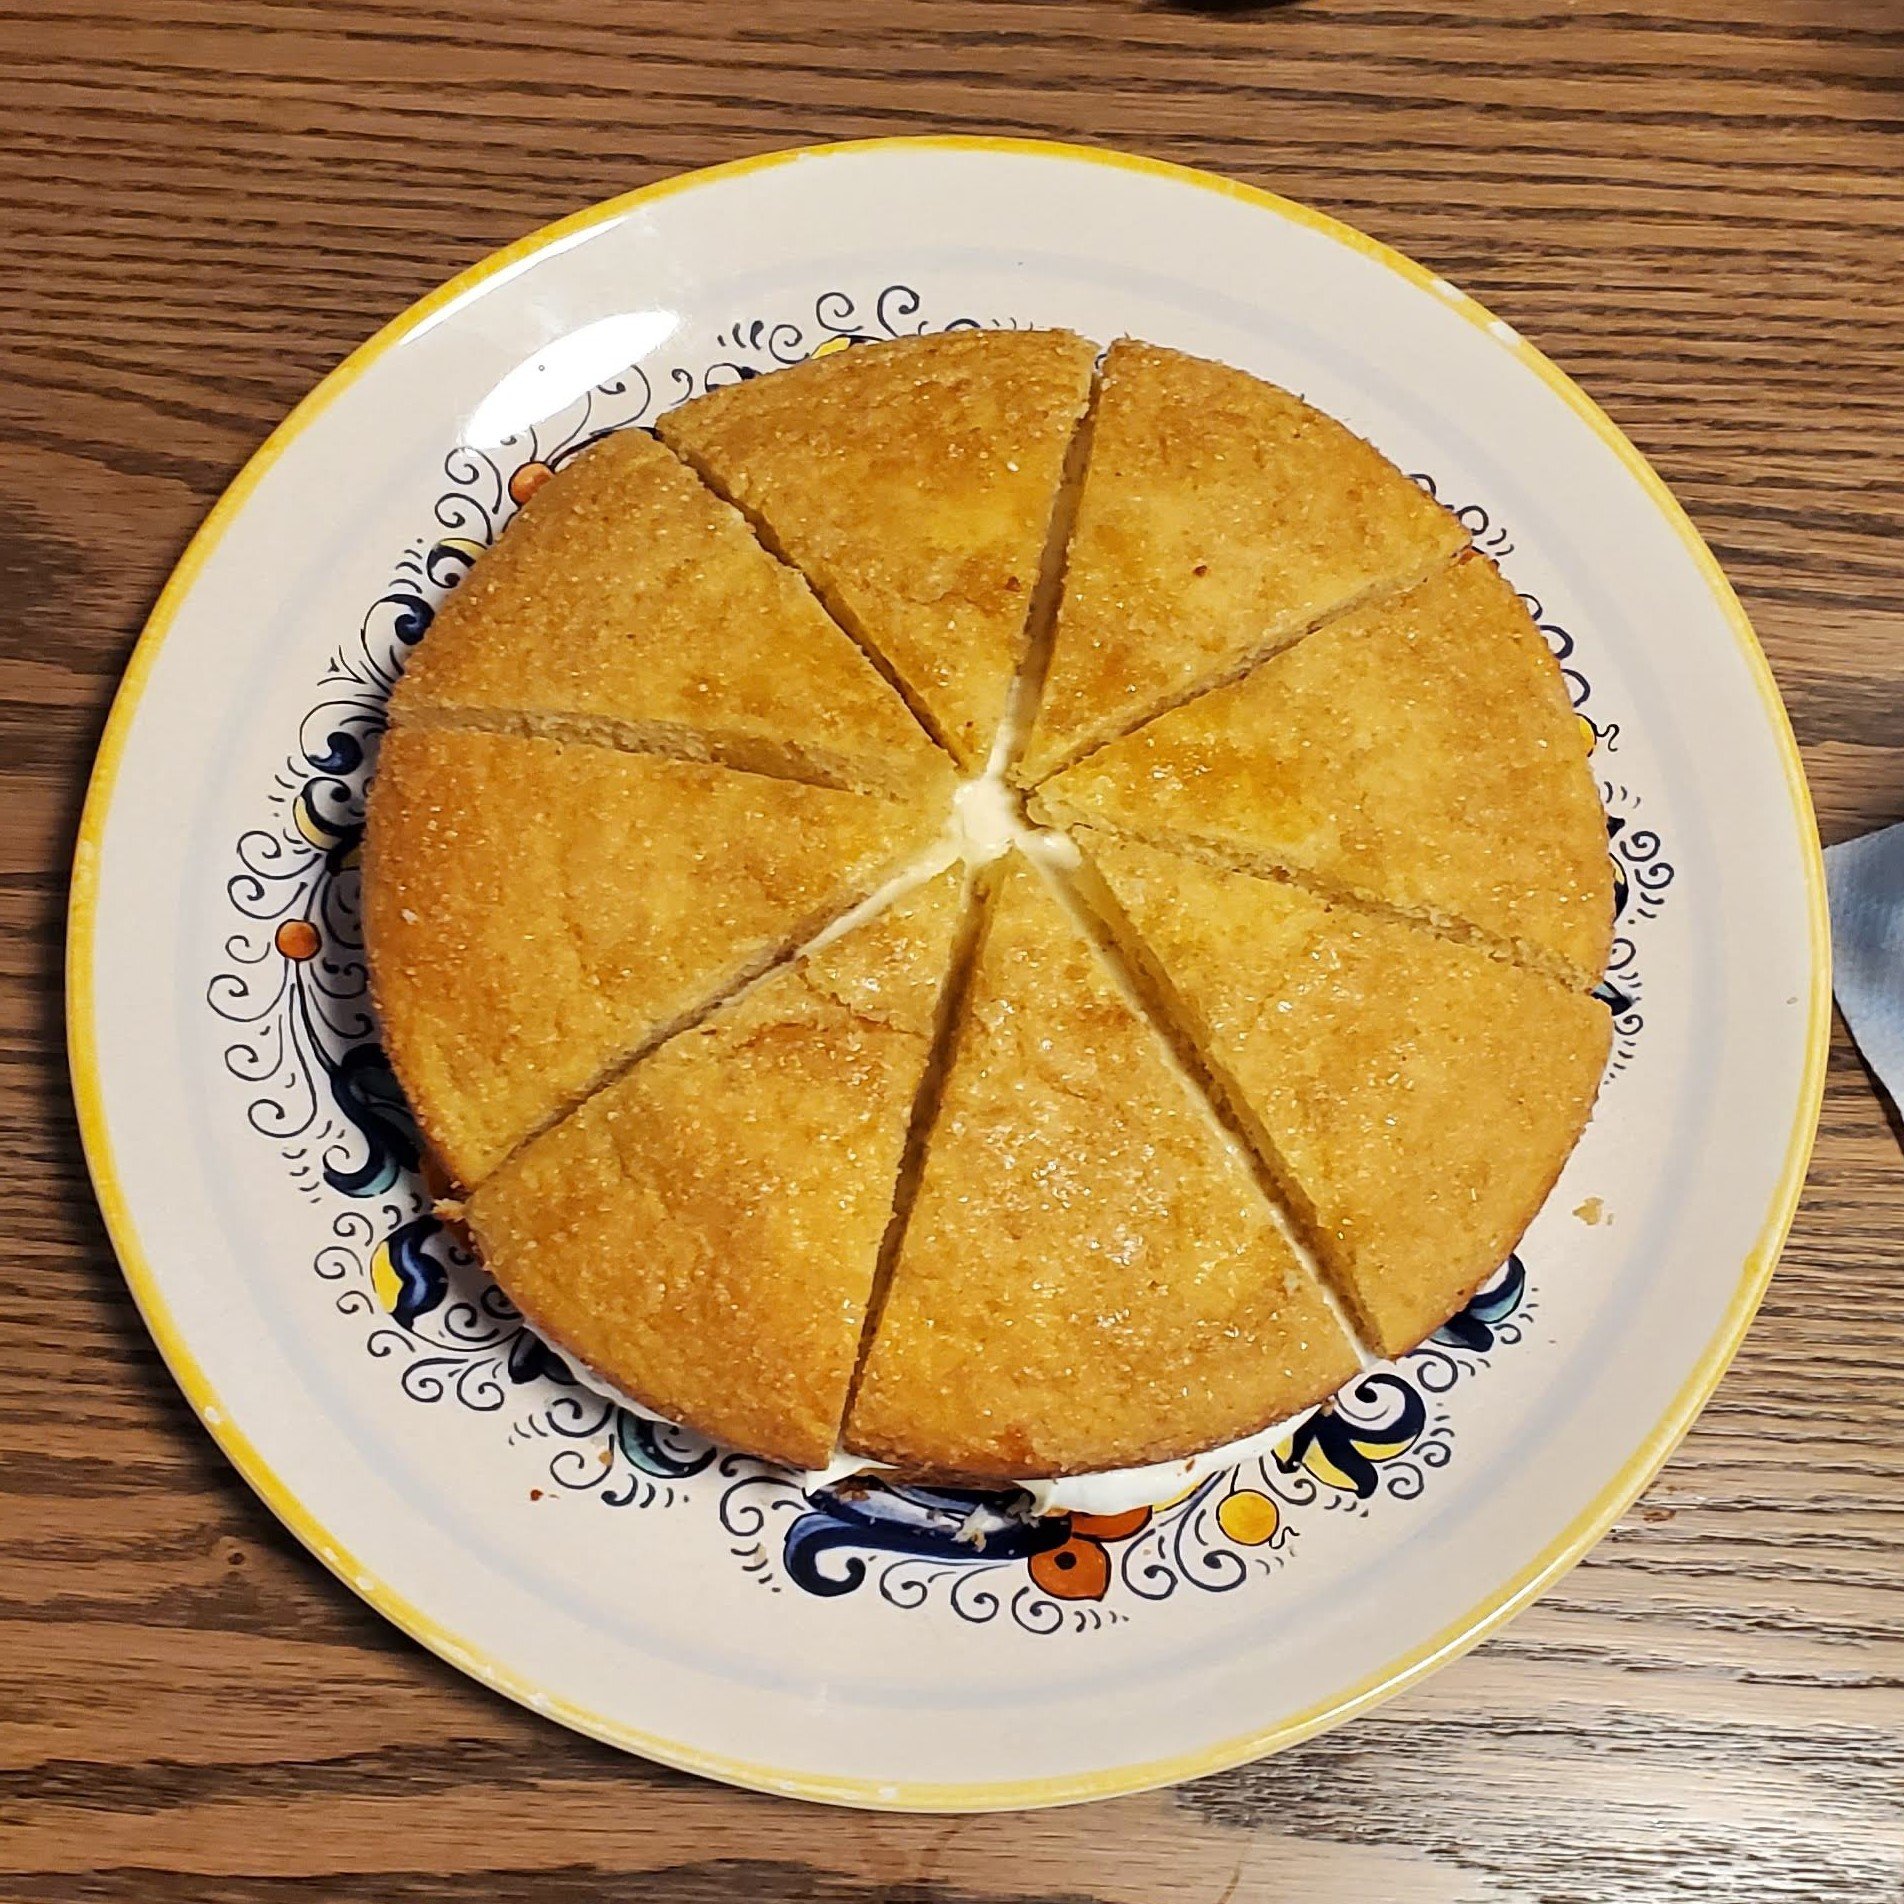
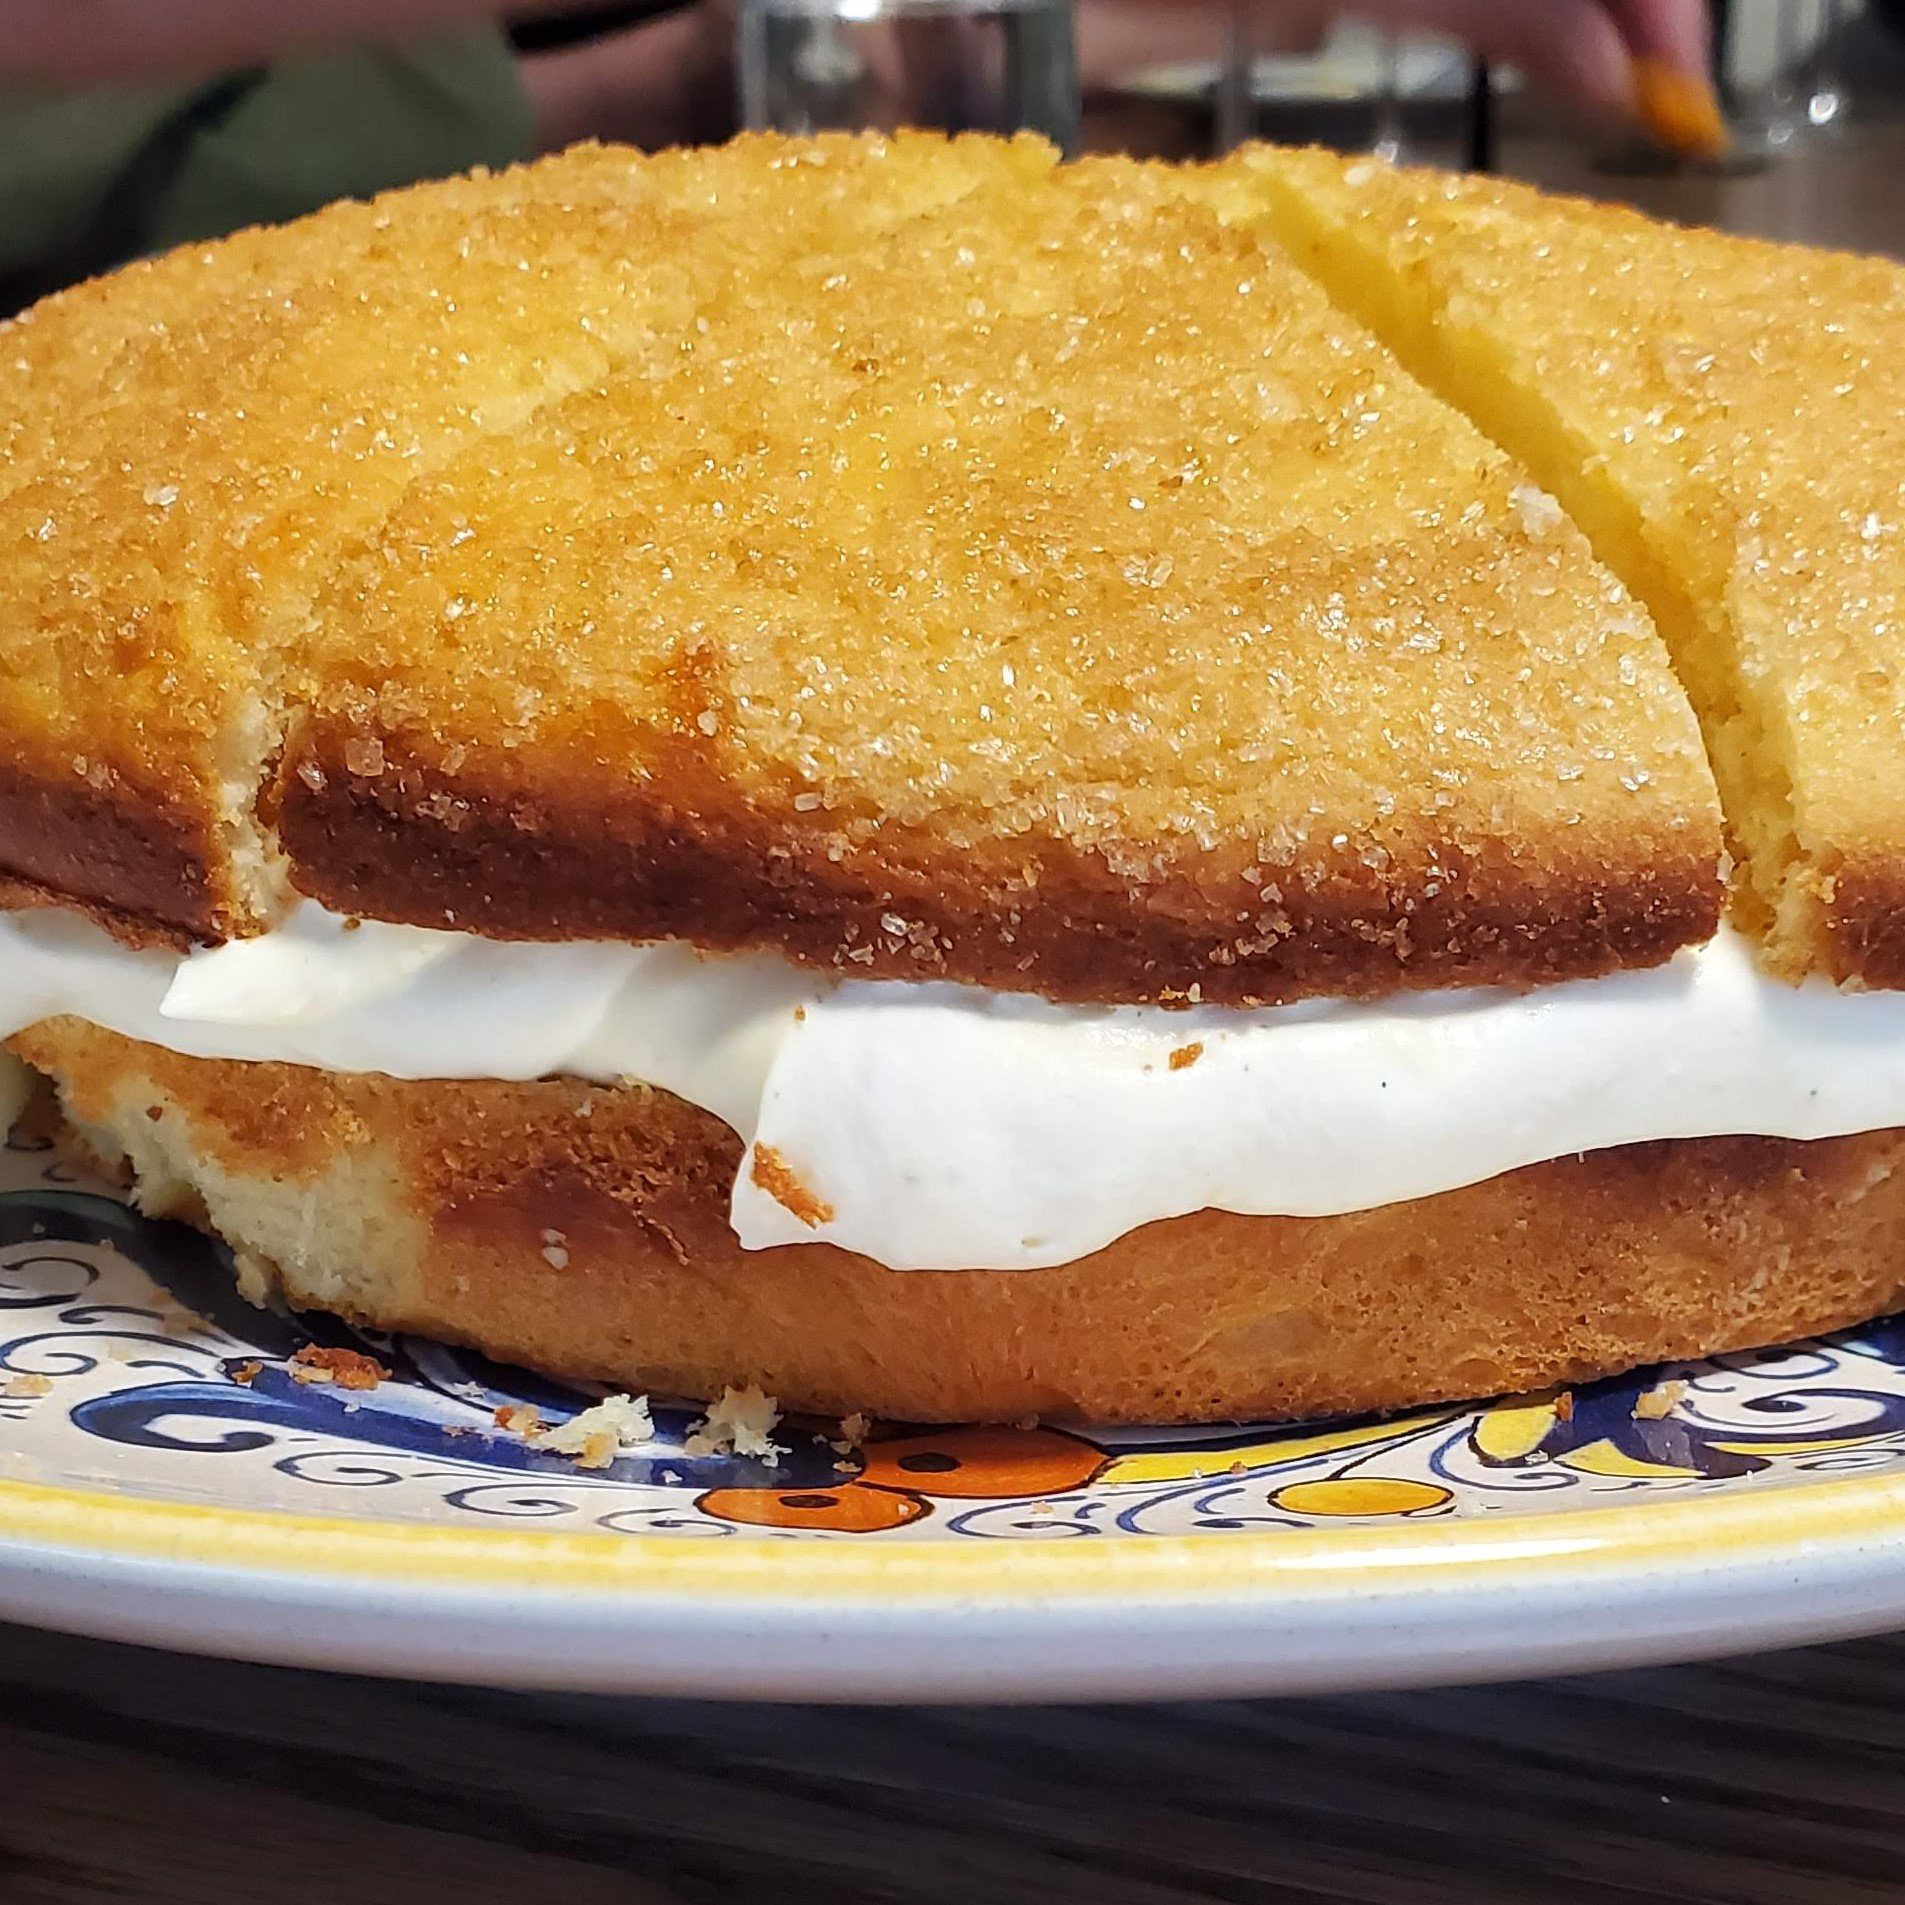
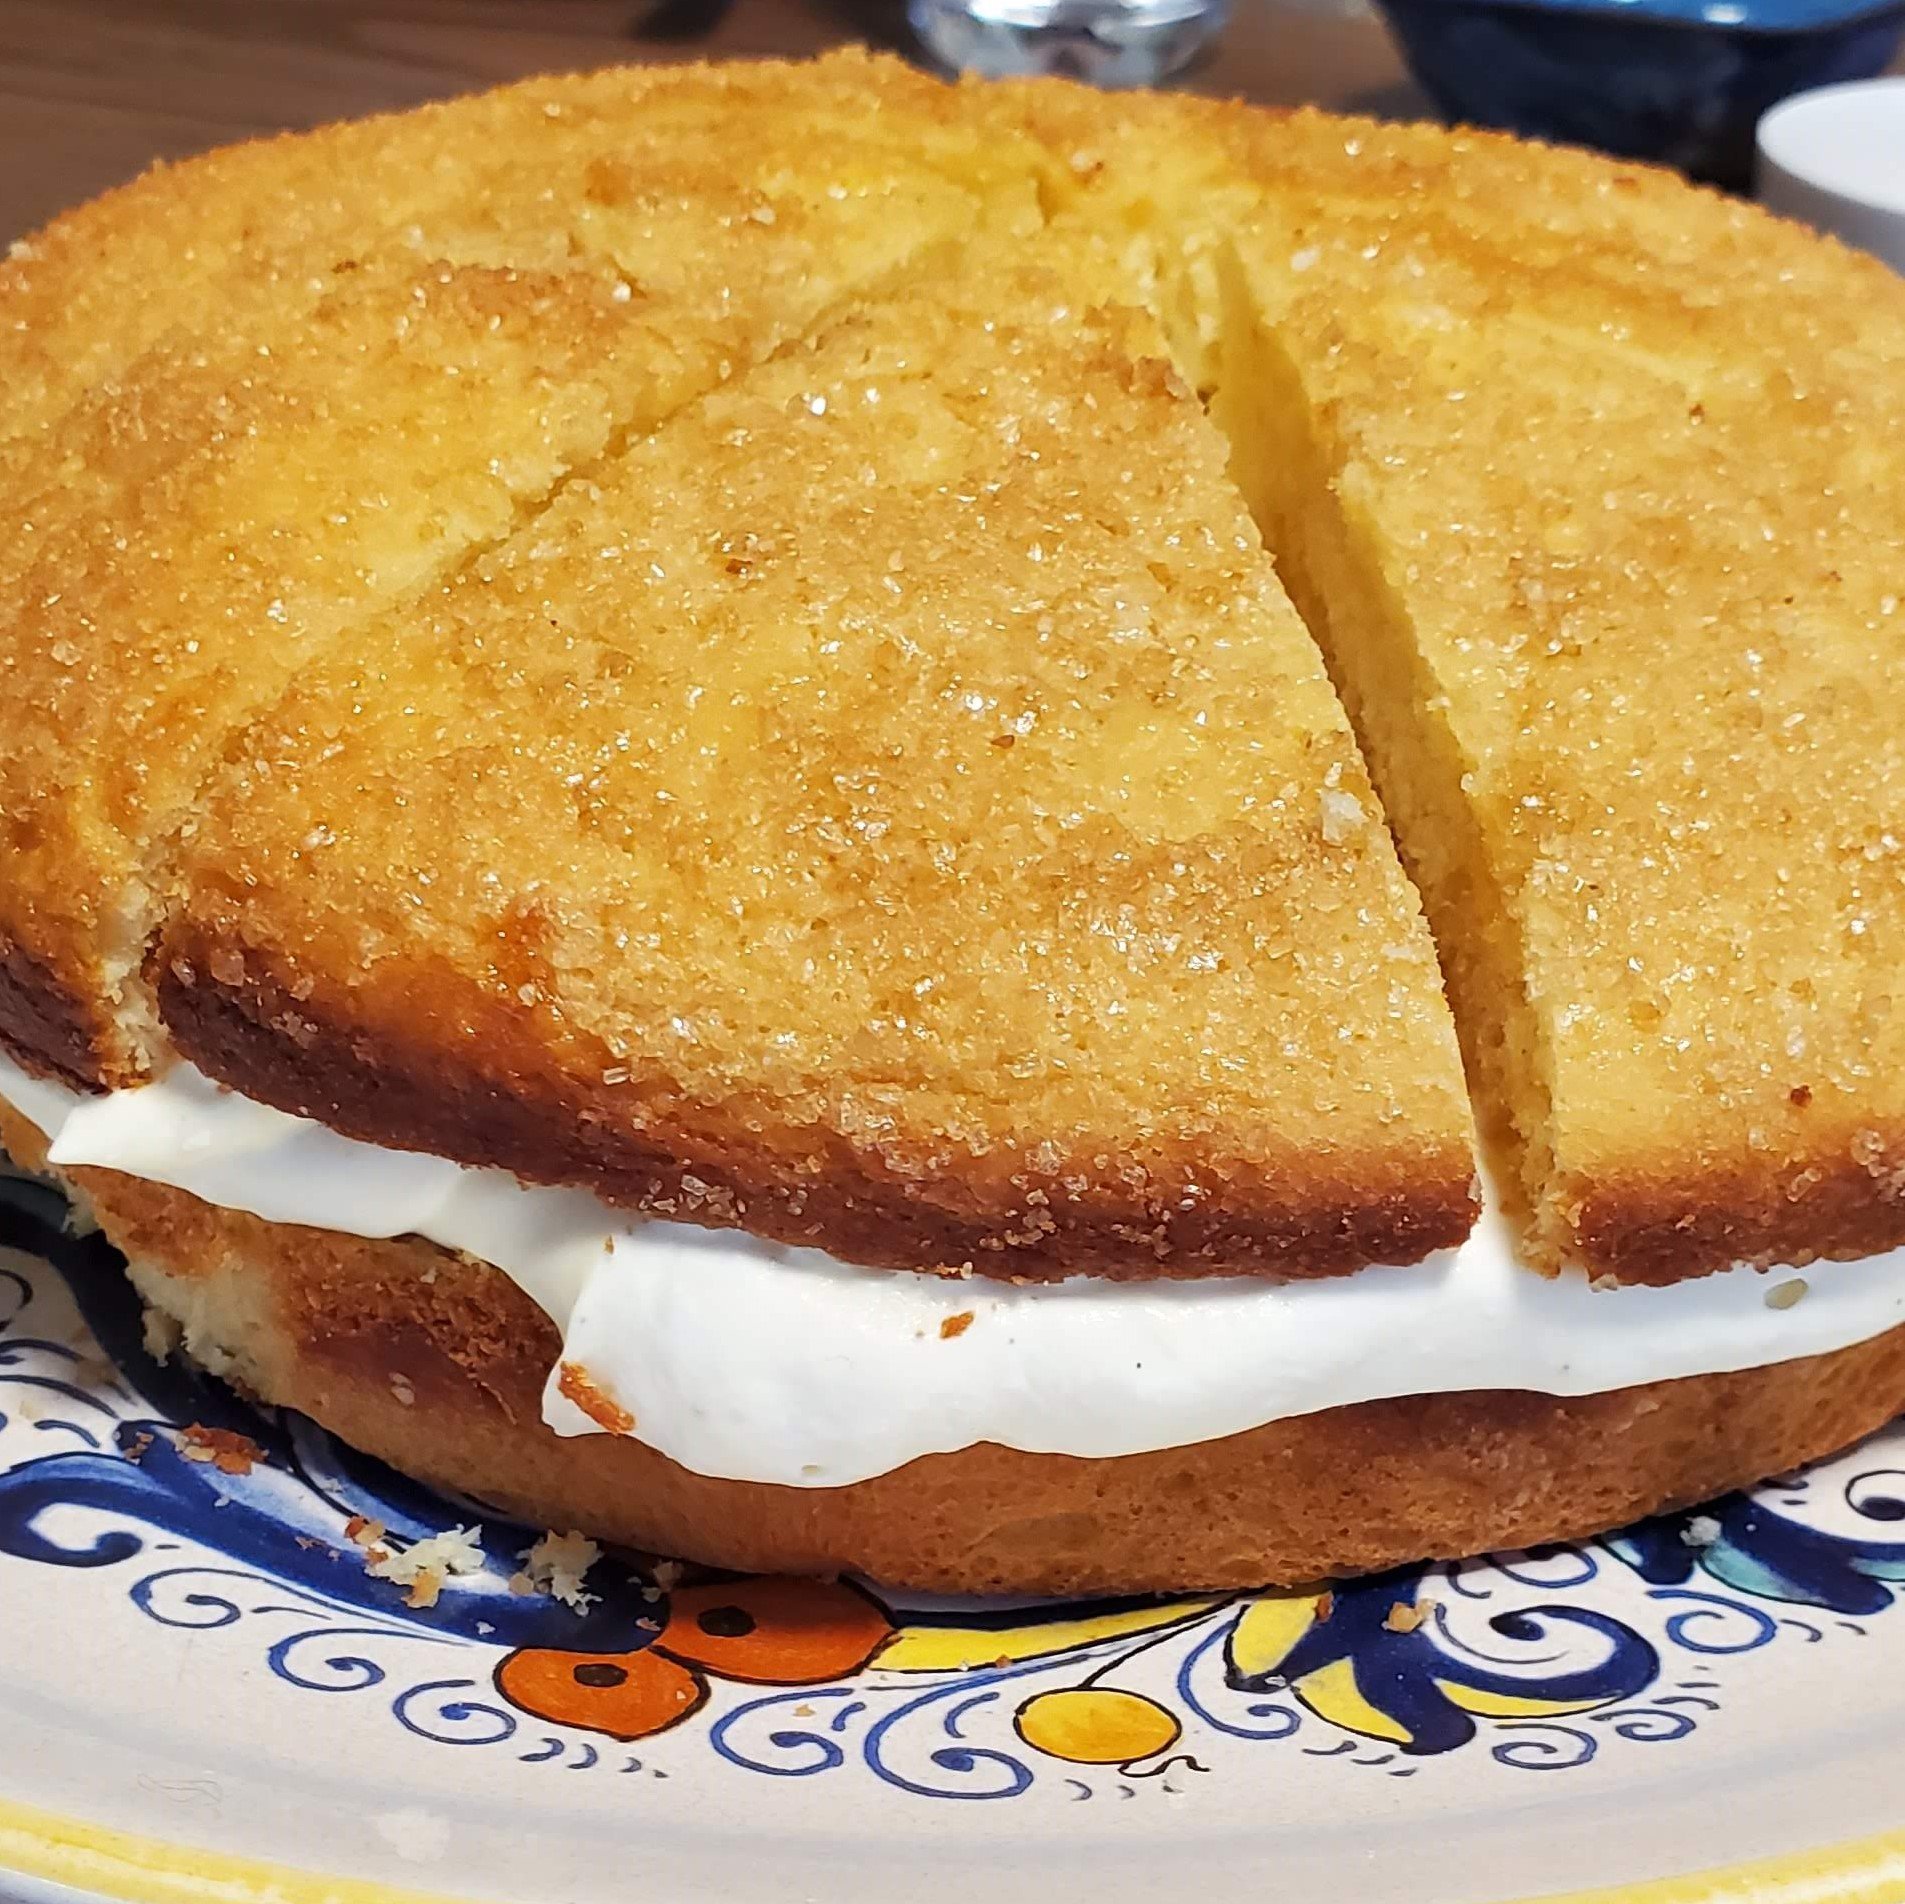
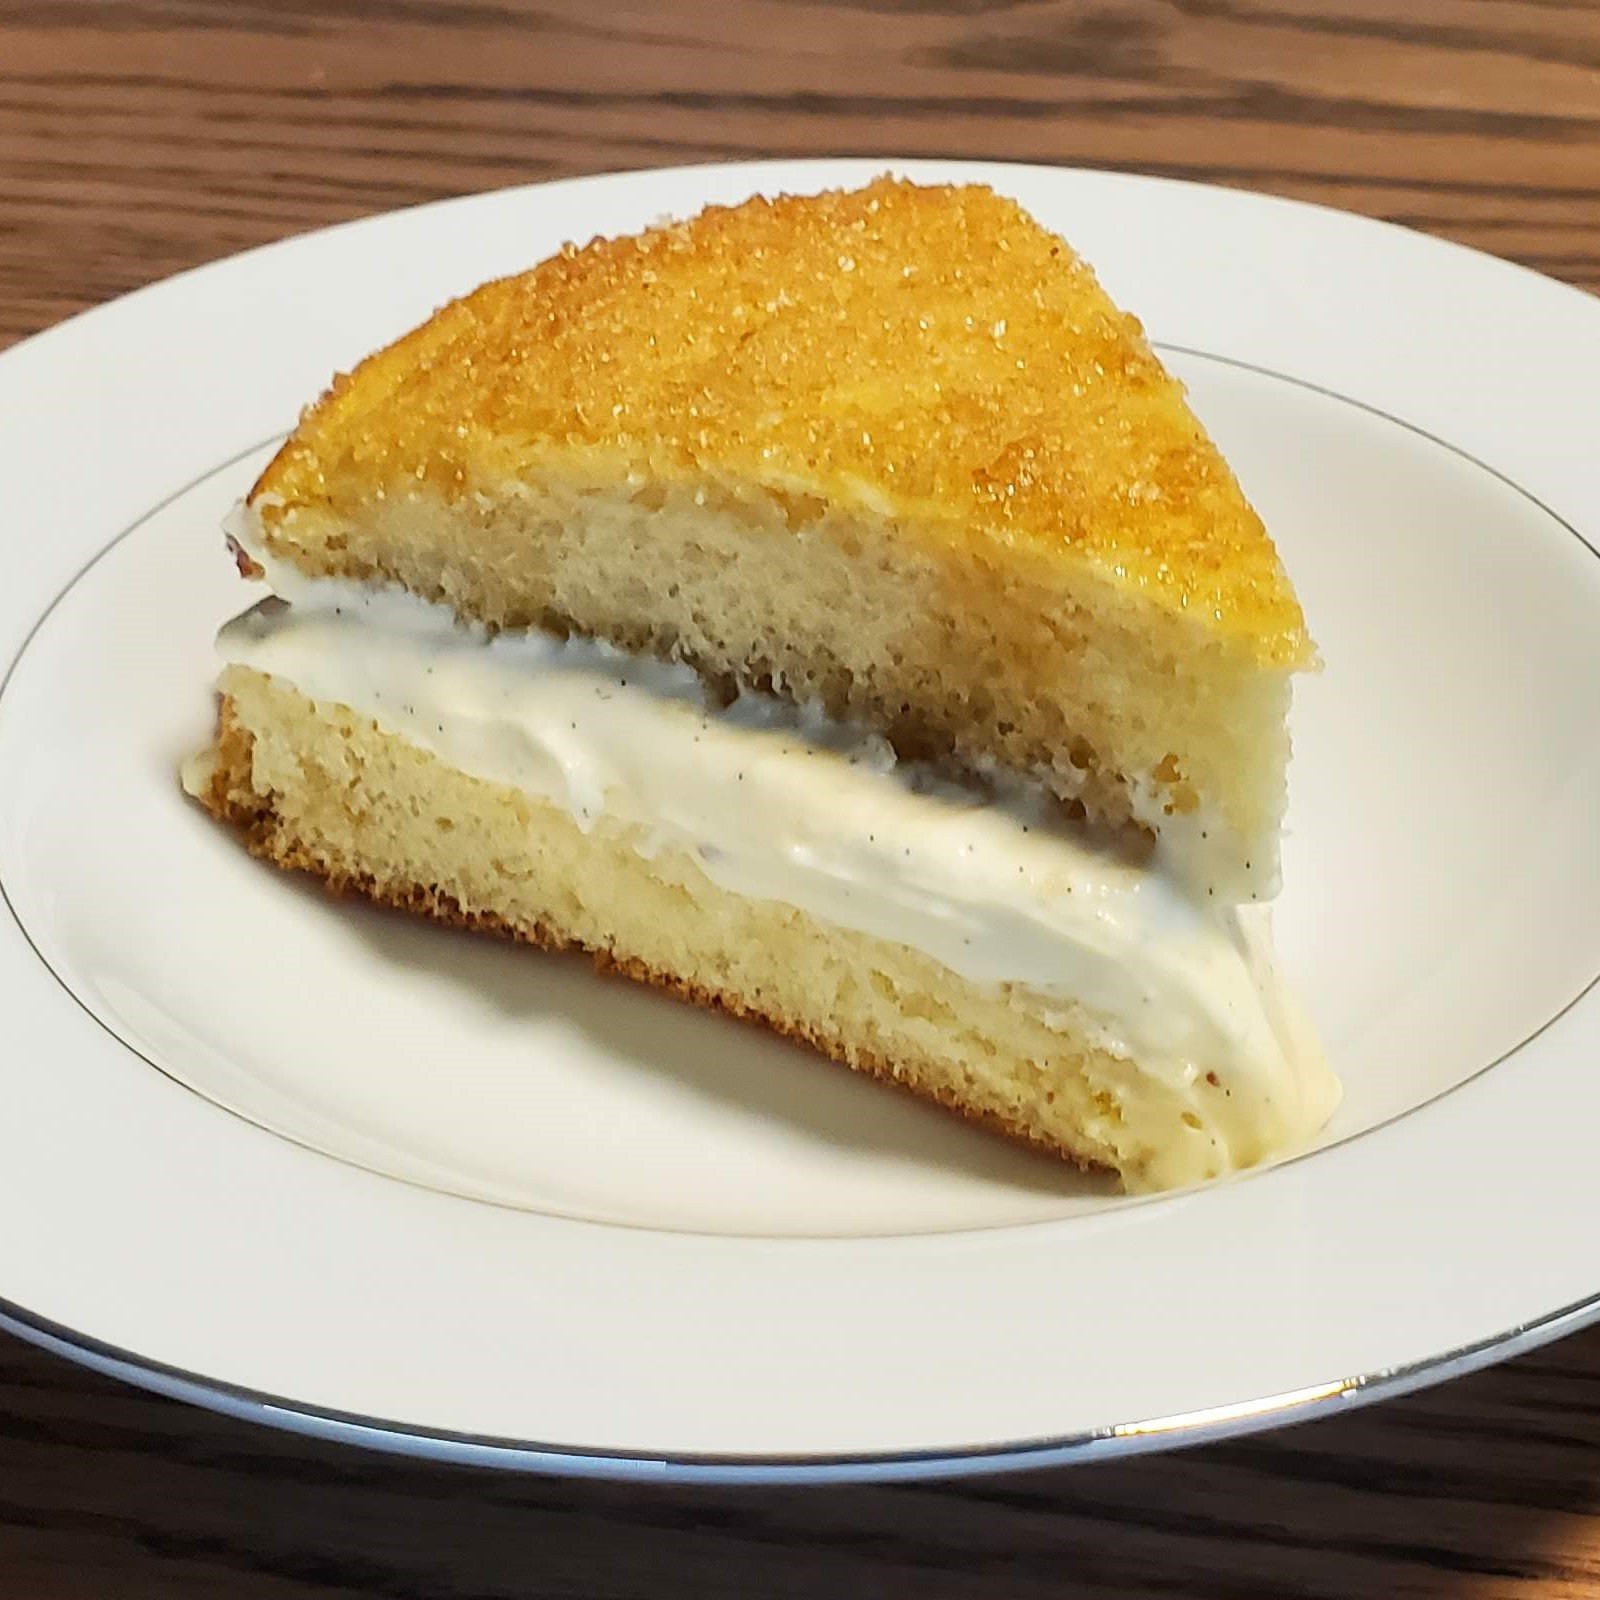
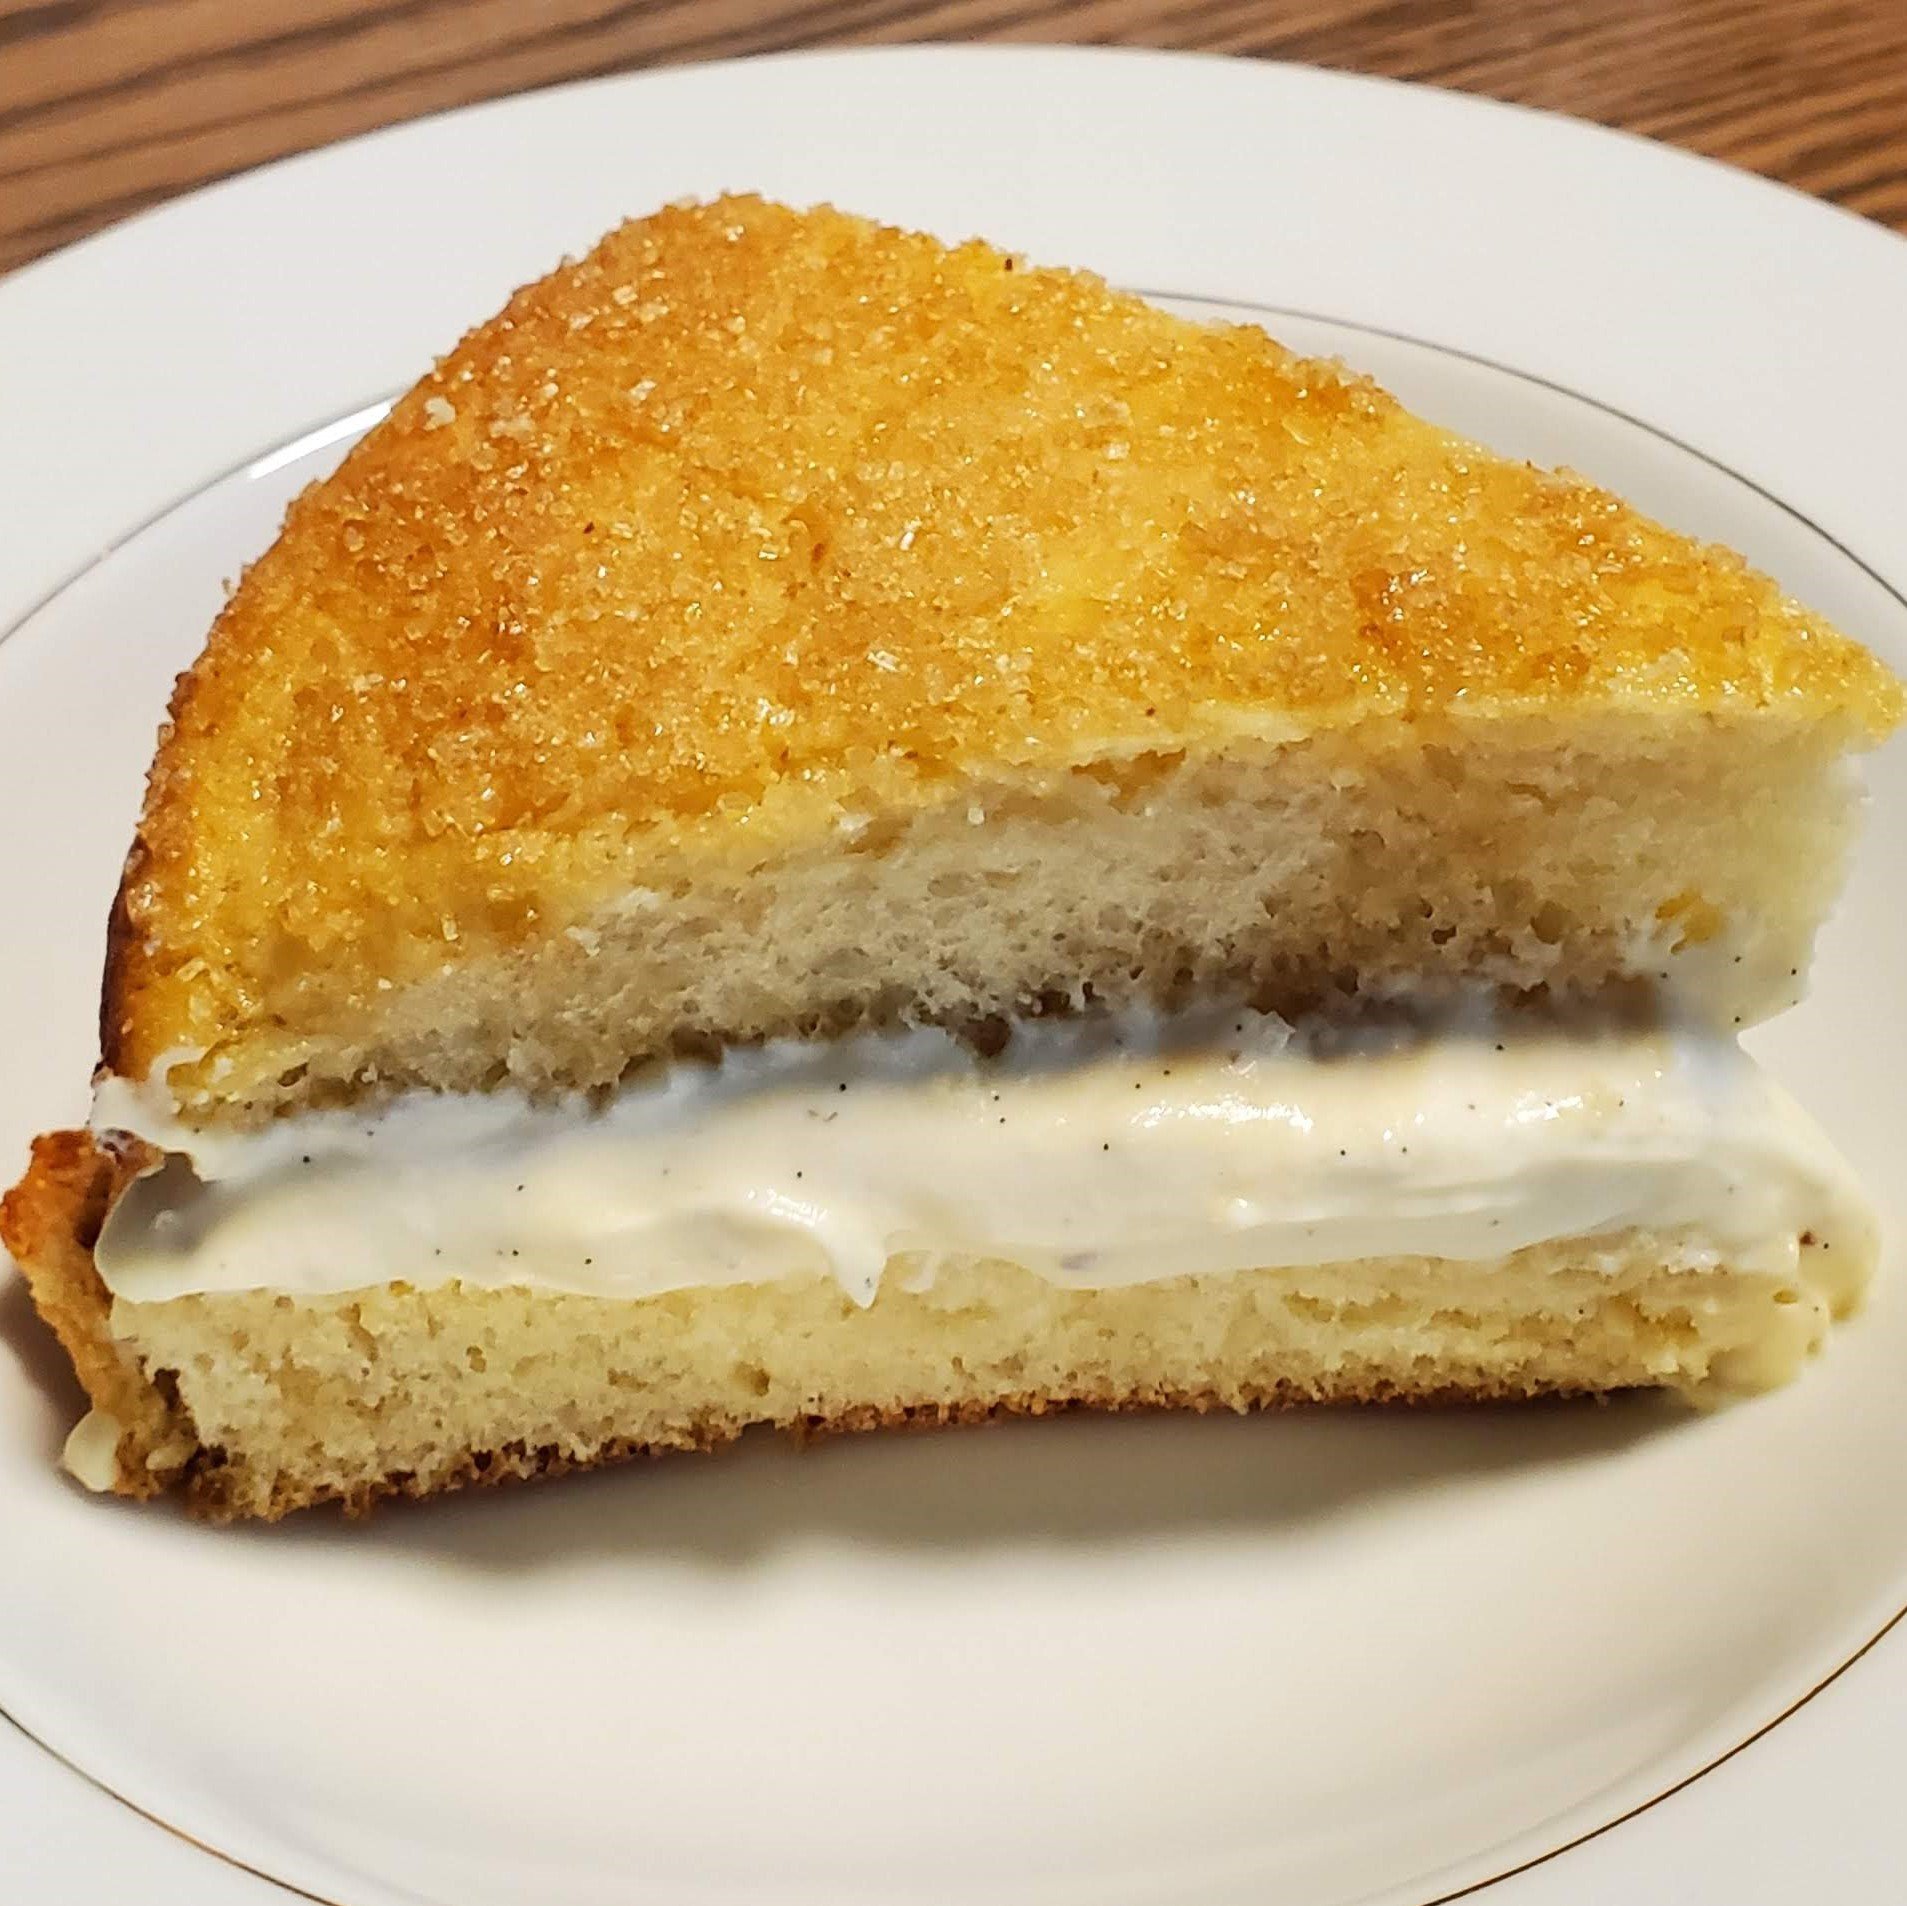
For New Year’s Eve, I decided that we needed a bigger dessert for our gathering of seven people total. I had half a recipe of brioche dough left over, so this was a relatively quick dessert, so I used this recipe from my old reliable Claire Saffitz’ Dessert Person. She explains that tarte tropézienne was invented by a Polish chef in St. Tropez and Brigitte Bardot liked it so much that she dubbed it “tarte tropézienne.”
The brioche dough goes into a 9-inch round cake pan and baked with a generous sprinkling of demerara sugar. After it’s cooled, I asked our niece to level it since I’m really bad at that, and then both halves get soaked with an almond honey syrup. Pre-cut the top layer so all the filling doesn’t squeeze out when you serve it, top the bottom layer with crème diplomat (equal parts crème pâtissière and unsweetened whipped cream) and then arrange the slices back on top. This dessert was really easy to assemble and quite delicious to eat! Highly recommended.
tarte basque
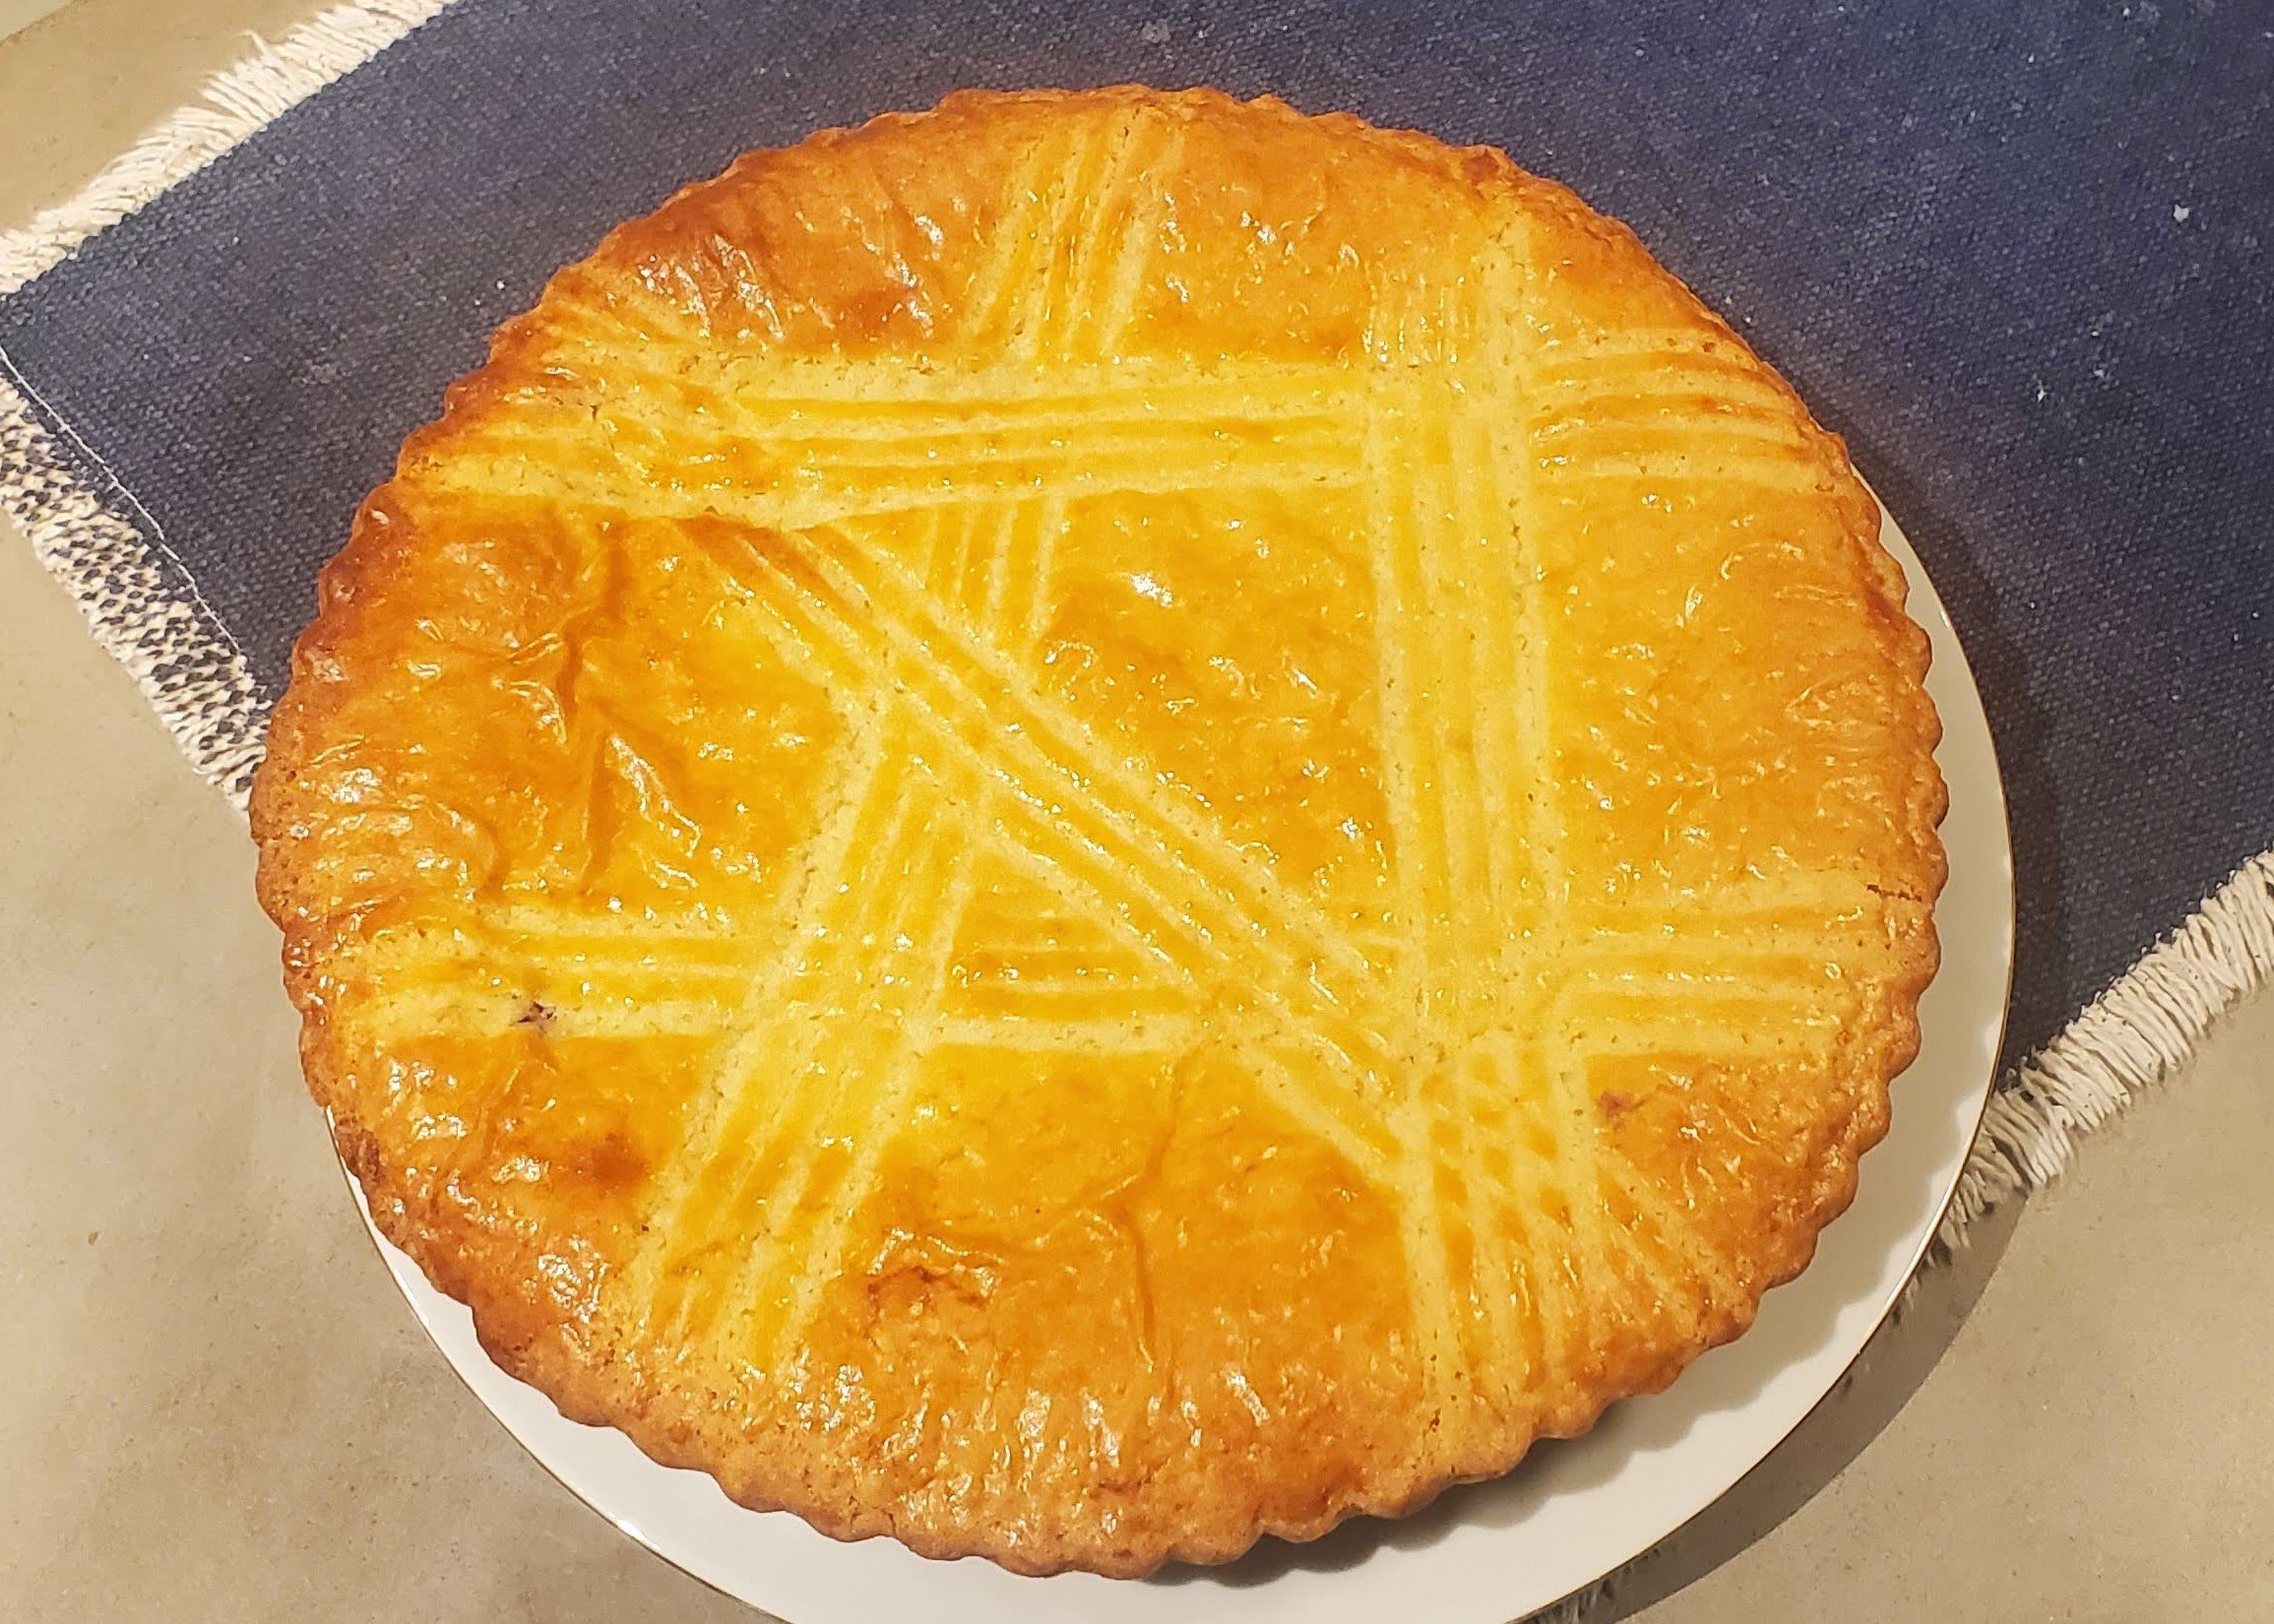
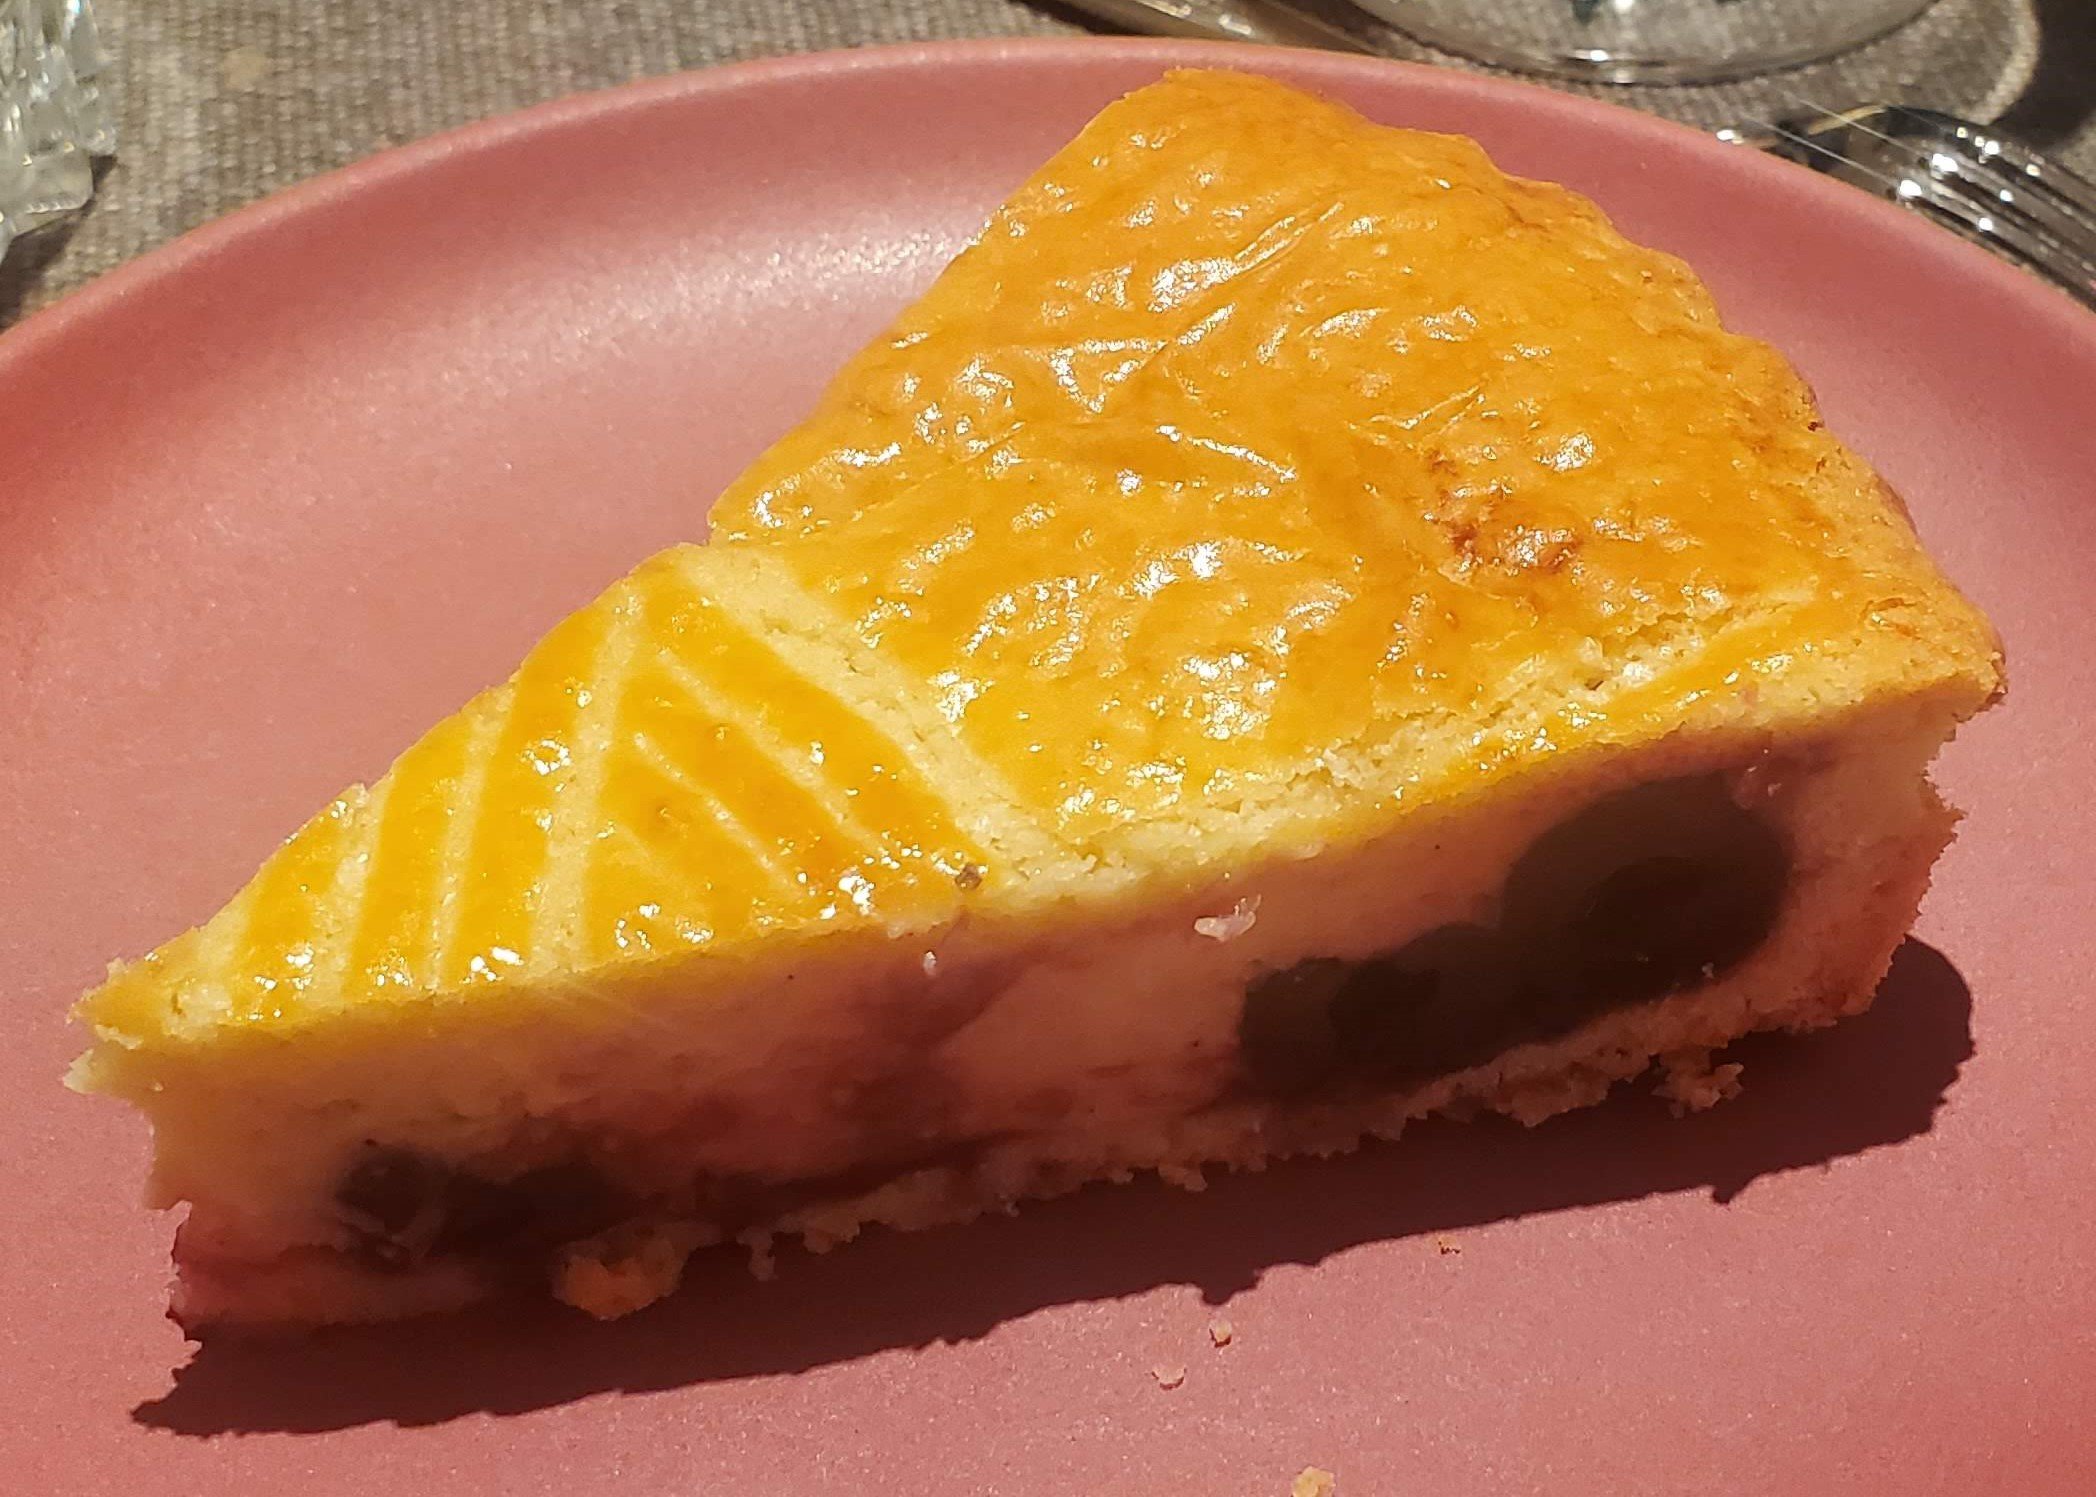
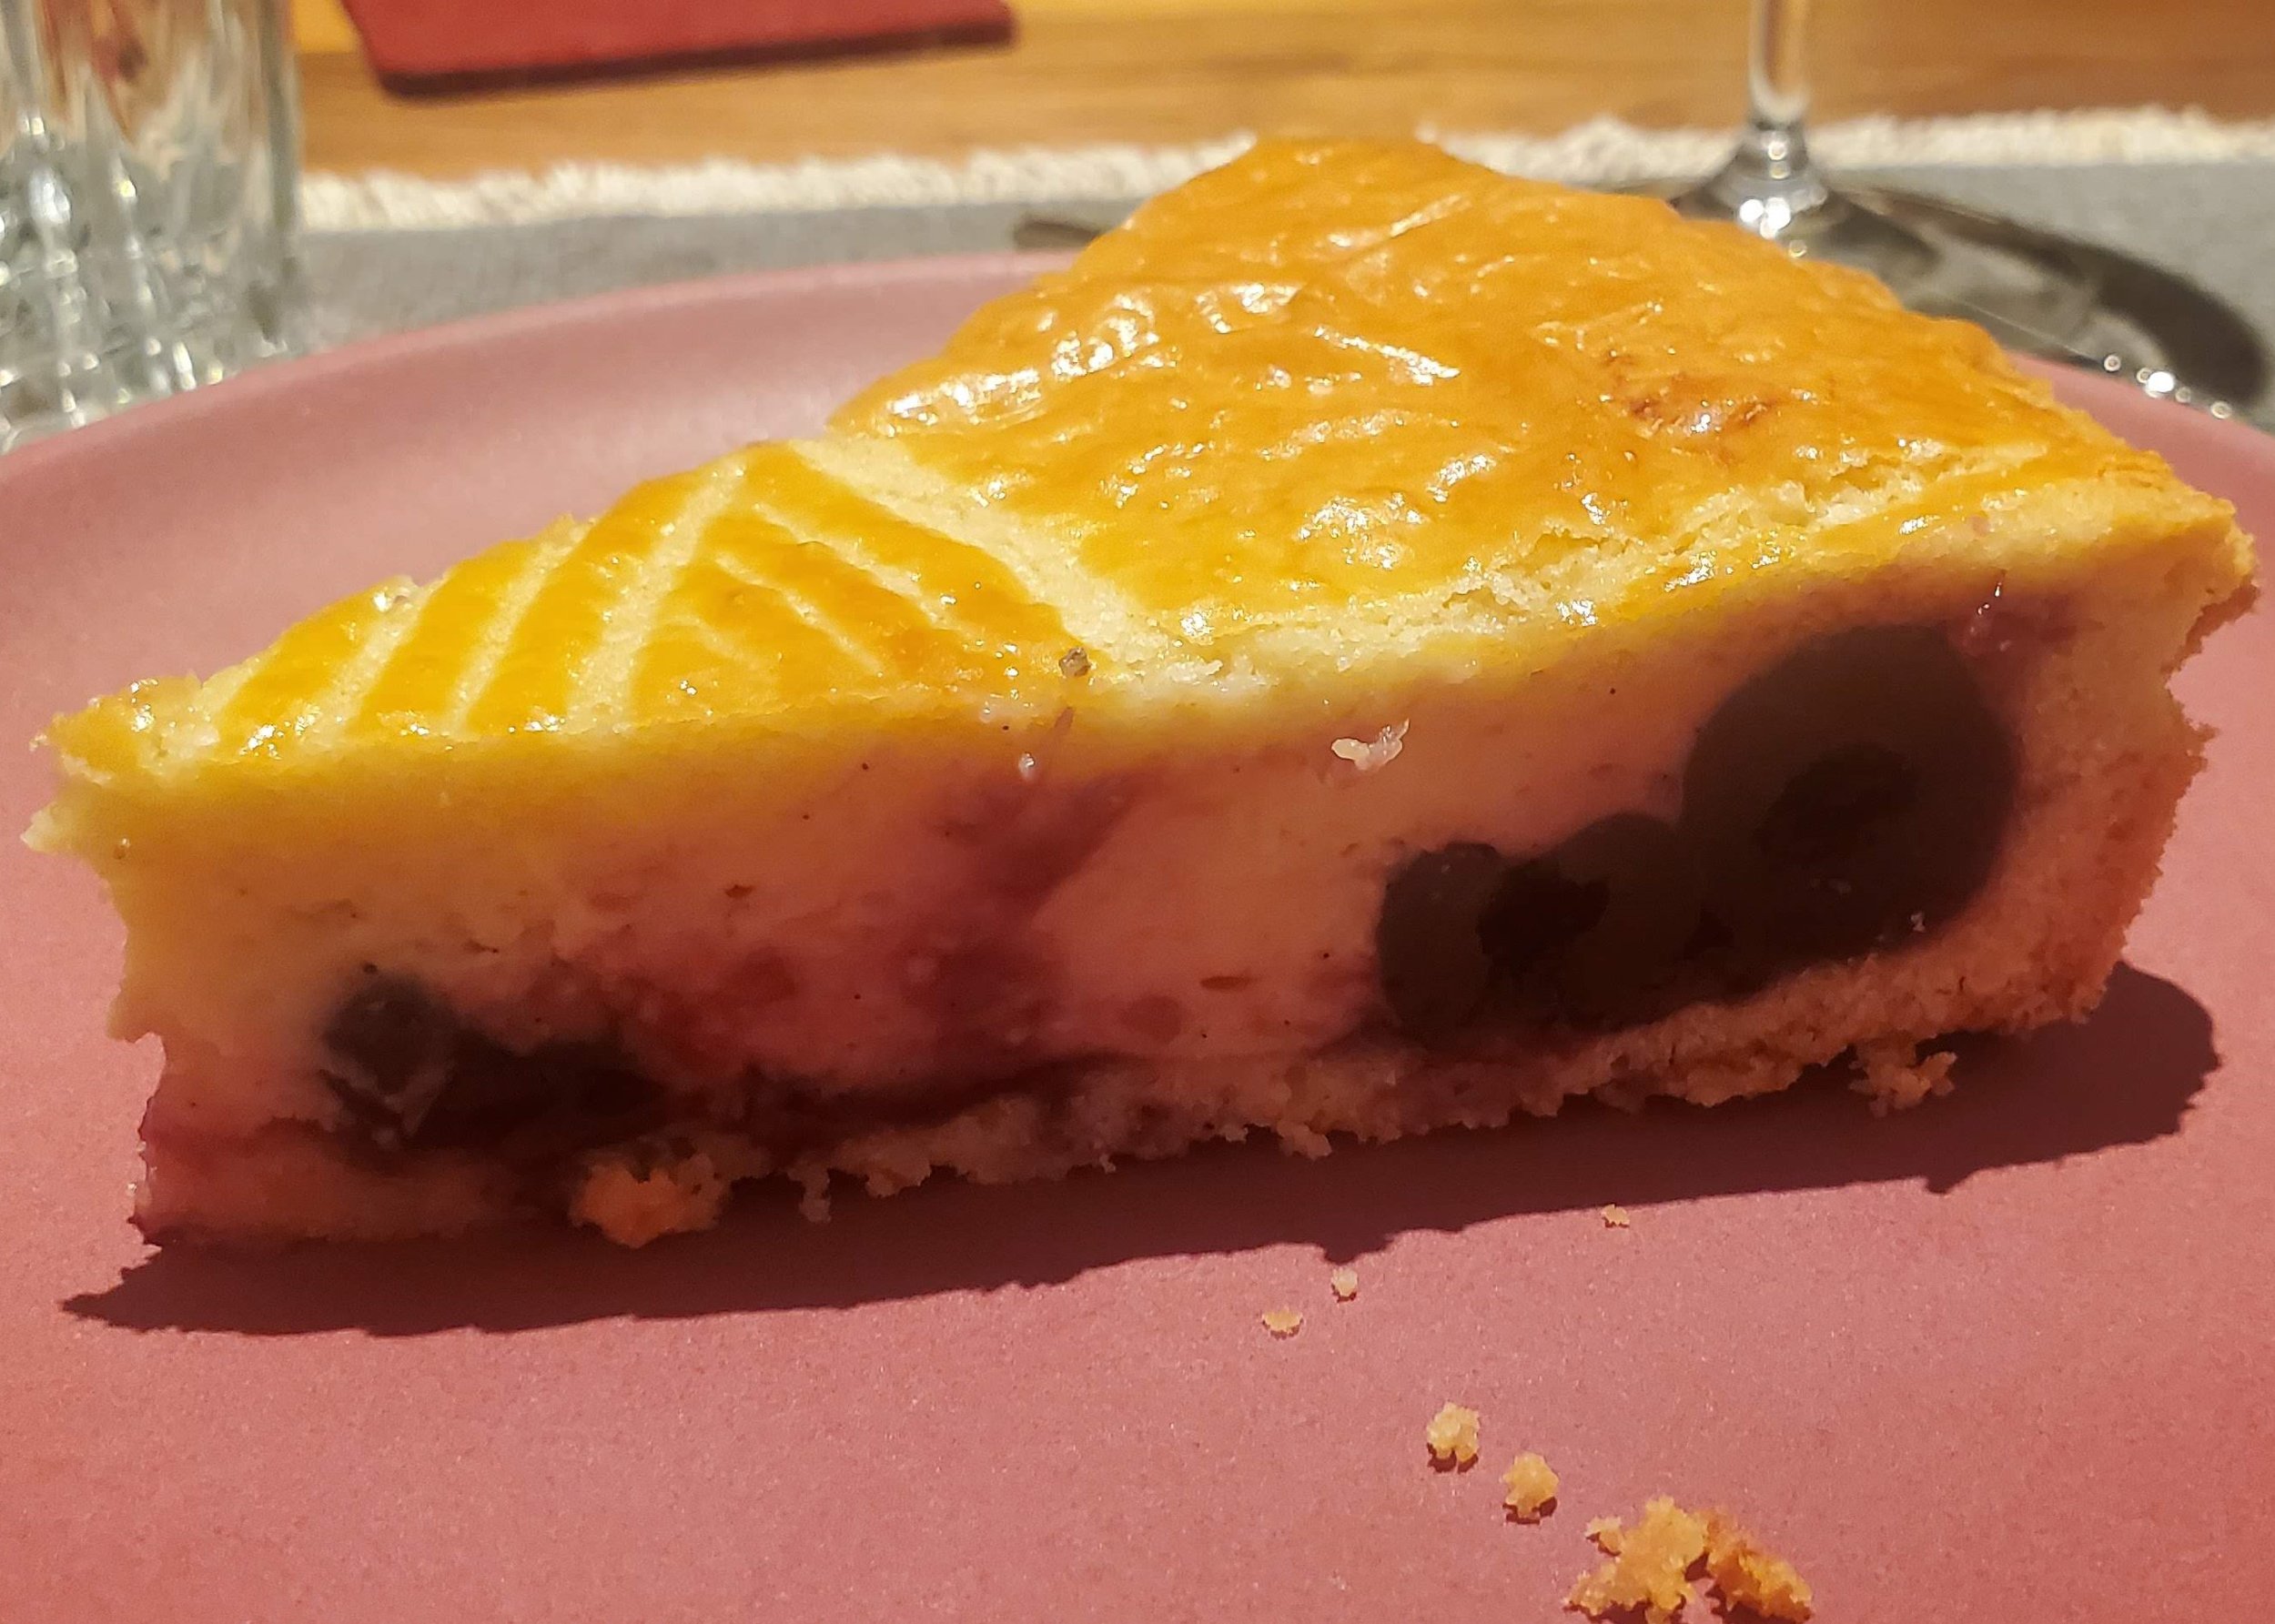
Our friends invited us to their house for dinner and wine tasting, and they always open such terrific wines for us. I felt that I should bring a dessert that merited their beautiful space, excellent food and drink, and their terrific company, so I happened upon this recipe for tarte basque in Dessert Person by Claire Saffitz.
Honestly, the hardest part of this recipe was finding the cherries I wanted. This was part of my aforementioned odyssey to find roasted chestnuts in light syrup, so I ended up with some sour cherries in light syrup. I used two jars of them ($$) but it was totally worth it! The crust is a cross between a pie and a cookie dough and was definitely fiddly to get into the tart pan. But the filling is just reduced cherries with some lemon zest and Kirschwasser, and then topped with crème pâtissière.
Bûche de Noël
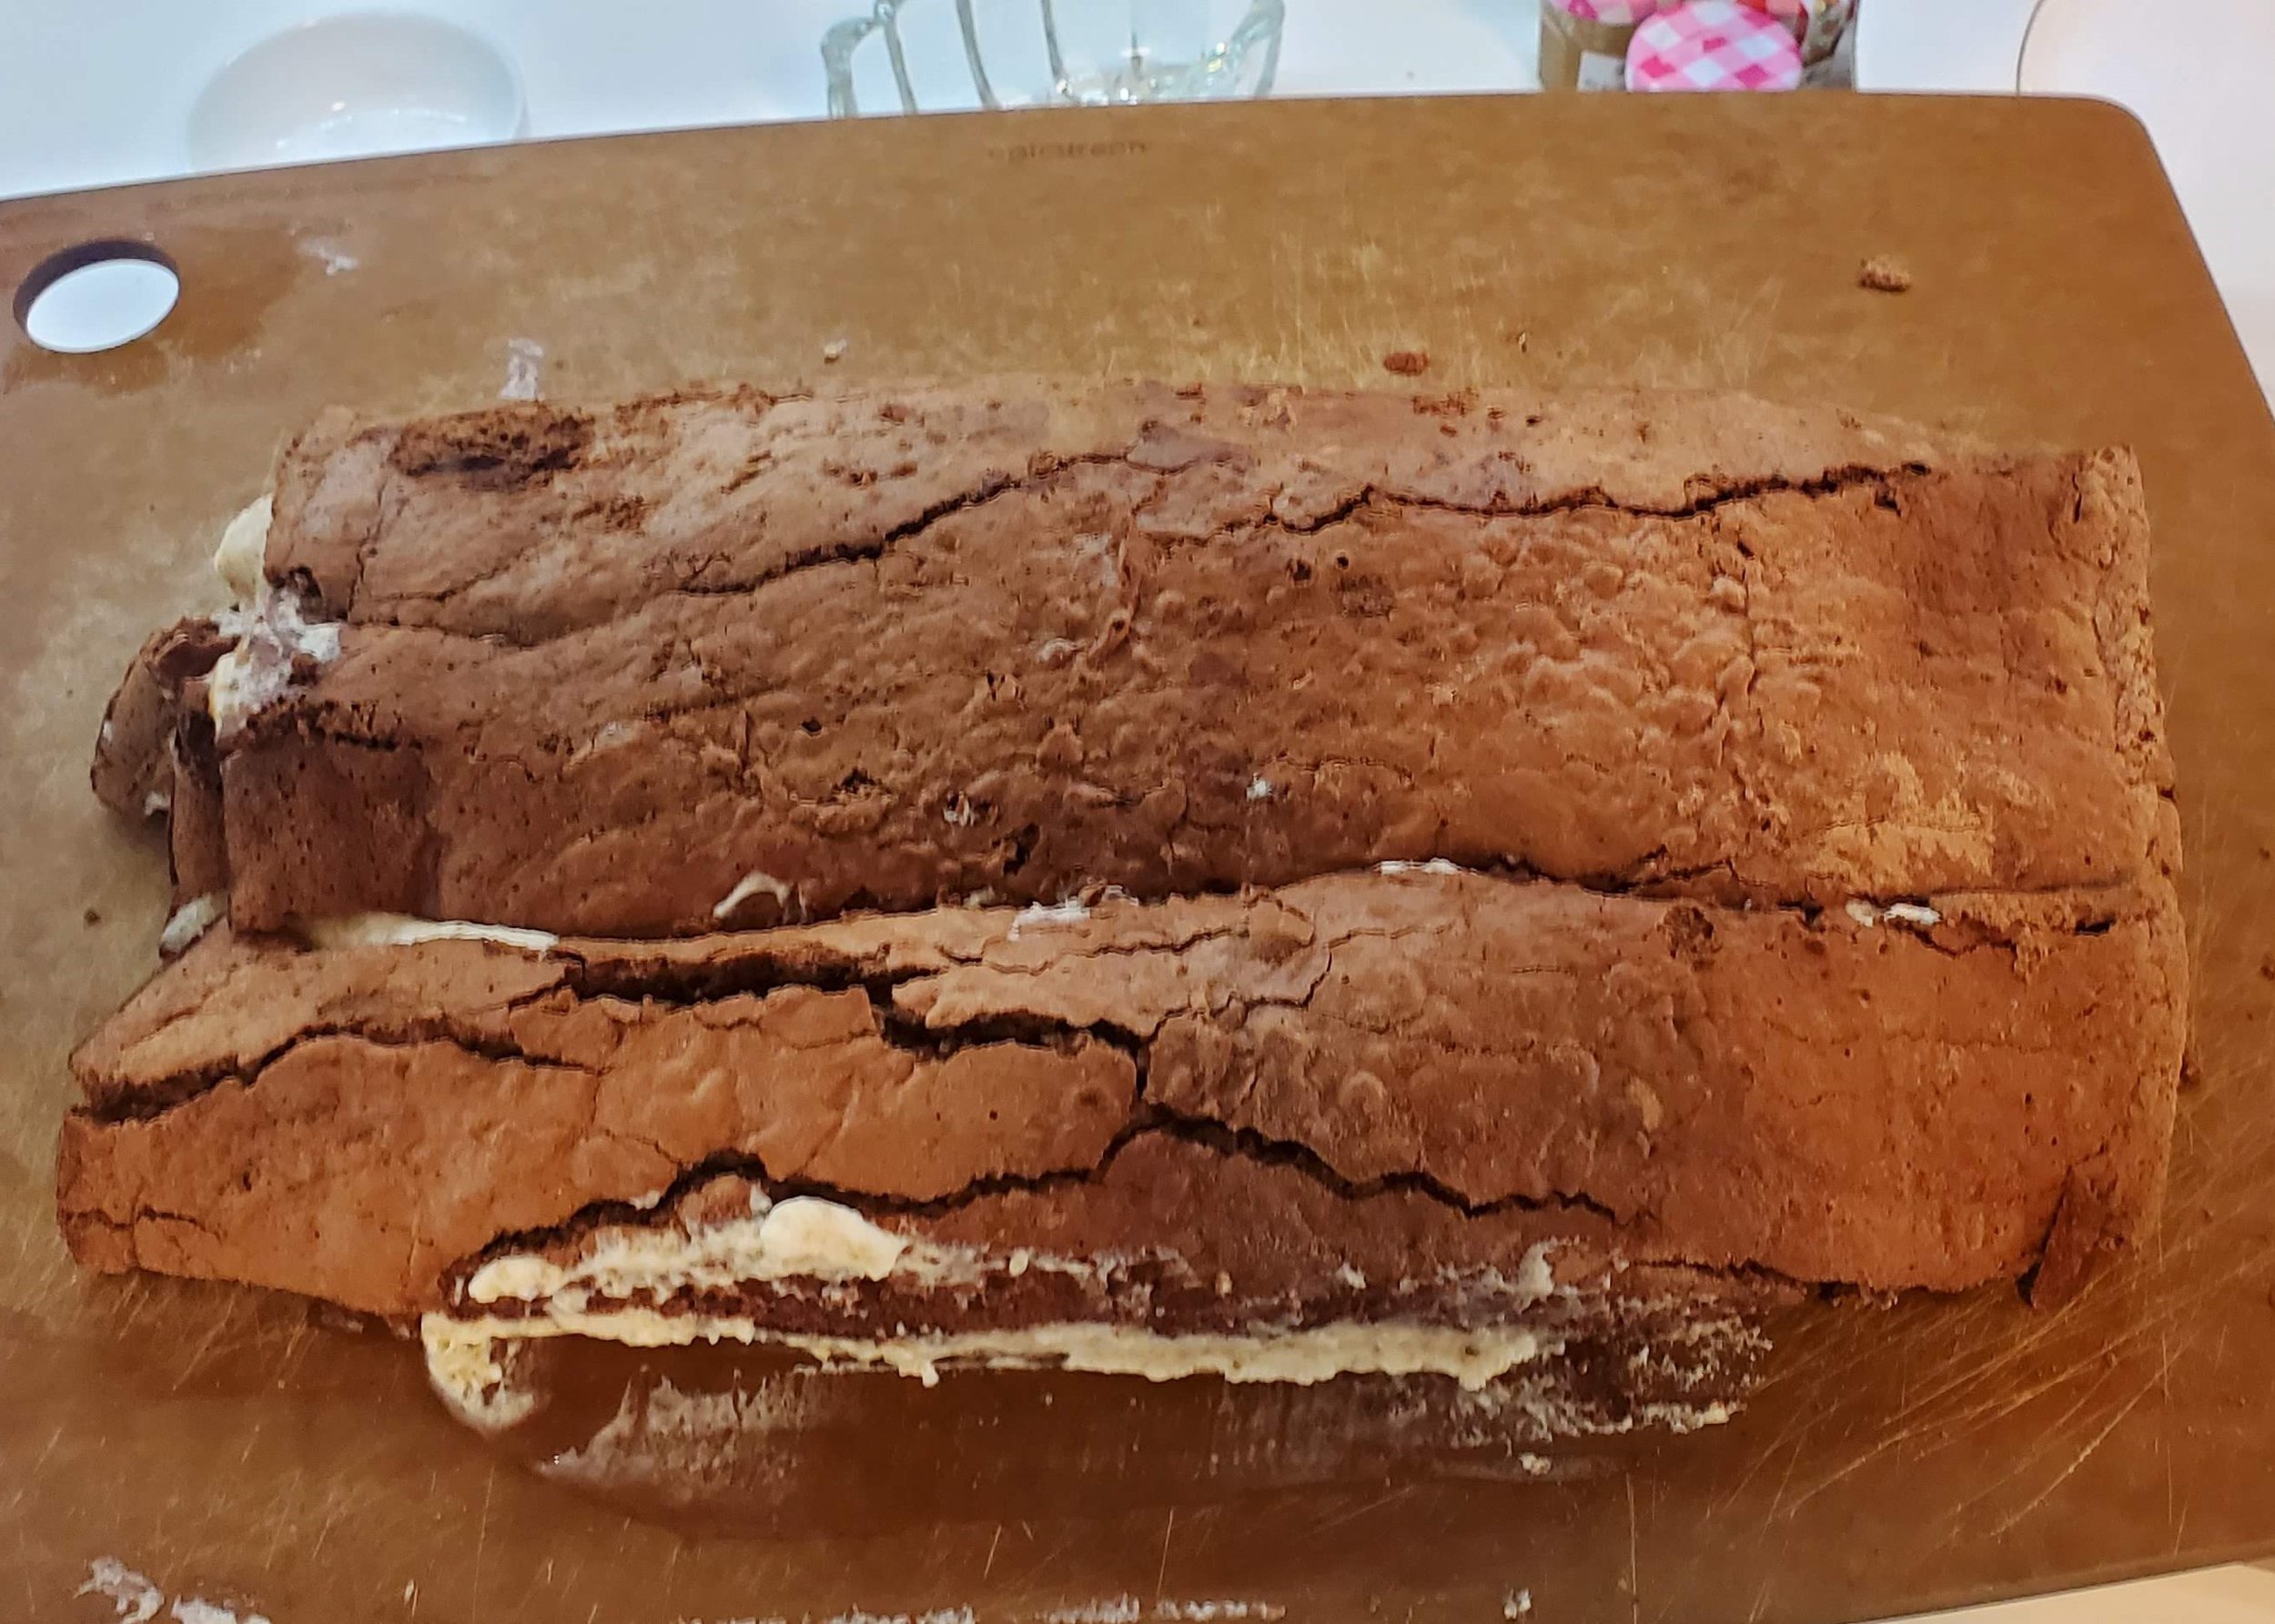
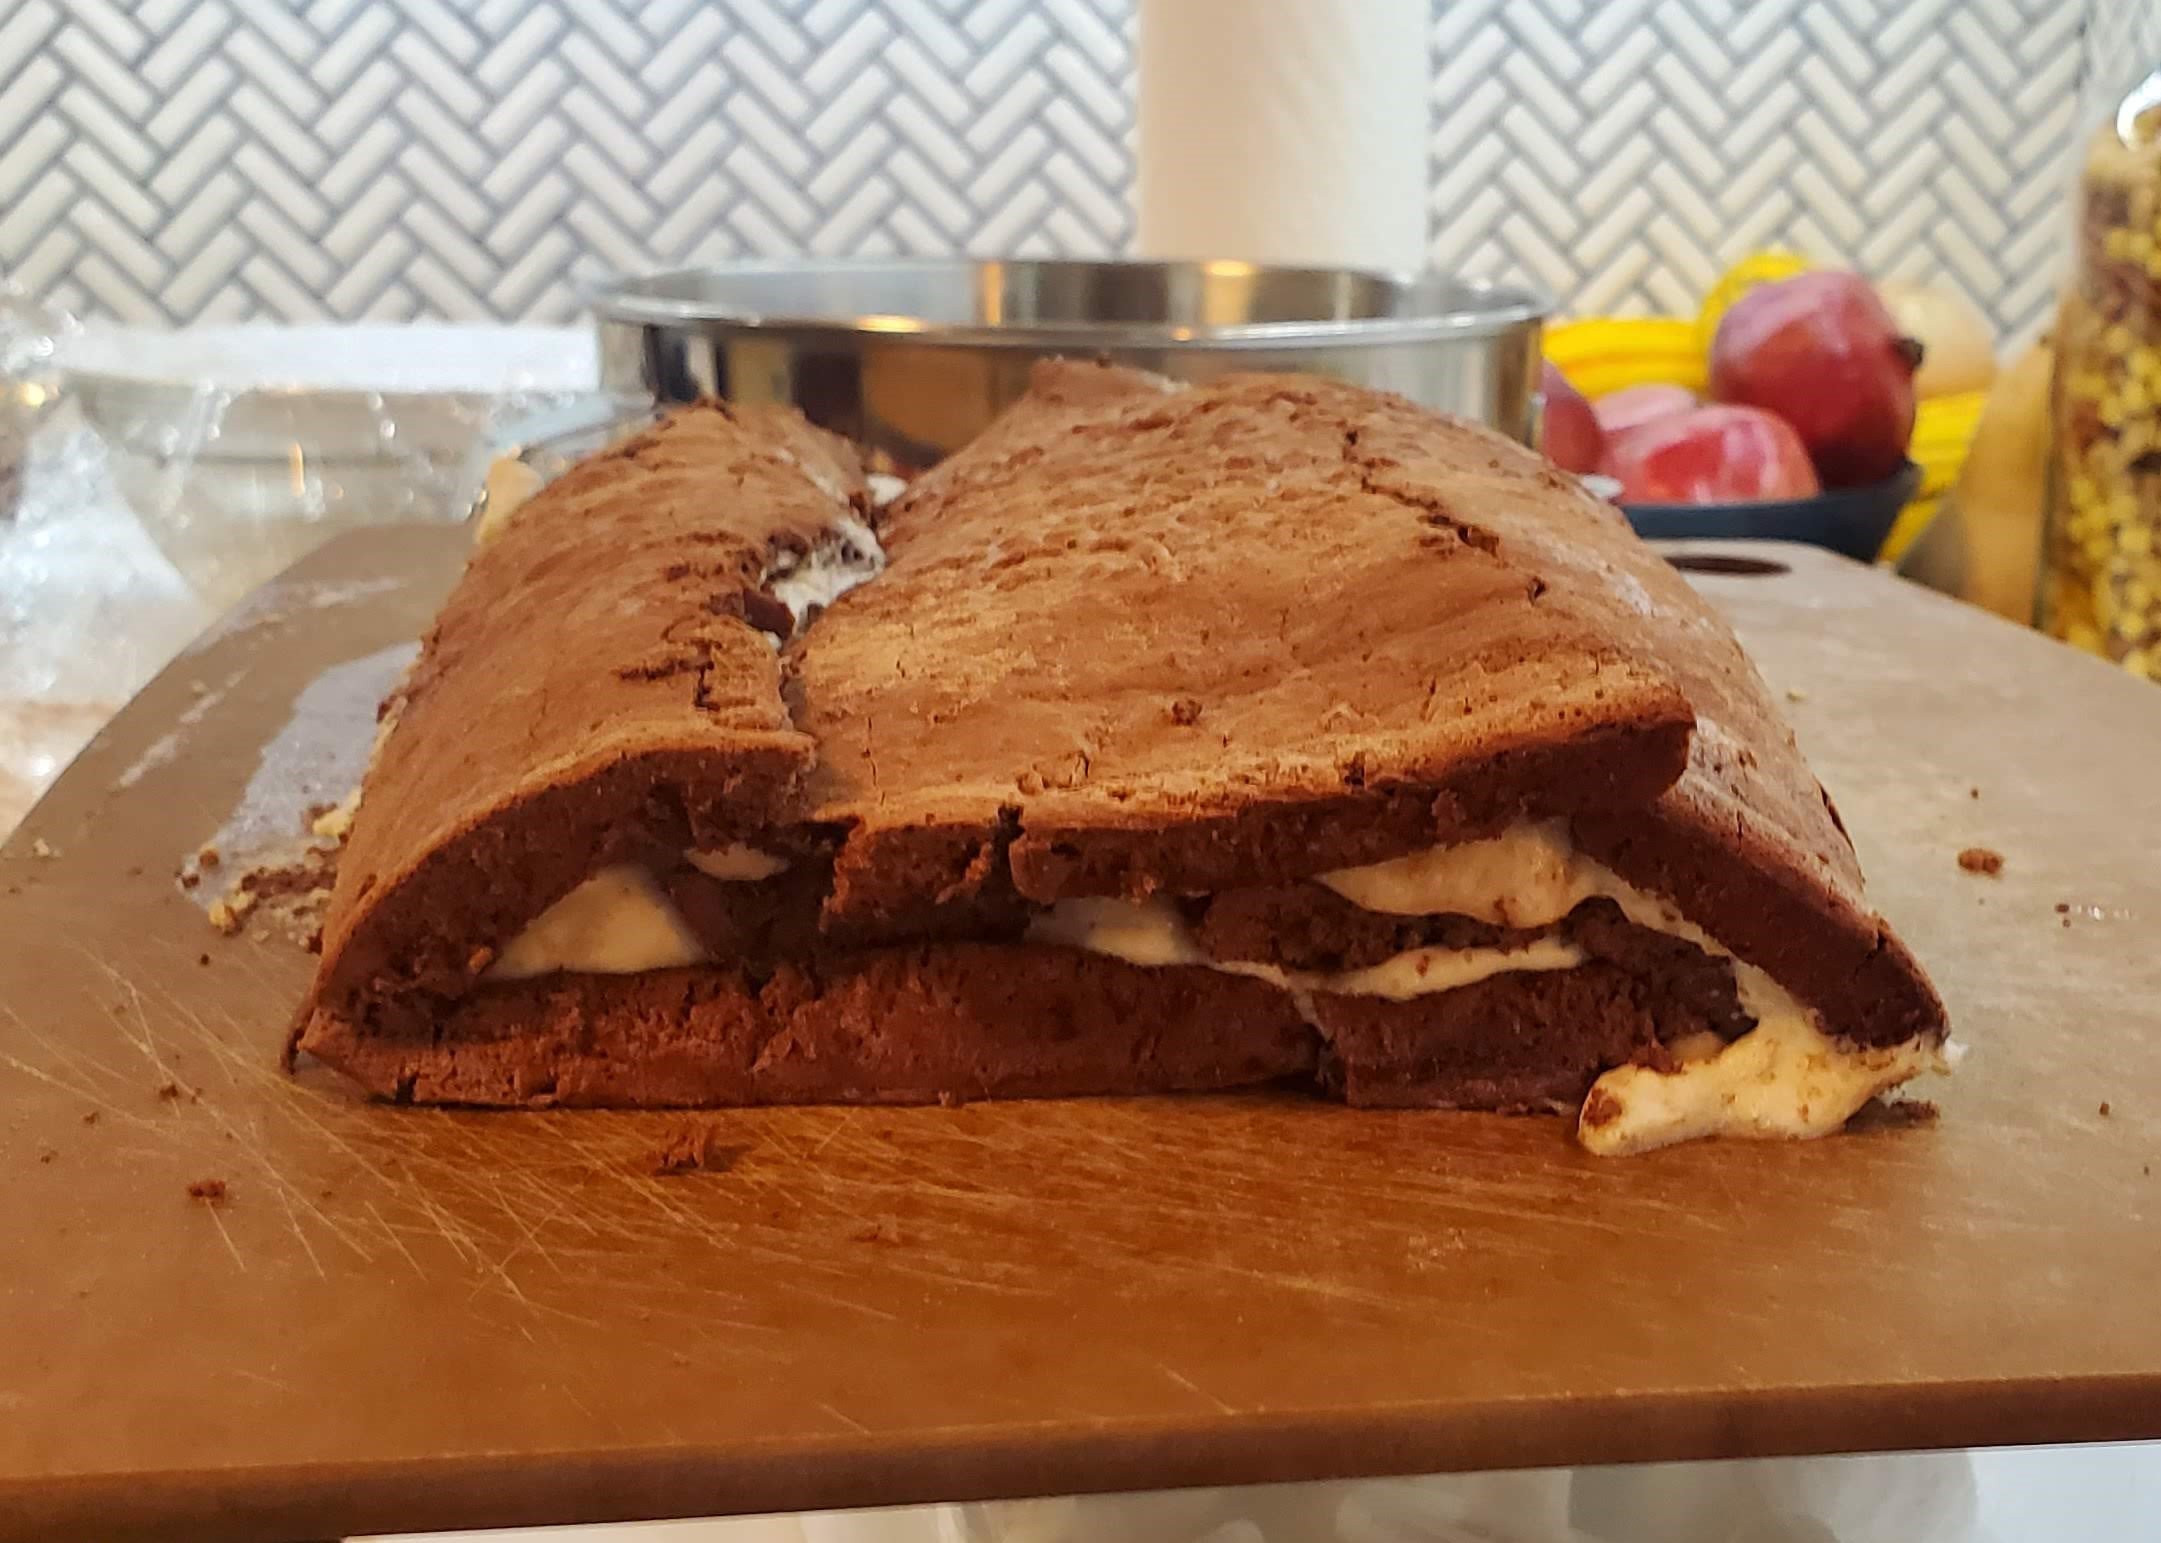
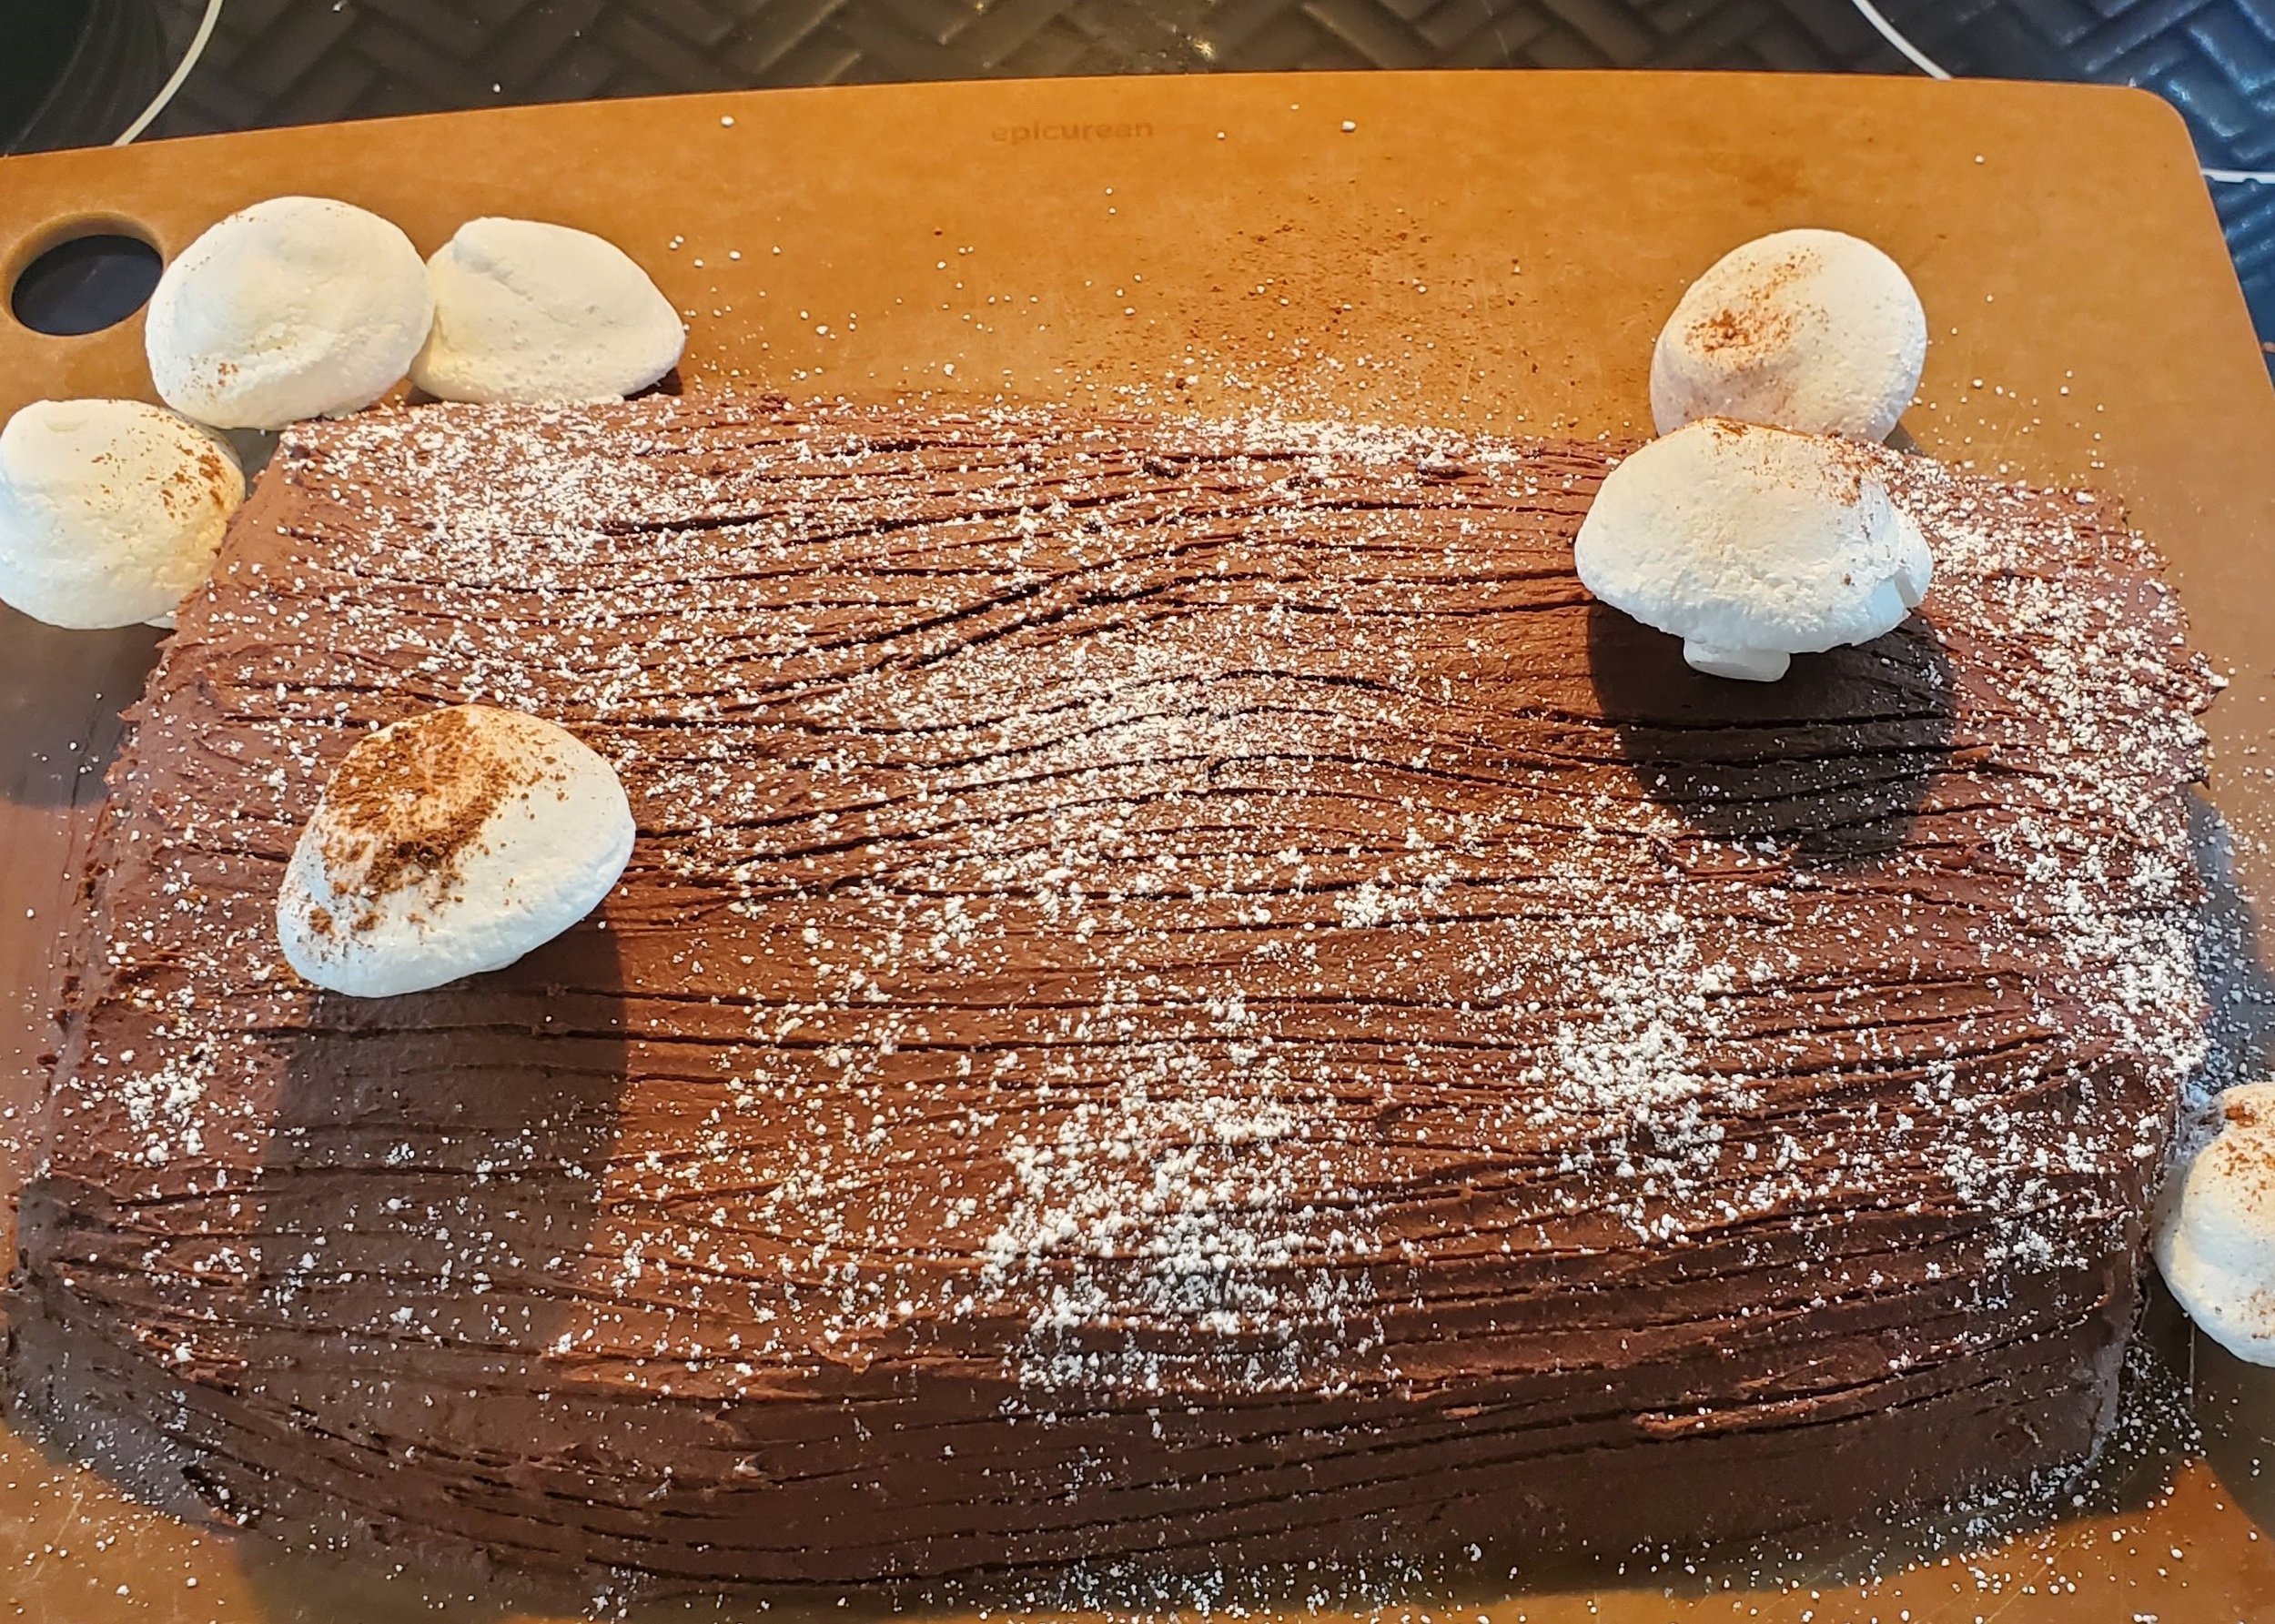
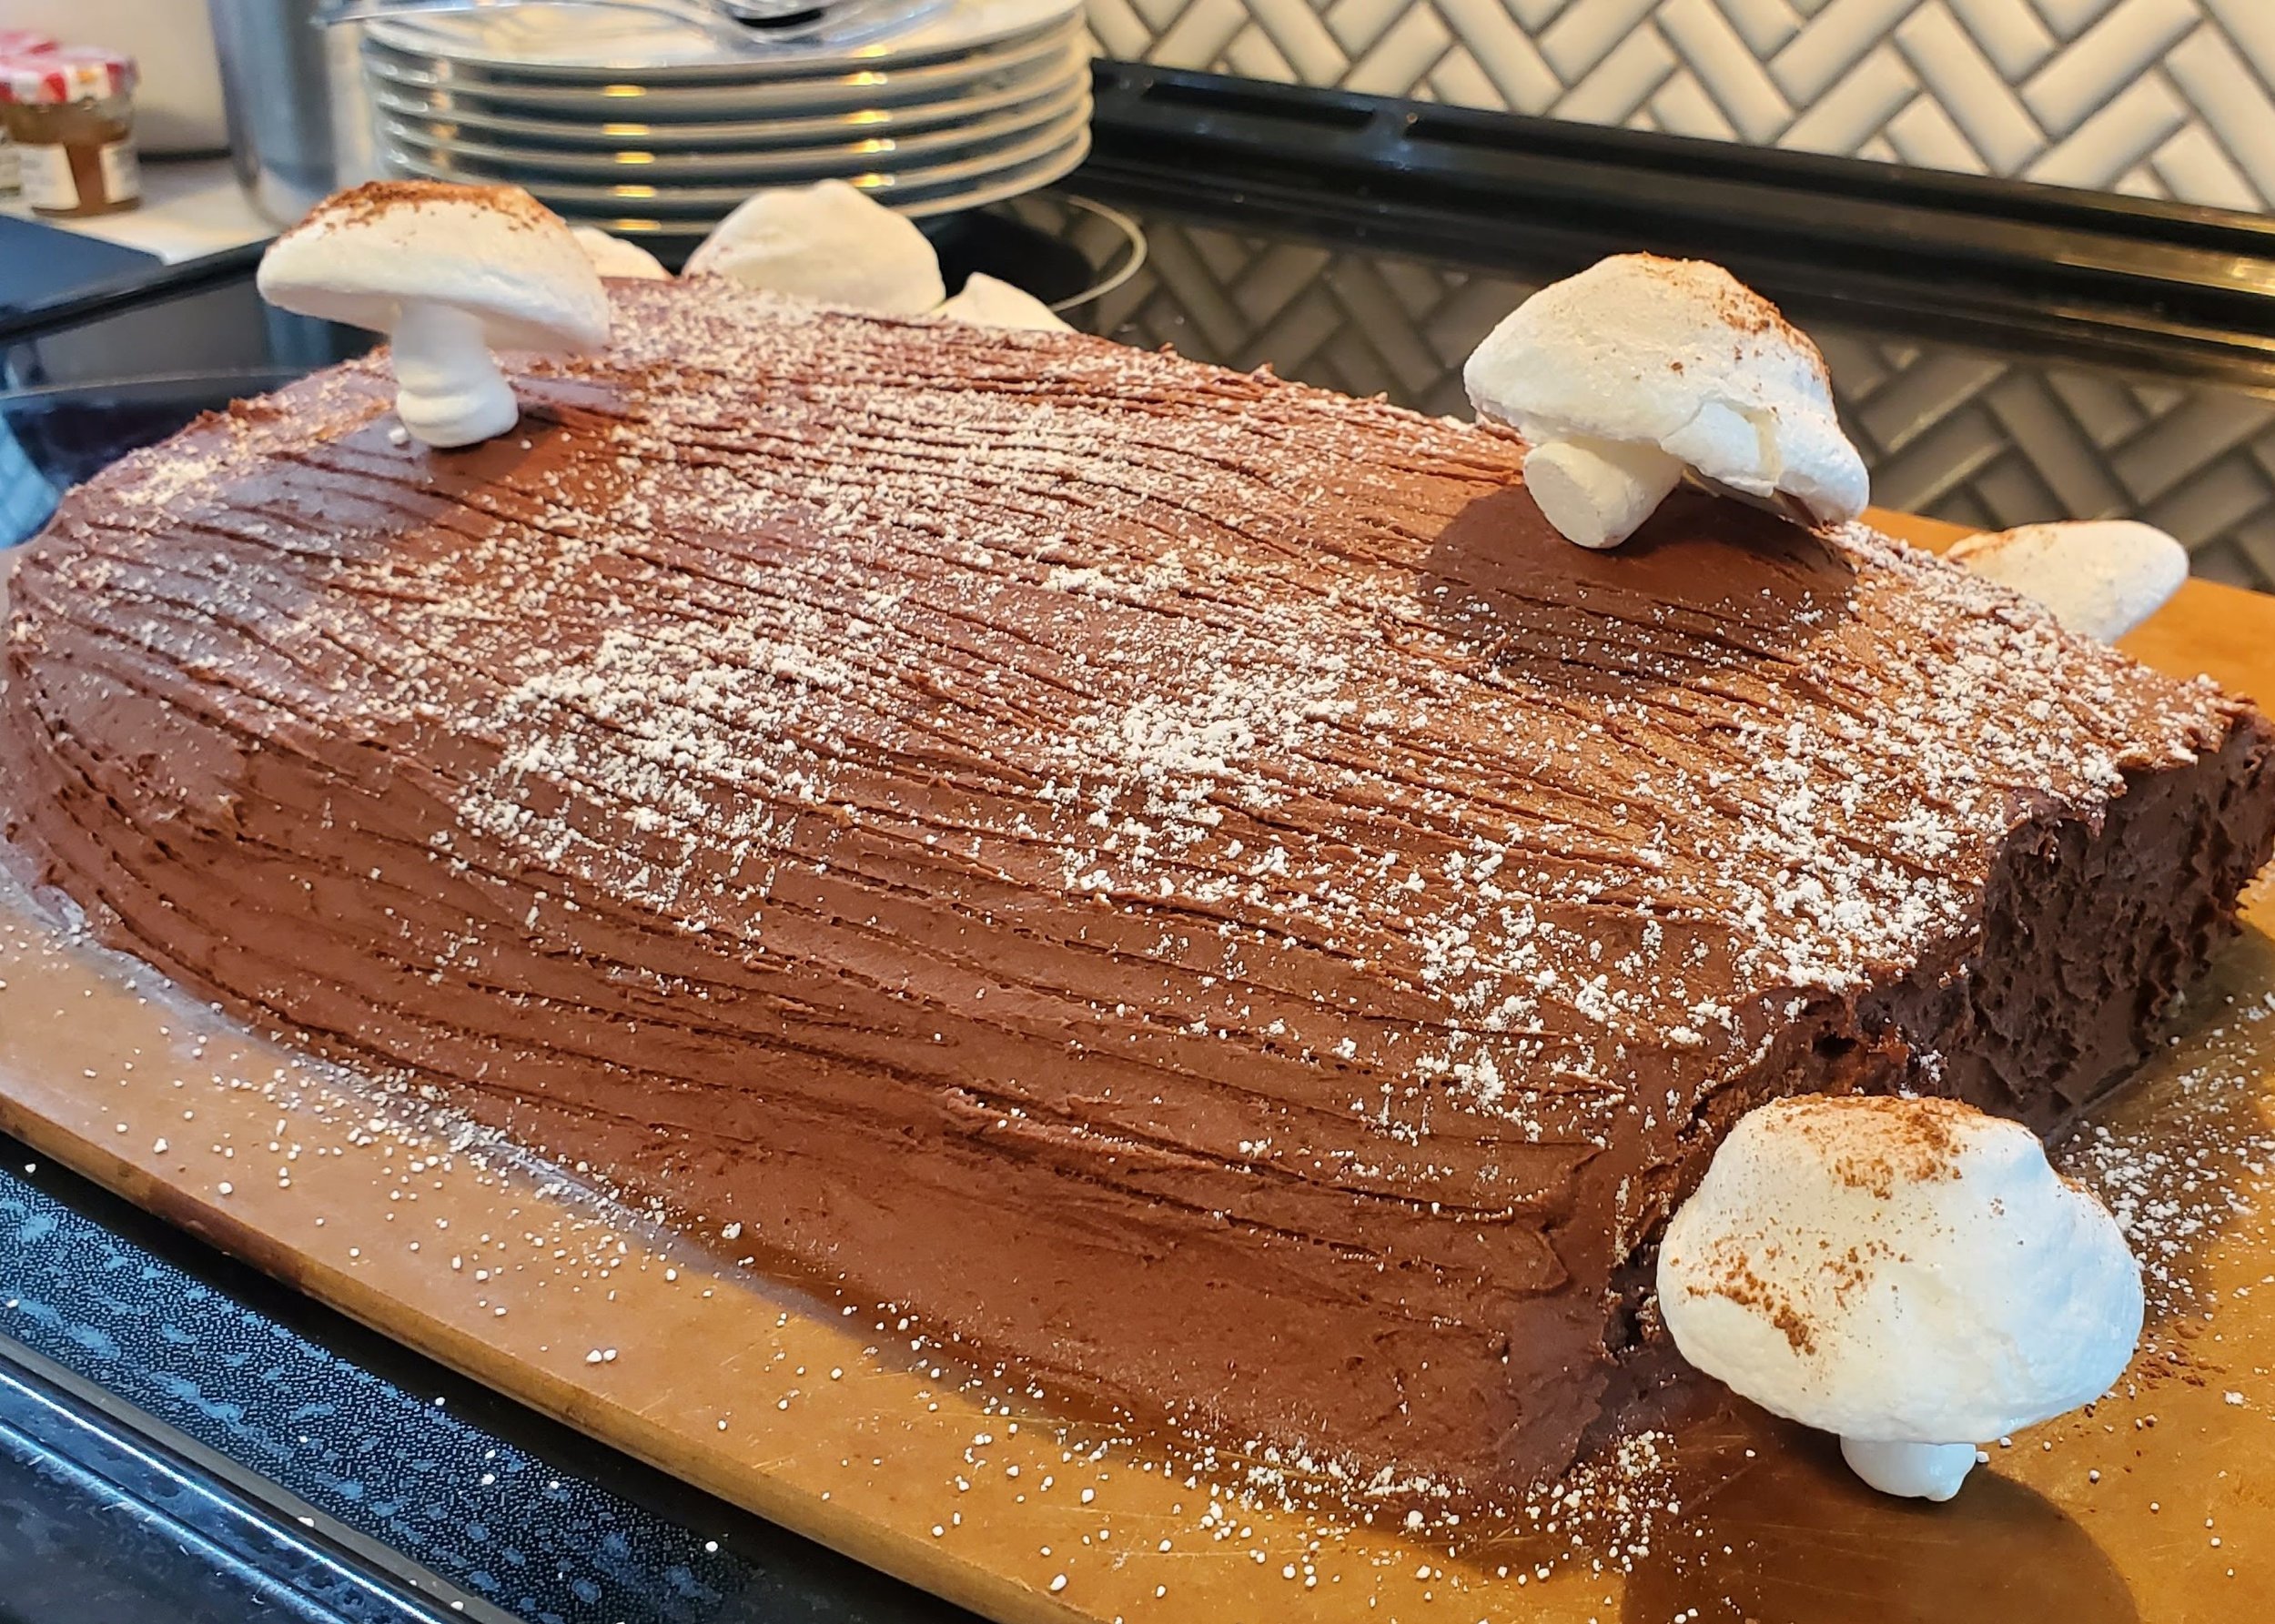
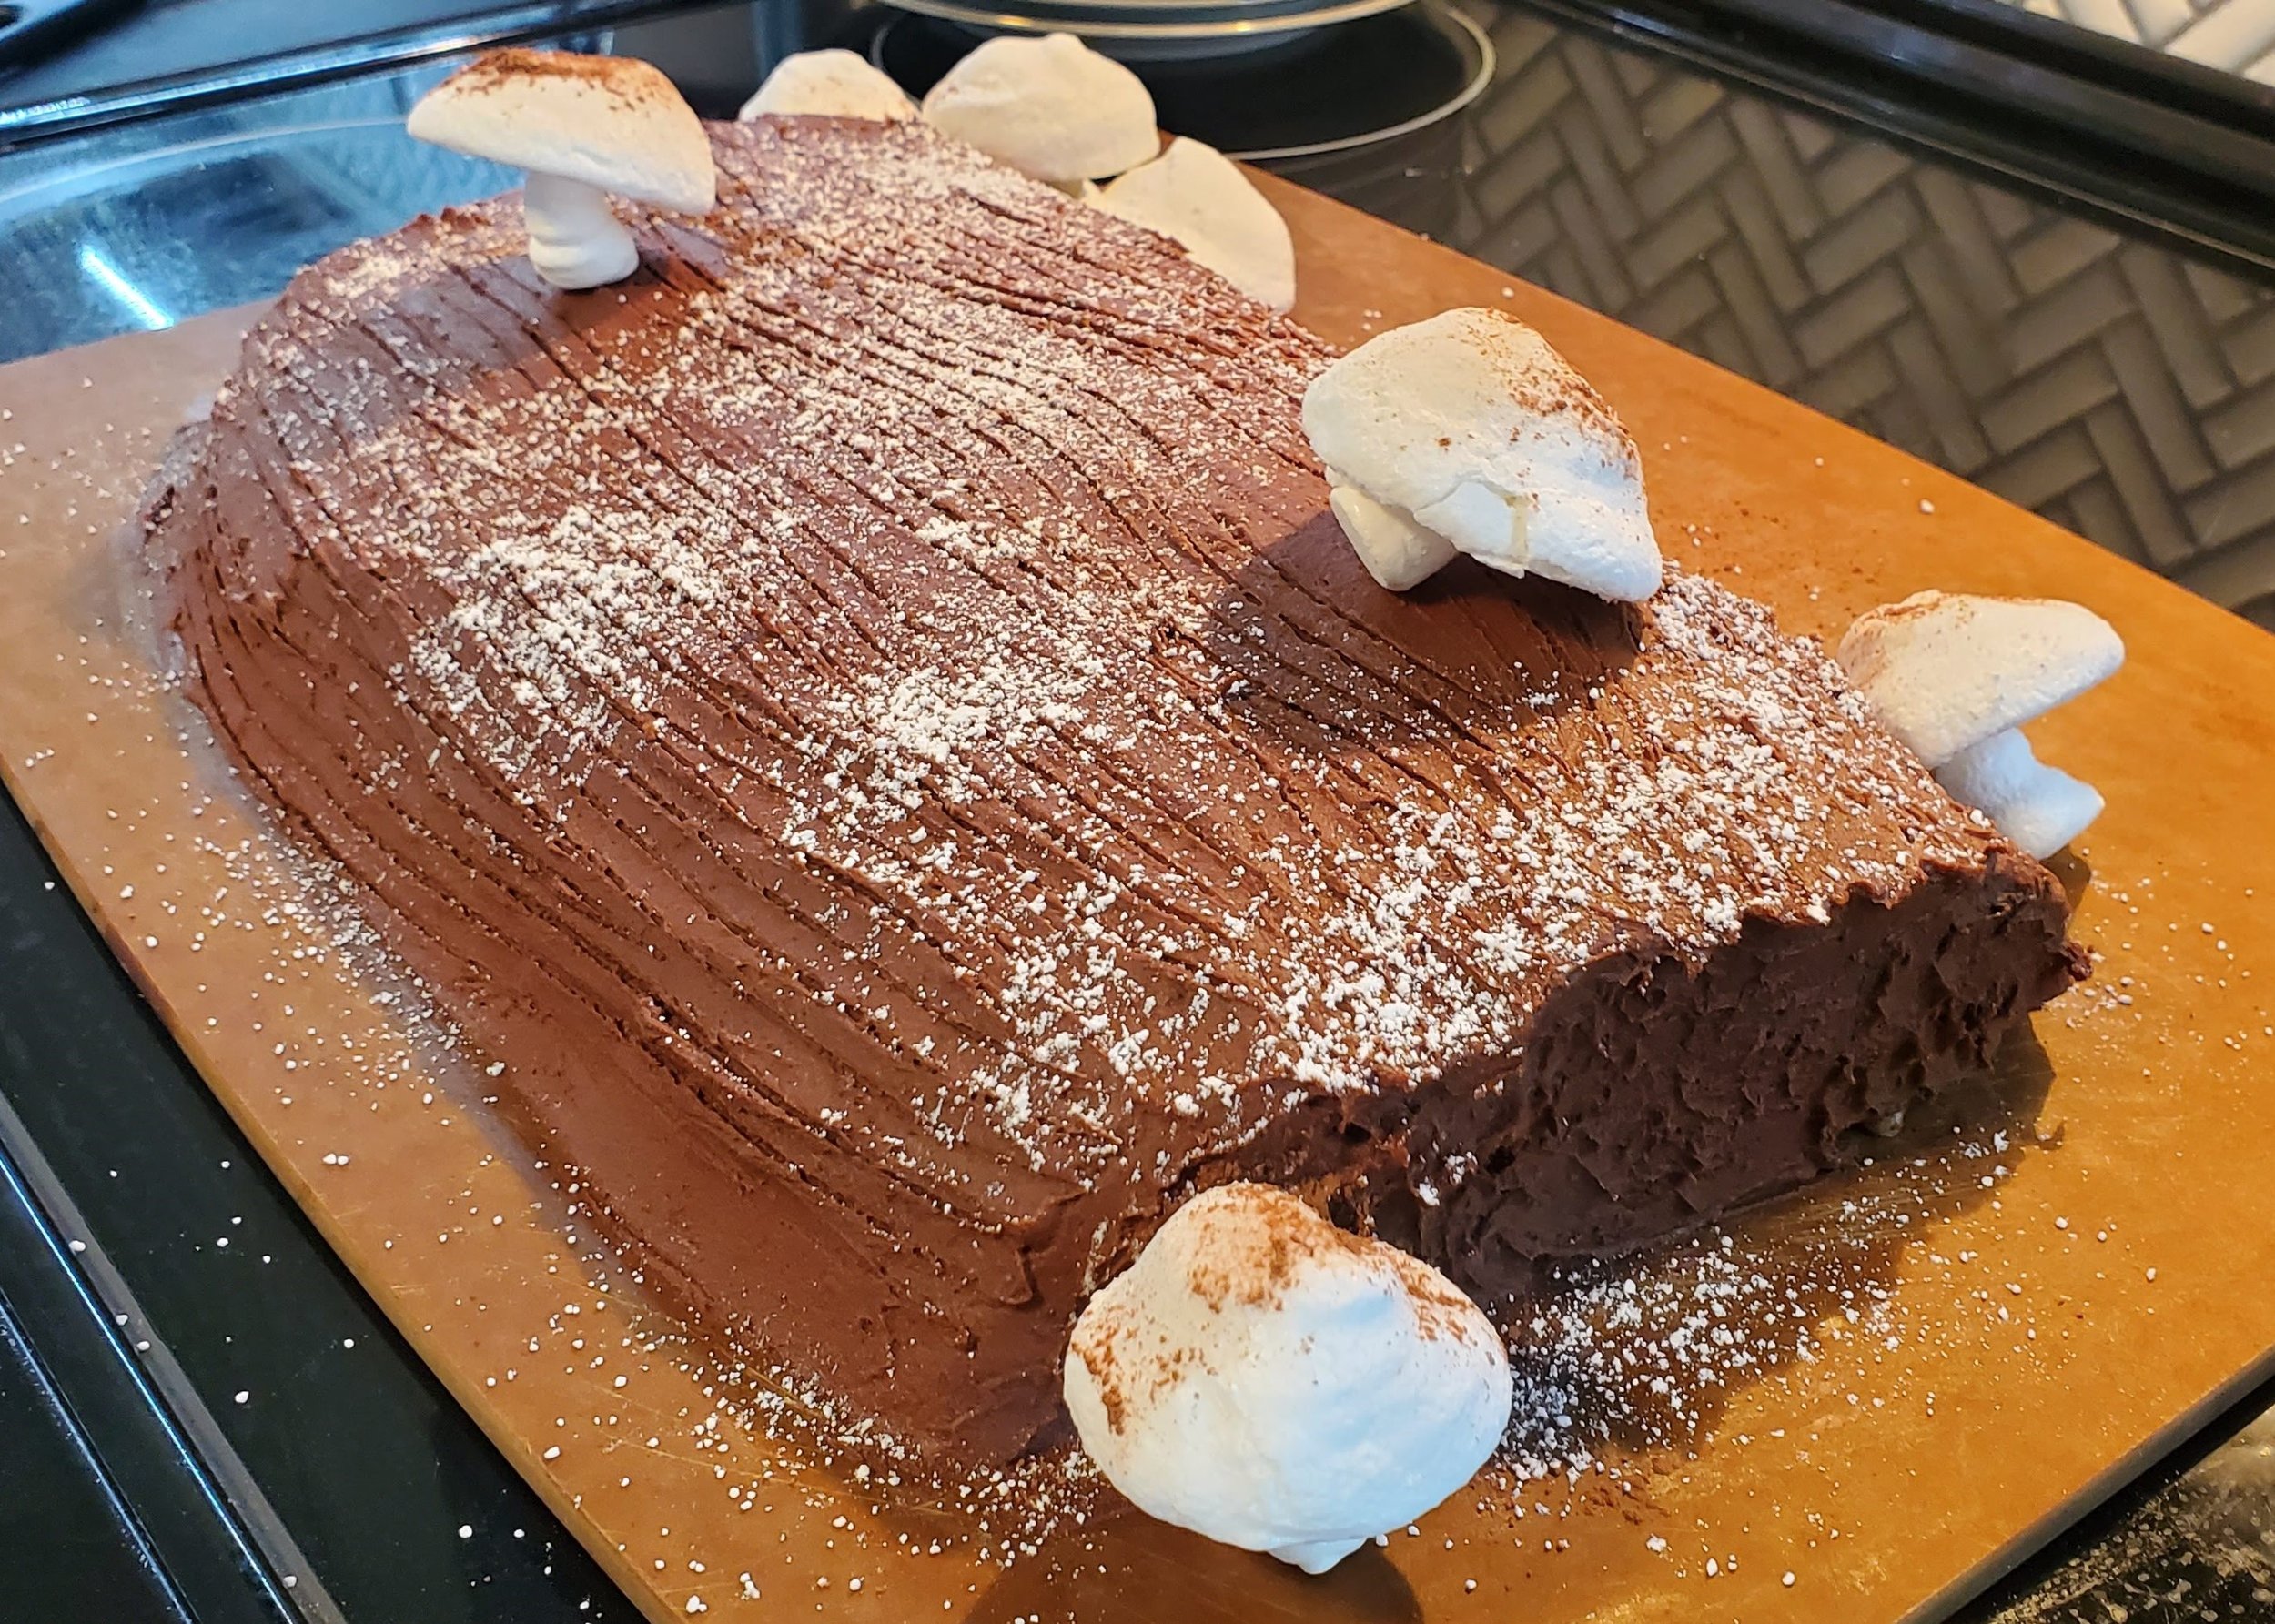
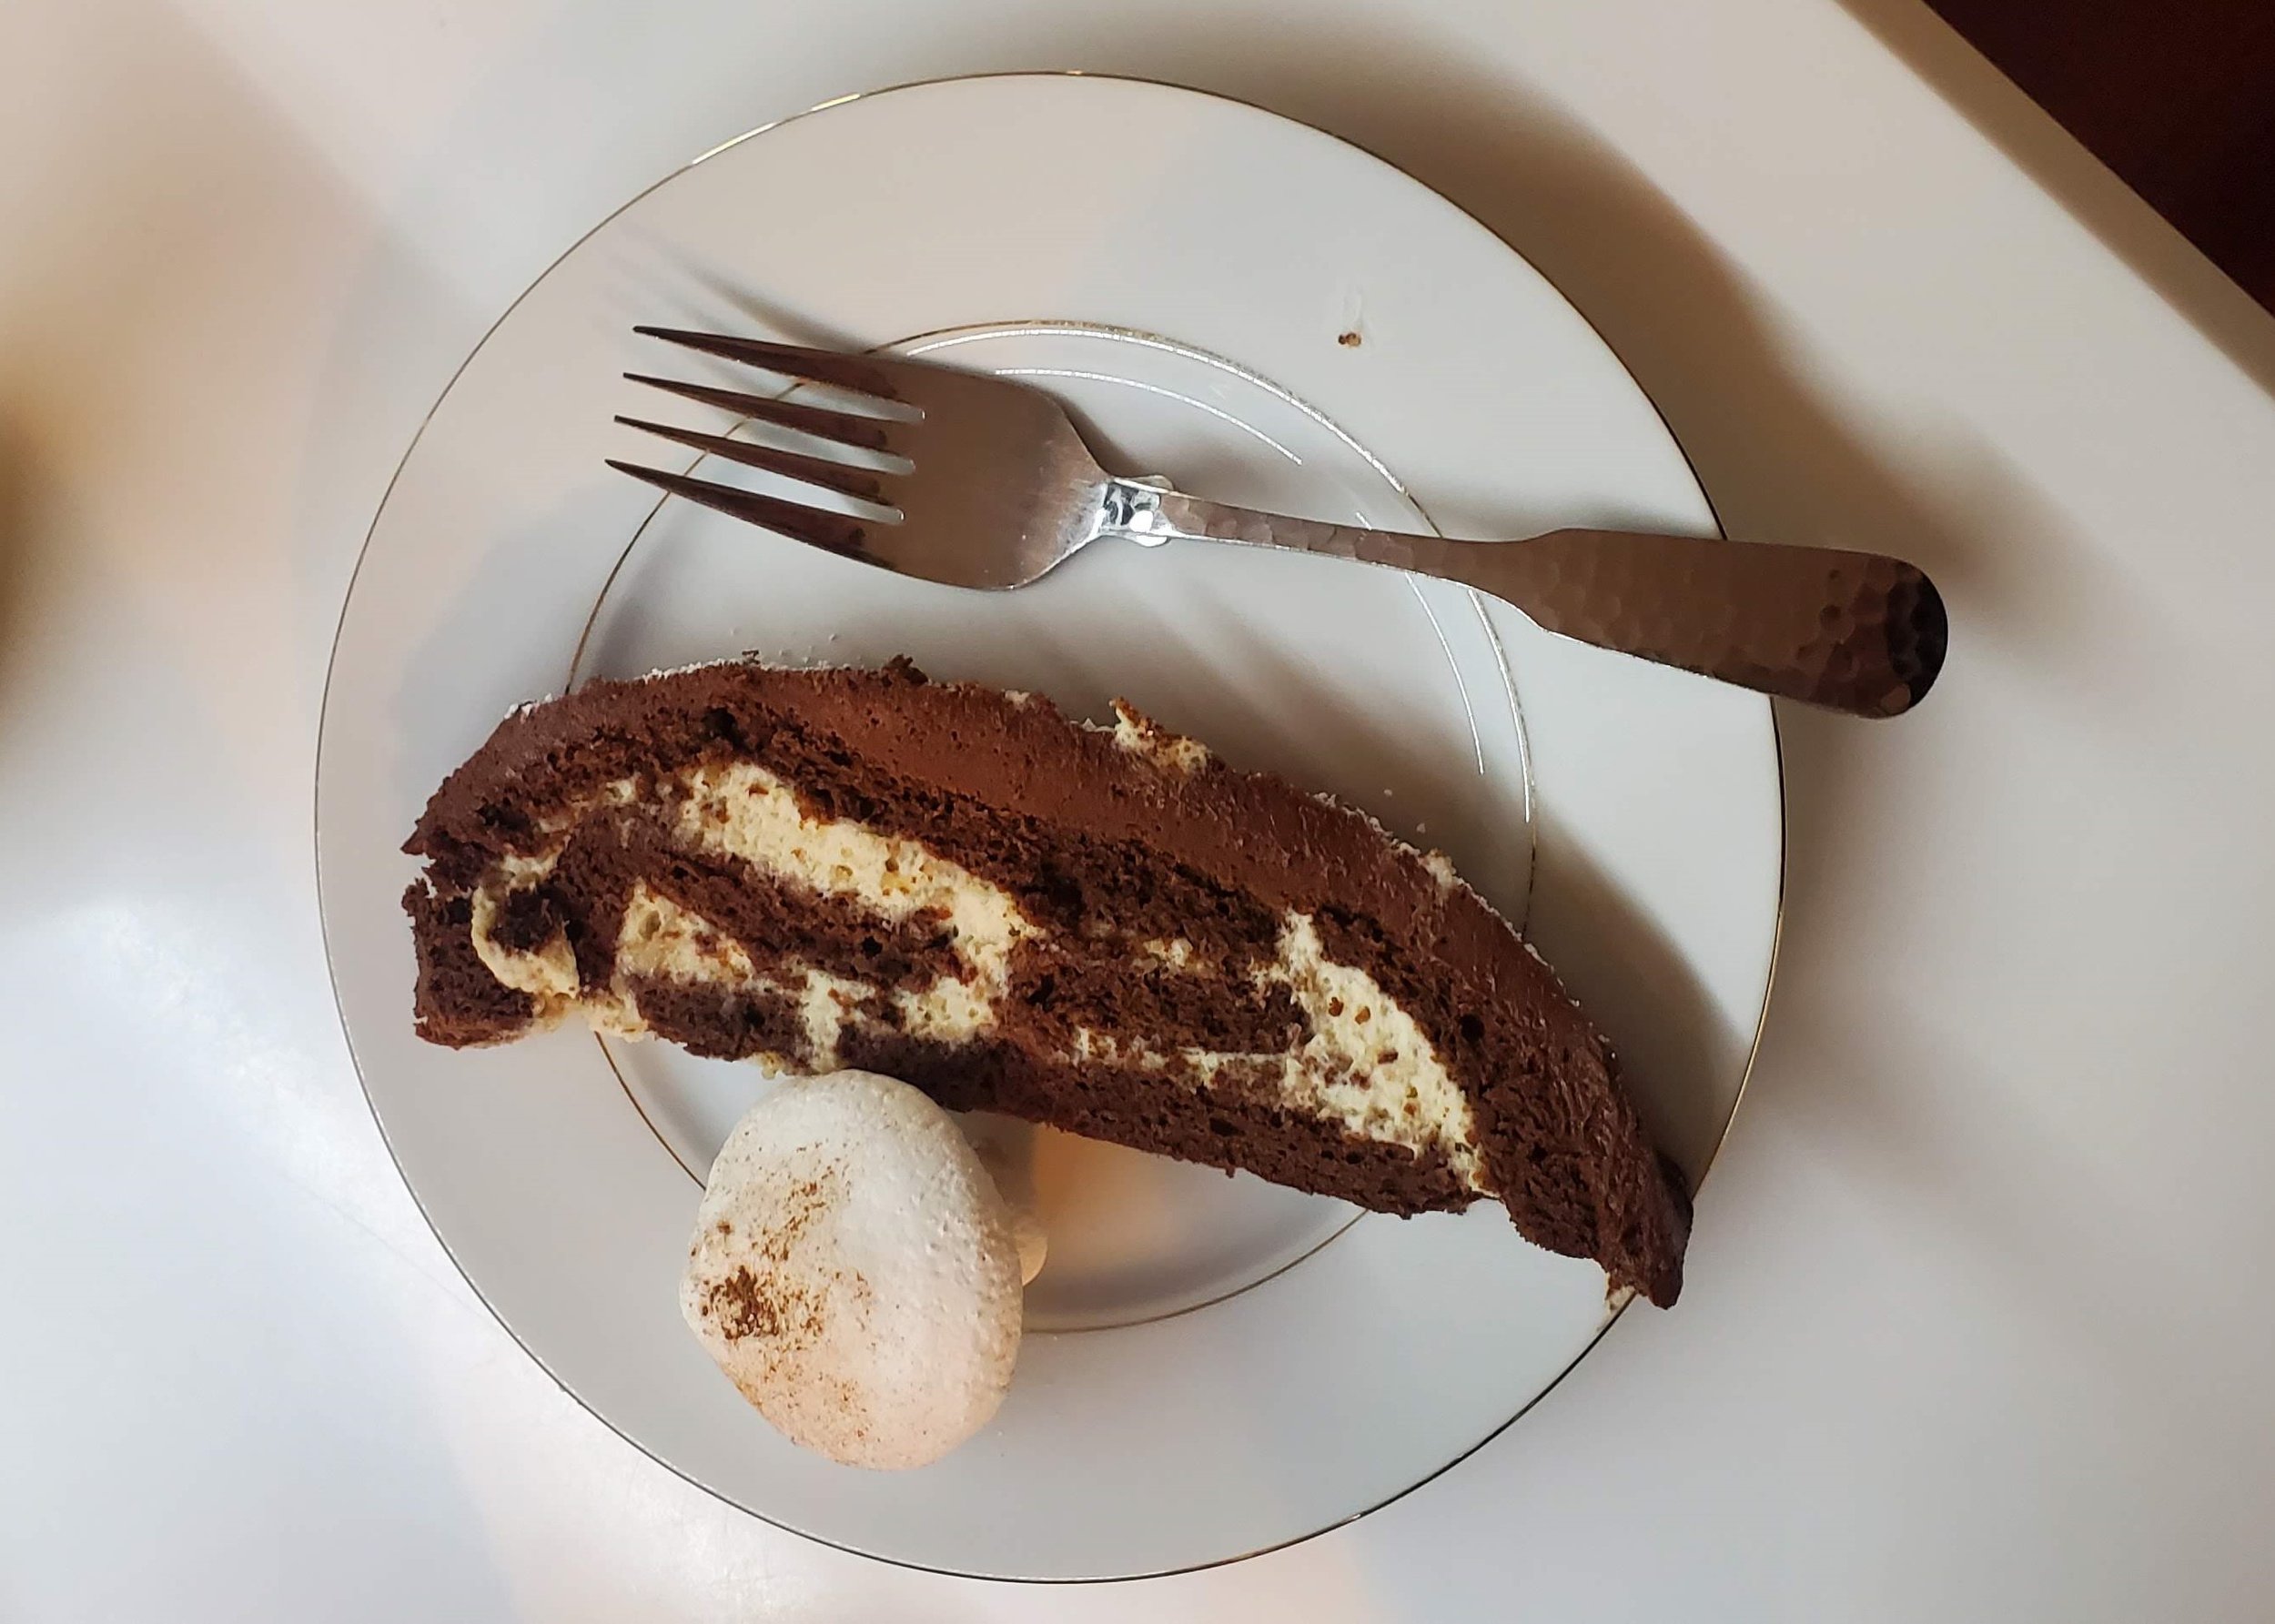

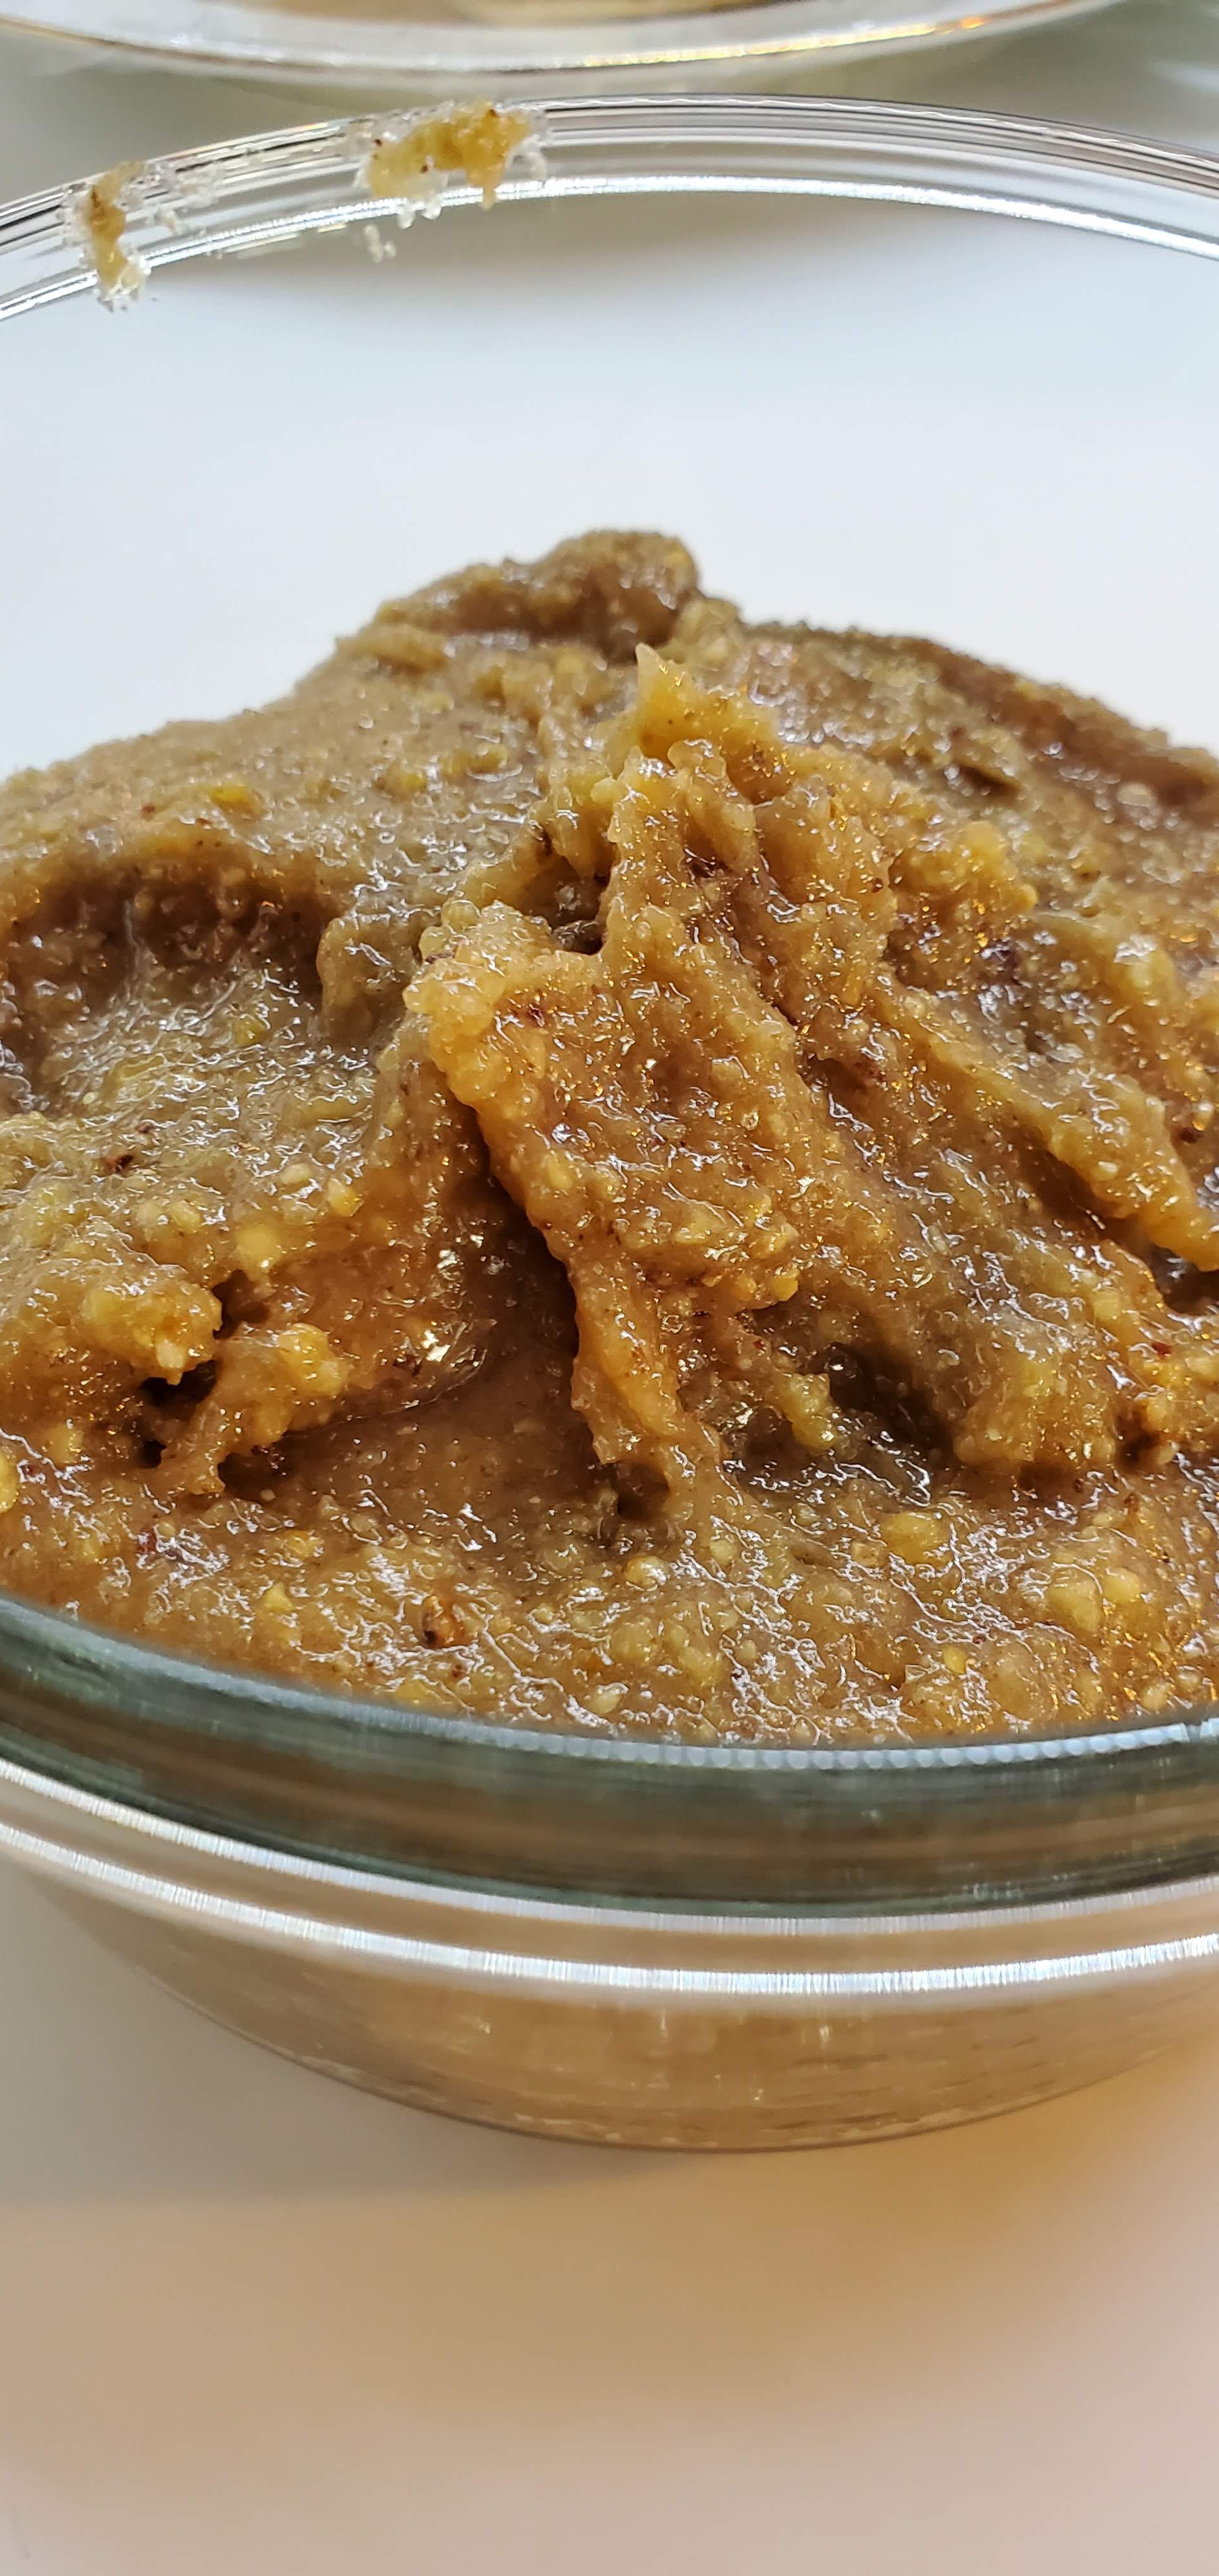
We decided to host four friends for Christmas Day and I wanted to try my hand at a bûche de noël, knowing that rolling a cake is very tricky and that I have not been successful in the past. But I’d had some good bakes this past year and I felt my skills had grown, so I was ready to try it again.
For the main recipe, I used Claire Saffitz’ recipe from Bon Appétit. I decided to go for the chestnut mousse and gild the lily with Saffitz’ best chocolate buttercream (which is a French buttercream) recipe from her Dessert Person book. I used Rose Levy Beranbaum’s recipe for meringue mushrooms.
This involved an odyssey for ingredients. I was desperately searching San Francisco for roasted chestnuts in a jar, but I could not find them. Instead, I found fresh chestnuts, so I roasted them instead. Then I peeled them and cooked them in a sugar syrup until they were soft. I pureed that mixture with a little more syrup until it made a stiff, sticky paste. This I used to make the chestnut mousse.
A French buttercream, if you’ve never made it, is made with egg yolks and sugar beaten together into which you whip a sugar syrup. Once that’s added, you can add in the butter - it’s involved and tricky but does it make the best chocolate buttercream I’ve ever had!
Rolling the cake, as you can see was a huge disaster. It just cracked and fell apart all over the cutting board. I briefly considered throwing it all away and trying again, but I couldn’t stomach the thought of making an third cake (I’d already made one to throw away since I somehow completely misread the ingredients, using only two eggs instead of five!) and roasting and candying and pureeing the chestnuts all over again. So I sallied forth and covered it with chocolate buttercream, meringue mushrooms, and powdered sugar. A log it is not… but a plank it very well might be. So instead of a bûche de noël, maybe what I made was a planche de noël.
Delicious though it was, I’ll never make one again! Too much work, too much pressure, and not enough success. Count me out for the rolled cakes, thank you very much.
sfogliatelle
Our dear friends invited us over for dinner on Christmas Eve and I knew they would - as usual - treat us to a sumptuous meal and excellent wines. Hoping to live up to the culinary treats we were to enjoy, I decided to try to surprise Salvo, who is originally from Sicily, with a classic Italian dessert (albeit not from Sicily): sfogliatella.
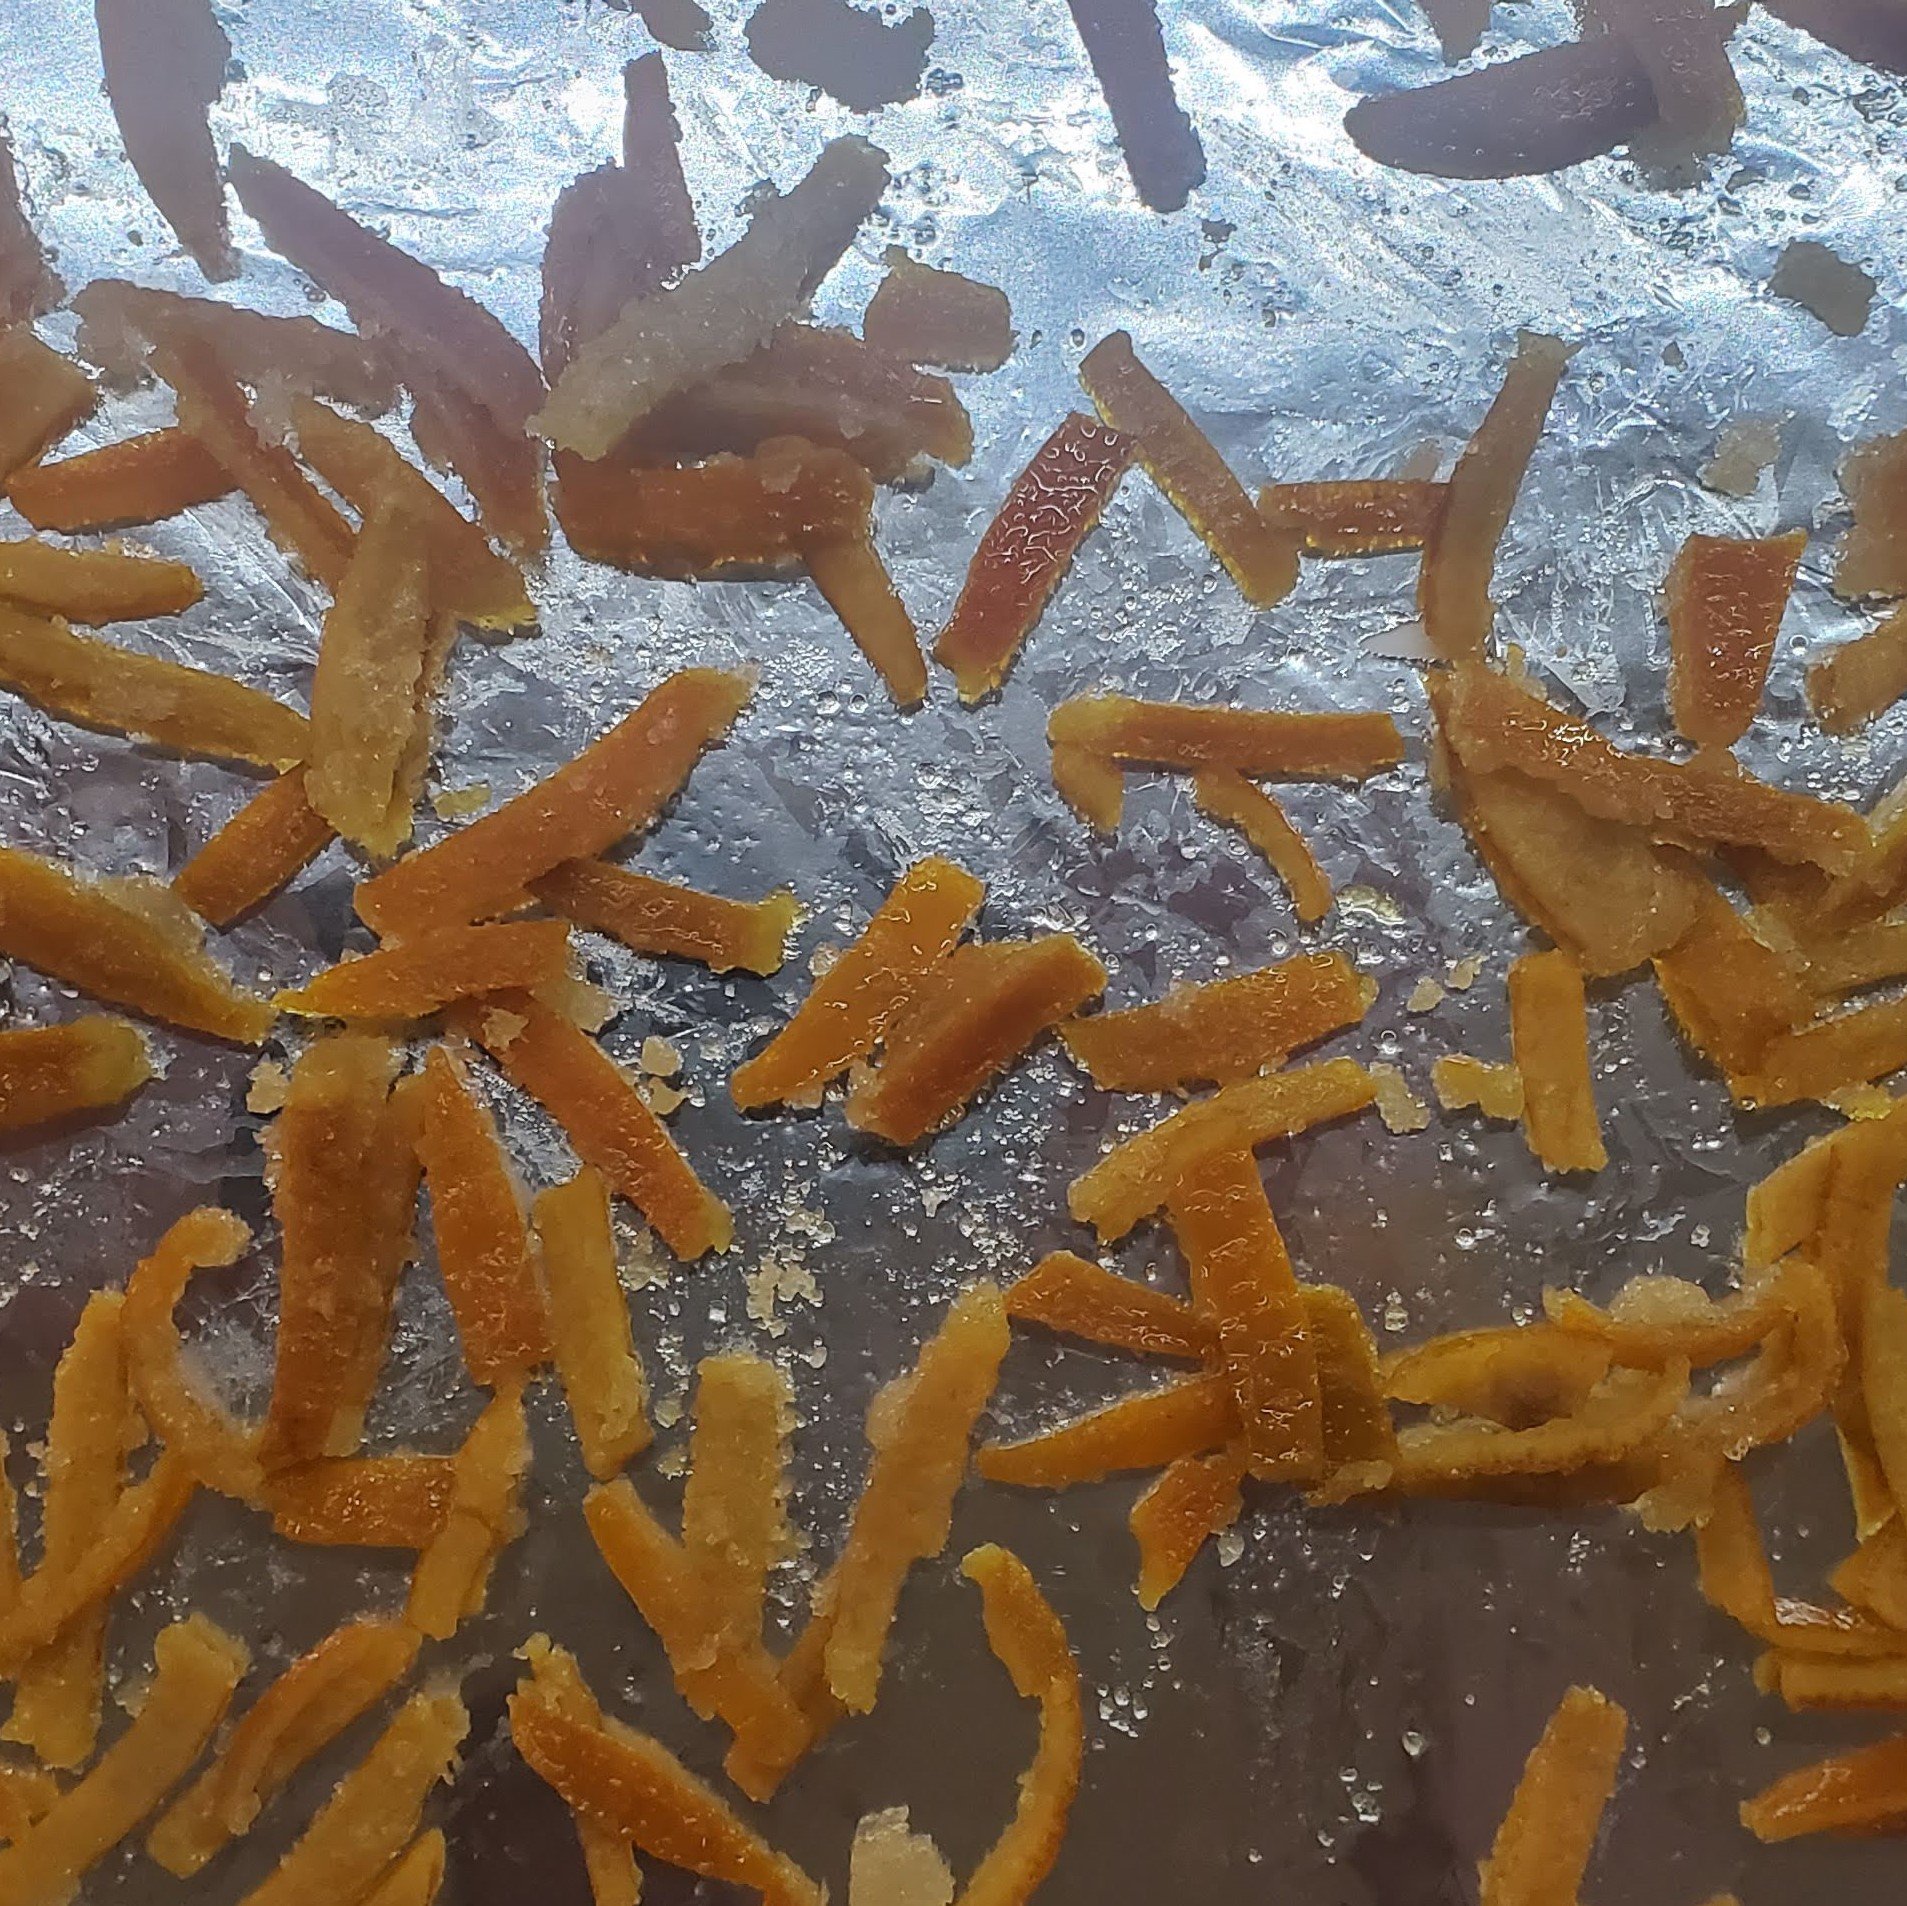
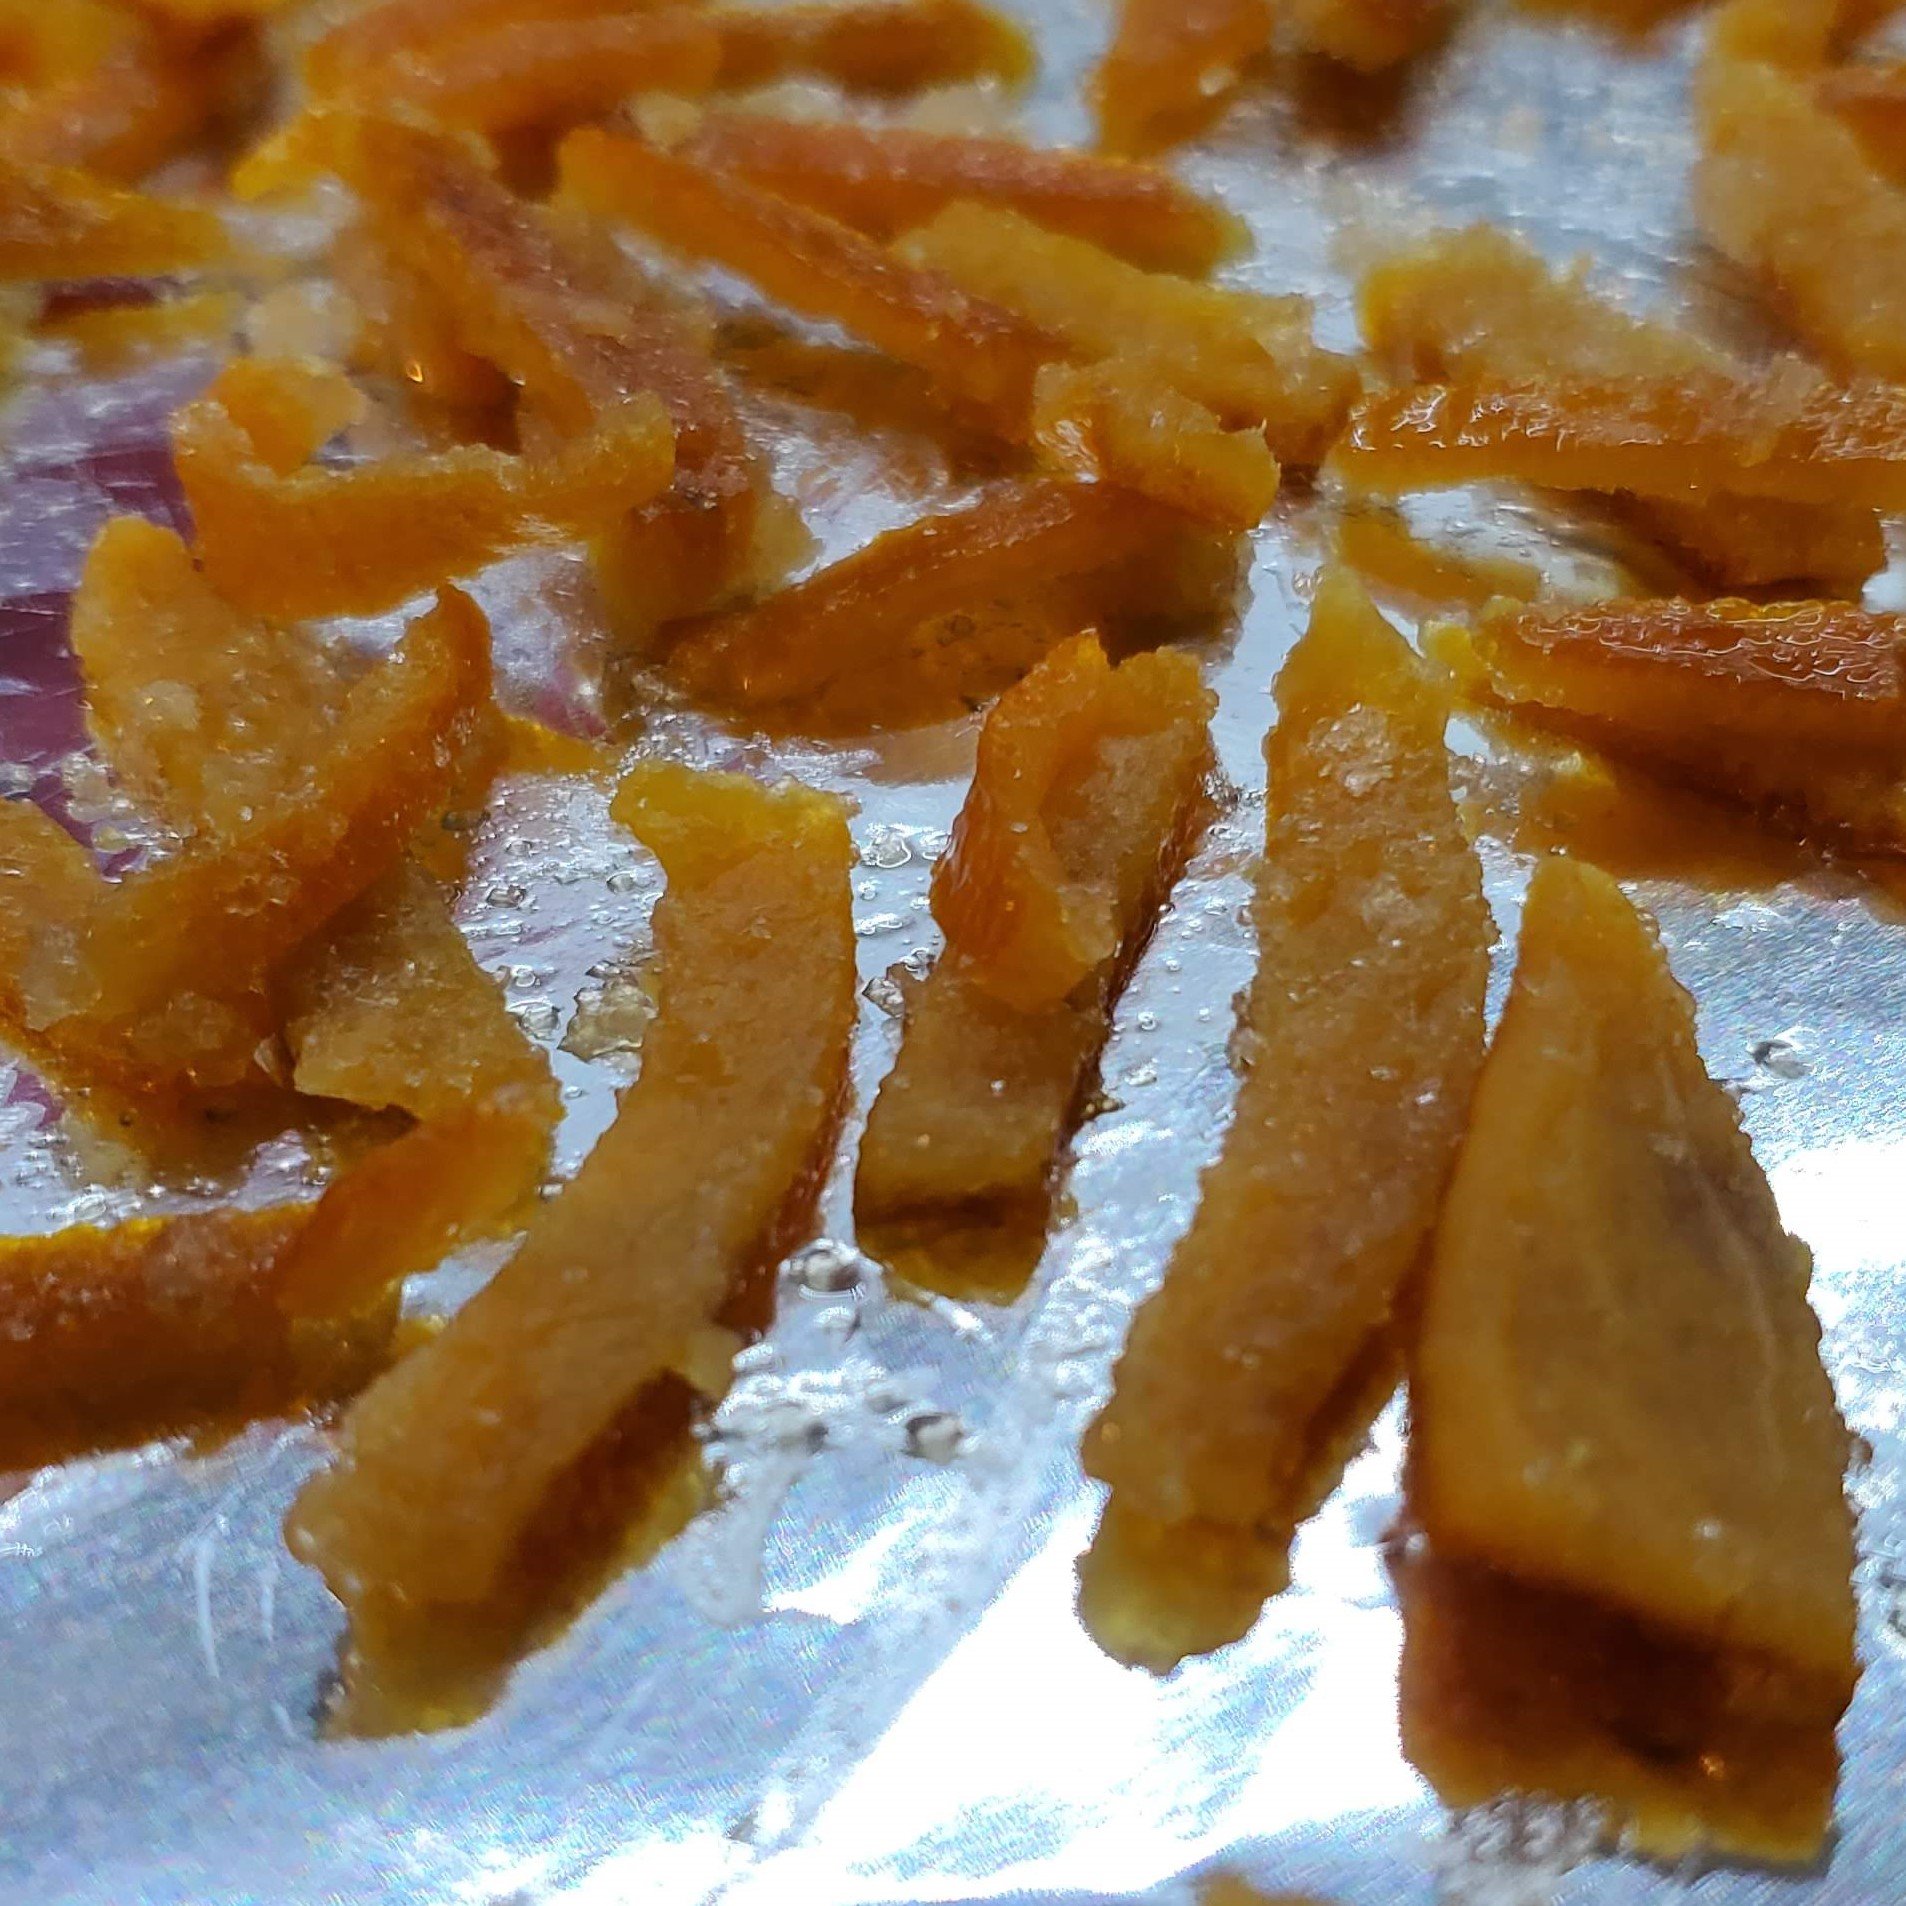
The recipe is quite simple, except that I was not able to source candied orange peel despite searching high and low. So I turned to make it myself, lacking oranges and using clementines instead. Given the humidity we have had recently, it took quite a while for them to dry, but they eventually did and they are delicious! Once the candied orange peel was ready, I could prepare the filling, which consists of semolina flour cooked with ricotta, orange blossom water, vanilla, and candied orange peel. Then I could make the dough, which again is dead simple. The trick of course is rolling it out.
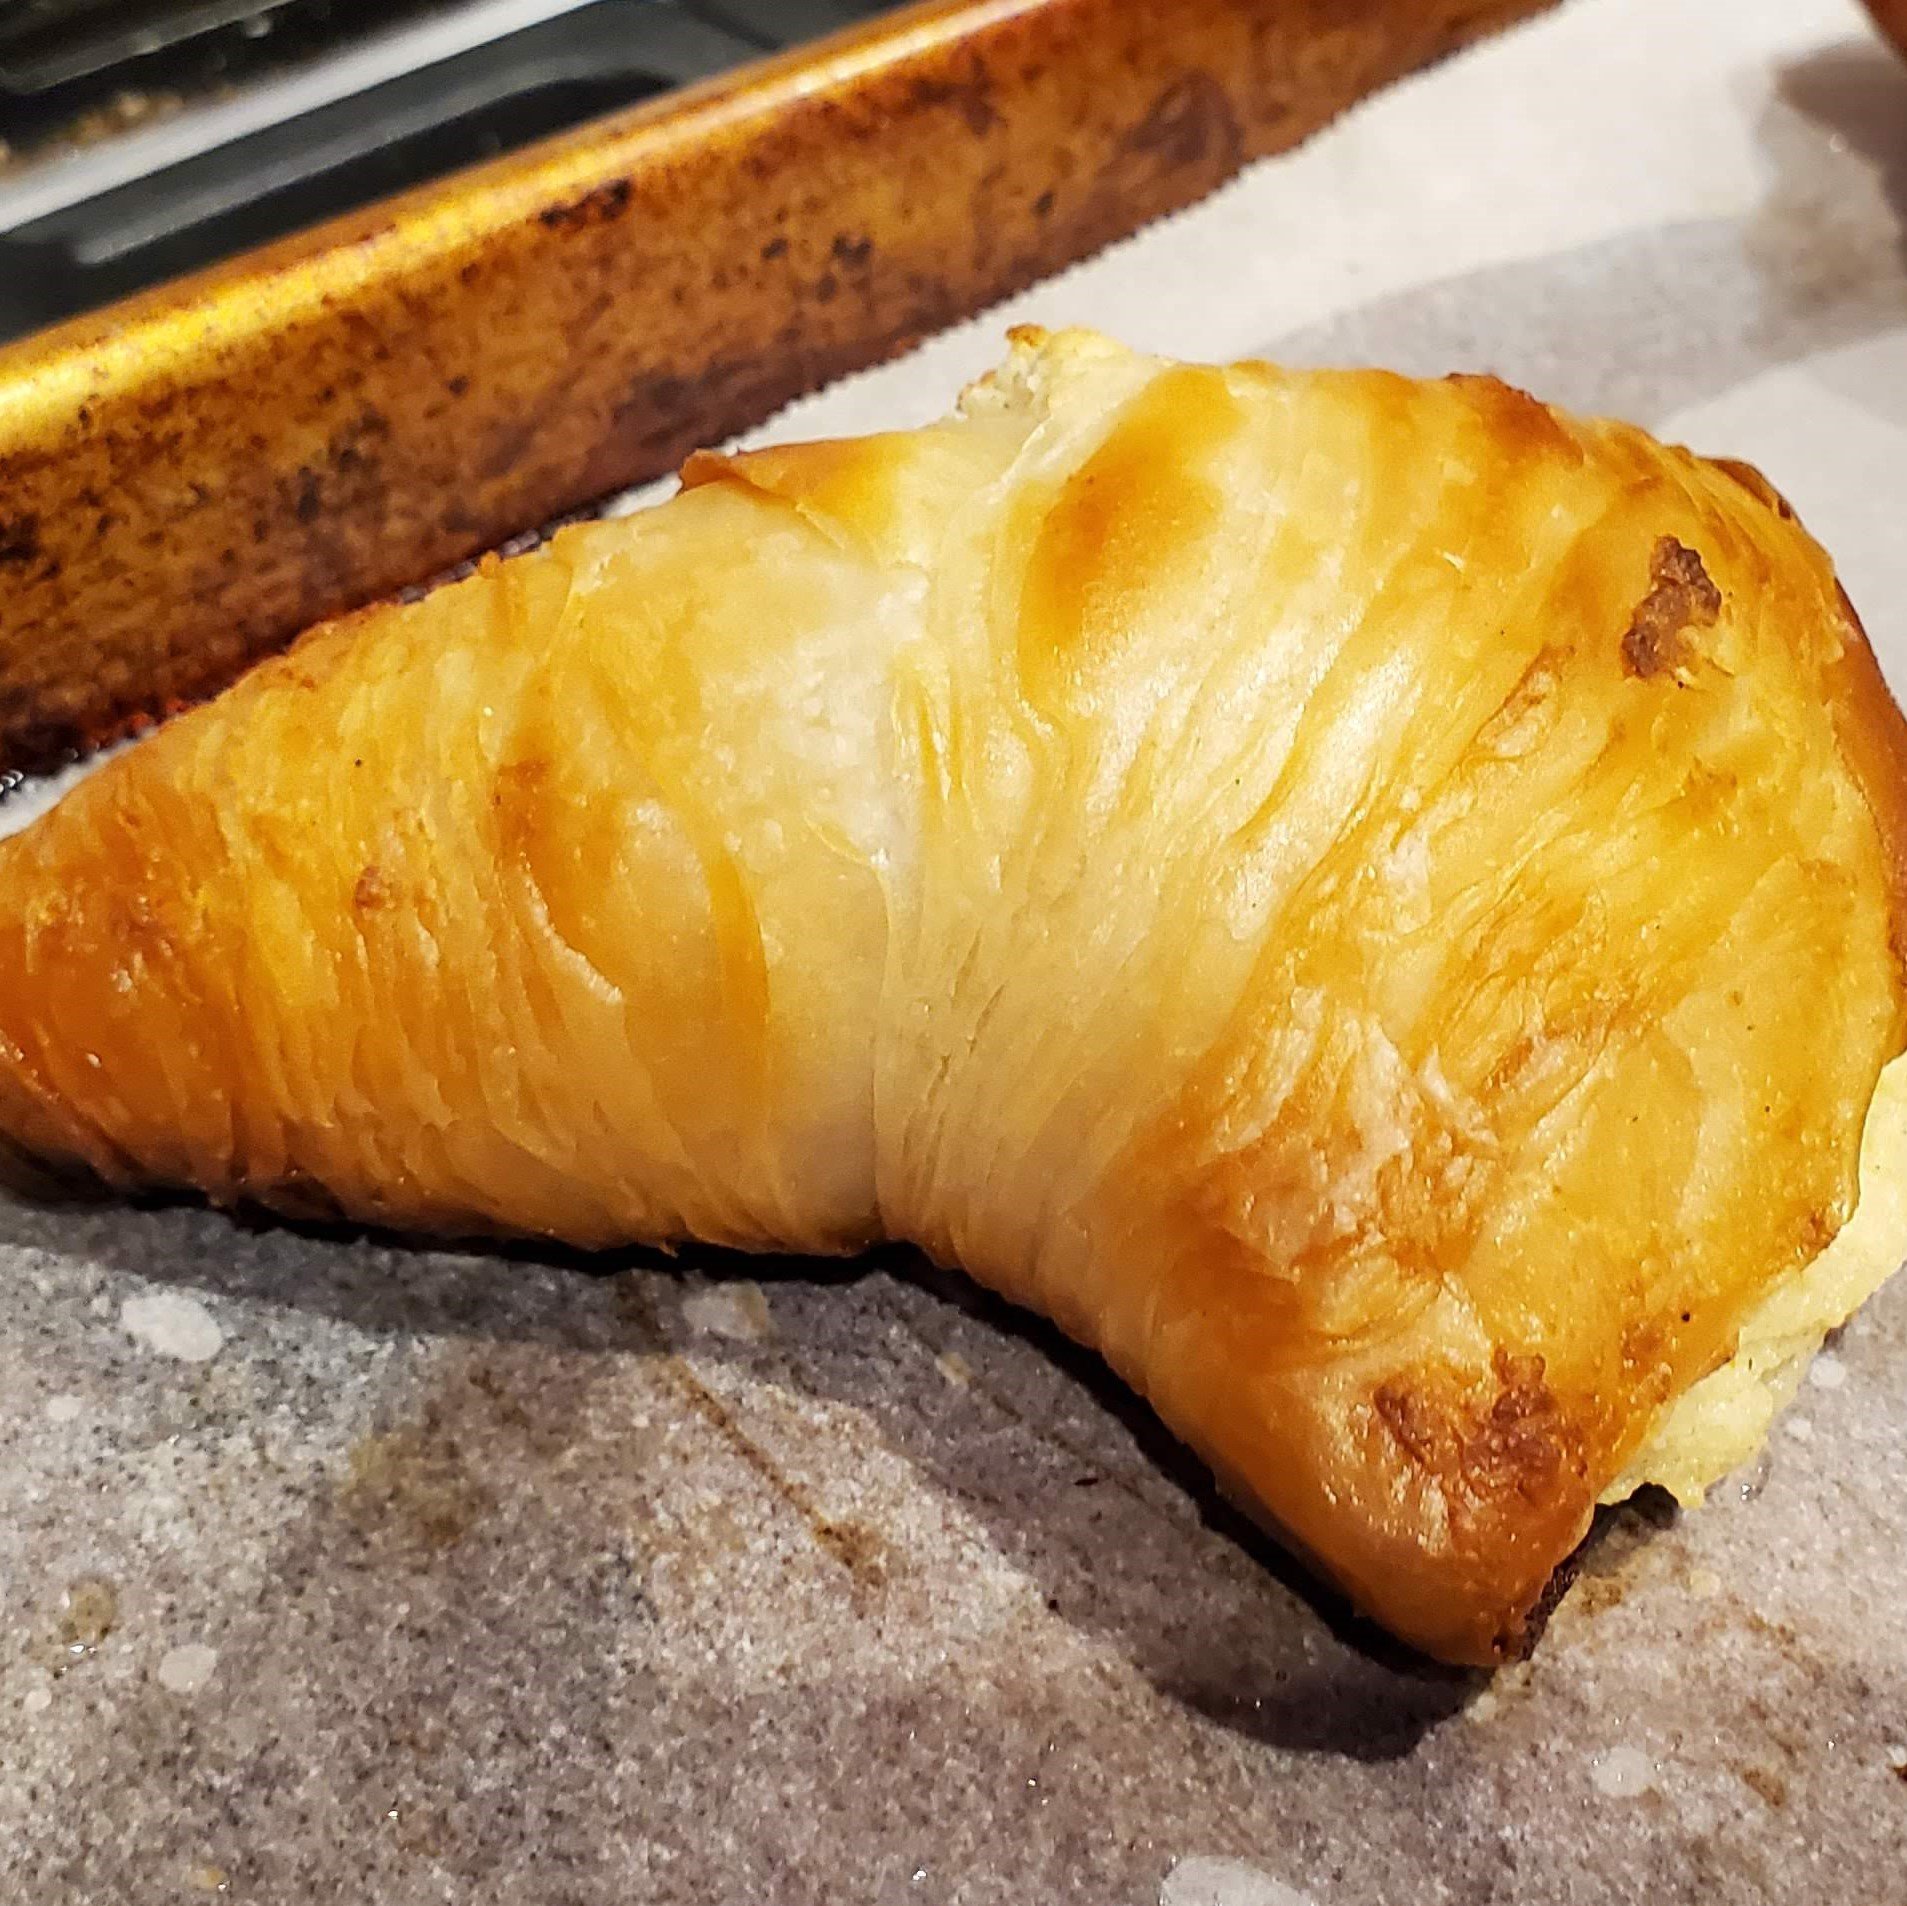
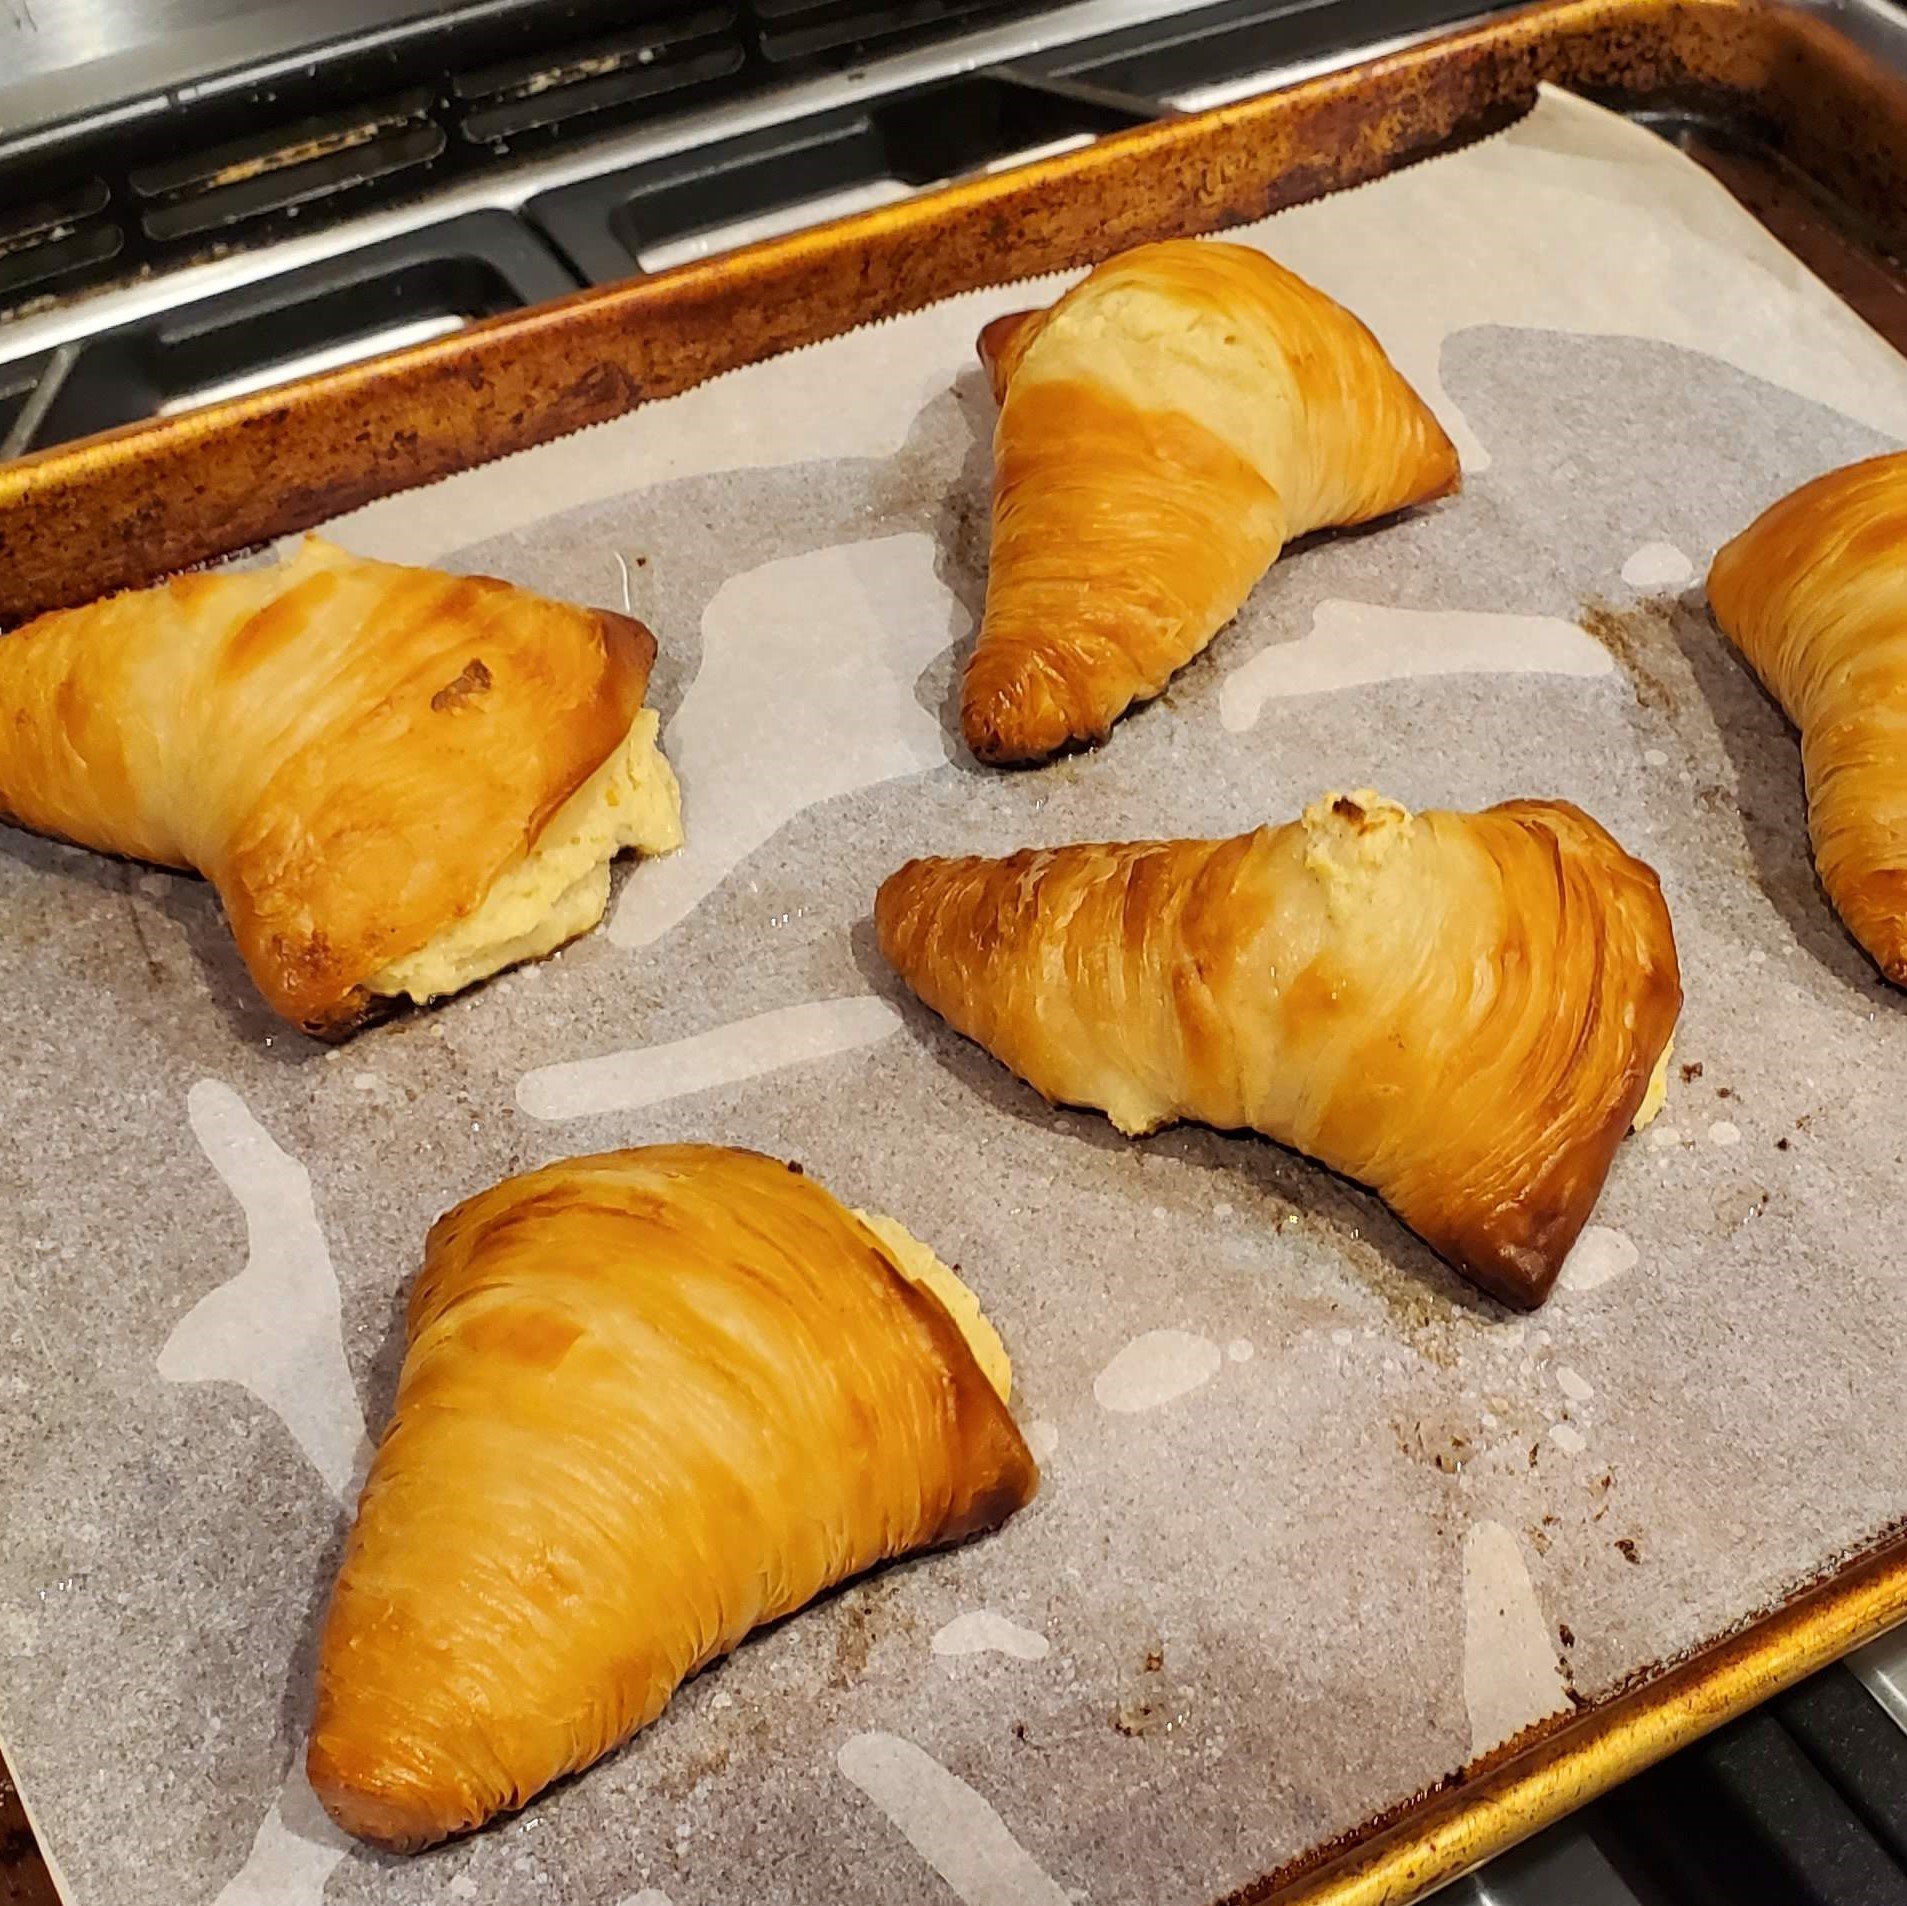
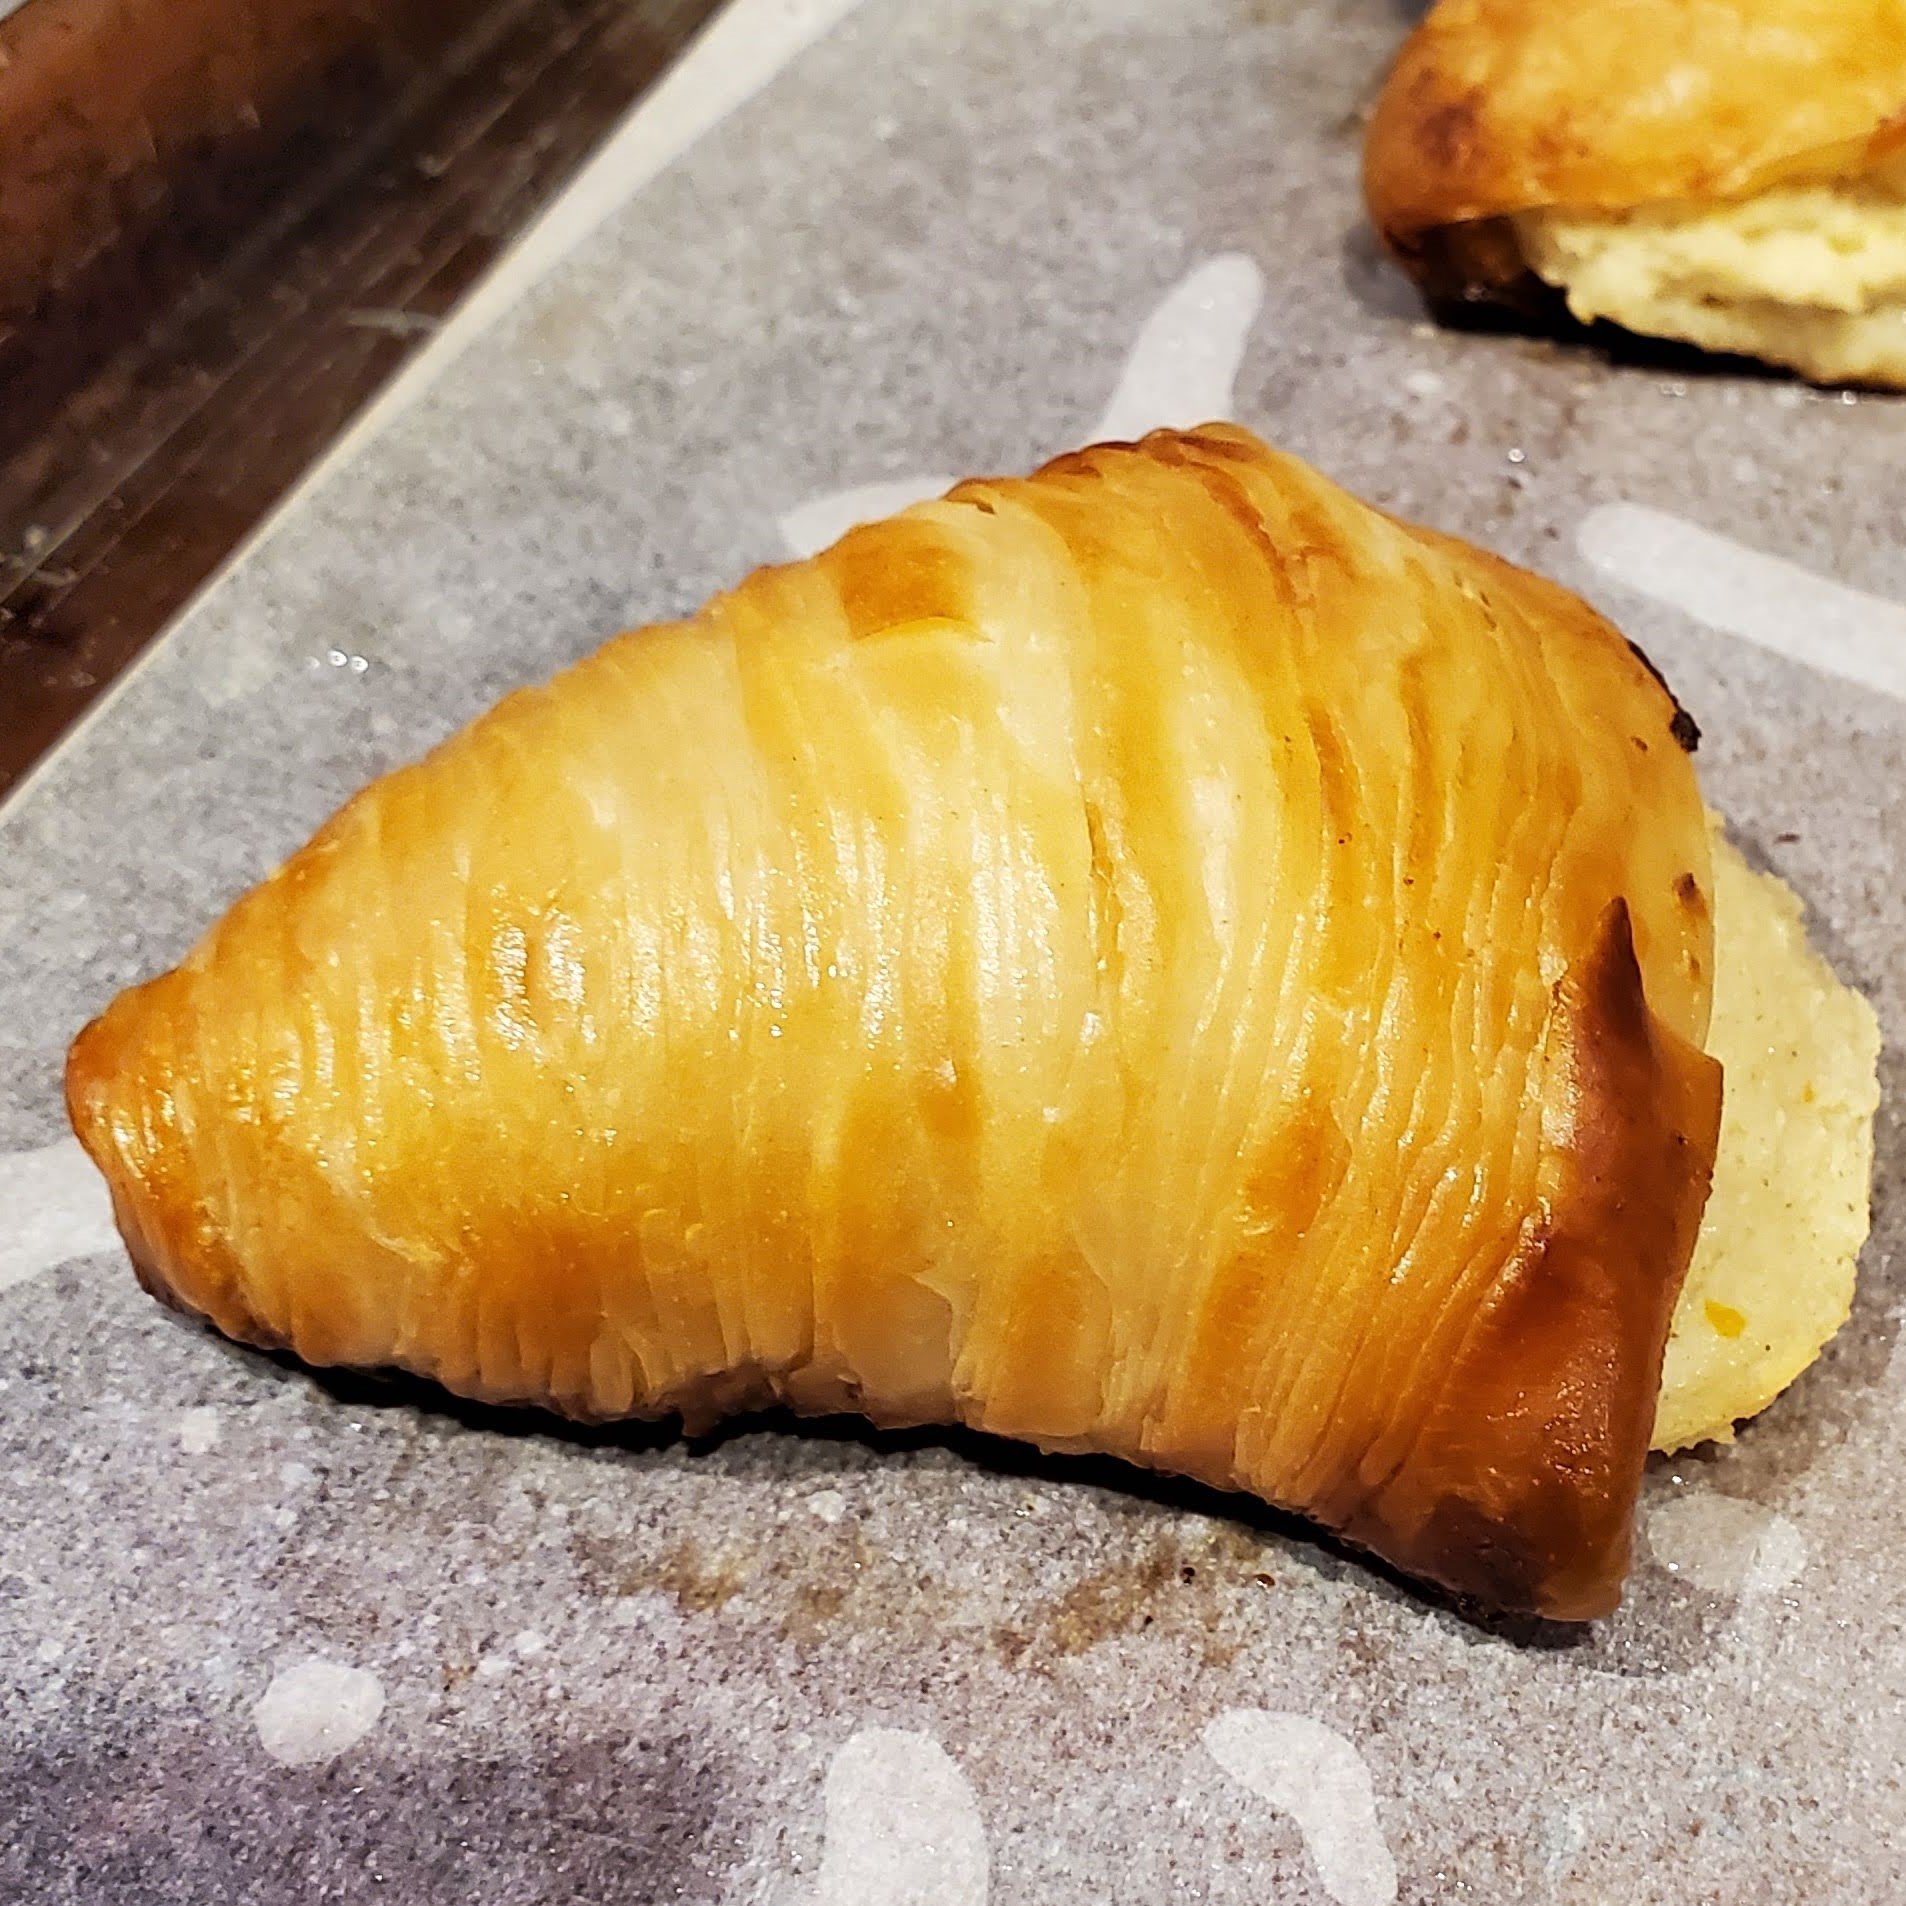
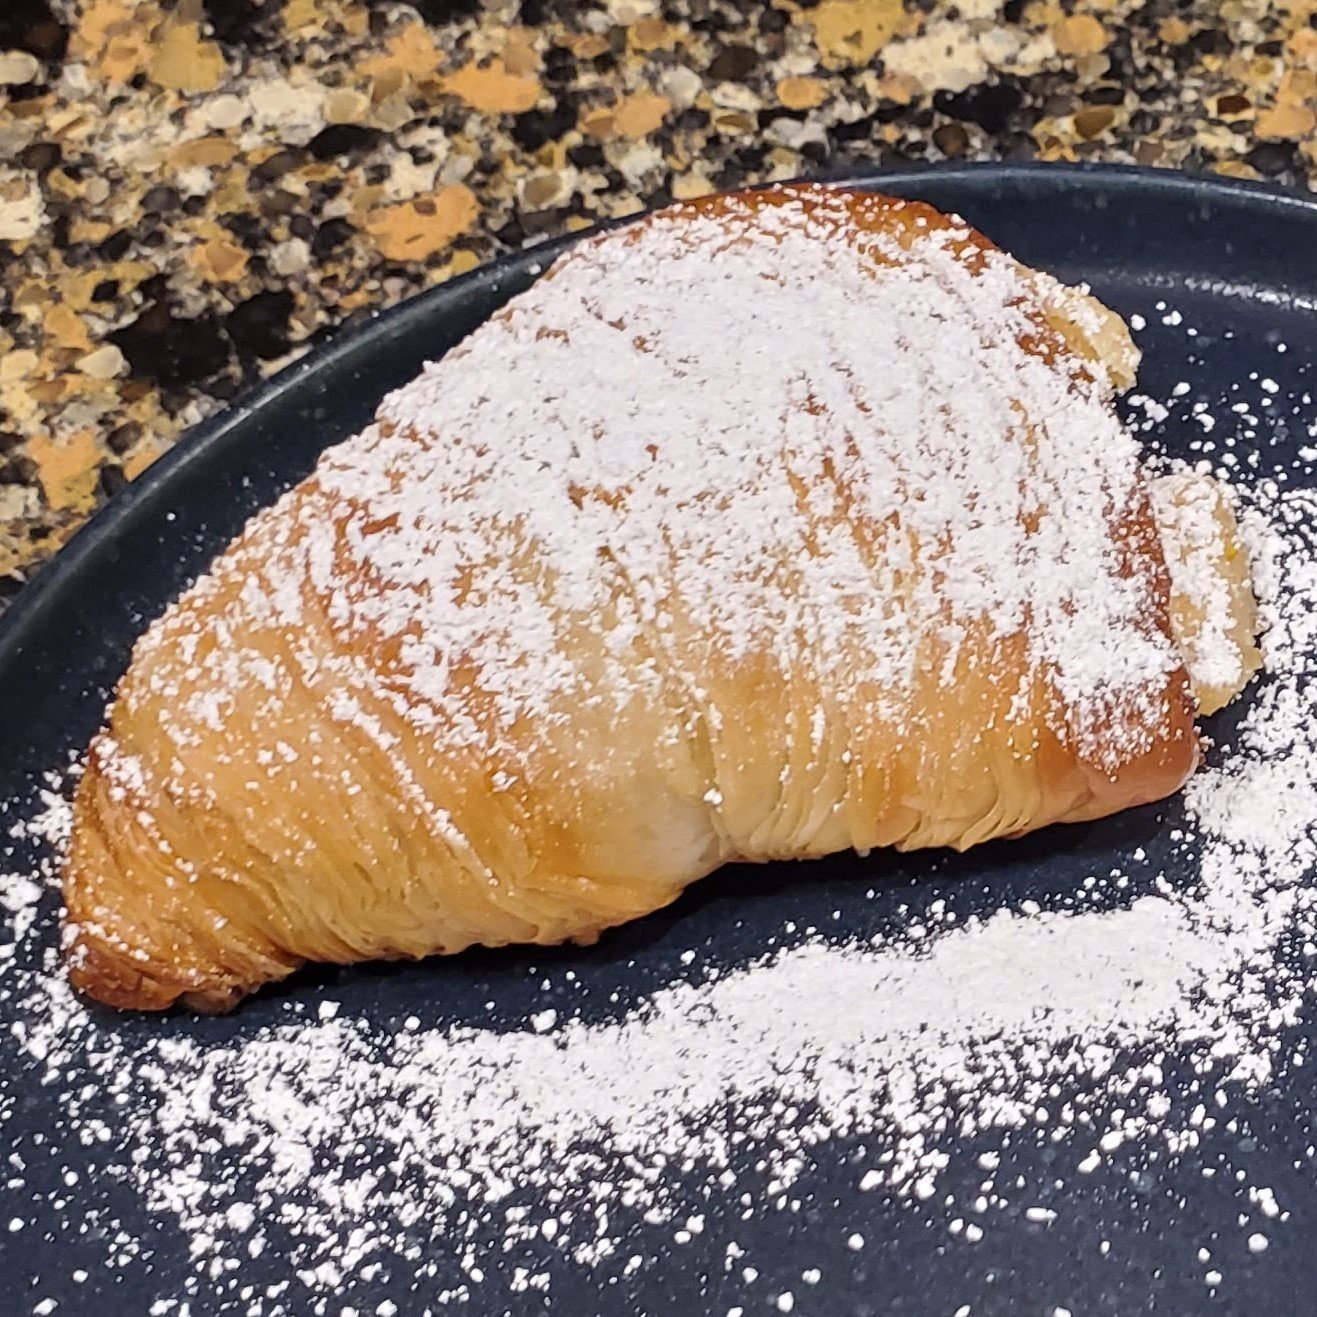
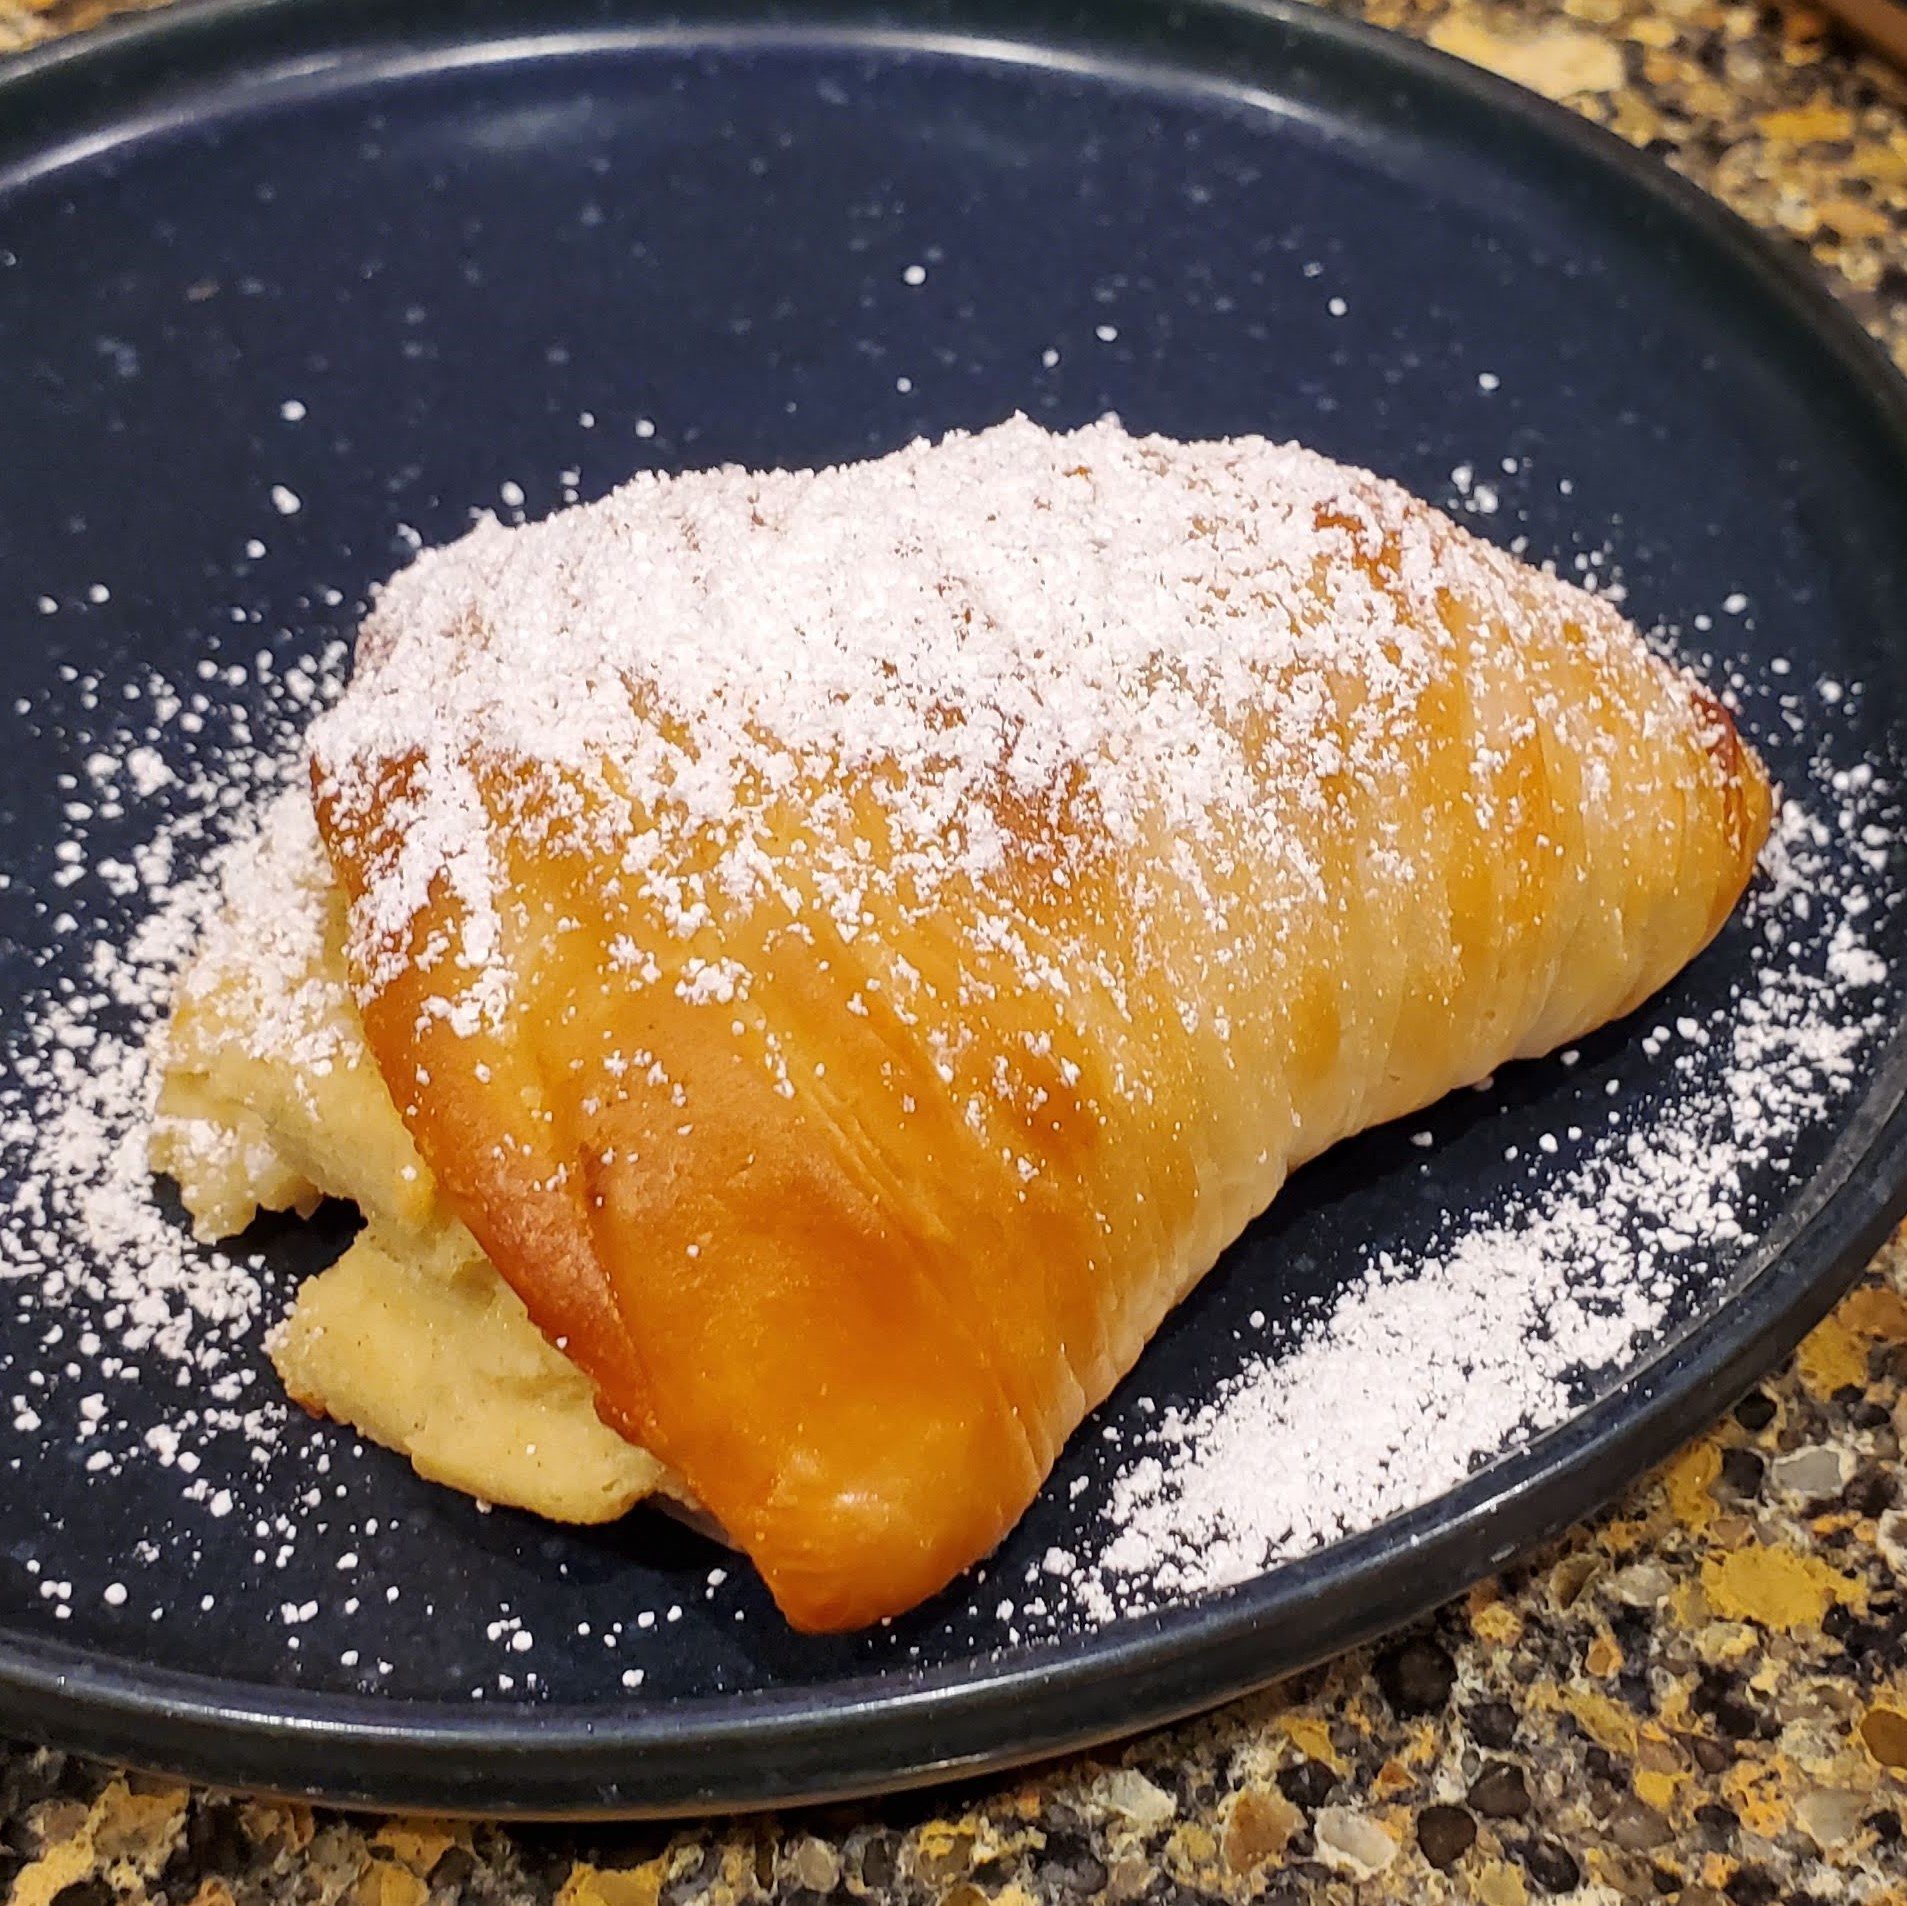
Lucky, Andy was around to help me roll it out. We must have rolled out 25 feet or more of the dough, which I then stretched wider, brushed with slightly warm lard, and re-rolled into a tight sausage. That spent the evening in the fridge and the next day I cut it into slices and pushed the slices out to make cones, which I filled with the ricotta-semolina filling. I froze them raw and then baked them from frozen at Julian and Salvo’s house while we were eating dinner. Dusted with a little powdered sugar, the result was a delightfully crispy, almost crunchy pastry, with a thick, delicately-perfumed filling!
I’d never had sfogliatelle before, but Salvo said they were quite authentic!
holiday Chex mix
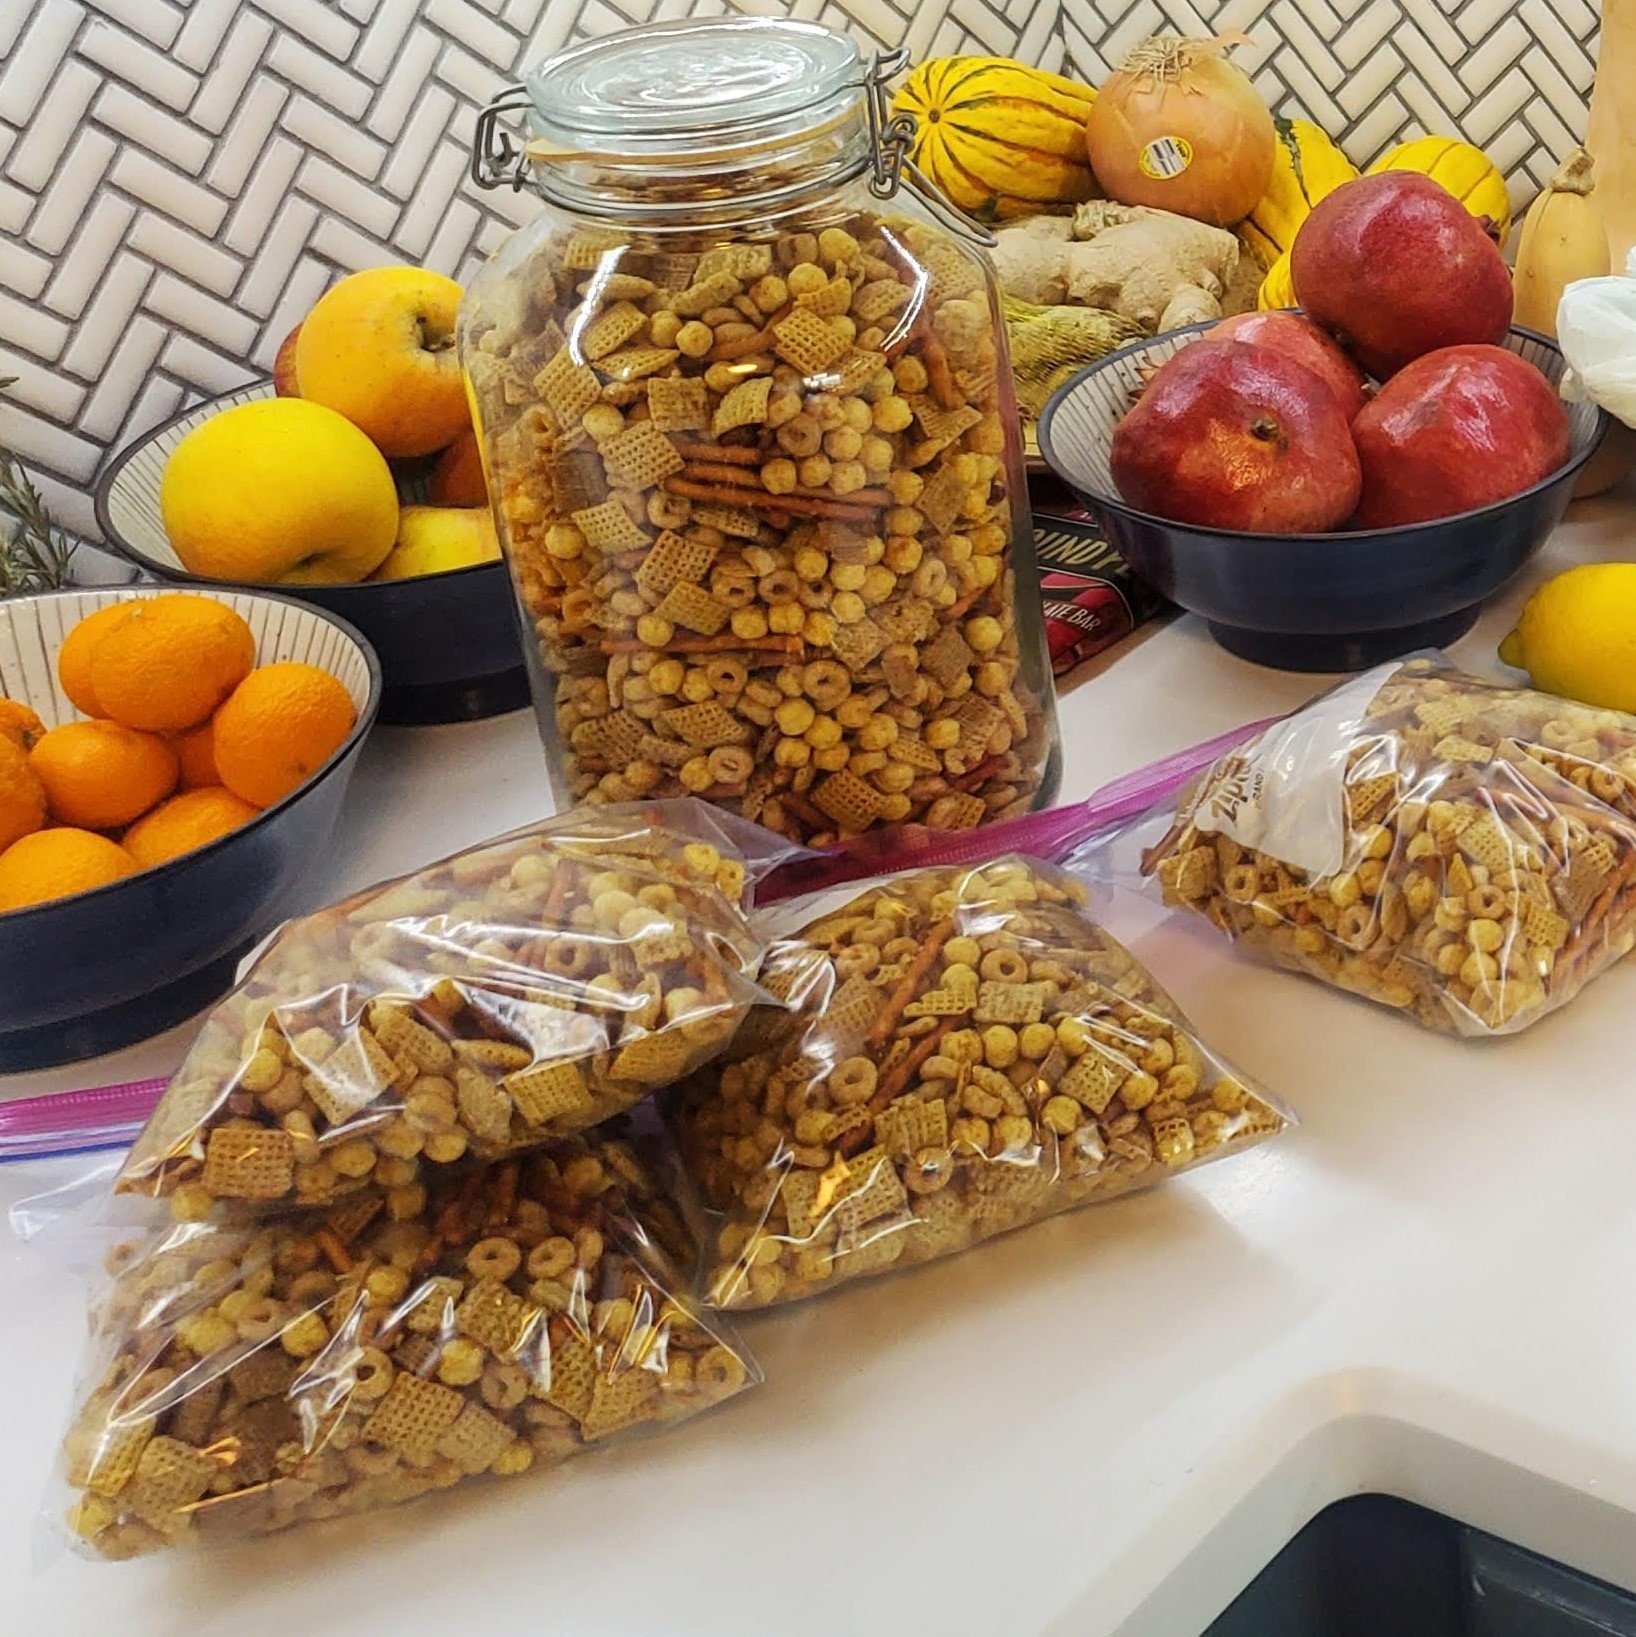
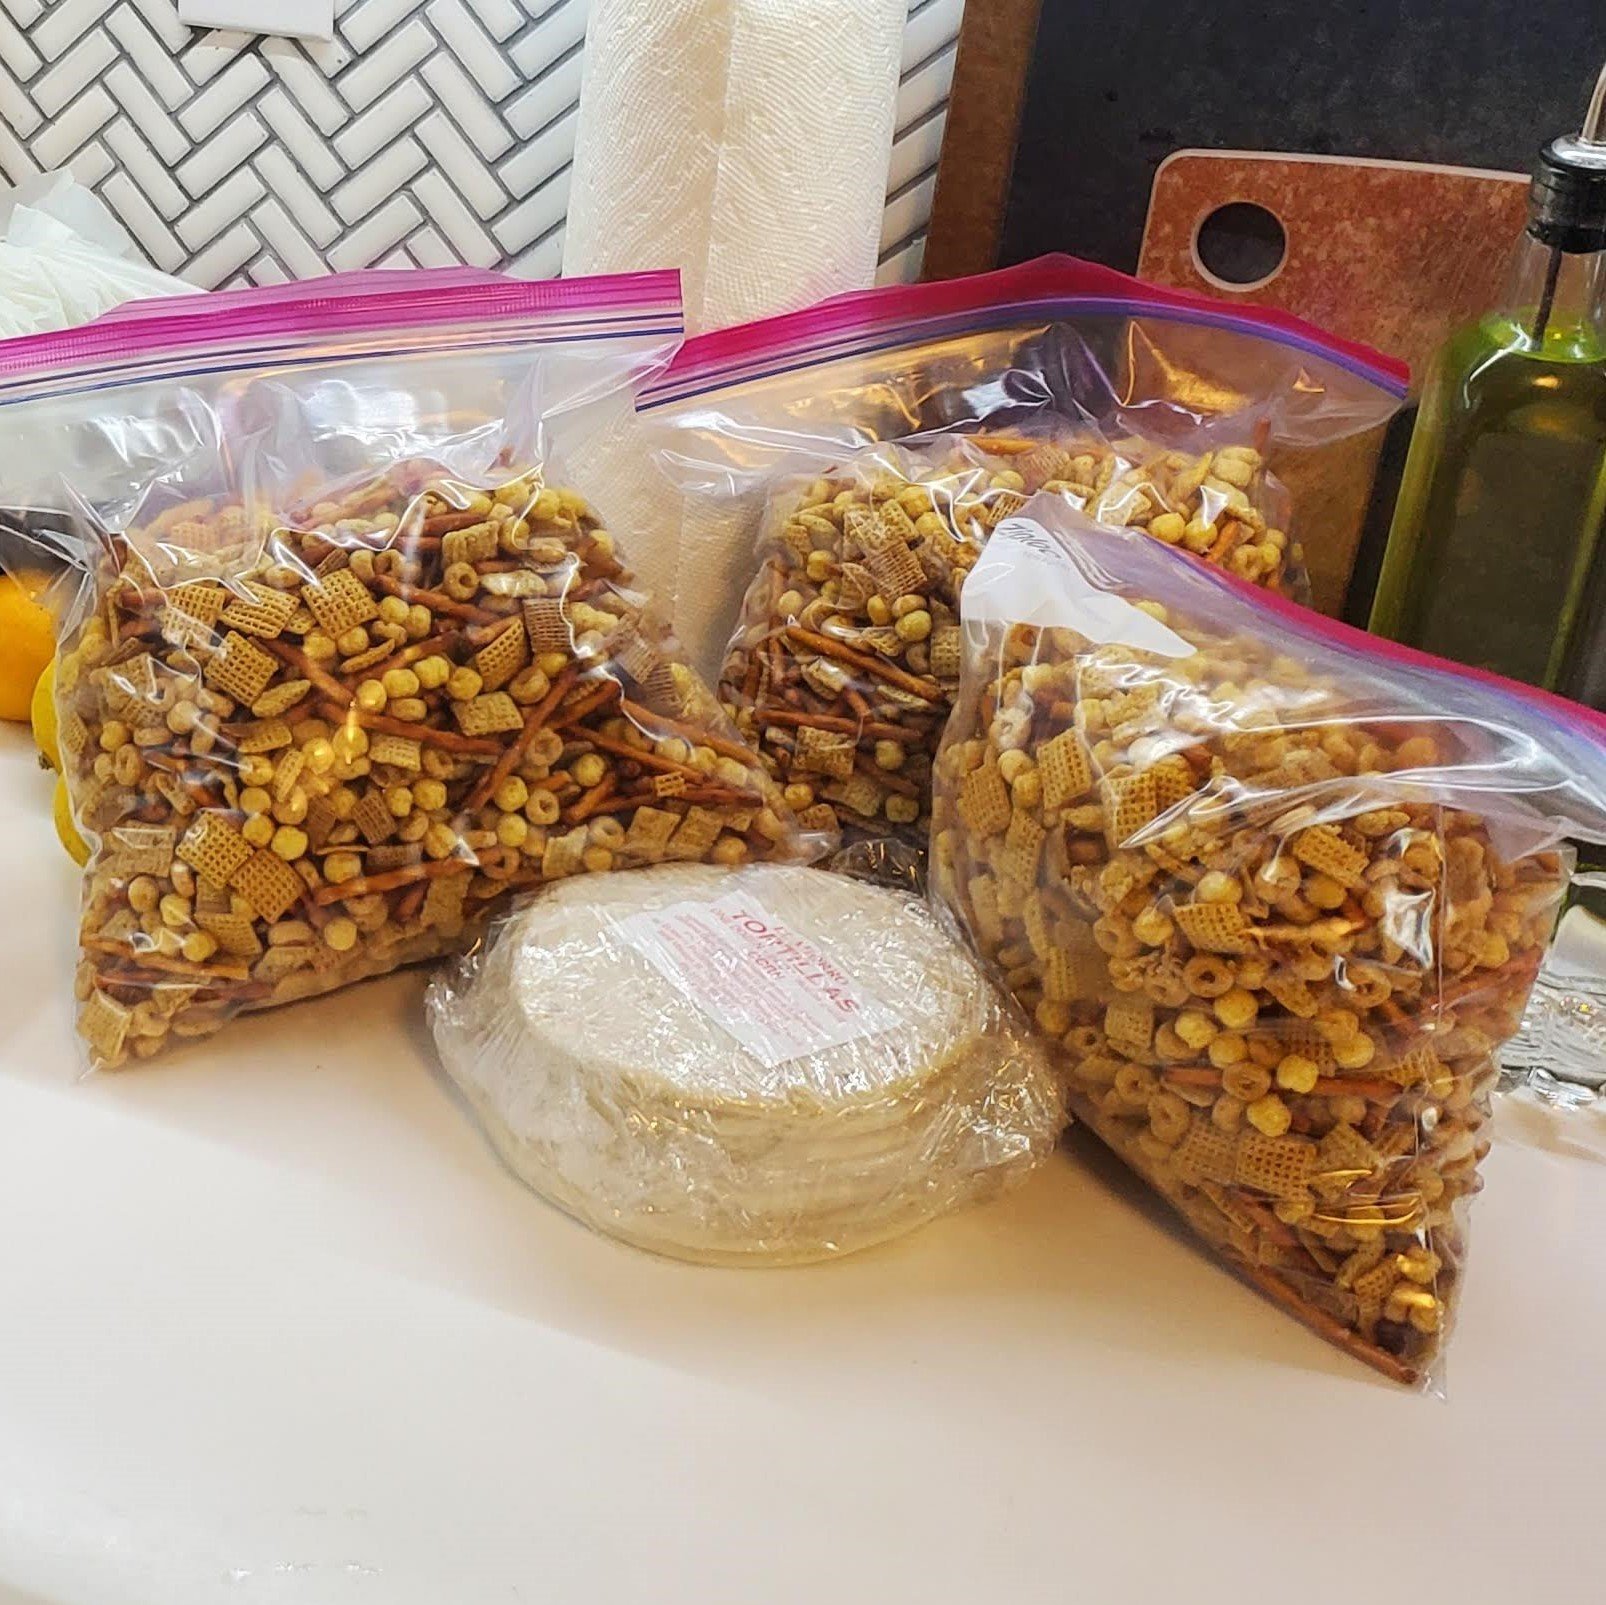
Almost every holiday season for the longest time, I’ve been making a secret family recipe for Chex Mix entrusted to me by my dear friend Erin. What you see here, among my crowded and messy counters, is HALF of the recipe. It calls for a box each of: wheat Chex, rice Chex, corn Chex, Kix, and Cheeries, as well as a bag of stick pretzels. The sauce that is baked into the cereal is a closely guarded secret which I will not share here - but the house smells divine and the Chex mix was a big hit with us, our neighbors, and our friends as well. Just skip the visit with your cardiologist for a few weeks until your numbers re-normalize.
spiced plum custard cake
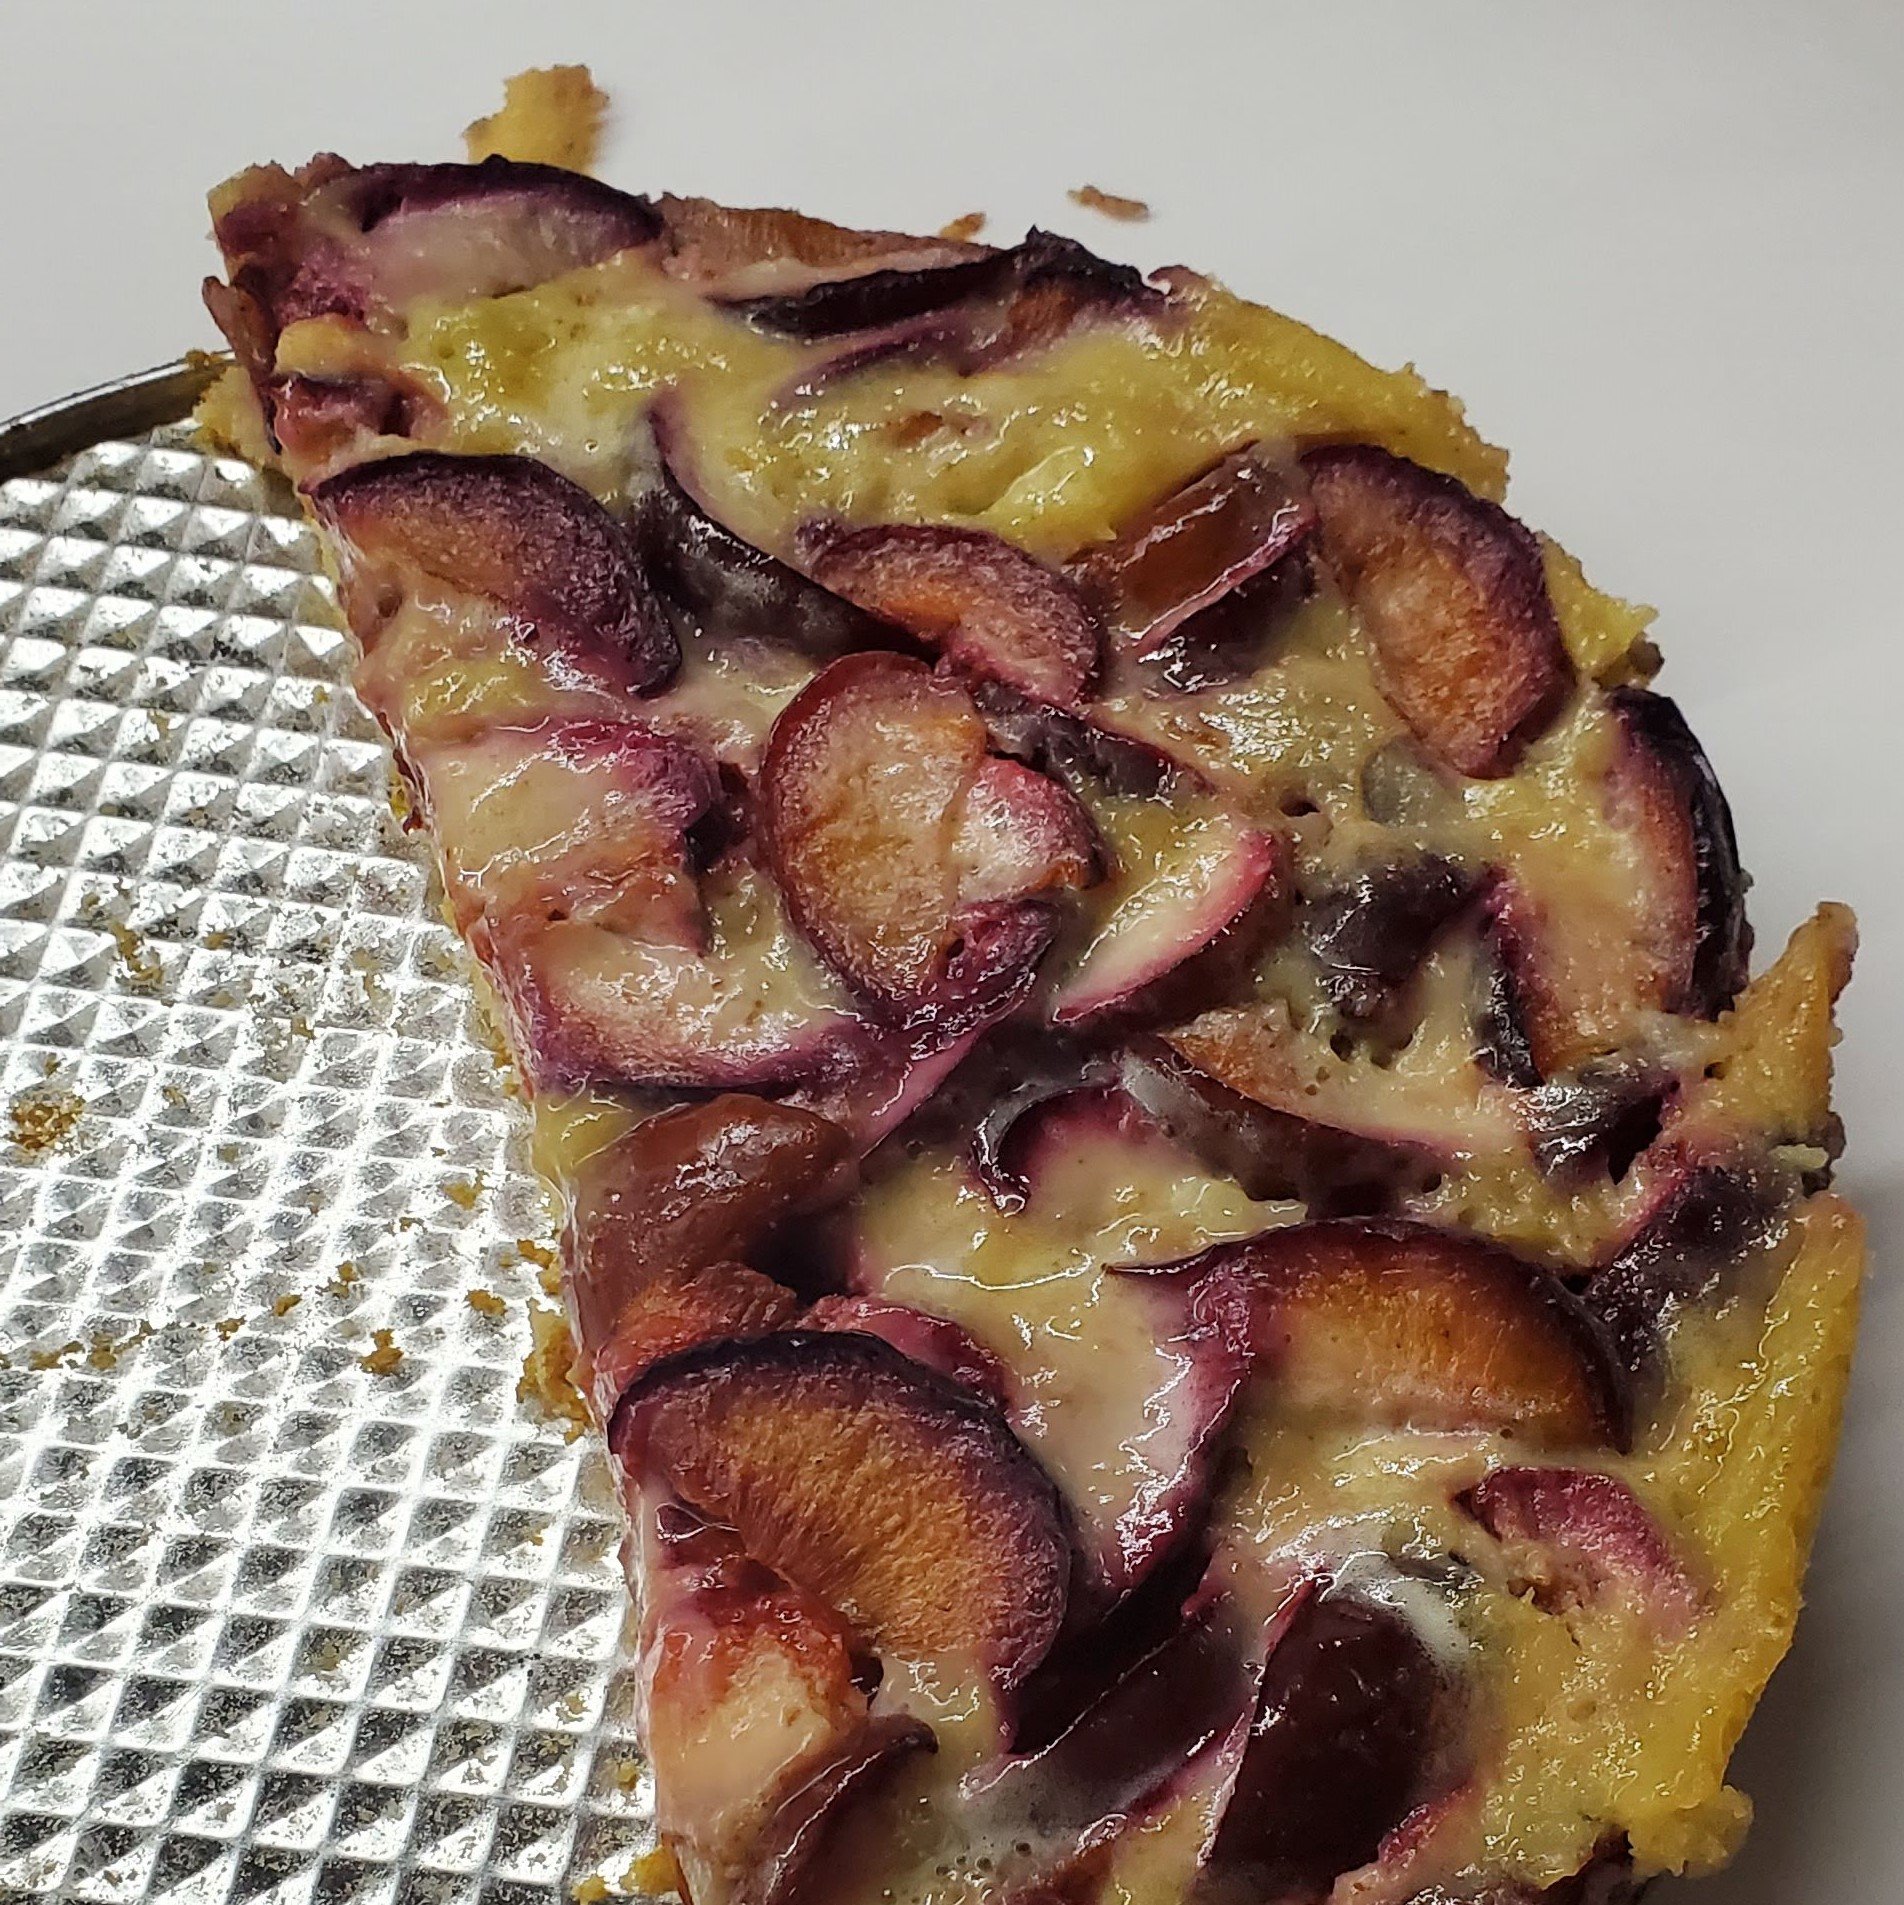
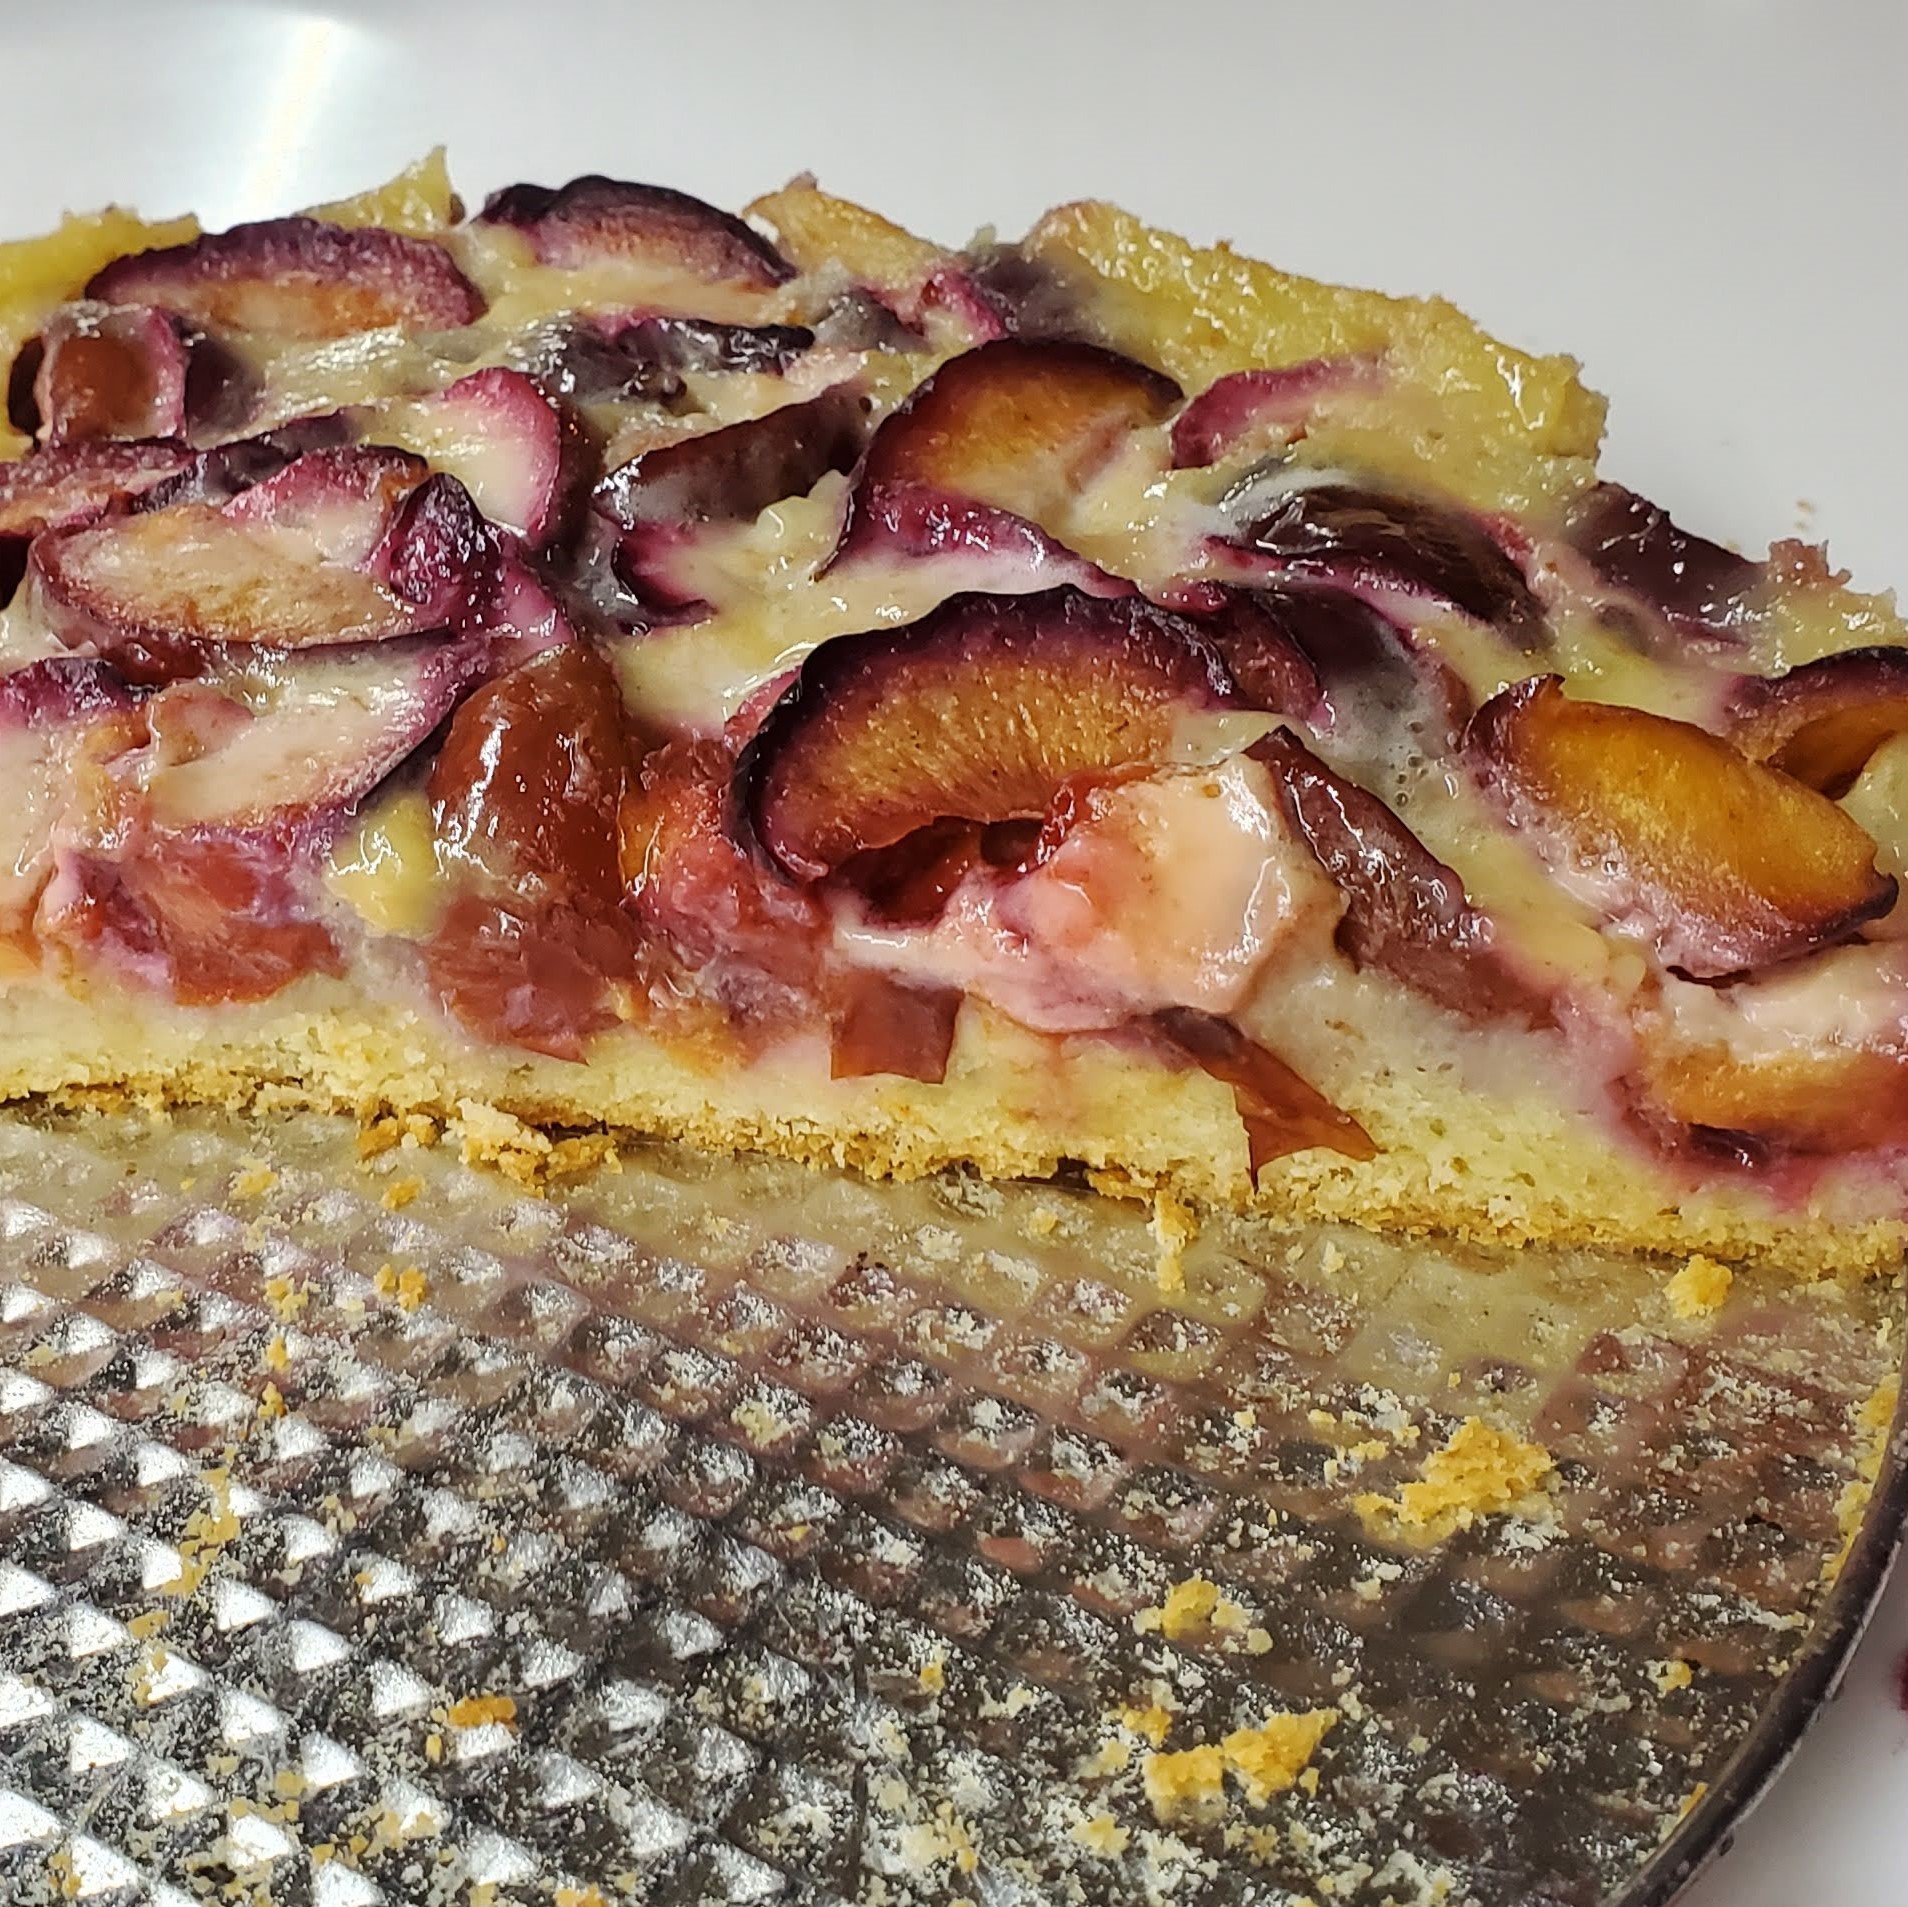
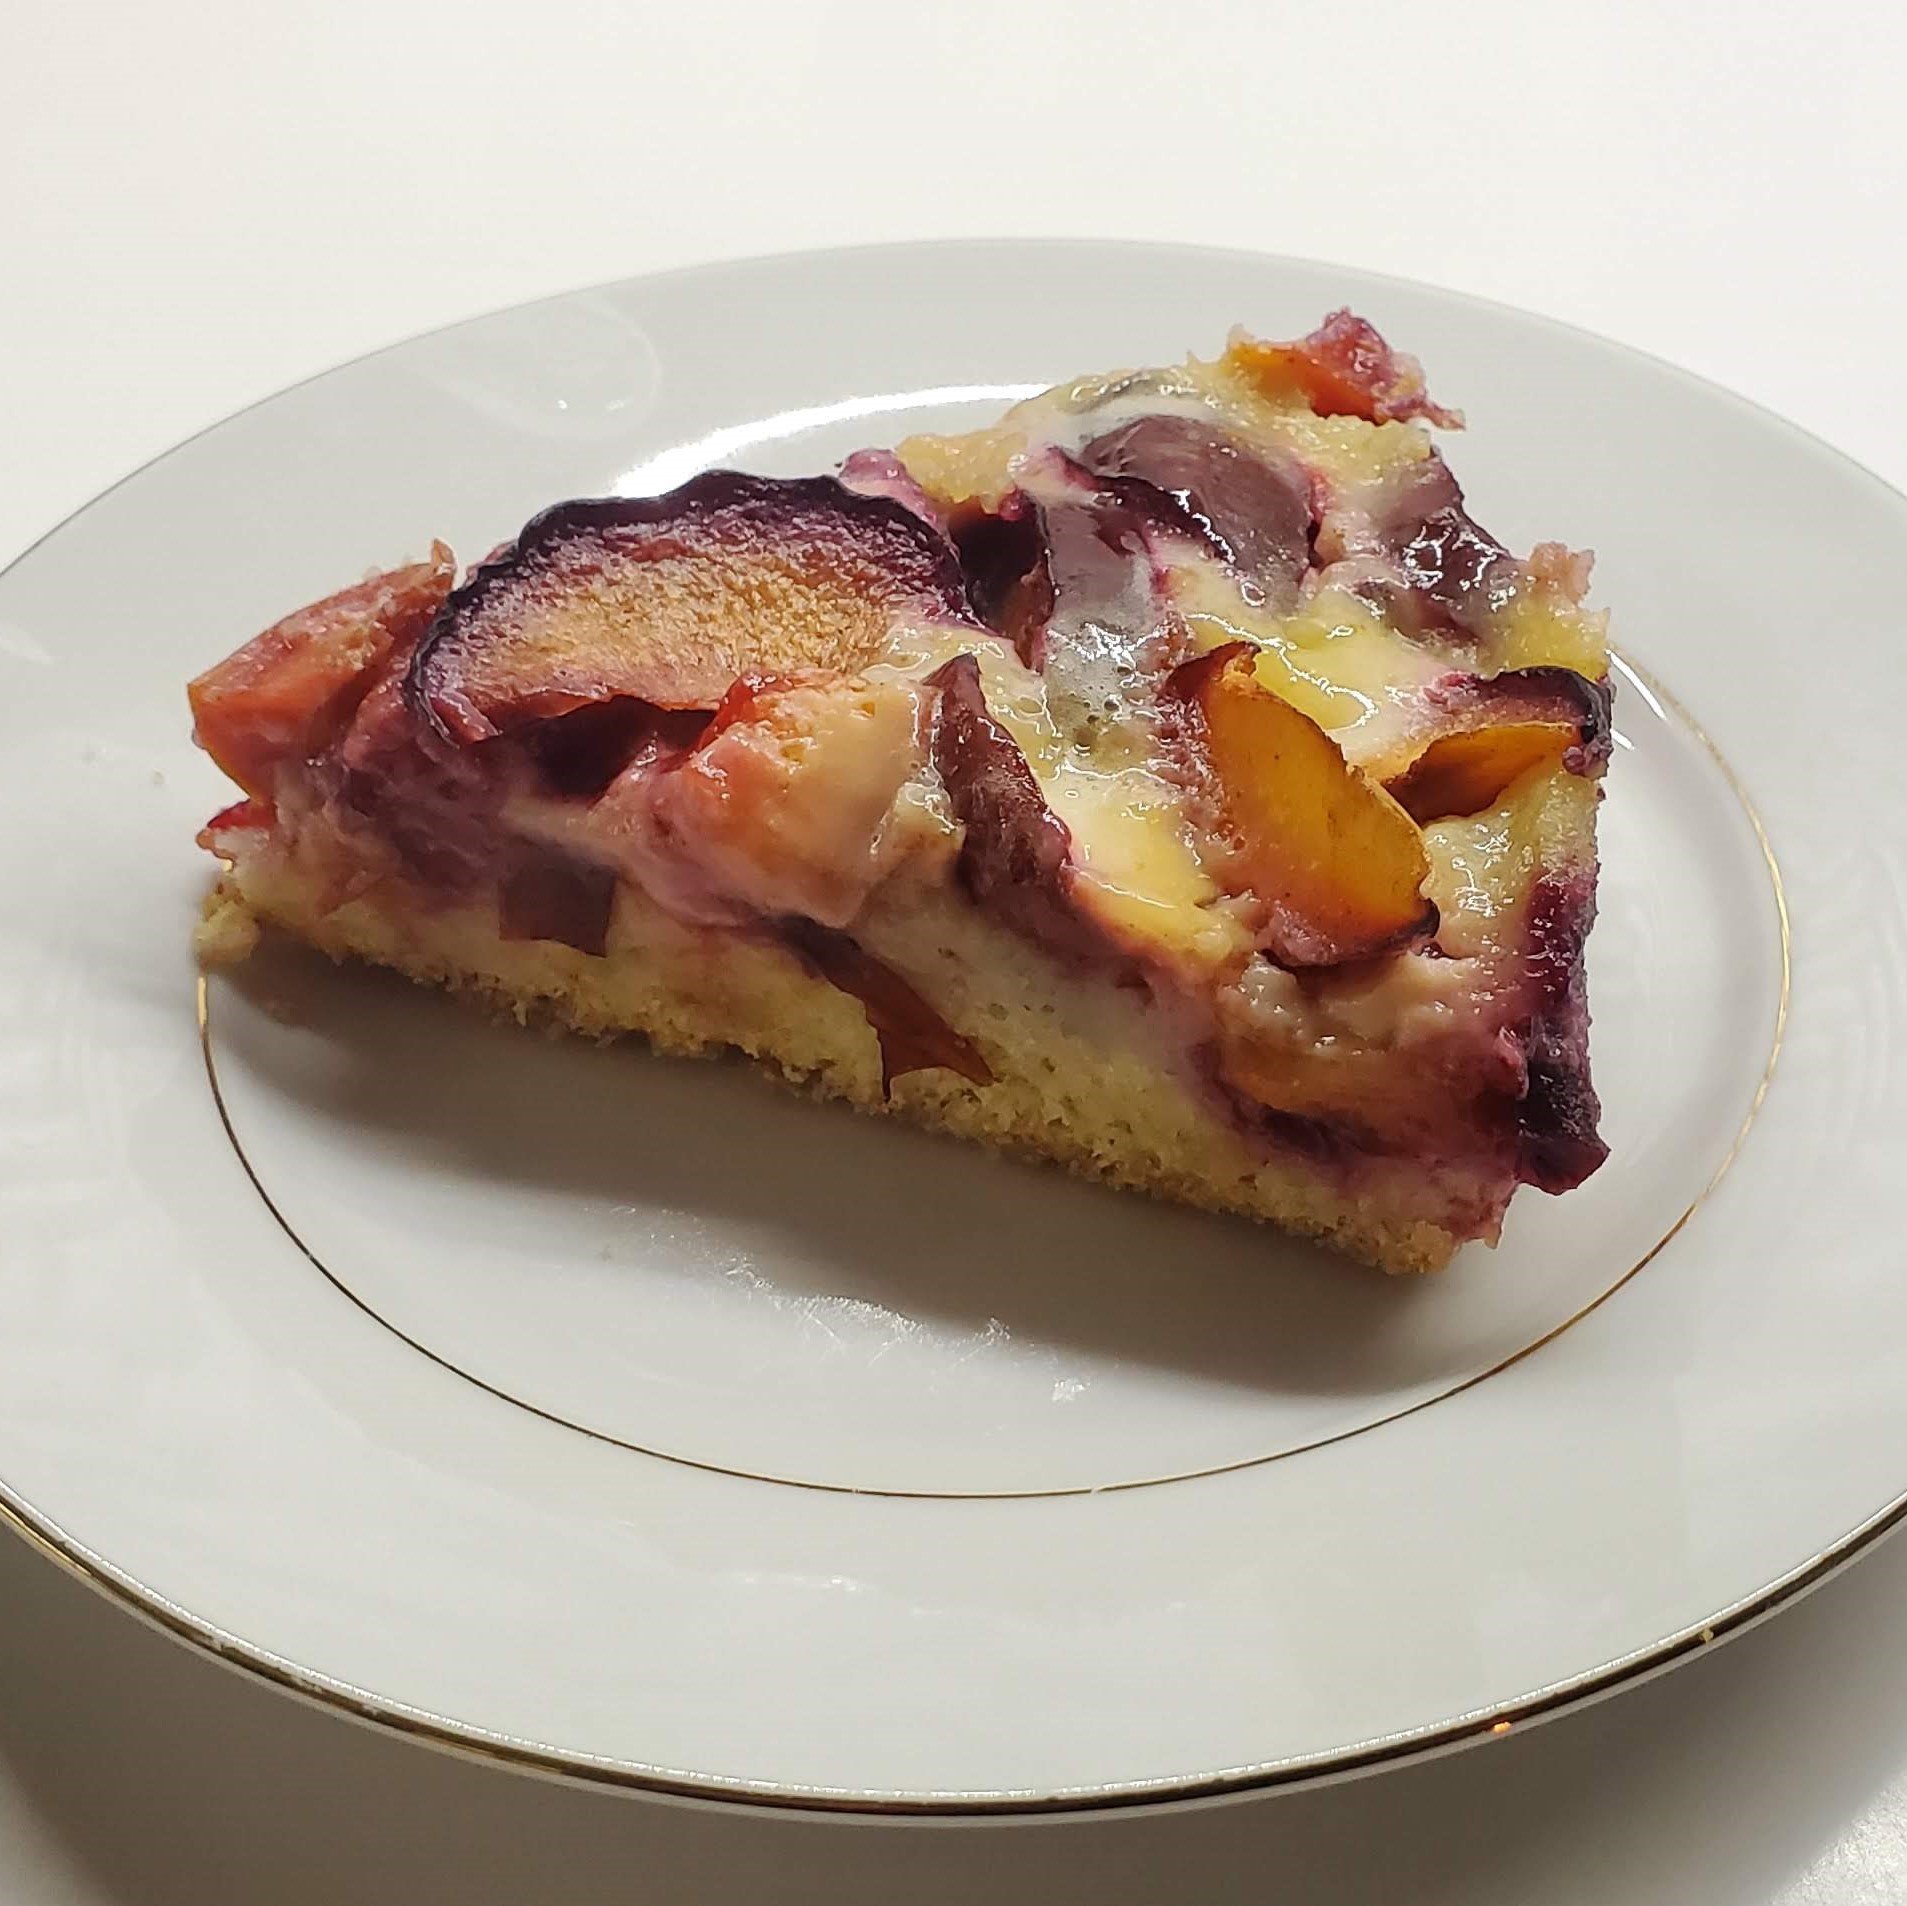
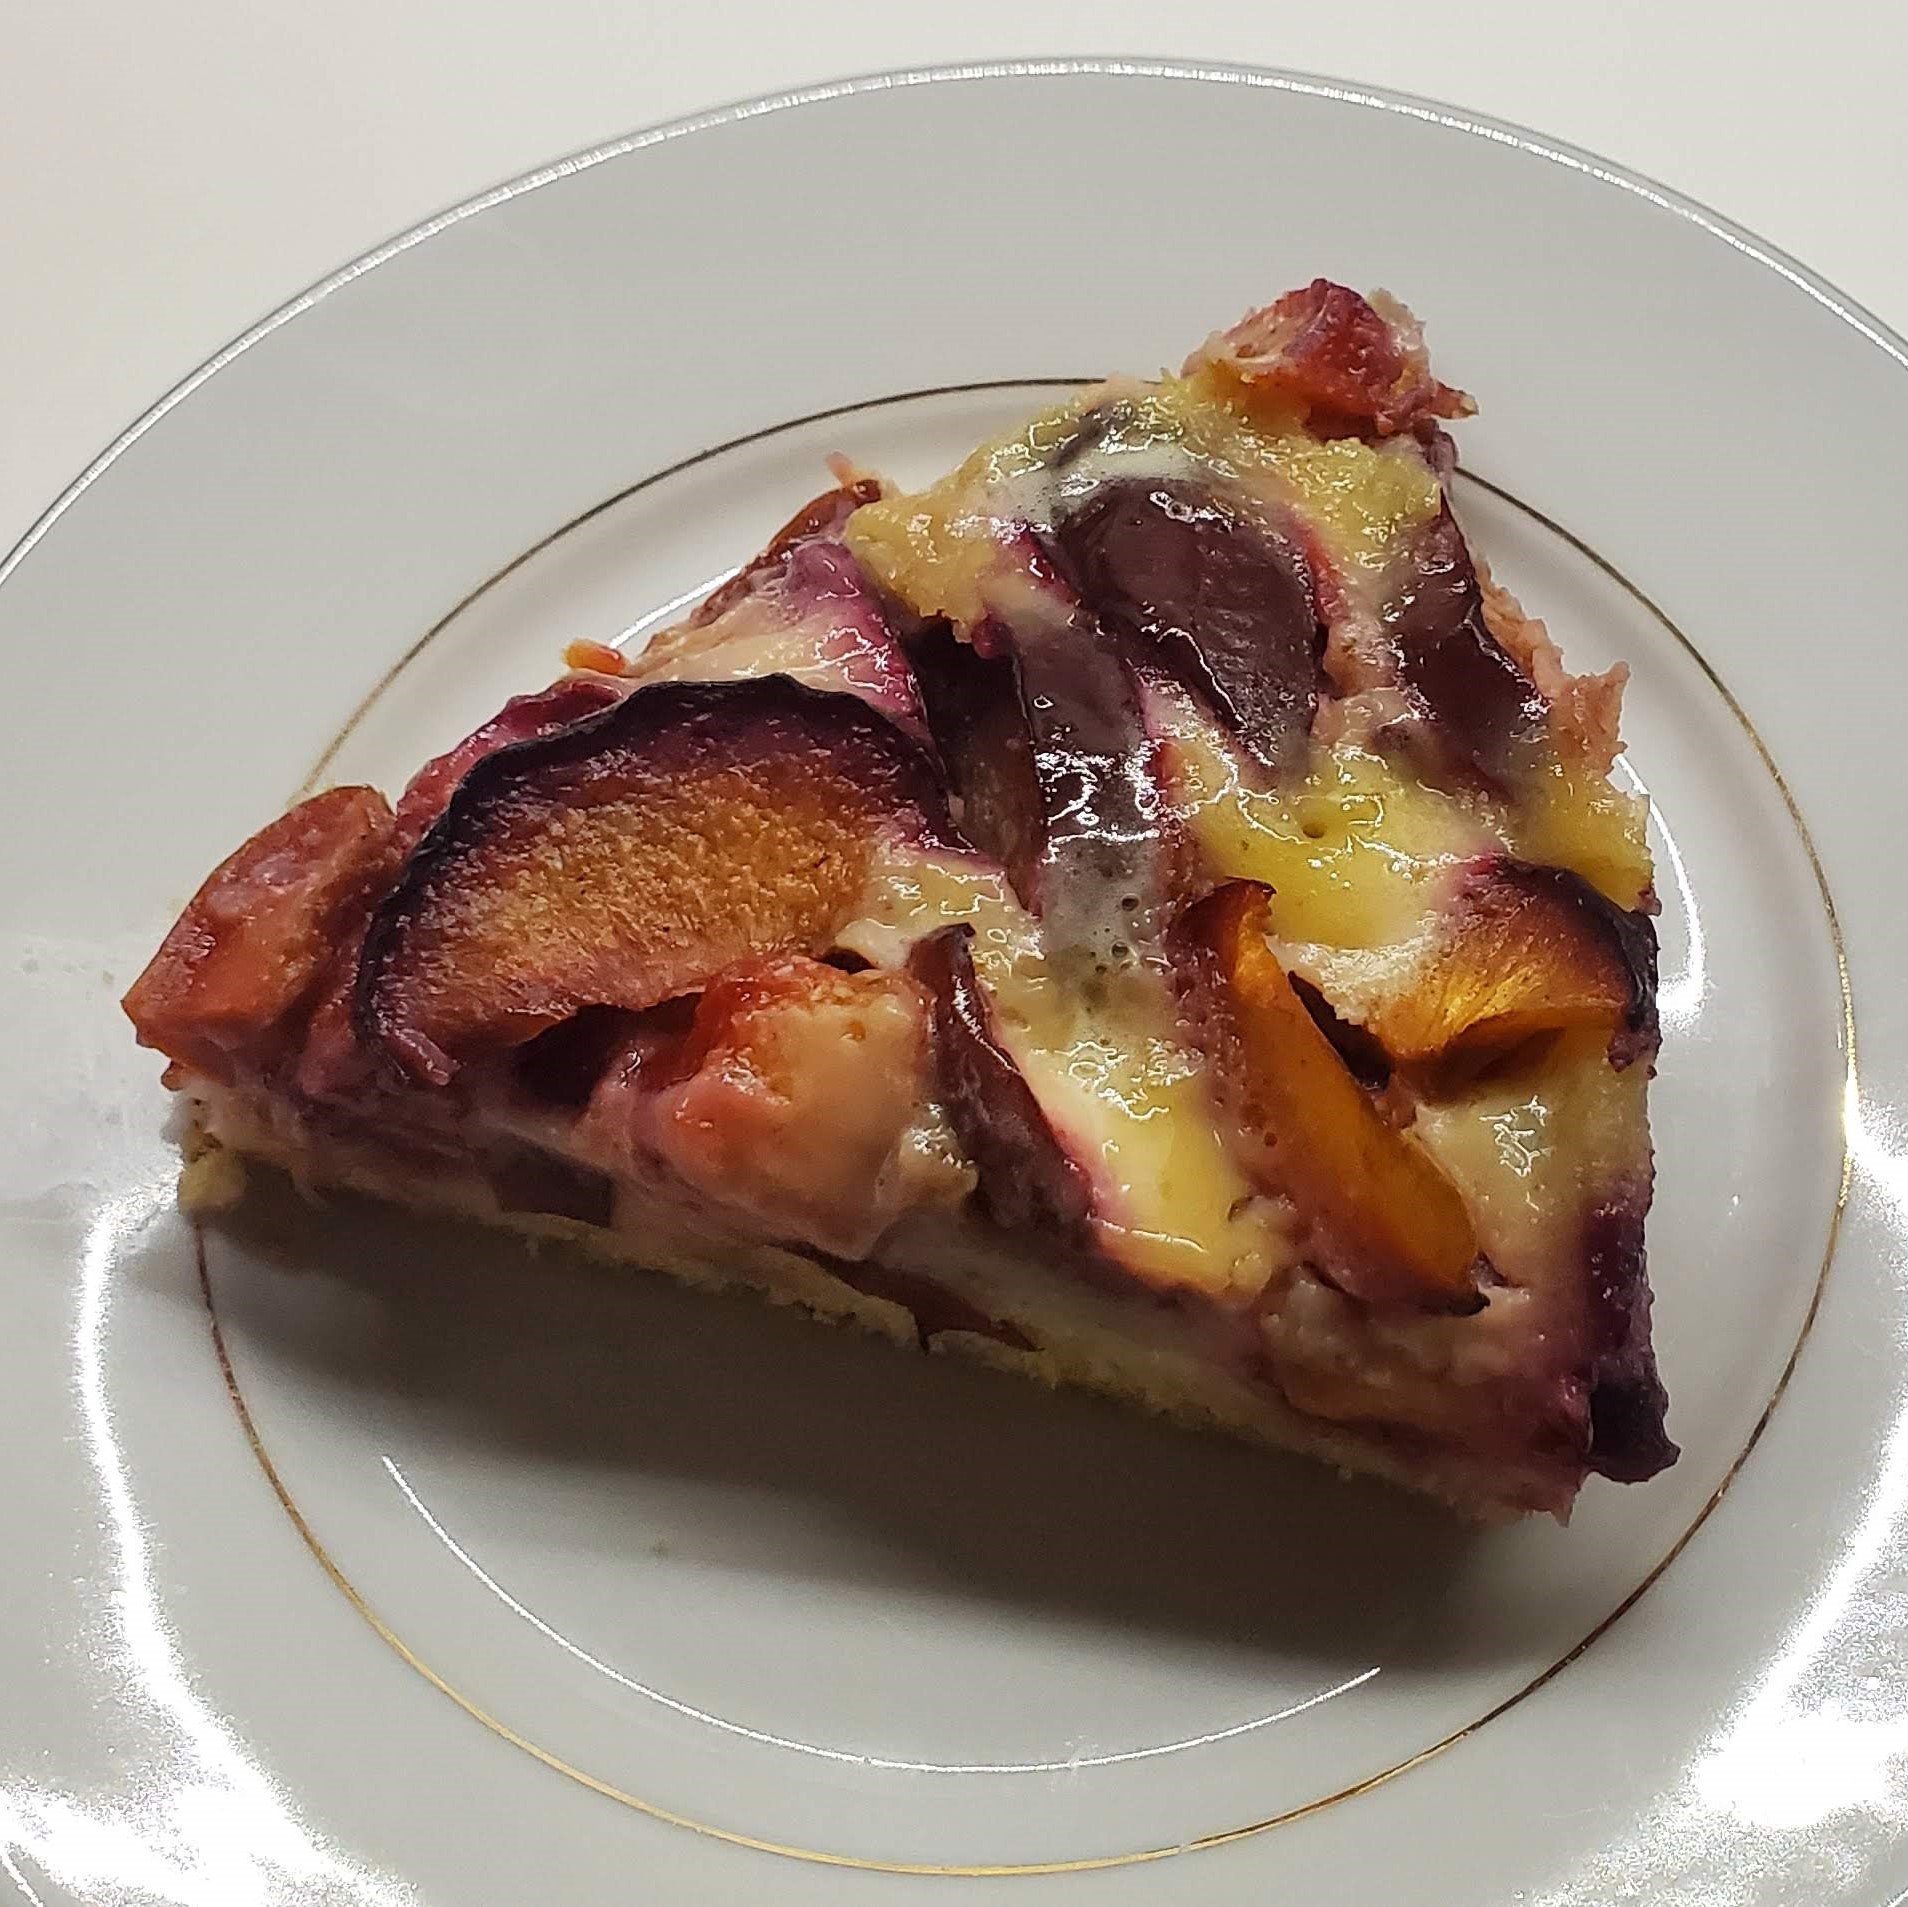
While visiting Portland, Oregon last month, I had the delight to meet our good friend Linda in a park for some pastries and brunch while Pinot played around. Linda had brought a delicious spiced plum custard cake that we so thoroughly enjoyed. She also gave me a whole bag of plums from her garden, so when I came back to SF I just knew I had to try the recipe.
I was so excited to cut it when our friends Tracy and Cynthia came over, that I didn’t get a photo of the whole thing. But I did get a few of slices, which are included here. I can’t recommend this recipe enough - it’s so easy to put together and it bakes just perfectly. You’ve got stone fruit? Try this recipe!
Independence Day coconut cake
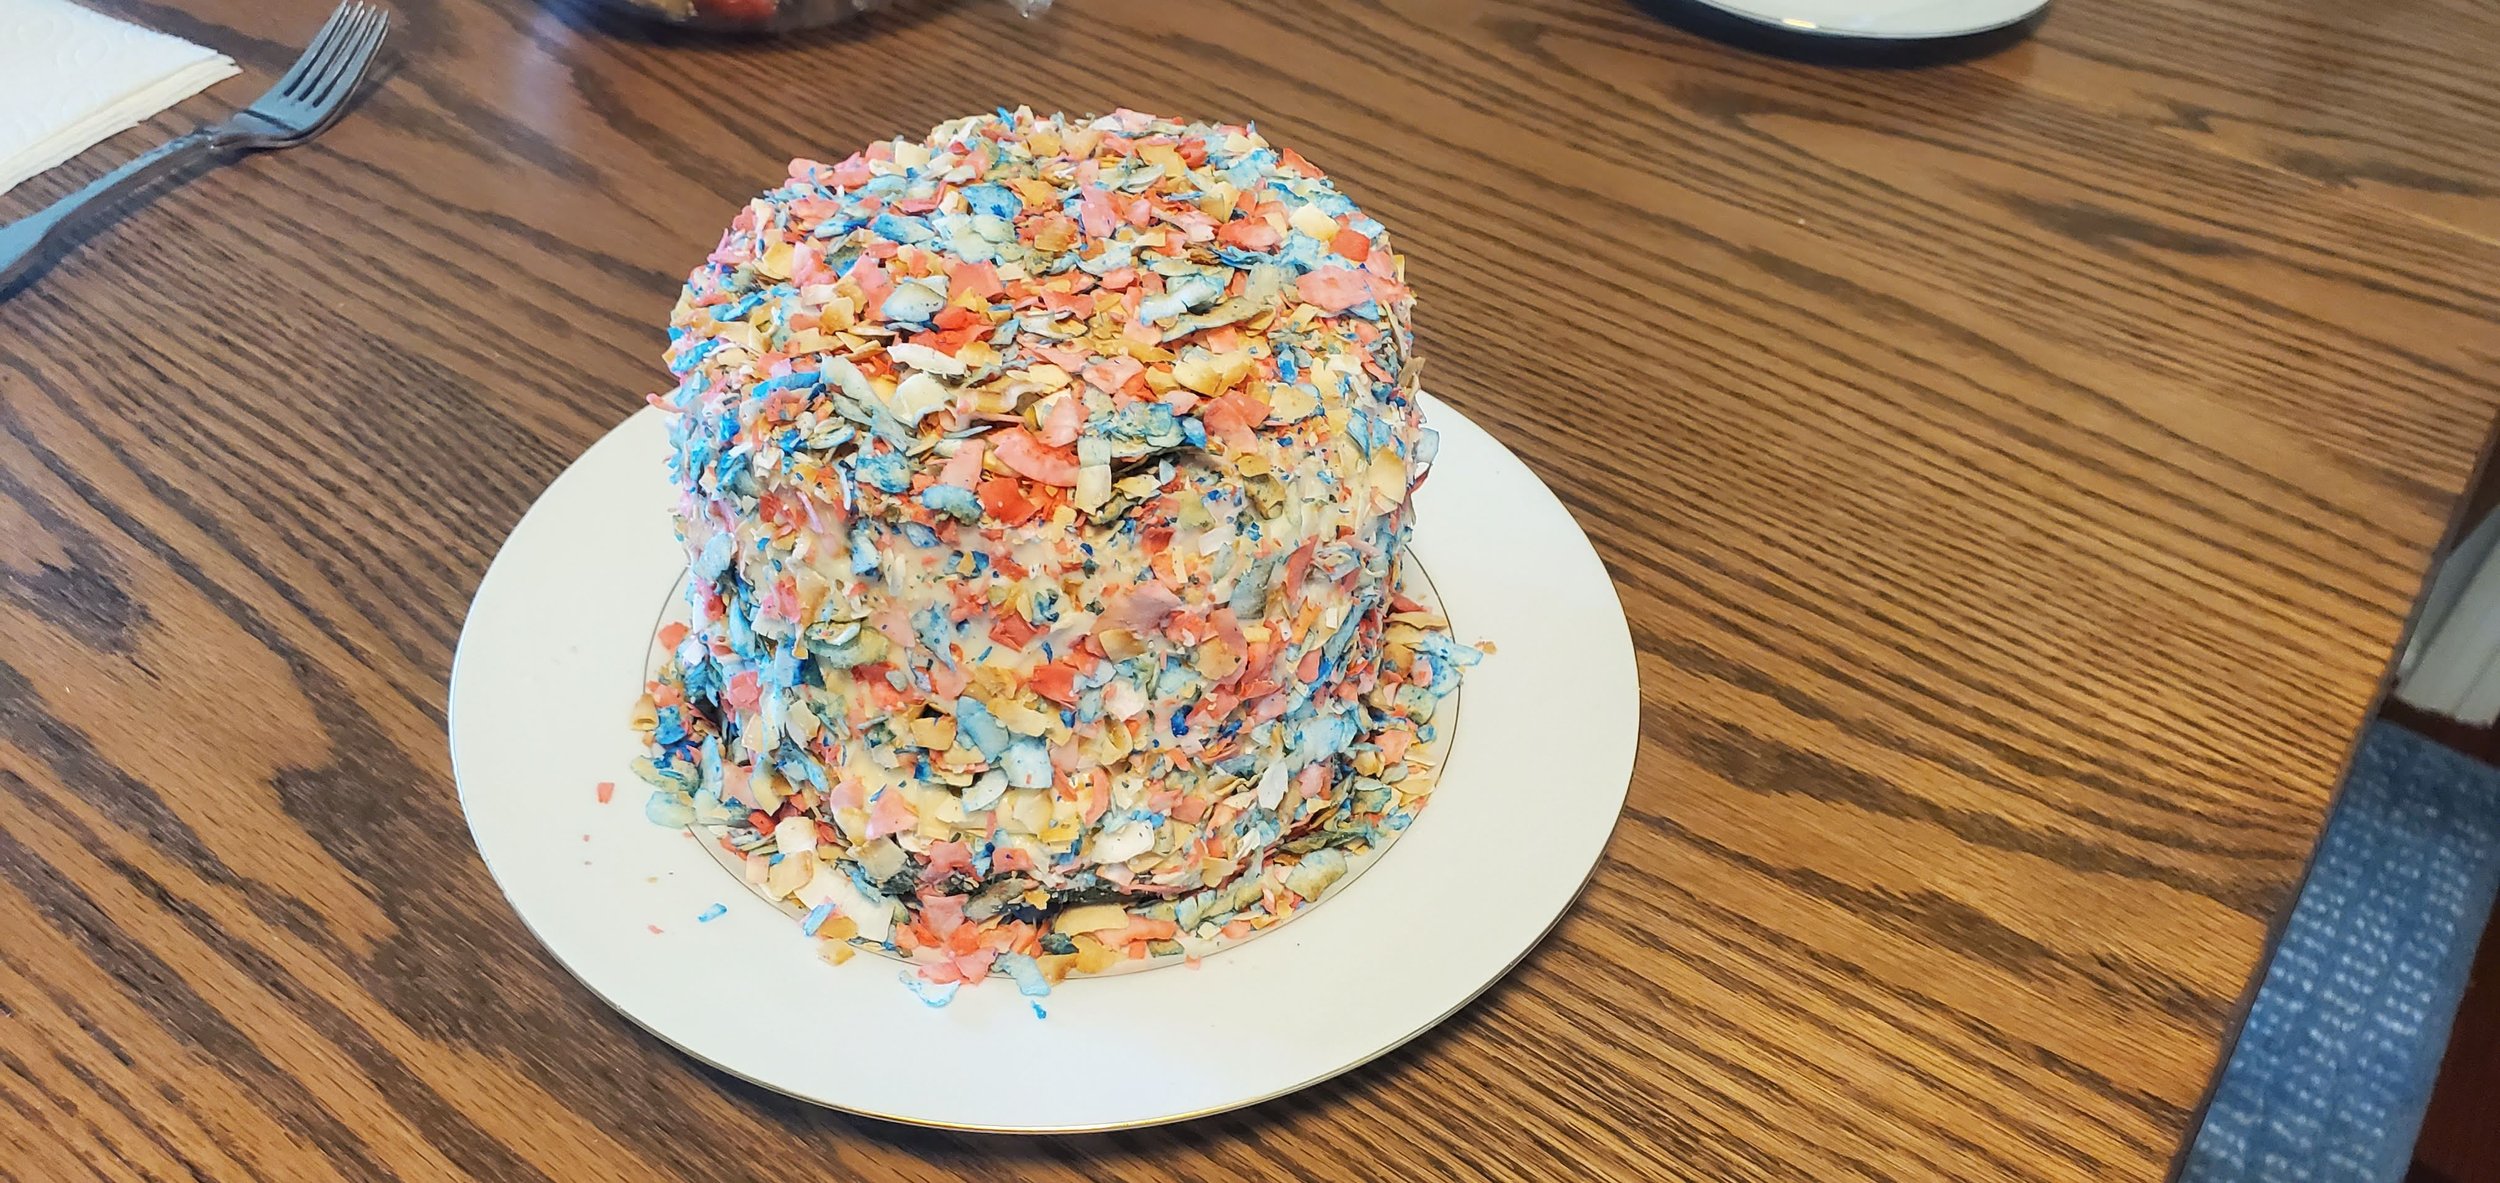
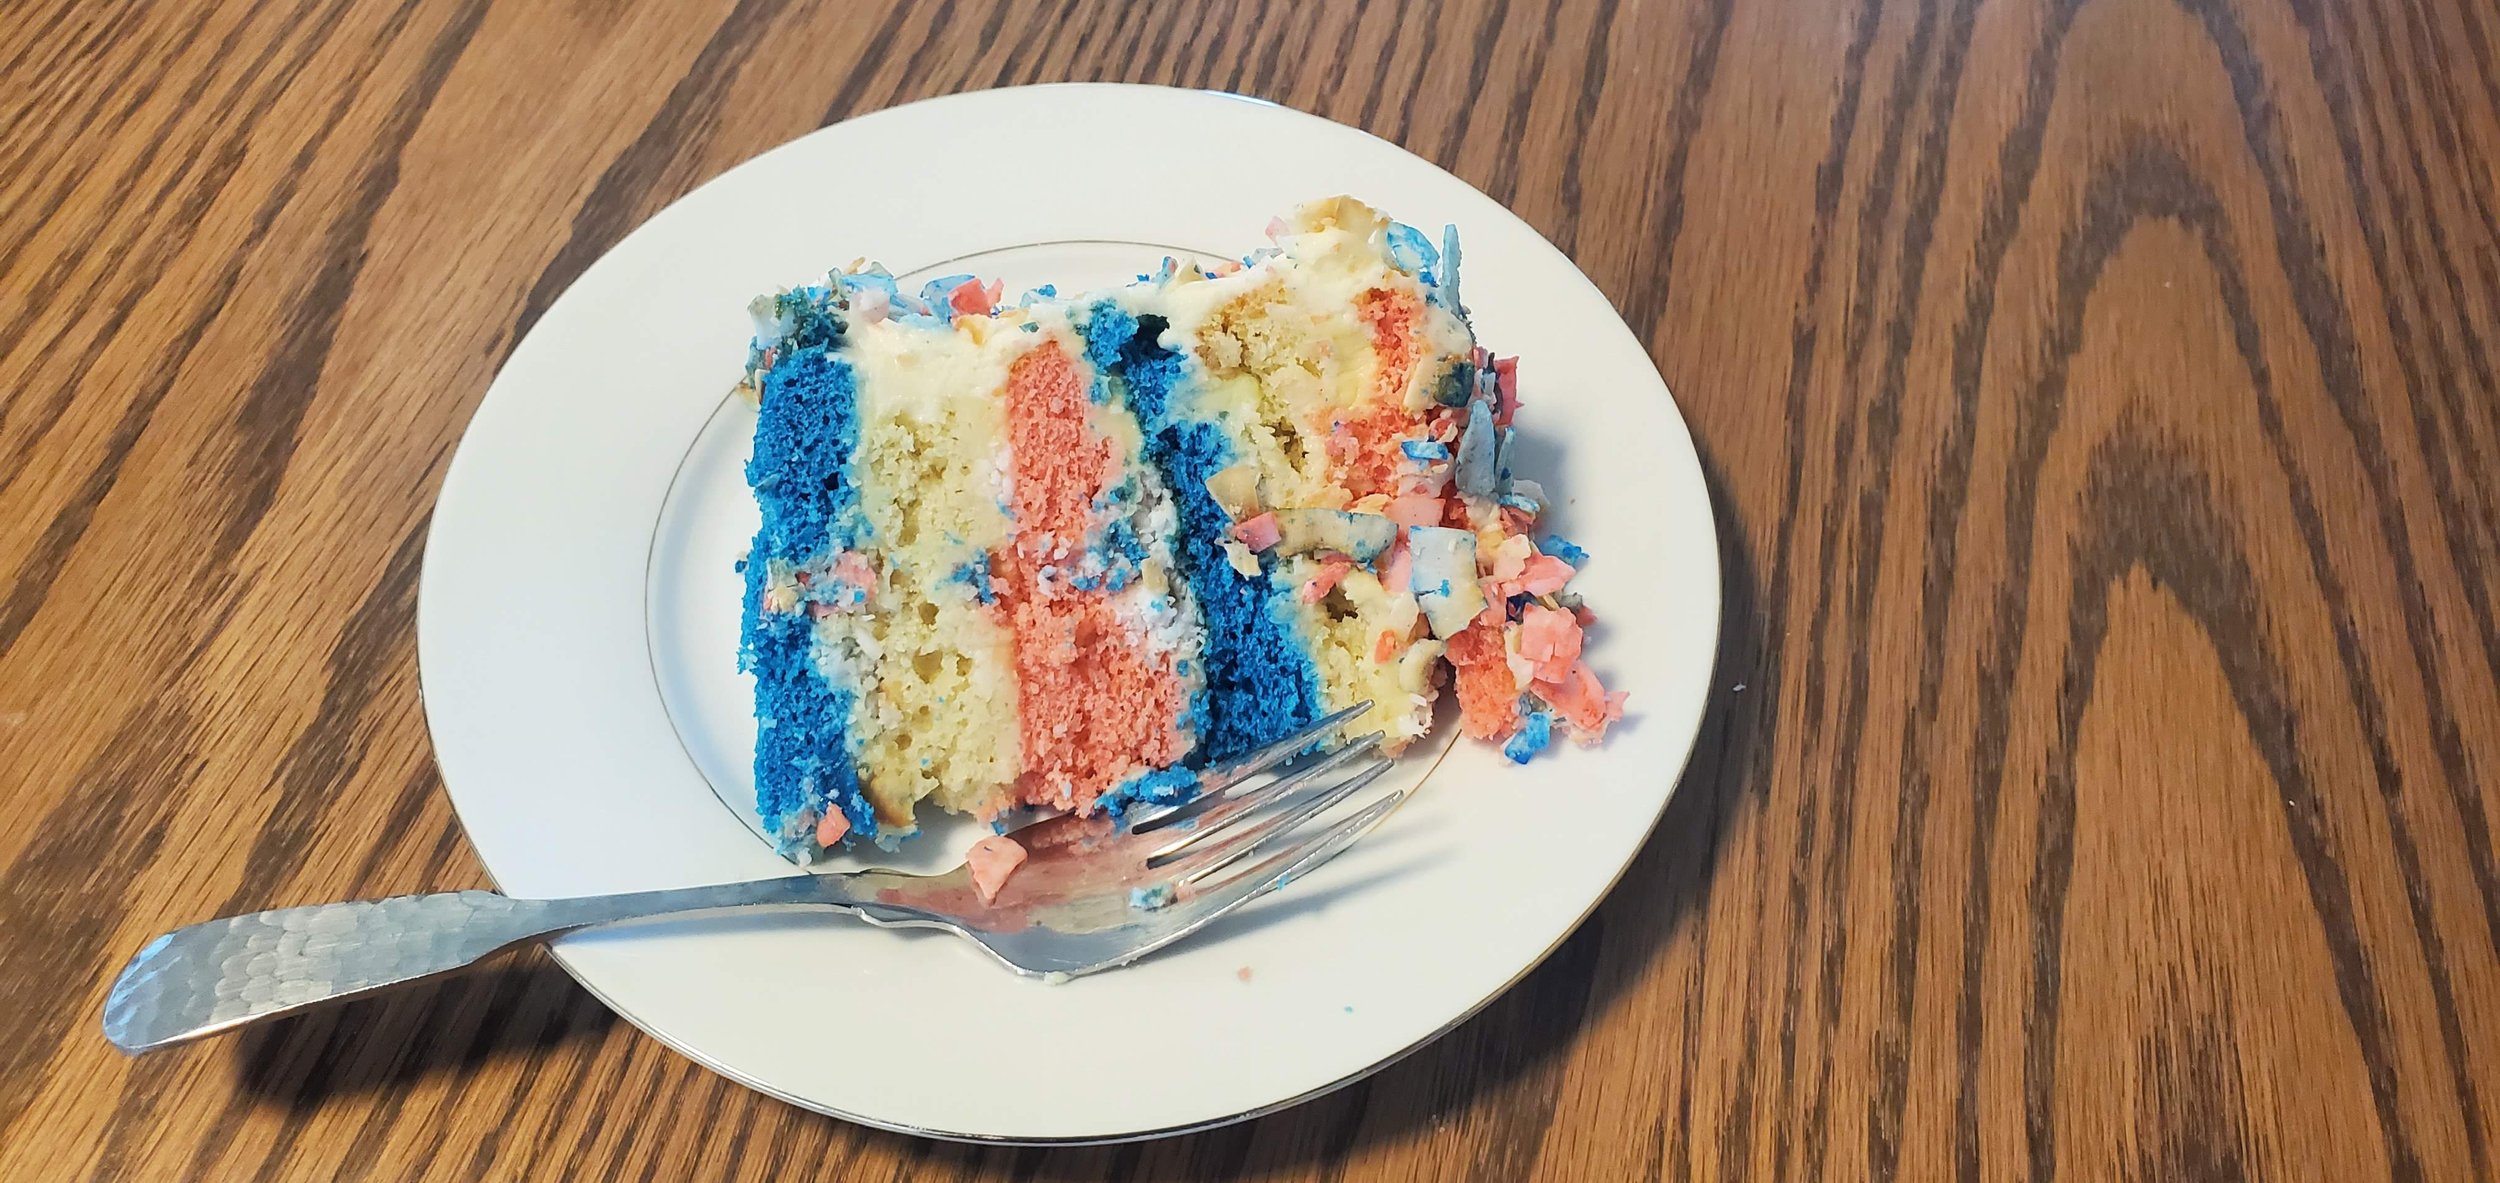
This year I didn’t feel very patriotic for a variety of reasons, but we had some July 4th celebrations planned, so I decided to make the most celebratory cake I know: coconut cake. In honor of Independence Day (or perhaps the flags of countries I might consider fleeing to in order to escape the Christian fascist hellscape the US is becoming), I tried to tint 1/3 of the coconut flakes red, another 1/3 blue, and the last 1/3 untinted. In the end, I just came out with a cake that looked very much like fruity pebbles! Too much blue coloring in the cake layers and too little red rendered a weird dayglo cake that i wasn’t particularly proud of. But since I haven’t baked much and this took me a truly embarrassingly long time to make, I thought I’d post it here. Happy Independence Day?
babchallah (babka + challah)
Today’s the day we brought home our new puppy—Pinot (named for my other gastronomic pursuit)—so what better way to celebrate his arrival, and thank our amazing breeder, than by making a celebratory and beautiful dessert from Claire Saffitz’ “Dessert Person” cookbook?! The first yeasted bread I ever made was challah, the famous Sabbath loaf enjoyed by many Jewish (and non-Jewish!) families. I remember my best friend from childhood bringing over his mother’s challah recipe, and our making it in the kitchen, swimming in the aroma of fresh, baking bread. One year for Christmas, we even tinted the strands of the dough red and green, so when we braided it, it was a nice Christmas combination of doughs!
Years later, I would learn of babka, another delightful Jewish dessert. I started with Smitten Kitchen’s recipe, which is phenomenal. The one trouble I had with it was knowing when it was baked. After under-baking it once, I got in the habit of baking the hell out of it. The problem is that a skewer never comes out clean, with as much chocolate as is rolled up into the dough. So I often vacillated between under- and over-baked, and eventually I stopped making it.
Enter the delightful Claire Saffitz, whose recipe I made for the first time last night. Maybe because the loaf is smaller (I divided one recipe, originally meant to be braided from thirds of the dough, into two loaves of two quarters each) or maybe because it’s baked on a sheet pan and not in a loaf pan, but this one turned out terrifically! So it’s a great, celebratory loaf that’s quite easy to make and can be whipped up in a few hours’ time. Welcome home, Pinot!
sweet potato and brown sugar mantou
Although not the prettiest, these are the sweet potato (yellow/orange) and brown sugar (pale brown) mantou or steamed buns that I made this past weekend. The recipe comes from Kristina Cho’s Mooncakes and Milk Bread cookbook, and the recipe came together quite easily! The base dough is simply all-purpose flour, salt, baking powder, some sugar, yeast, and water. The sweet potato dough has a bit of pureed sweet potato mixed in, and the brown sugar dough has the obvious ingredient in it, too. To form these, I made small circles of dough, overlapped a bit and then rolled up and cut in half to make little roses. But you could easily just do a simple mantou roll shape as well!
split-loaf milk bread
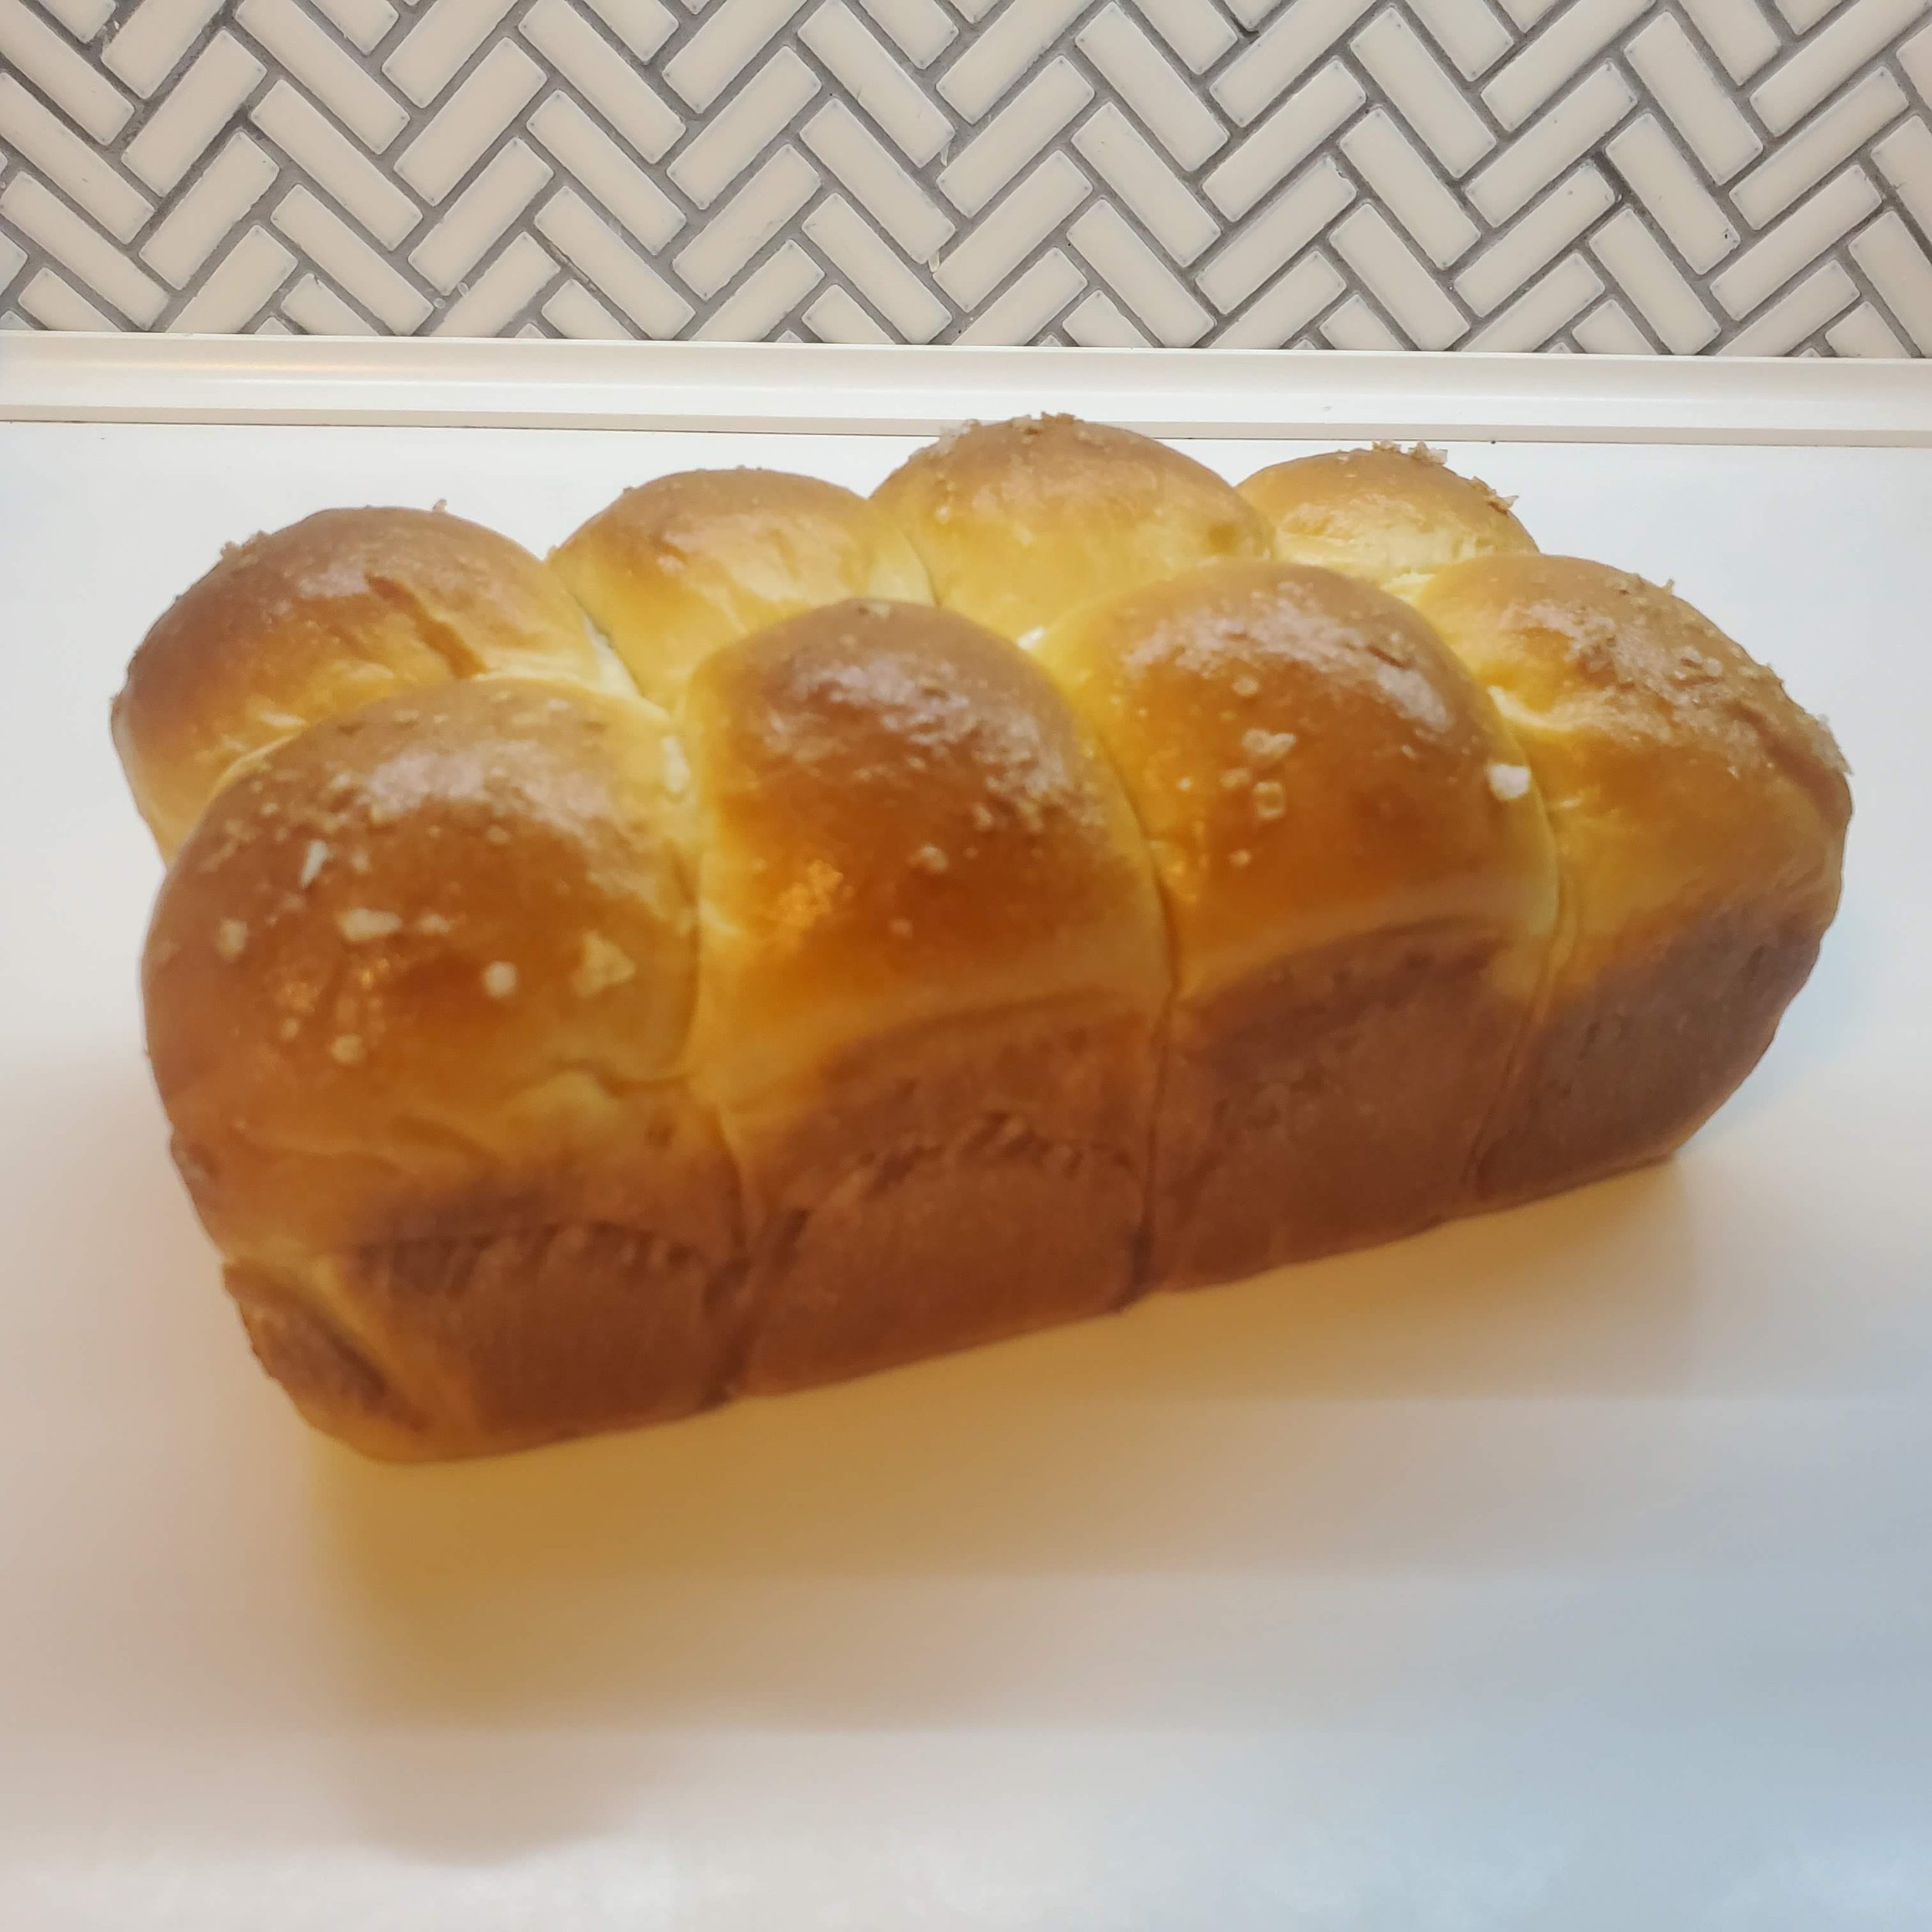

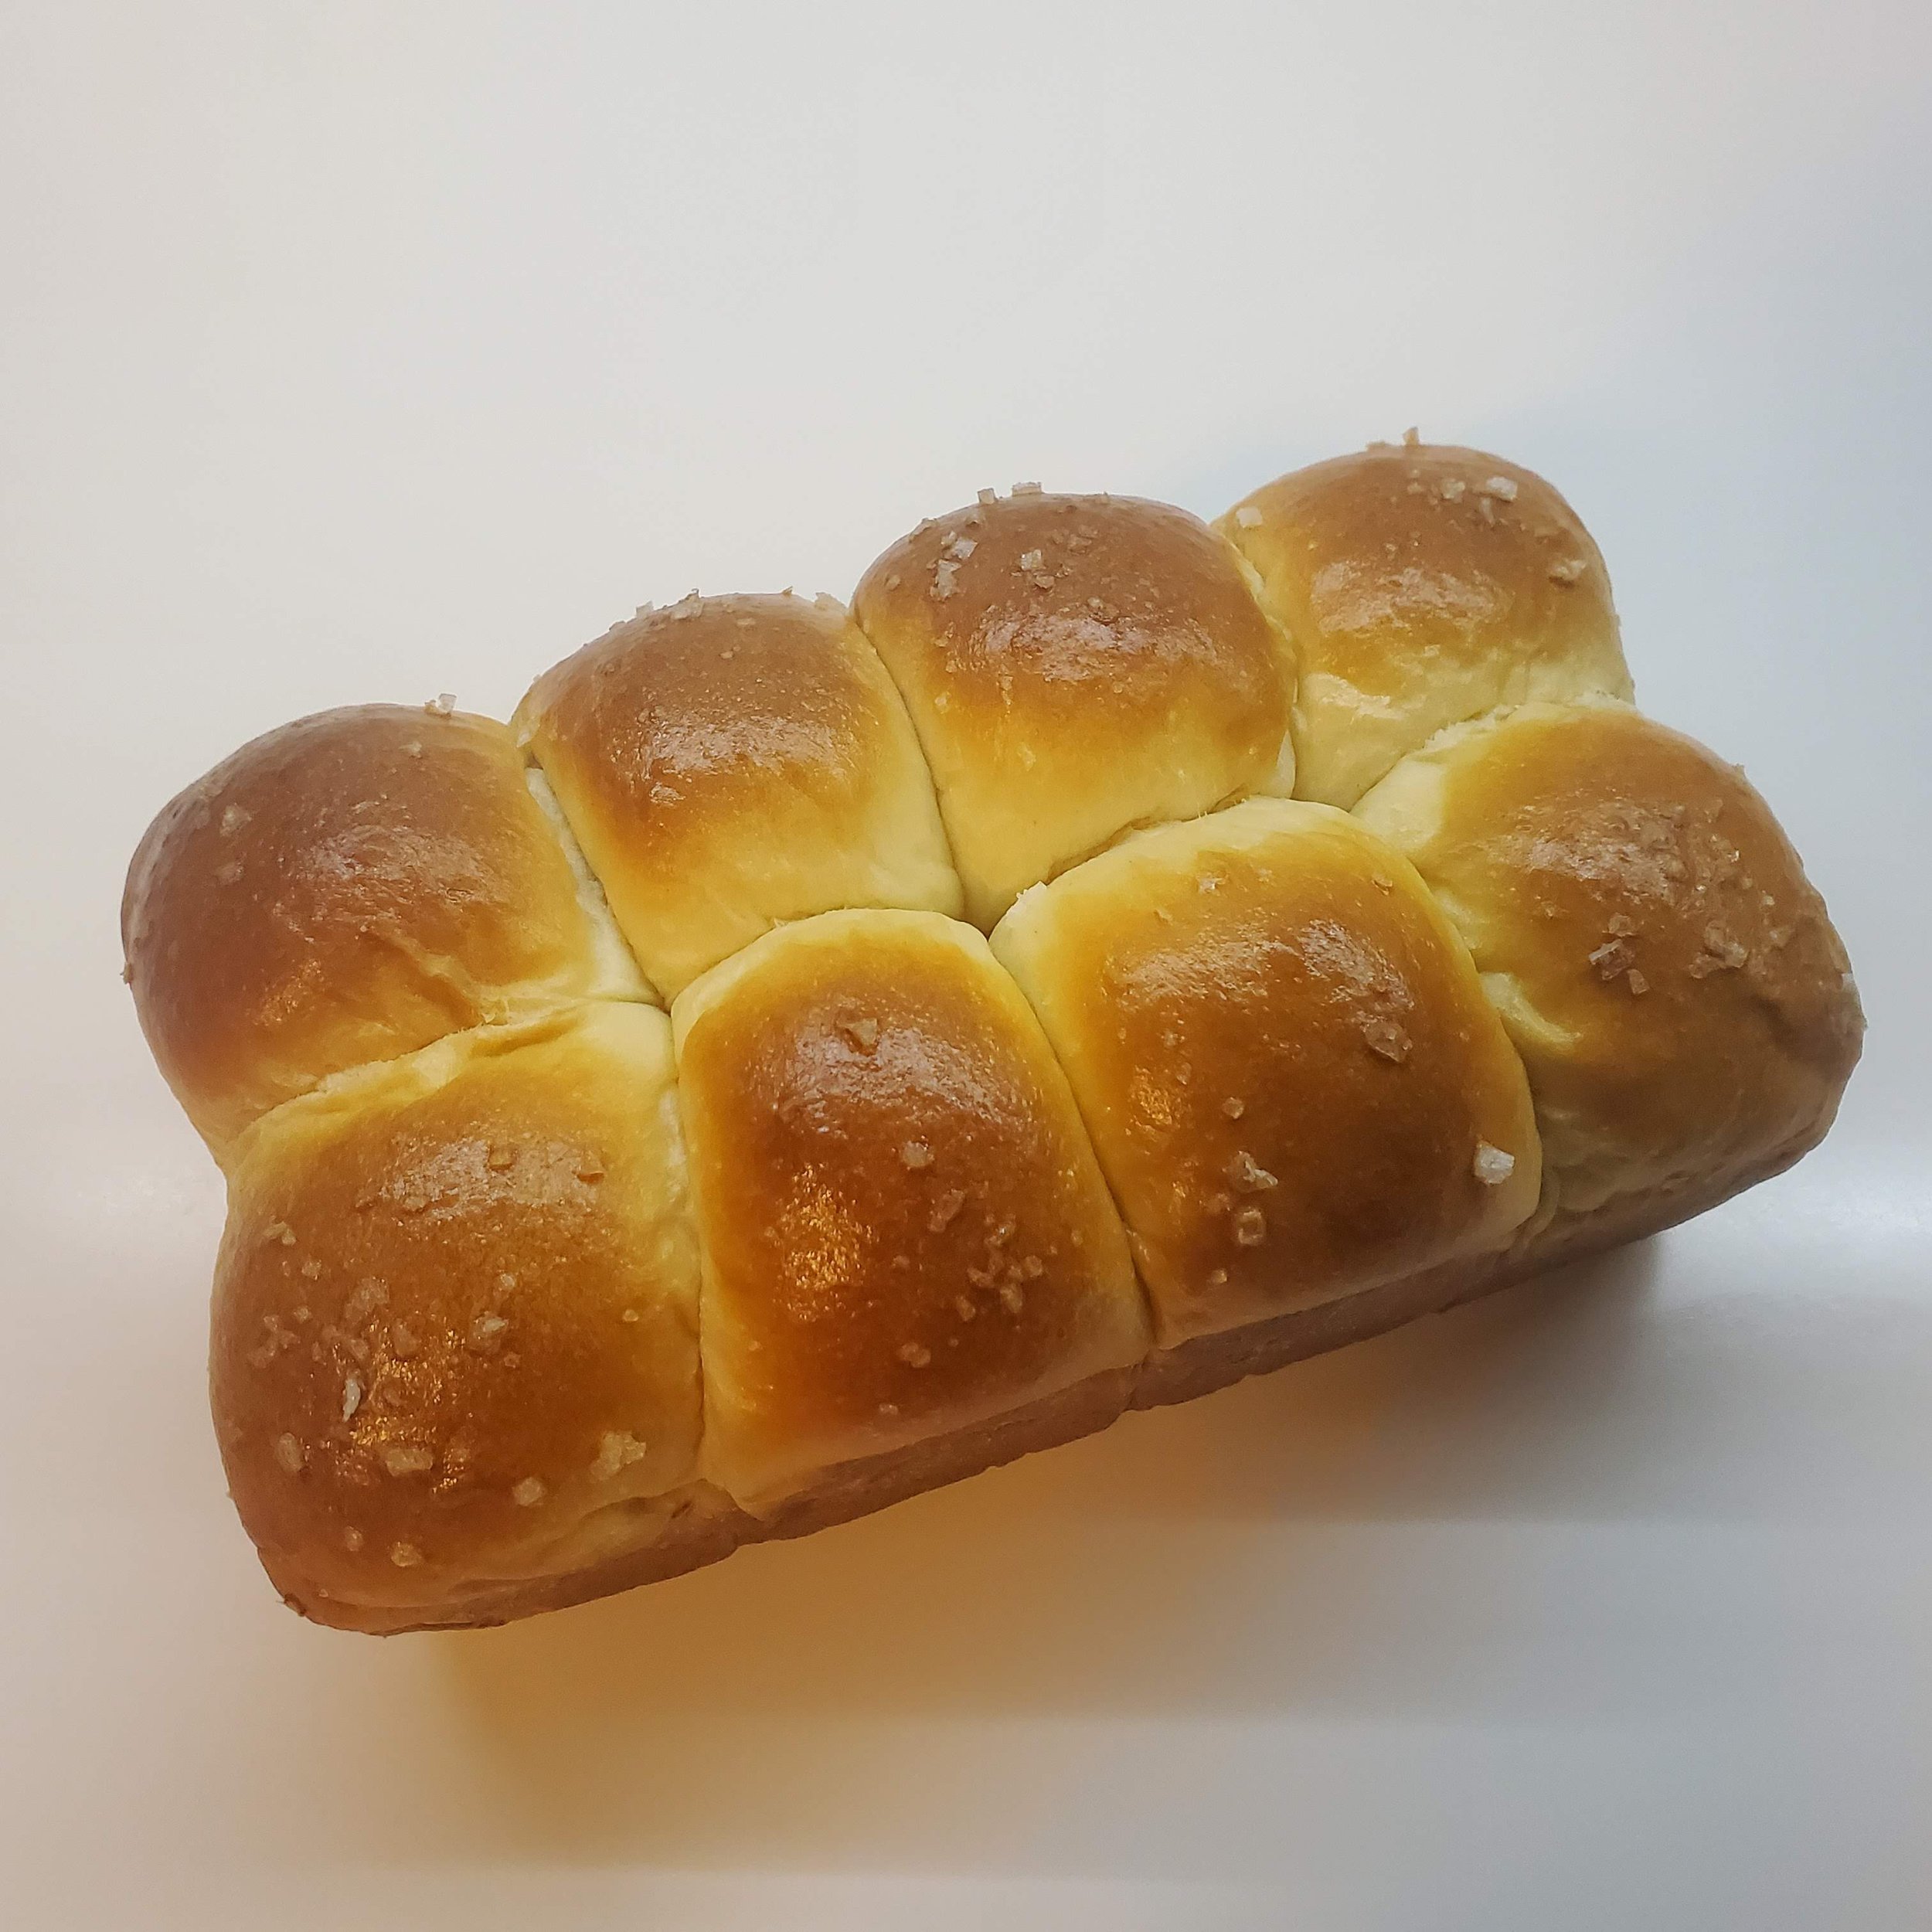
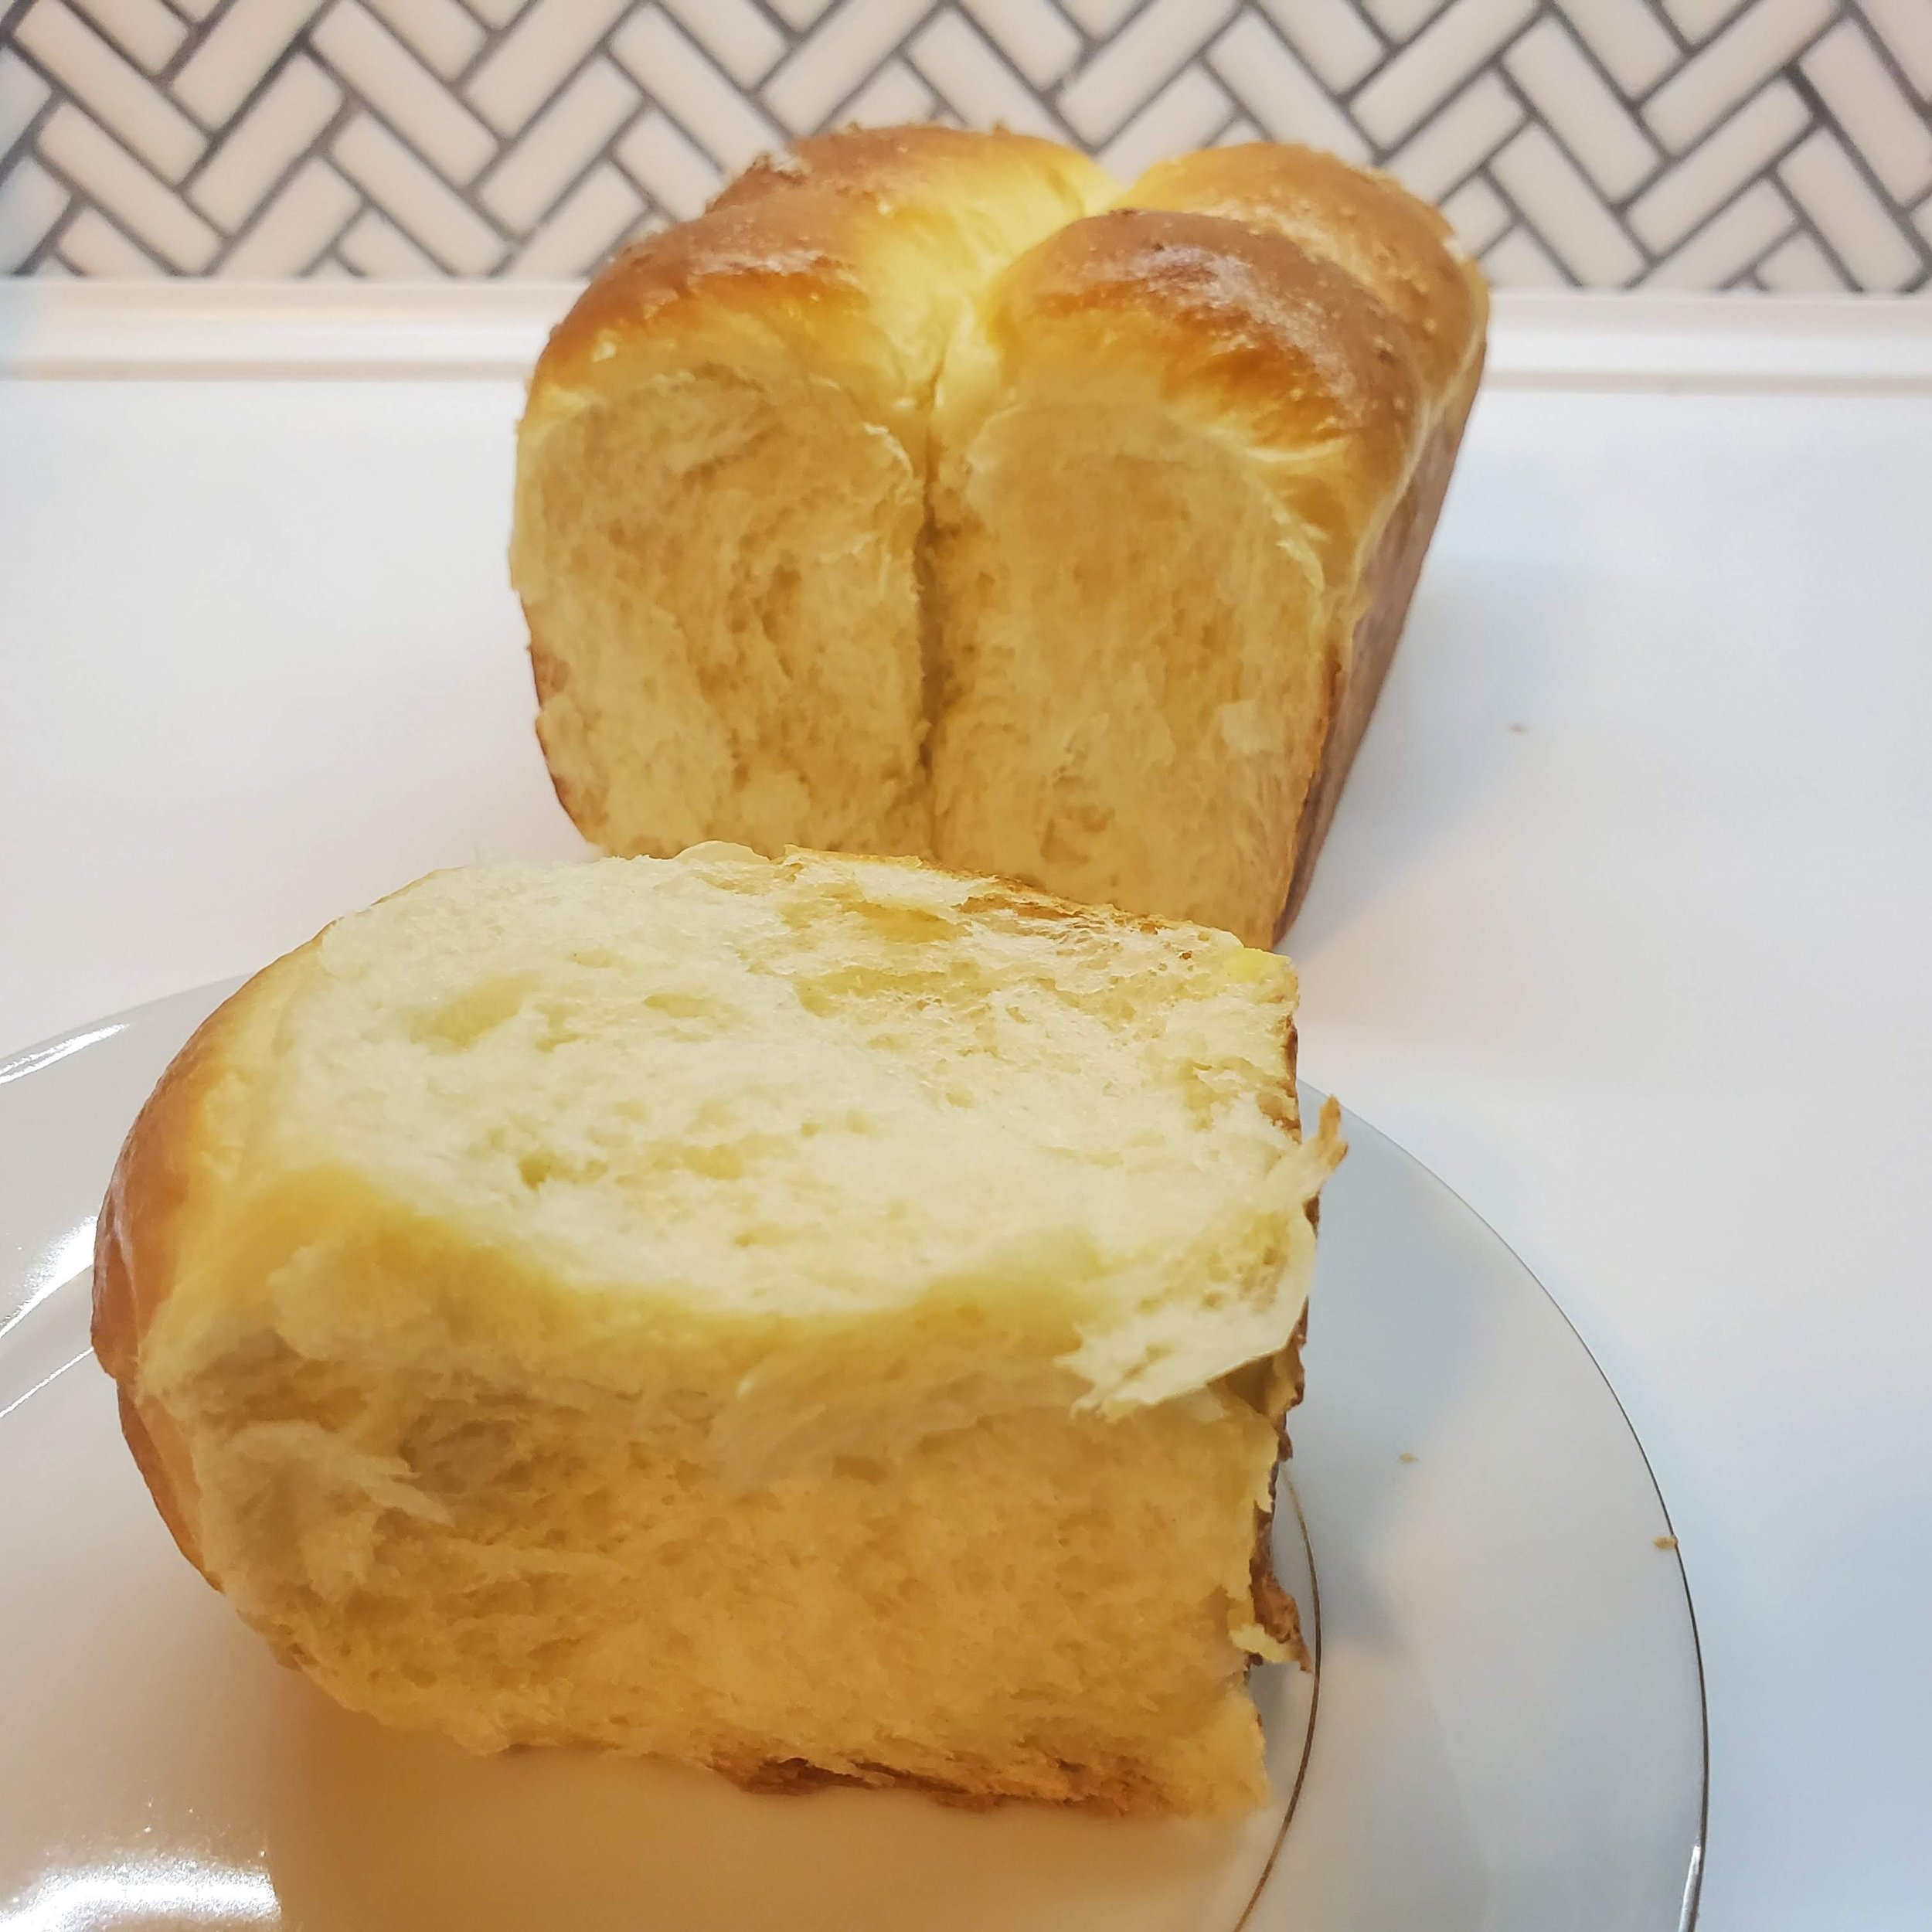
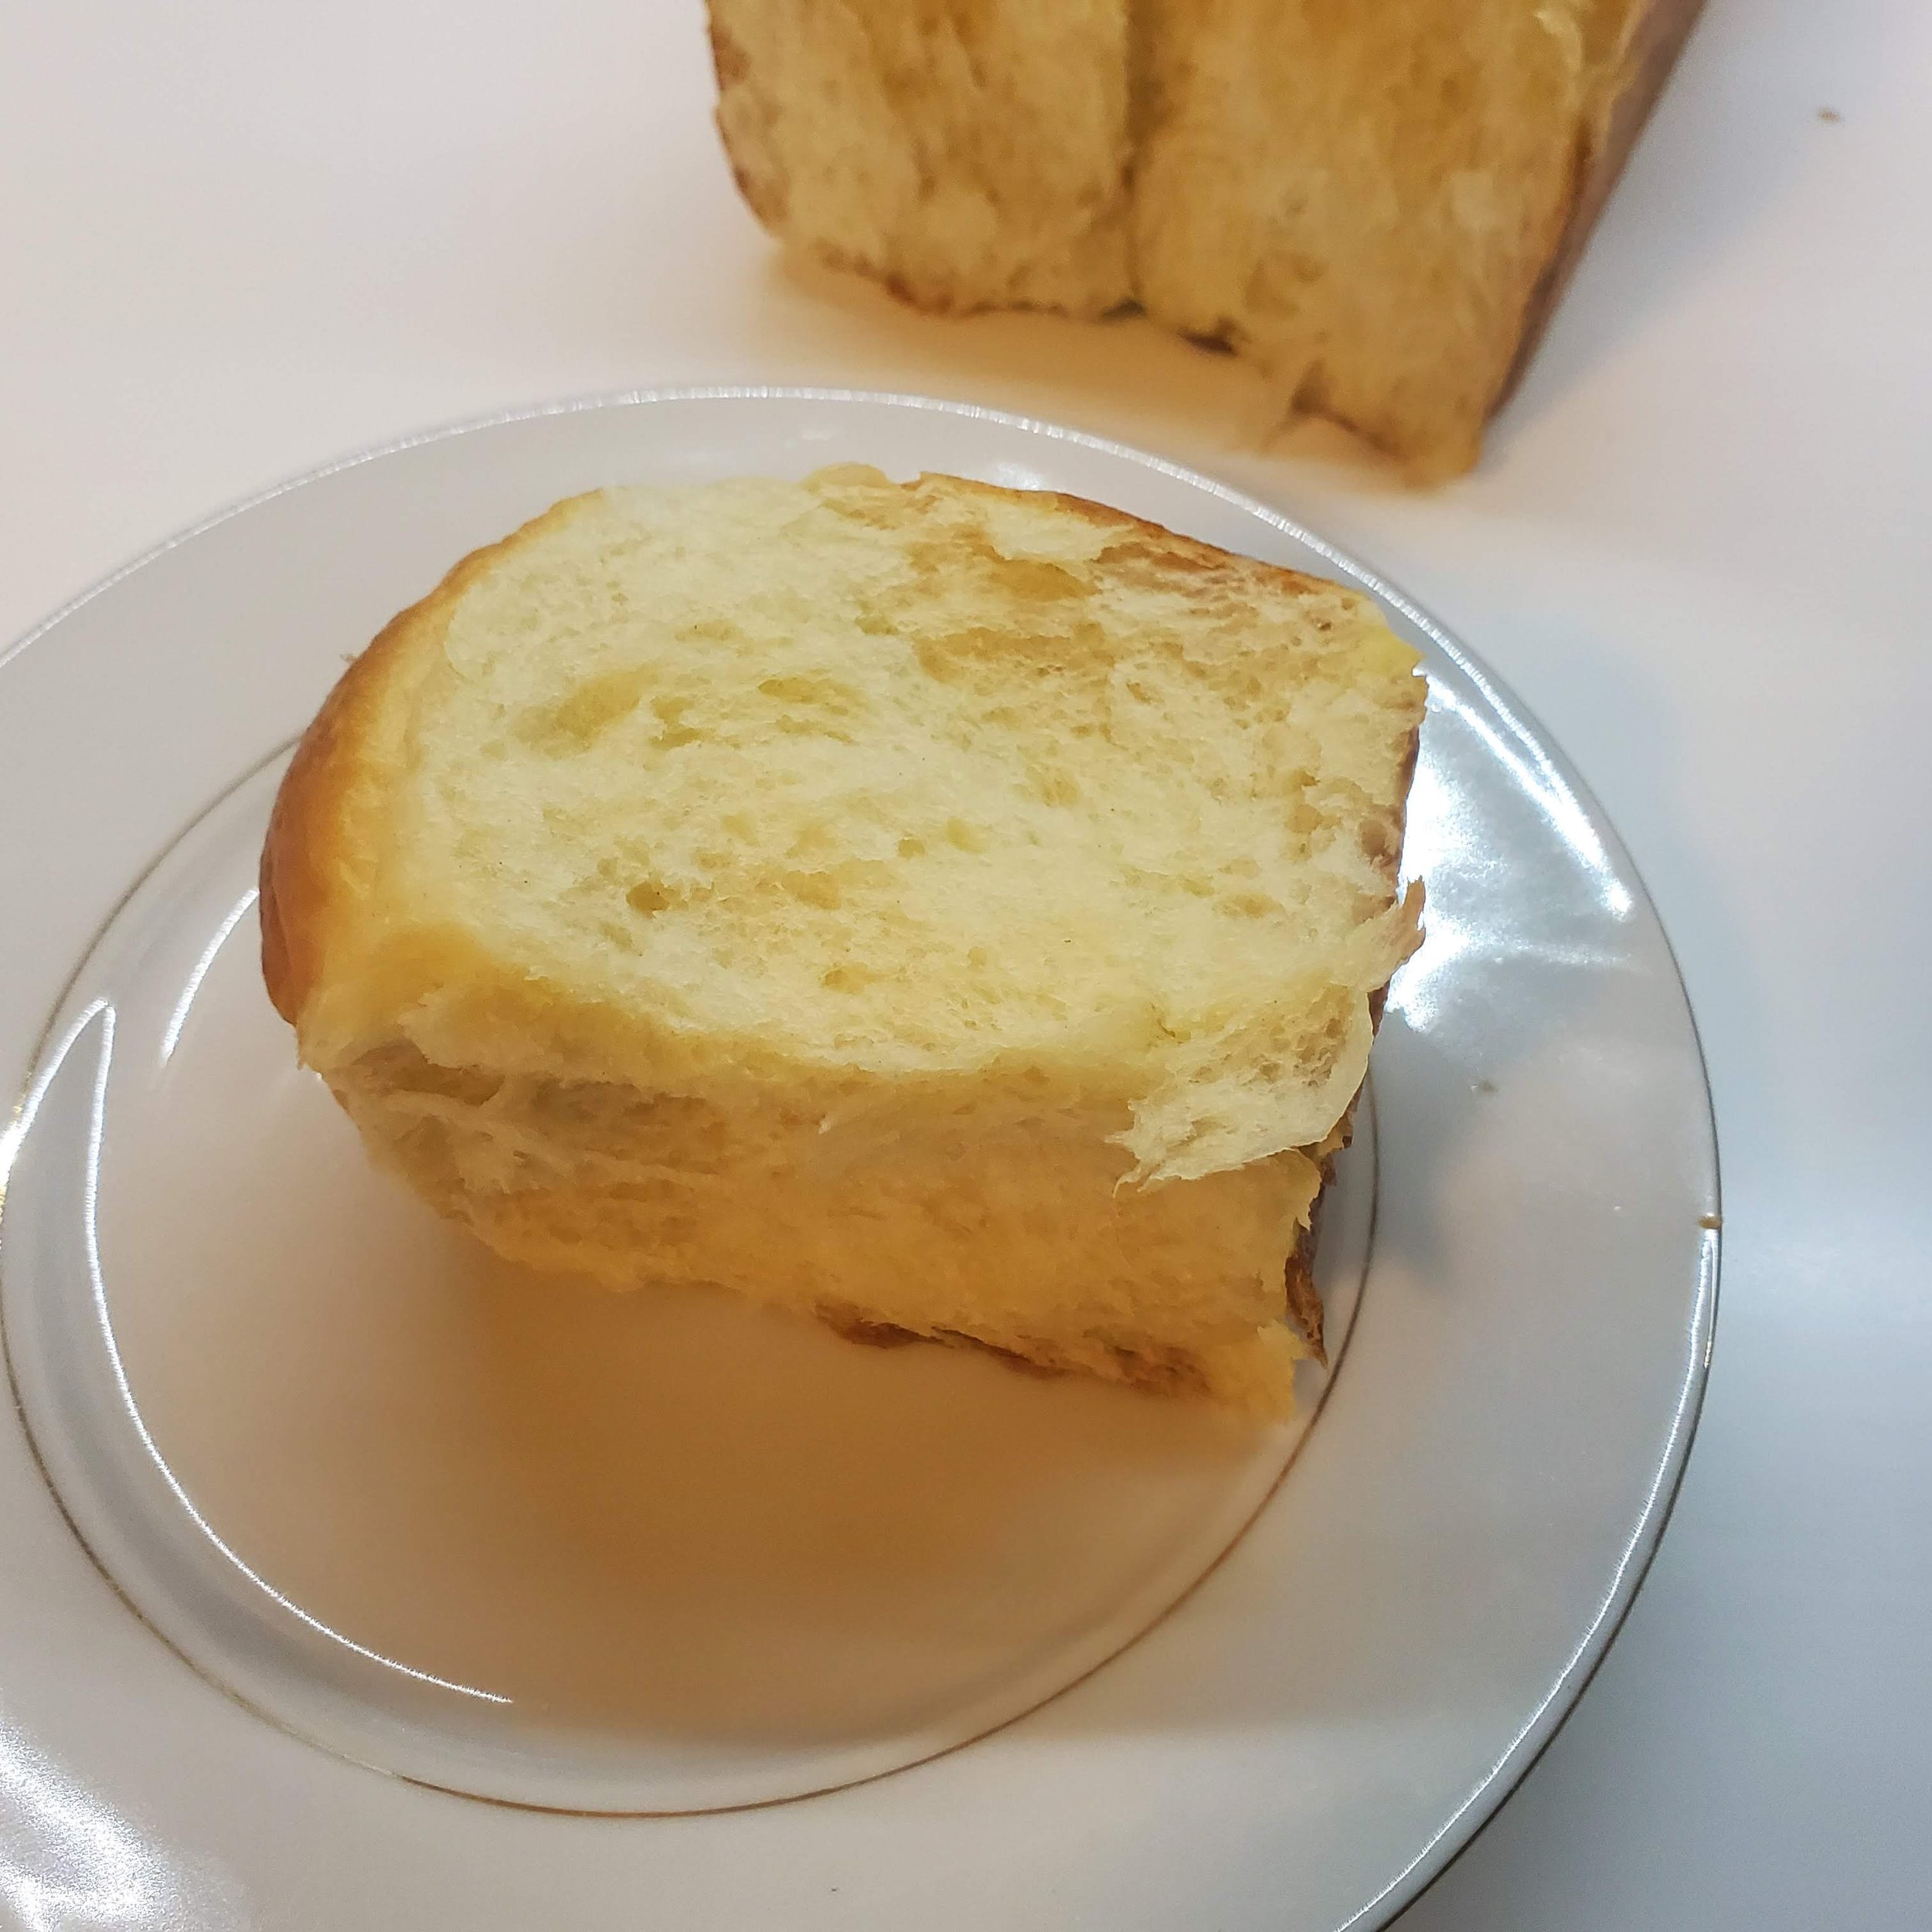
Late last year, I heard an interview with Kristina Cho on one of my favorite podcasts - the Splendid Table - in which she discussed her new cookbook “Mooncakes and Milk Bread.” So, of course I had to buy it! I was introduced to the wonder of Chinese-style bakeries by Andy while living here in San Francisco and I eat my fill of light, airy, and inexplicably moist milk breads, buns, and cream horns every time we visit family in Taiwan. So the idea of being able to make some of these on my own at home was too enticing to pass up.
We have already made her recipe for scallion pancakes, which we ate so quickly that I didn’t even get a chance to take a photo of them… on two separate occasions! This past weekend, I dove into her milk bread recipe and was so impressed with how it came out. The secret, she writes, is the tangzhong, a mixture of flour and milk cooked until quite thick. This enables the dough to hold onto moisture quite well, resulting in a moist and delicious bread.
quadruple coconut cake
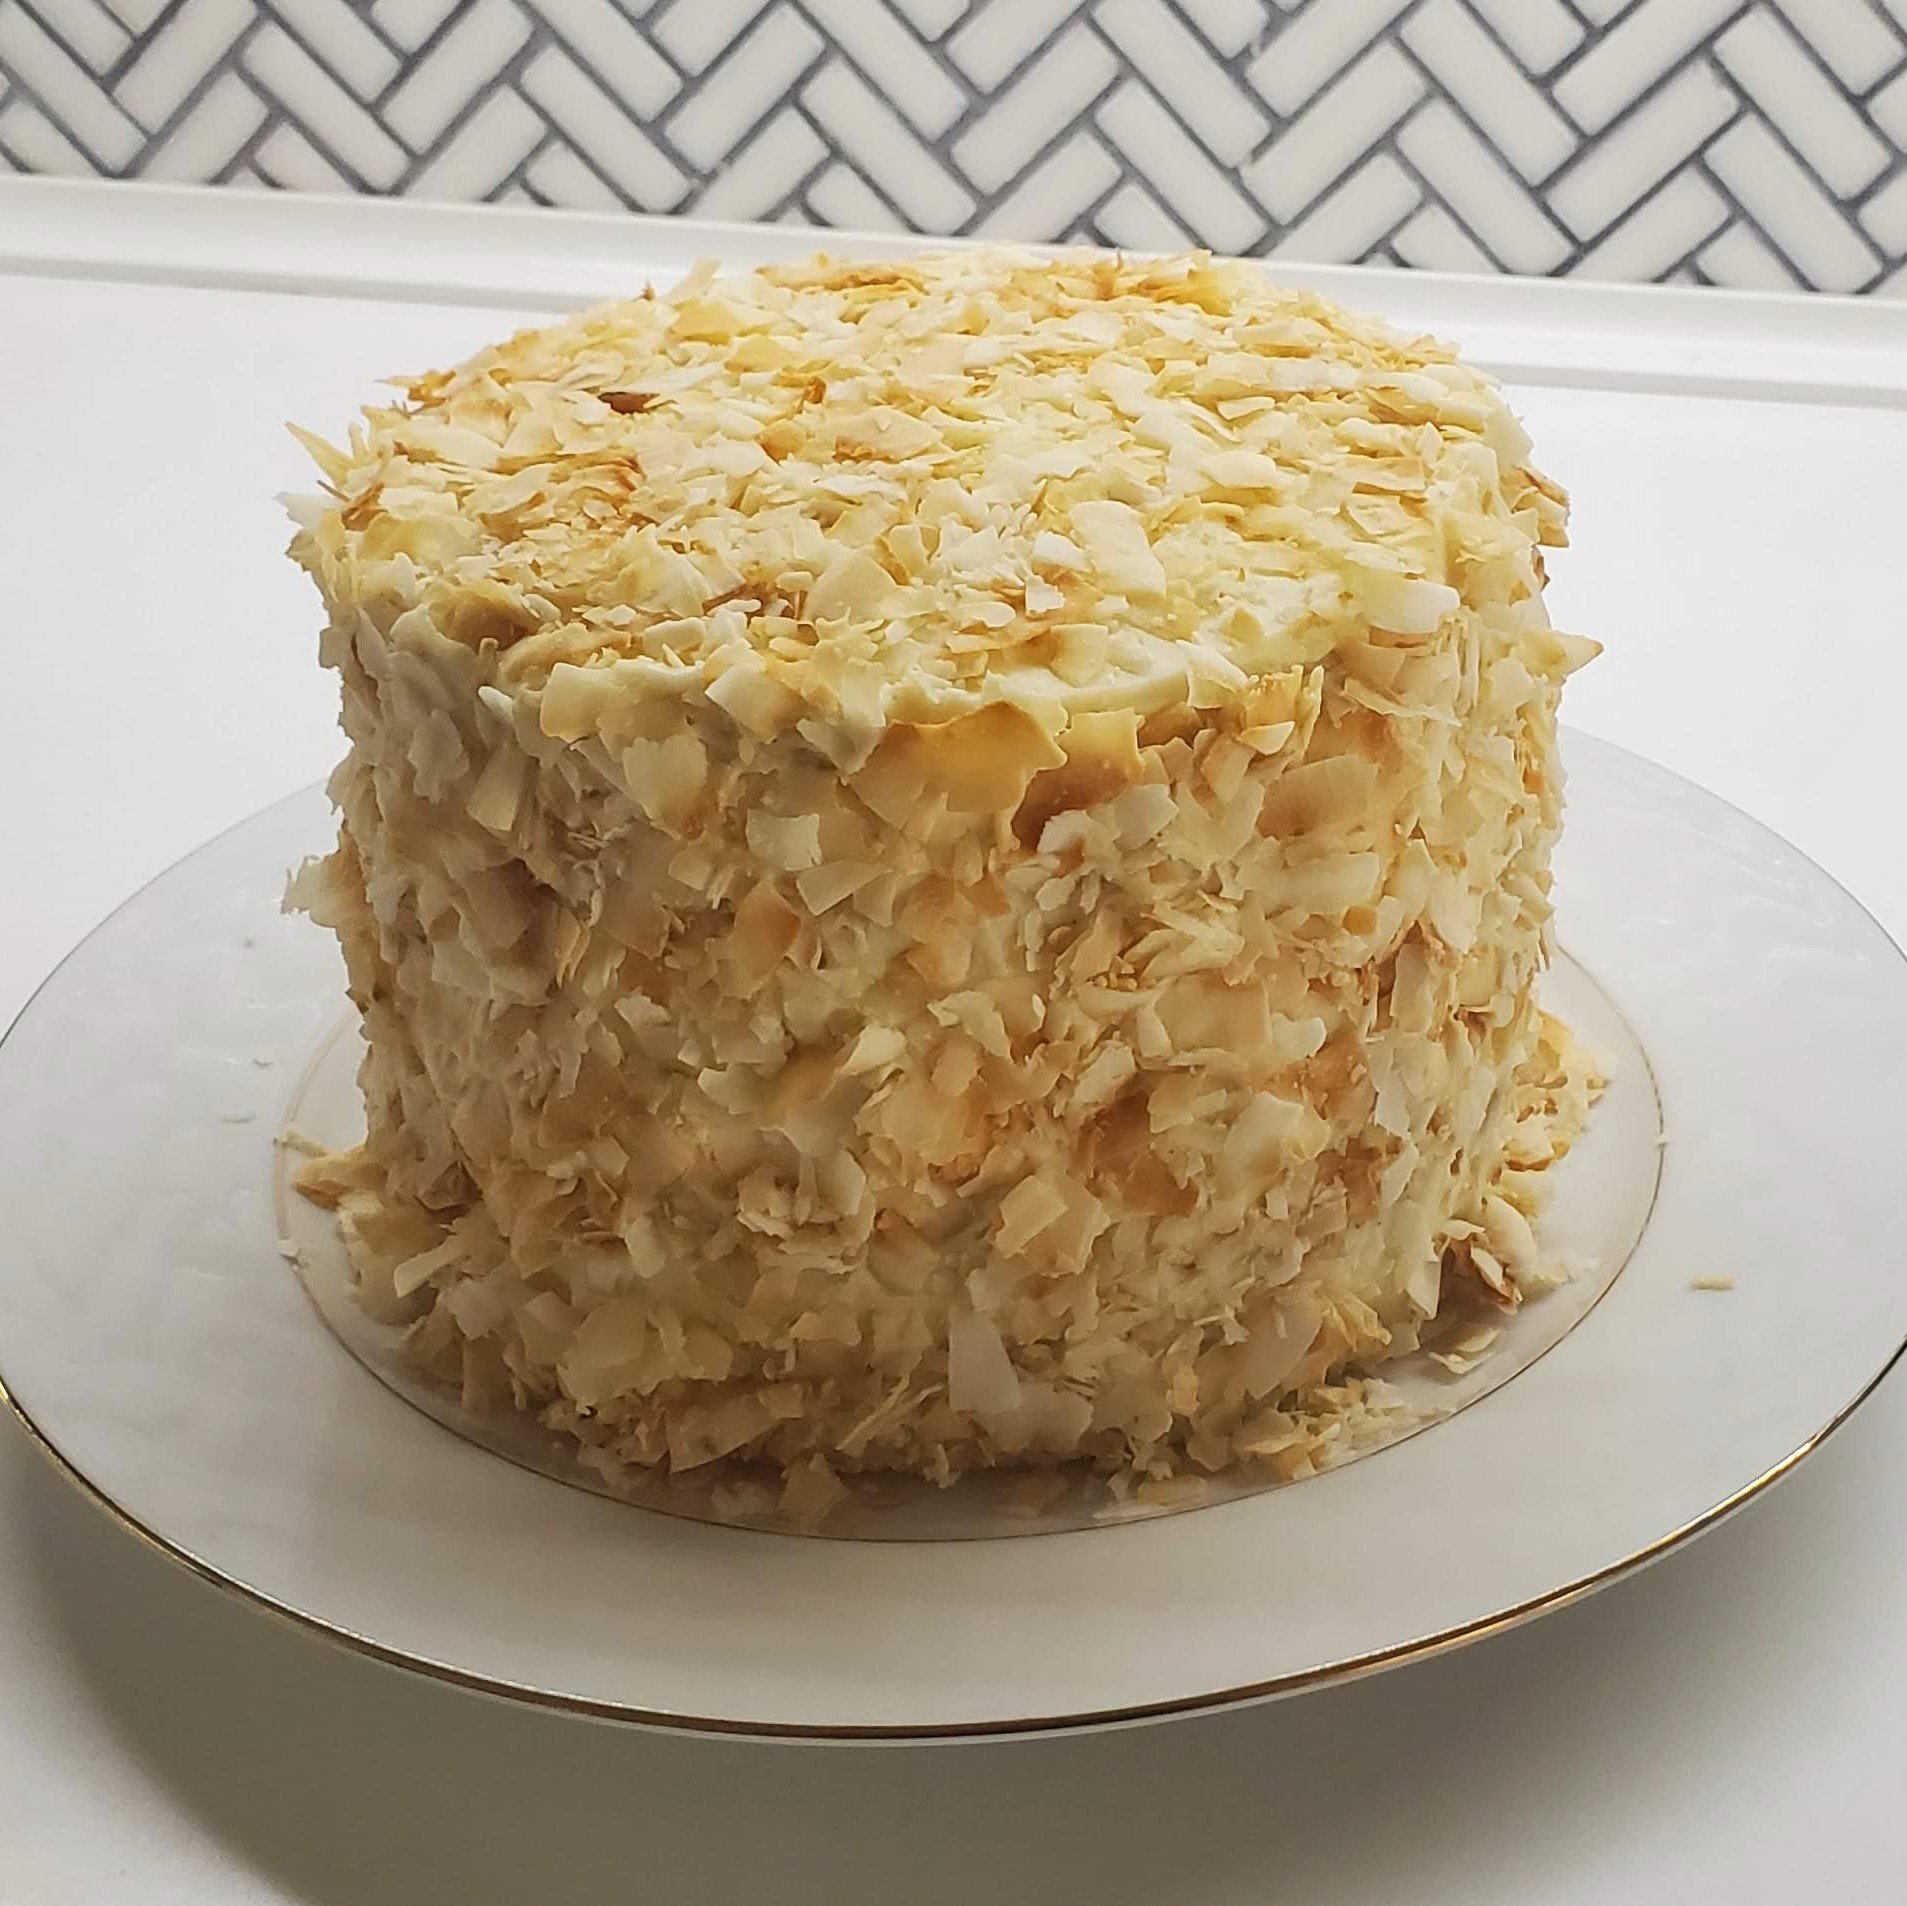
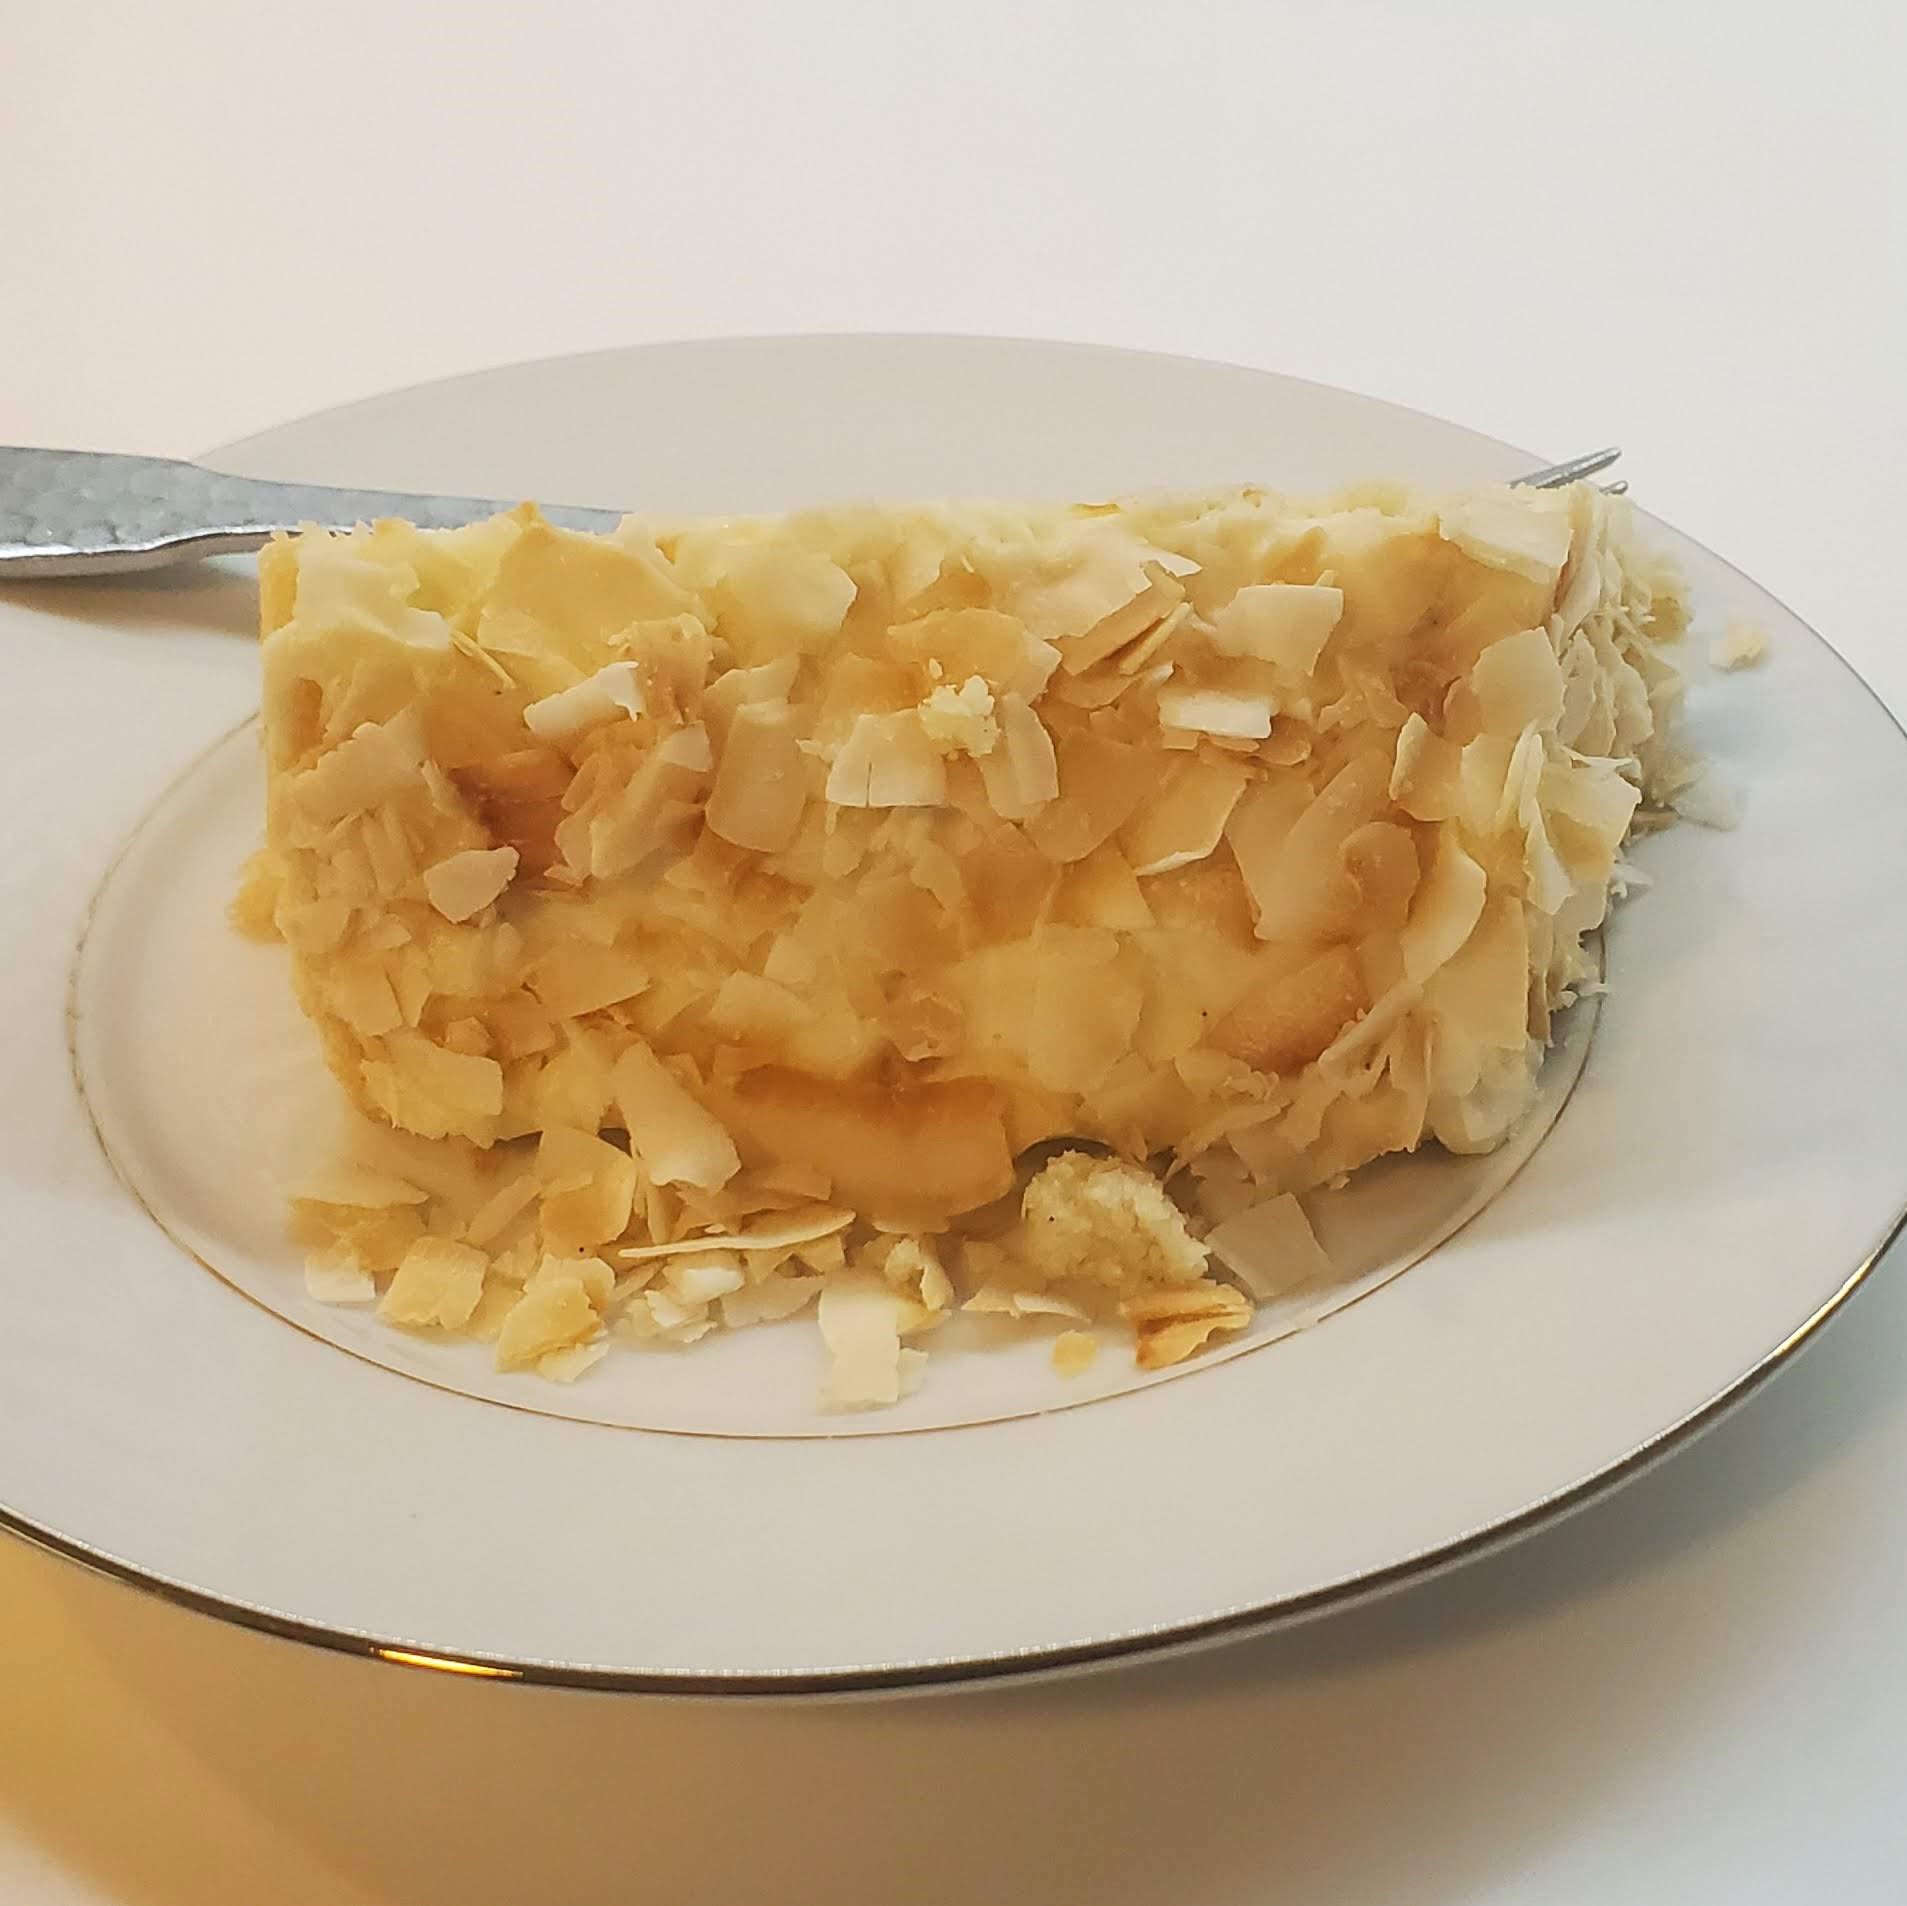
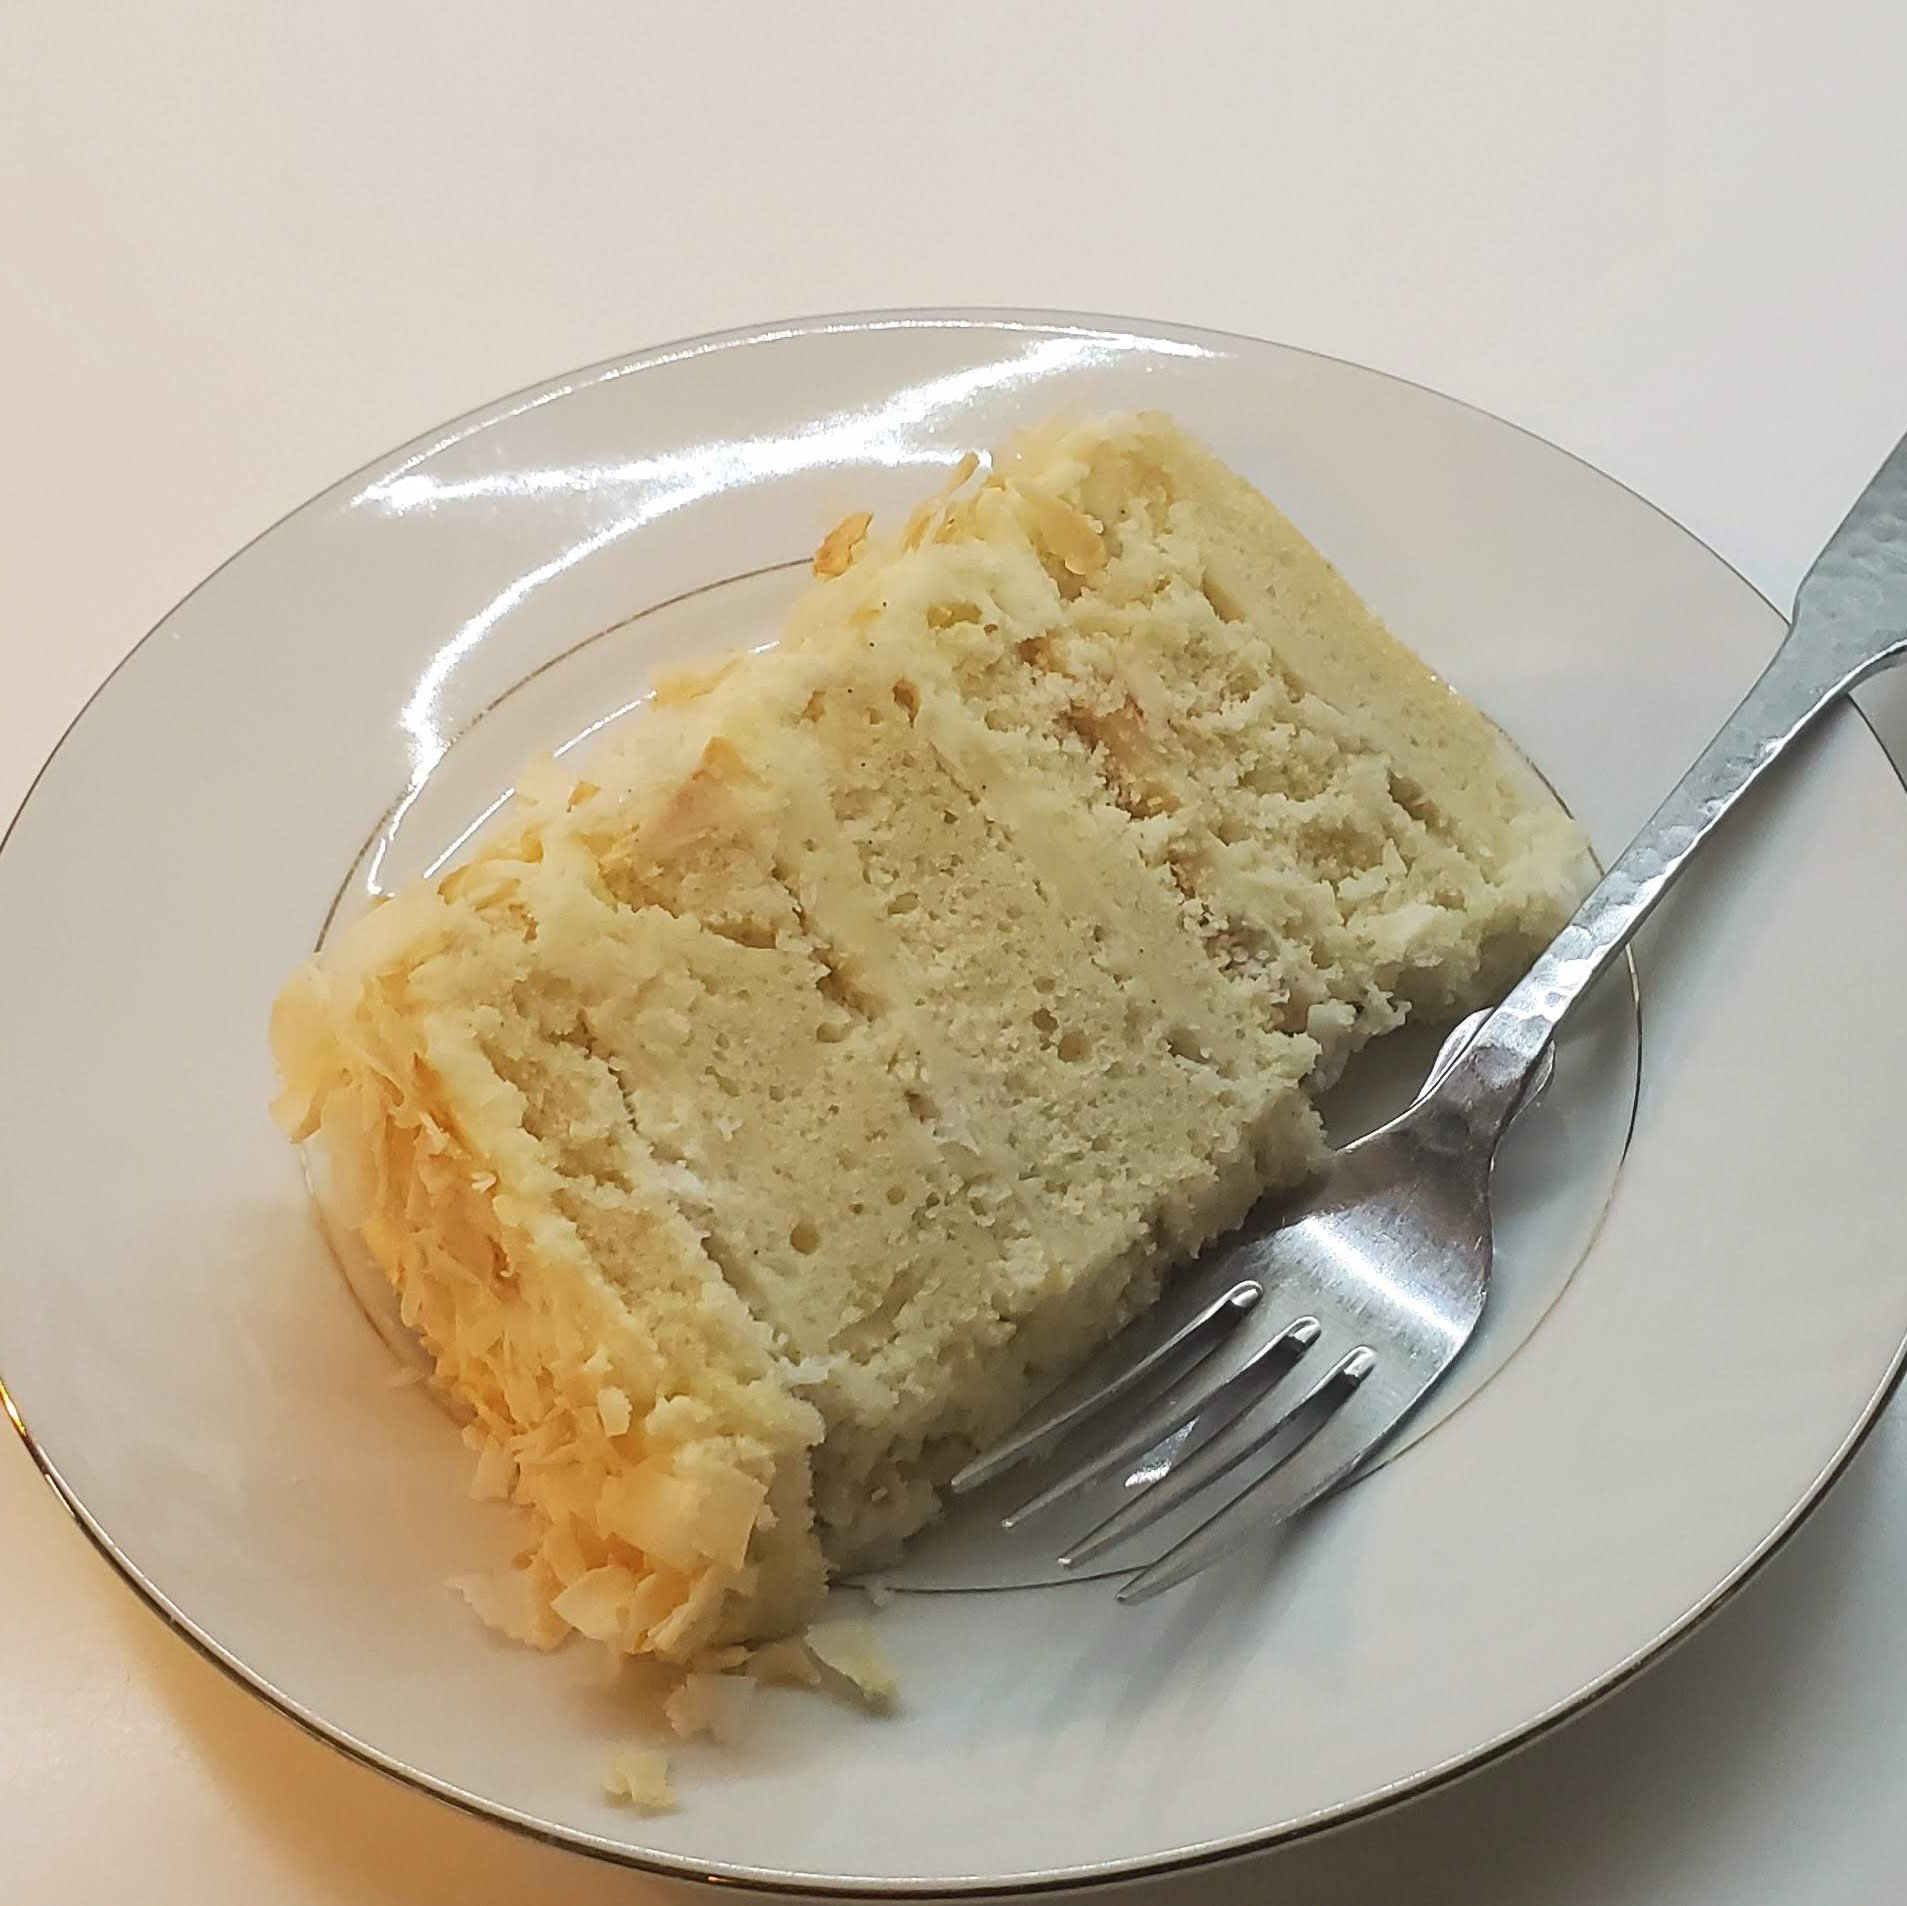
I’ve been really trying to get away from screens lately as I think that they, along with cars, are one of the most detrimental devices to human health. Perhaps that’s why I’ve been undertaking long baking projects like this quadruple coconut cake from Claire Saffitz’ Dessert Person. Like the carrot cake, I decided to bake it in 6-inch pants instead of the recommended 8-inch pan so I could have two smaller cakes, which is a much more reasonable serving size for pandemic-sized gatherings! And since I only have one 6-inch round pan, this means that instead of baking 3 8-inch cakes, I had to bake 6 6-inch cakes sequentially. So by the time the cake bakes and cools, and I wash and line and fill the cake pan, this is a several hours’ long process. But the cake is really stunning!
I call it a quadruple coconut cake because it features four different forms of coconut: fresh coconut, dried coconut, coconut milk, and coconut oil. The cake itself is a fairly straight-forward white cake with coconut milk and oil in it. The filling is both fresh coconut (finally found in the freezer section of my local Asian supermarket after an abject failure trying to extract fresh coconut meat from a coconut water fad I fell for) and a coconut version of crème pâtissière (reduce some full-fat coconut milk by about half and then substitute half of the dairy milk with that, and substitute coconut oil for the butter). The three cake layers are split (done successfully for the first time in my life this time!) and then soaked with more coconut milk. The frosting is a straight-forward cream cheese buttercream but then my messy cake decorating skills are gracefully hidden by loads of toasted, flaked coconut. The result is a pretty, adult celebration cake.
I don’t love coconut desserts, so I’m not really sure why I decided to go through the trouble of making this cake, which took me three days (also, I got to wash my hammer, crowbar, screwdriver, and hacksaw - so I guess that was a bonus?!). In the end, it’s a delicious cake with great texture and lightly sweet coconut flavors. Andy was a big fan, as was a friend of ours I shared it with.
carrot cake
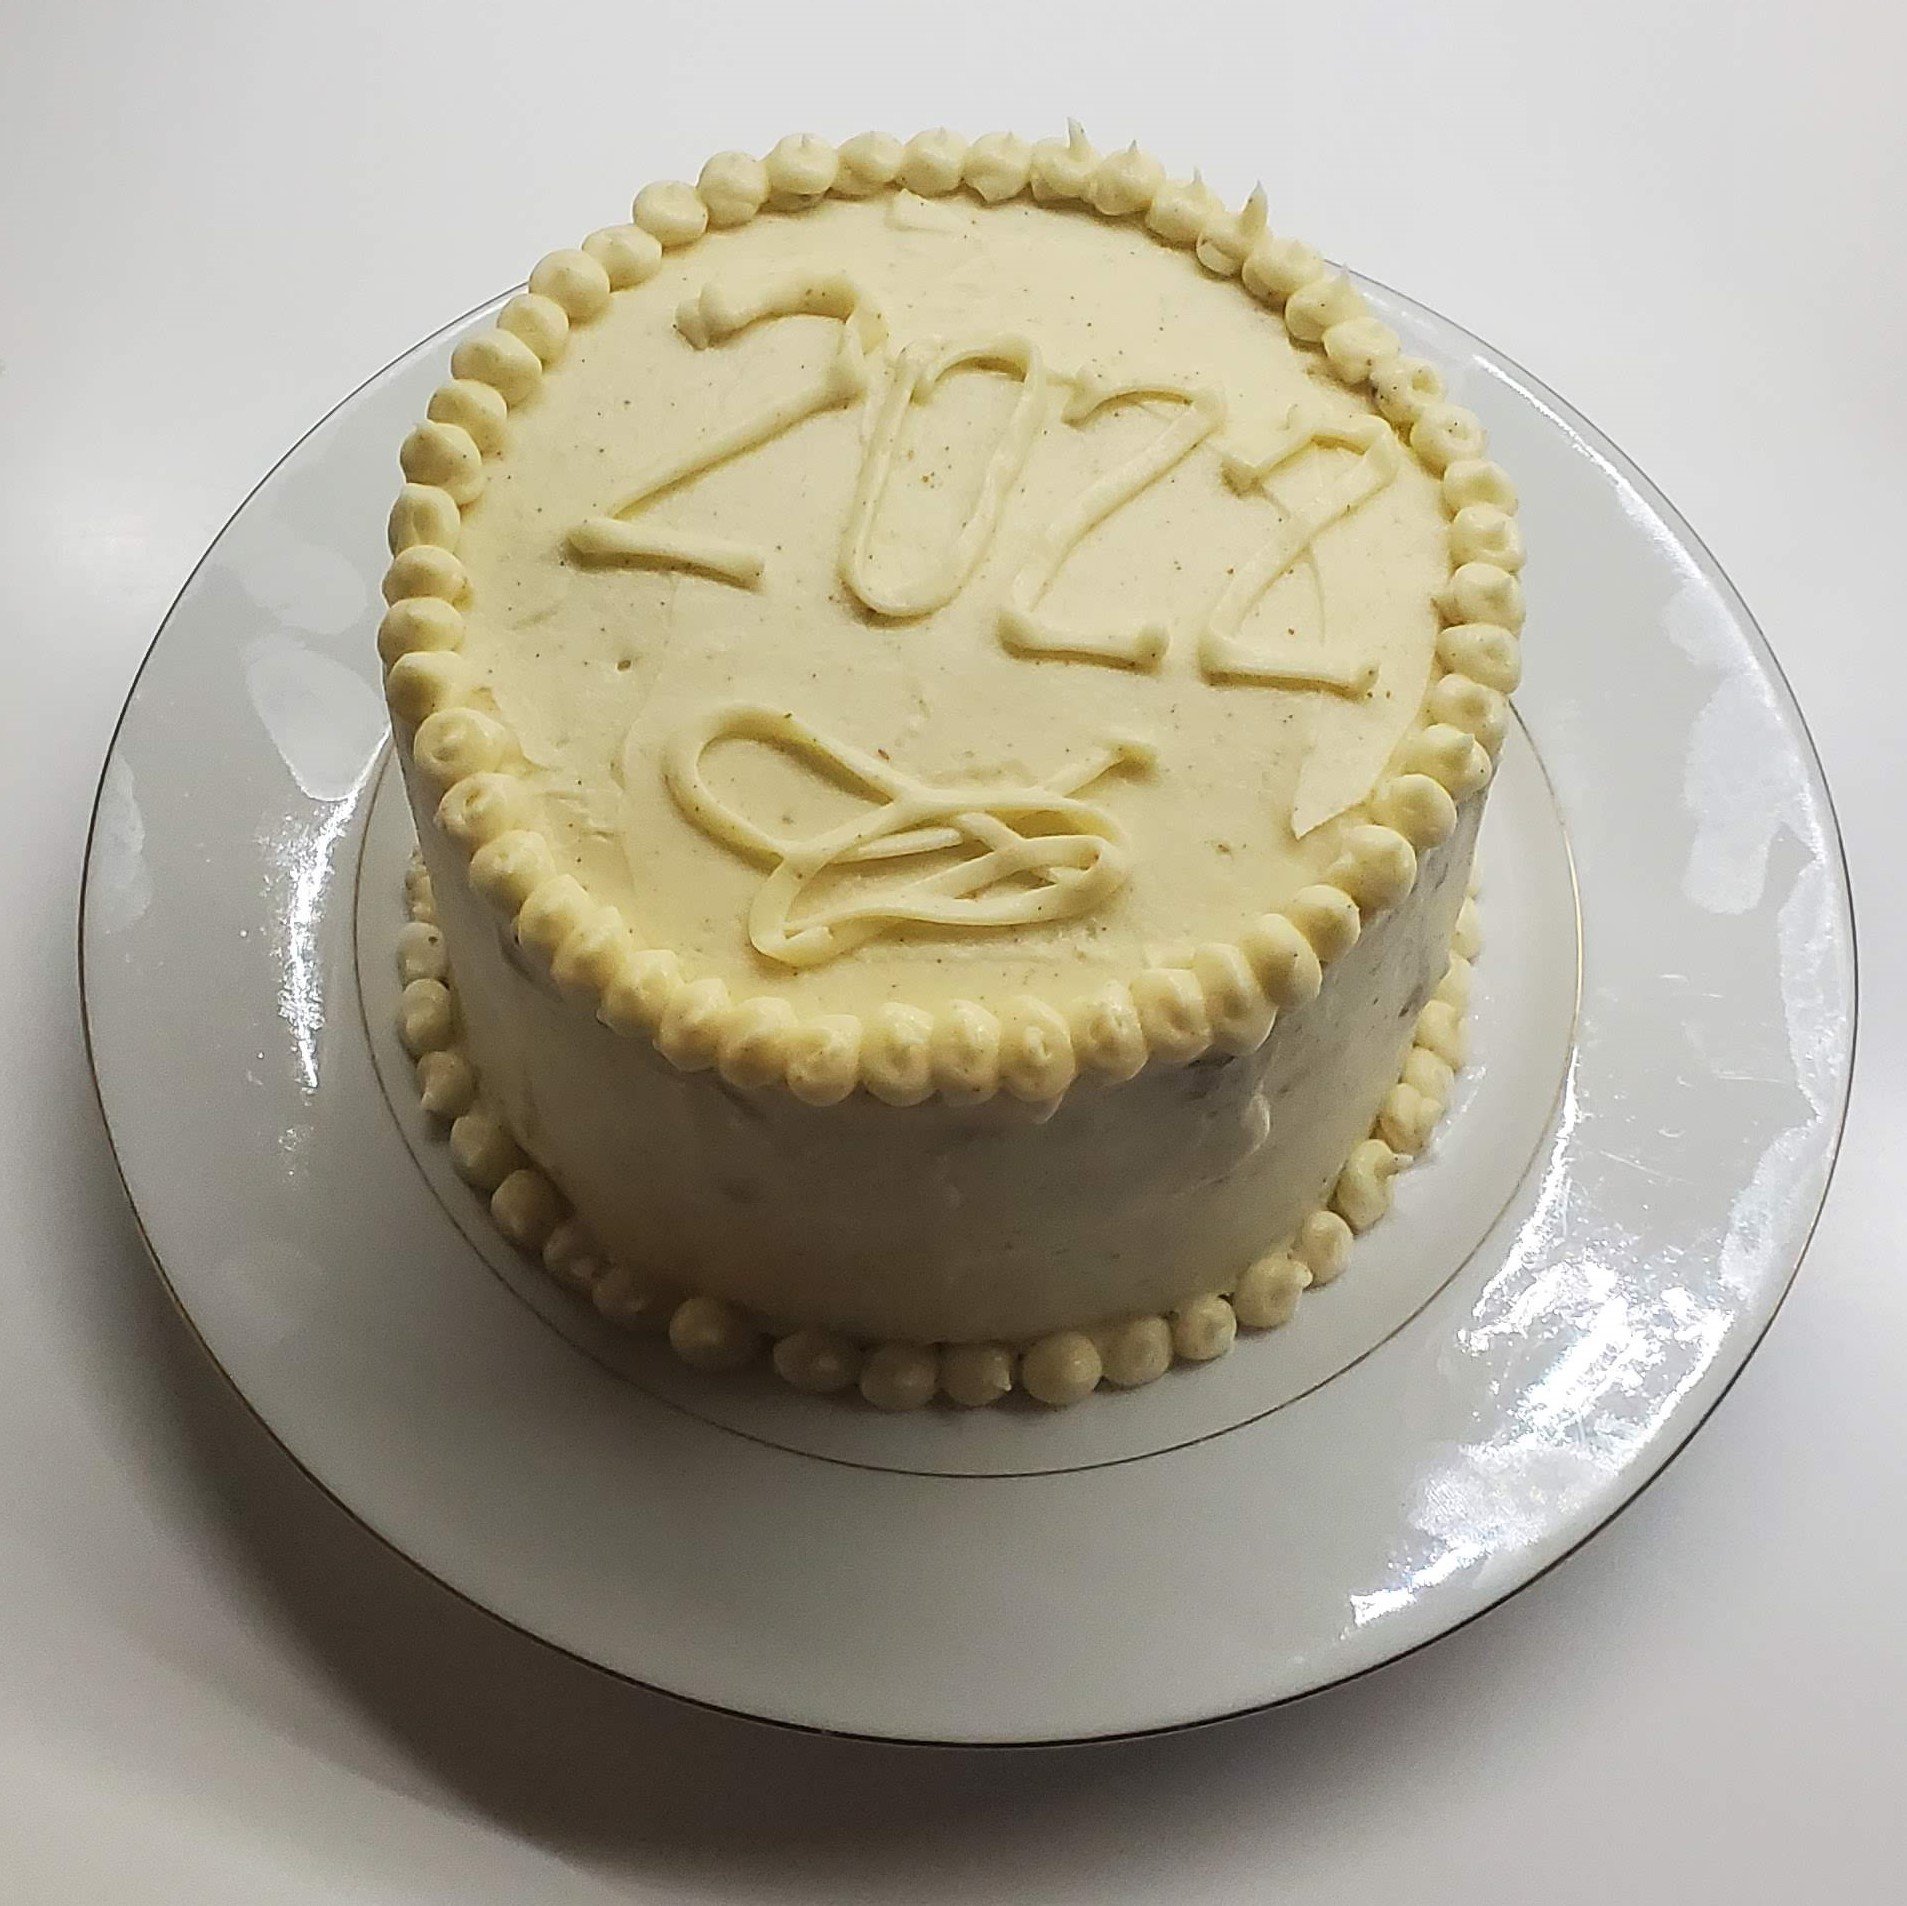
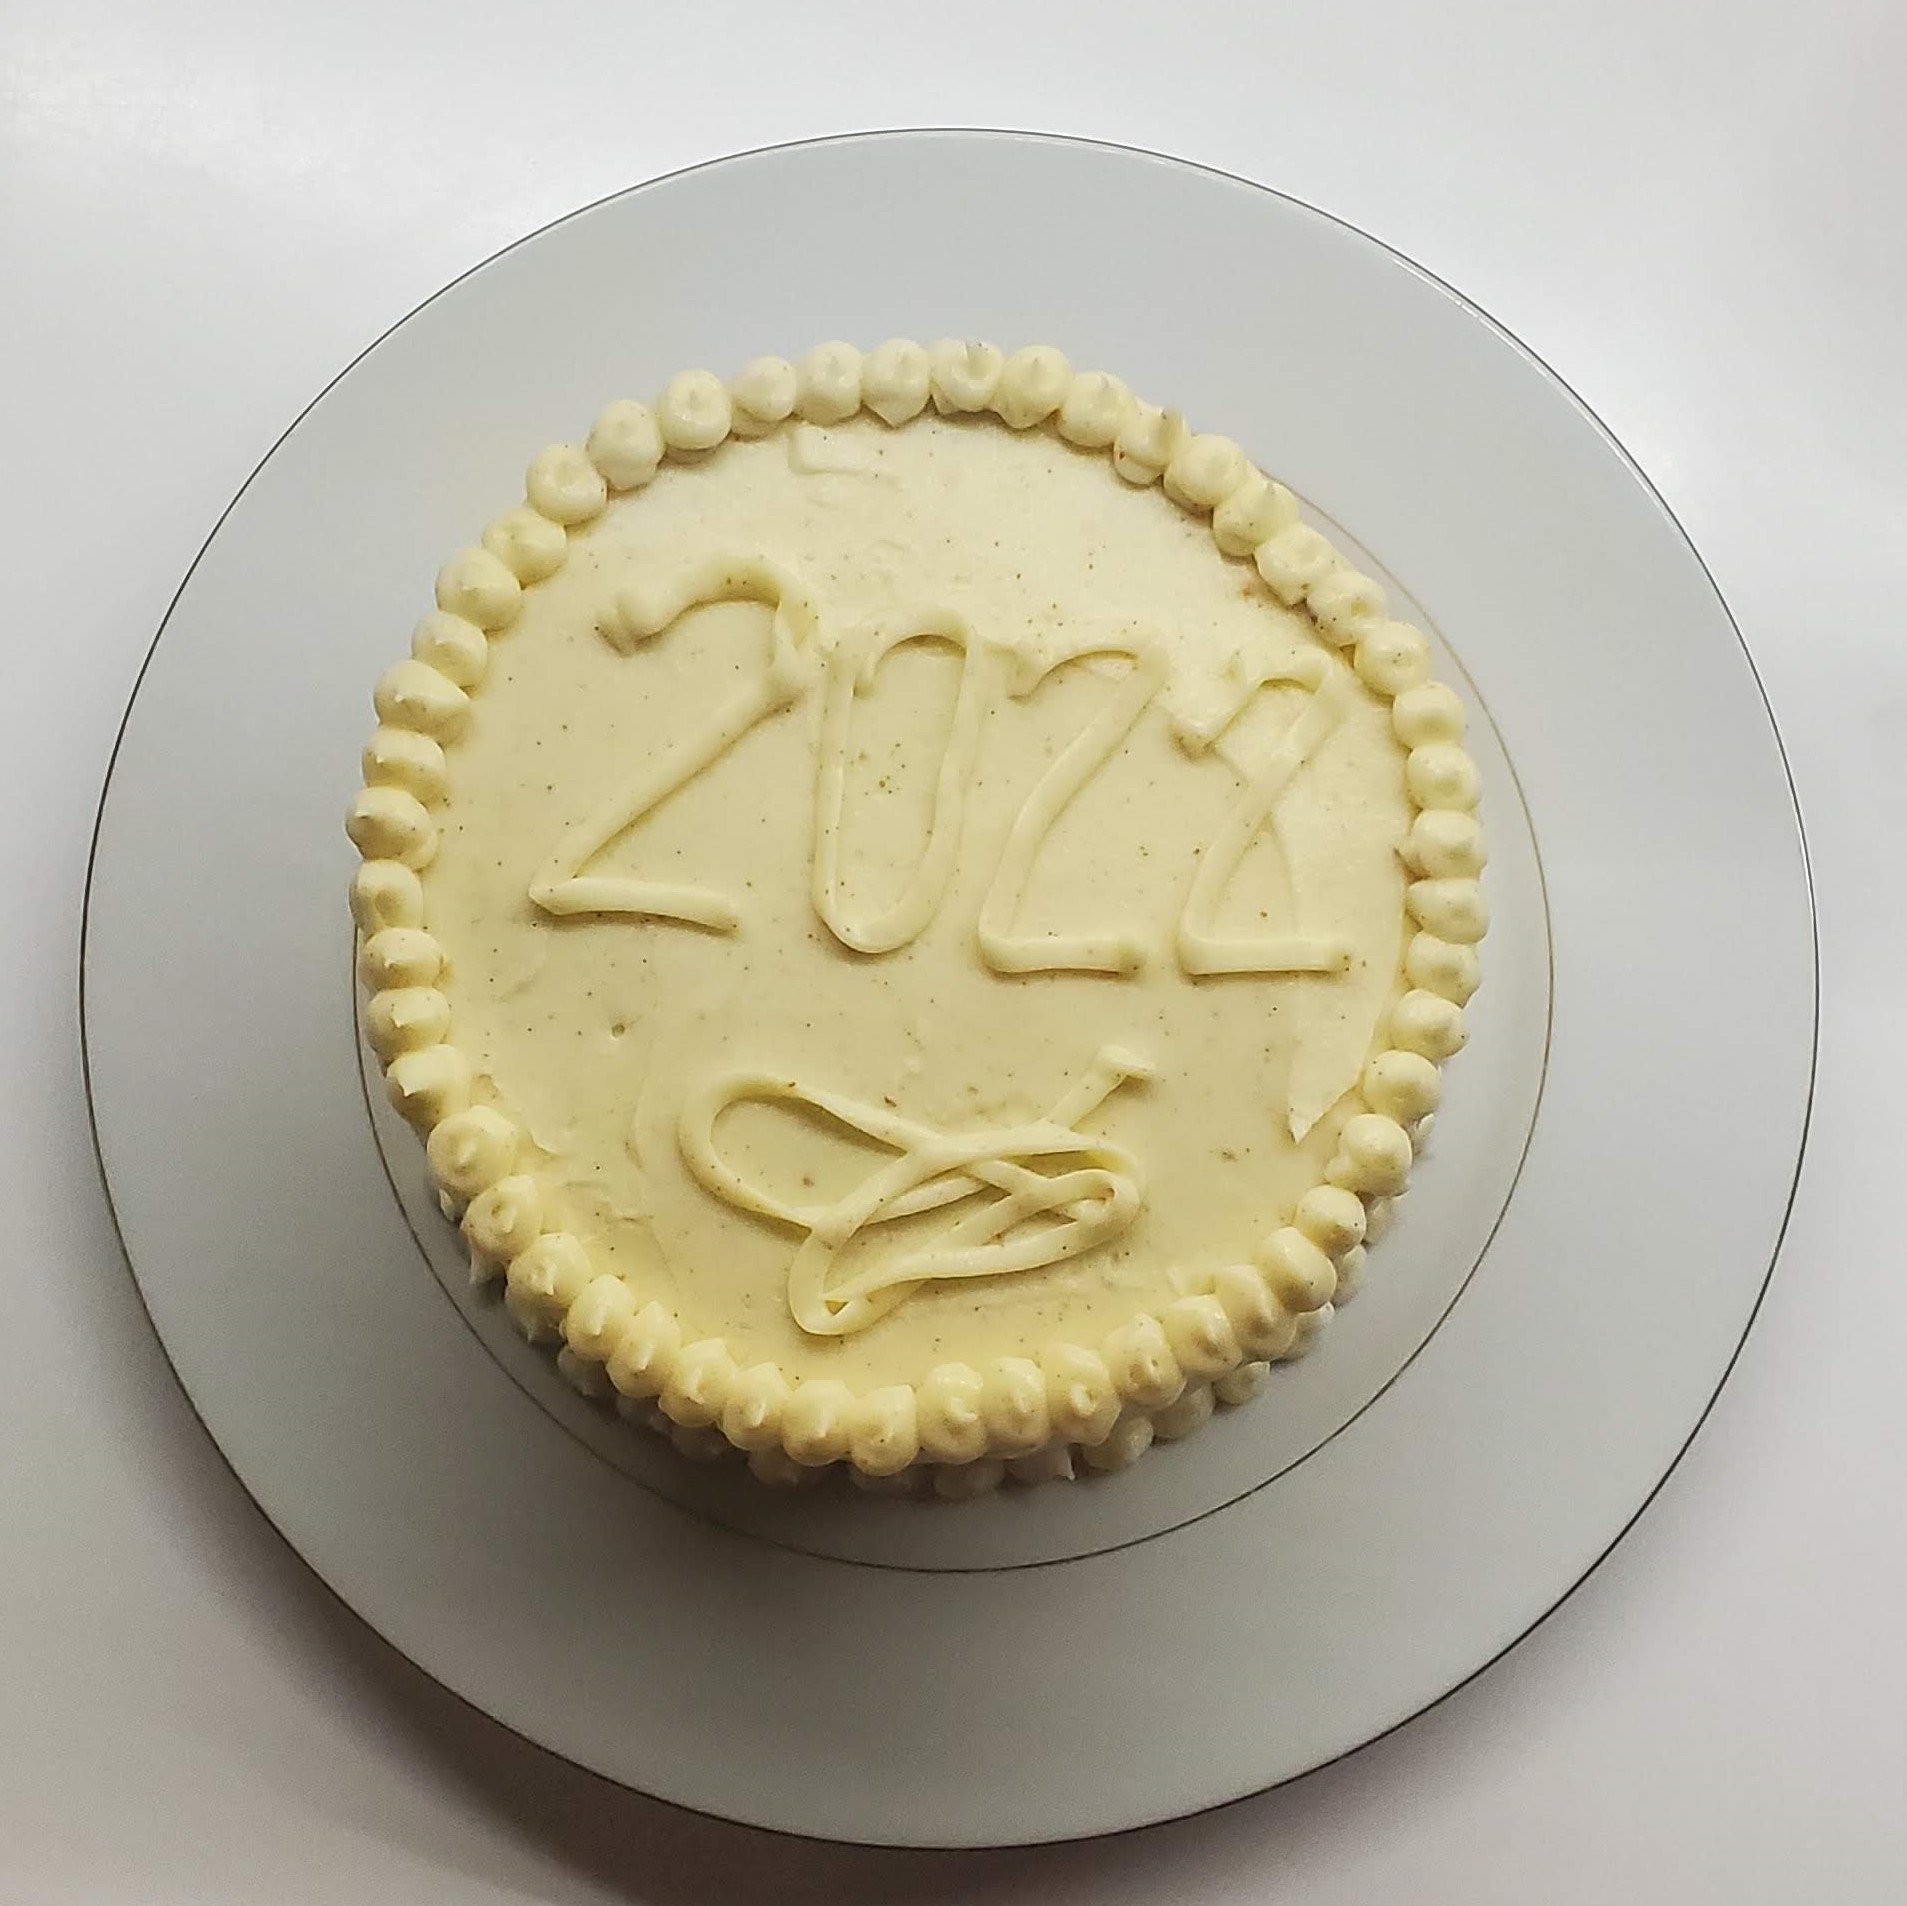
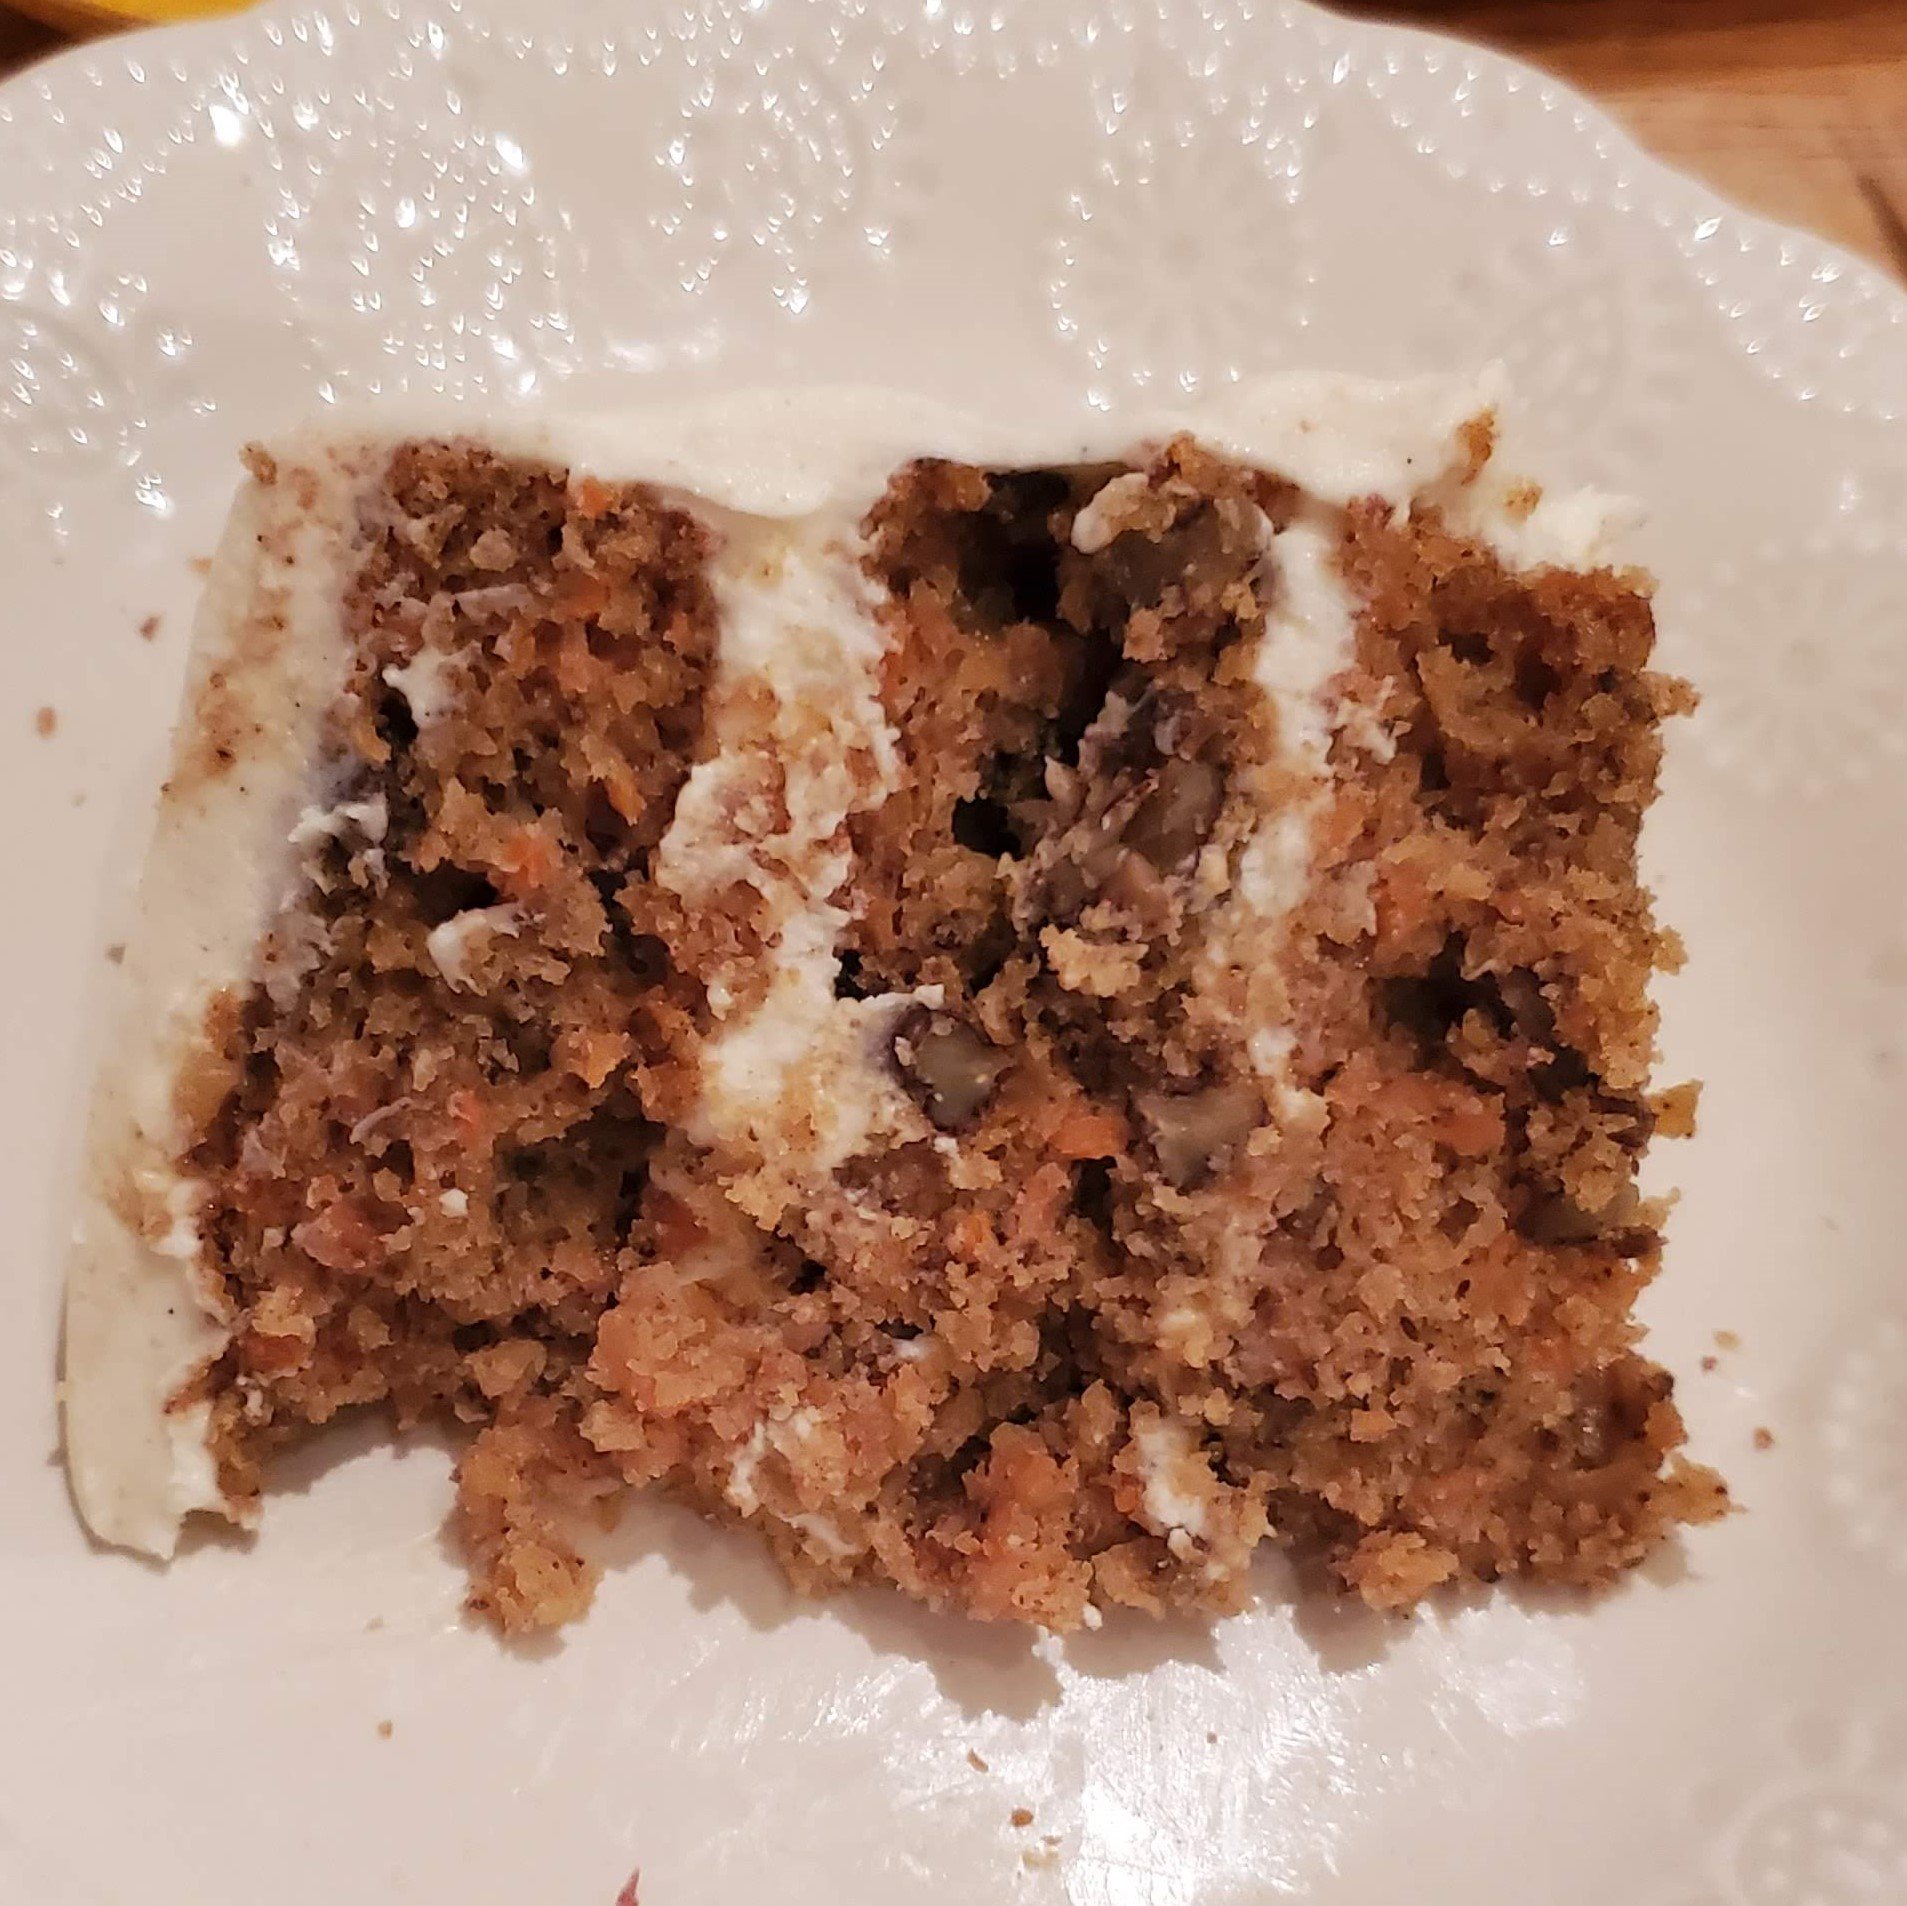
For New Year’s Eve, we went to our friends’ house to celebrate and I volunteered to bring dessert. Ever since my best friend Mejdulene recommended that I try Claire Saffitz’ carrot cake recipe (from her book Dessert Person) a few months ago, I’ve now made the recipe twice. Saffitz says to bake three 9-inch rounds, but that makes a huge cake which is hard to eat in the gathering sizes that we’ve been having thanks to CoVID. So instead, I’ve baked the batter in cake pans that are half the size recommended, about 5 inches. Sadly, I only have one 5-inch pan, so I end up baking six layers consecutively, which takes several hours. You have to let the cake cool in the pan enough to get it out safely, and then you need to wash, grease, and line the pan before filling it and baking another layer.
The frosting is a brown butter cream cheese frosting with real vanilla seeds in it (from a halved vanilla bean). The cake also has carrots in it of course, along with both fresh and ground ginger, cinnamon, cloves, and toasted pecans. Half of the toasted pecans are bashed into a flour and mixed in with the dry ingredients. The other half are bashed into chunks and mixed in at the very end for some texture. Because I only have so many knuckles, I use the food processor to grate the carrots, so this is another recipe that requires two appliances: a stand mixer and a food processor. Add that into the lengthy and finicky baking process (to make a half cake) and you can see that this cake is a project.
And yet I’ve made it twice (or four times if you count each half cake as a cake by itself, which it really is since each half cake requires a crumb coat and then another layer on top - you can see that I’m no cake decorator!). So you can see that the cake is really good. It’s very good. Get a copy of Saffitz’ book and try it yourself. You won’t be disappointed!
seven Ajah sugar cookies
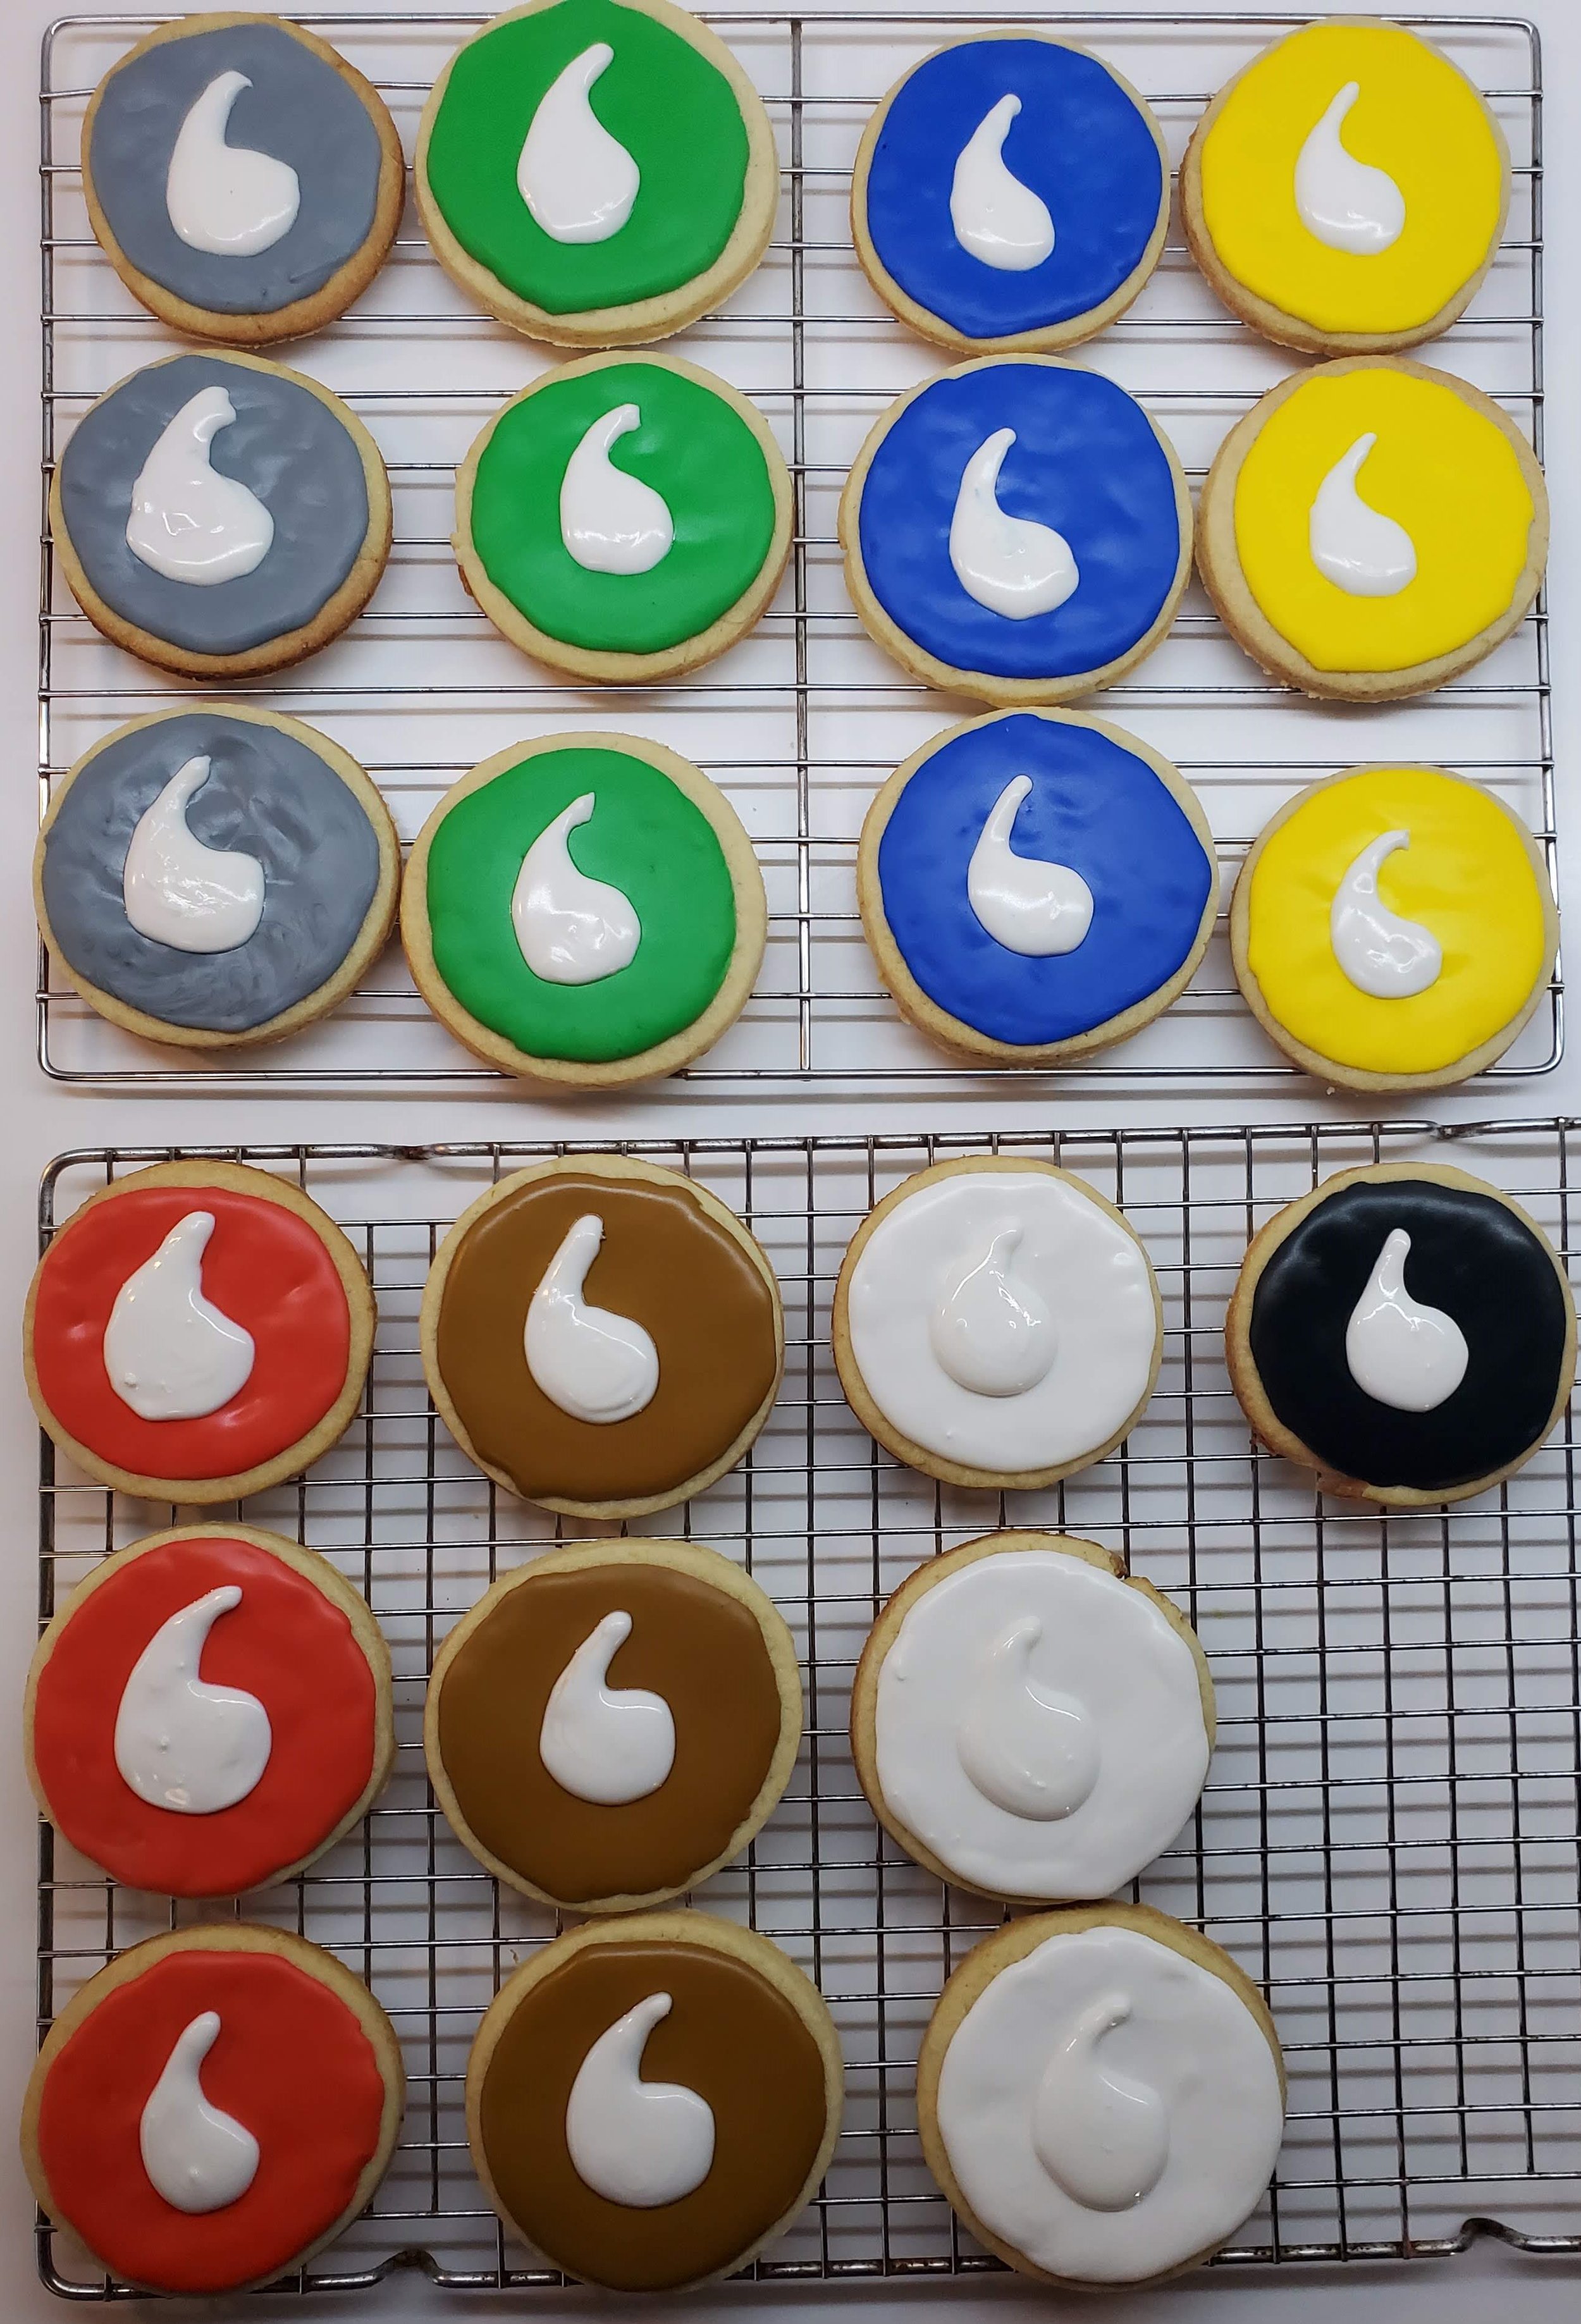
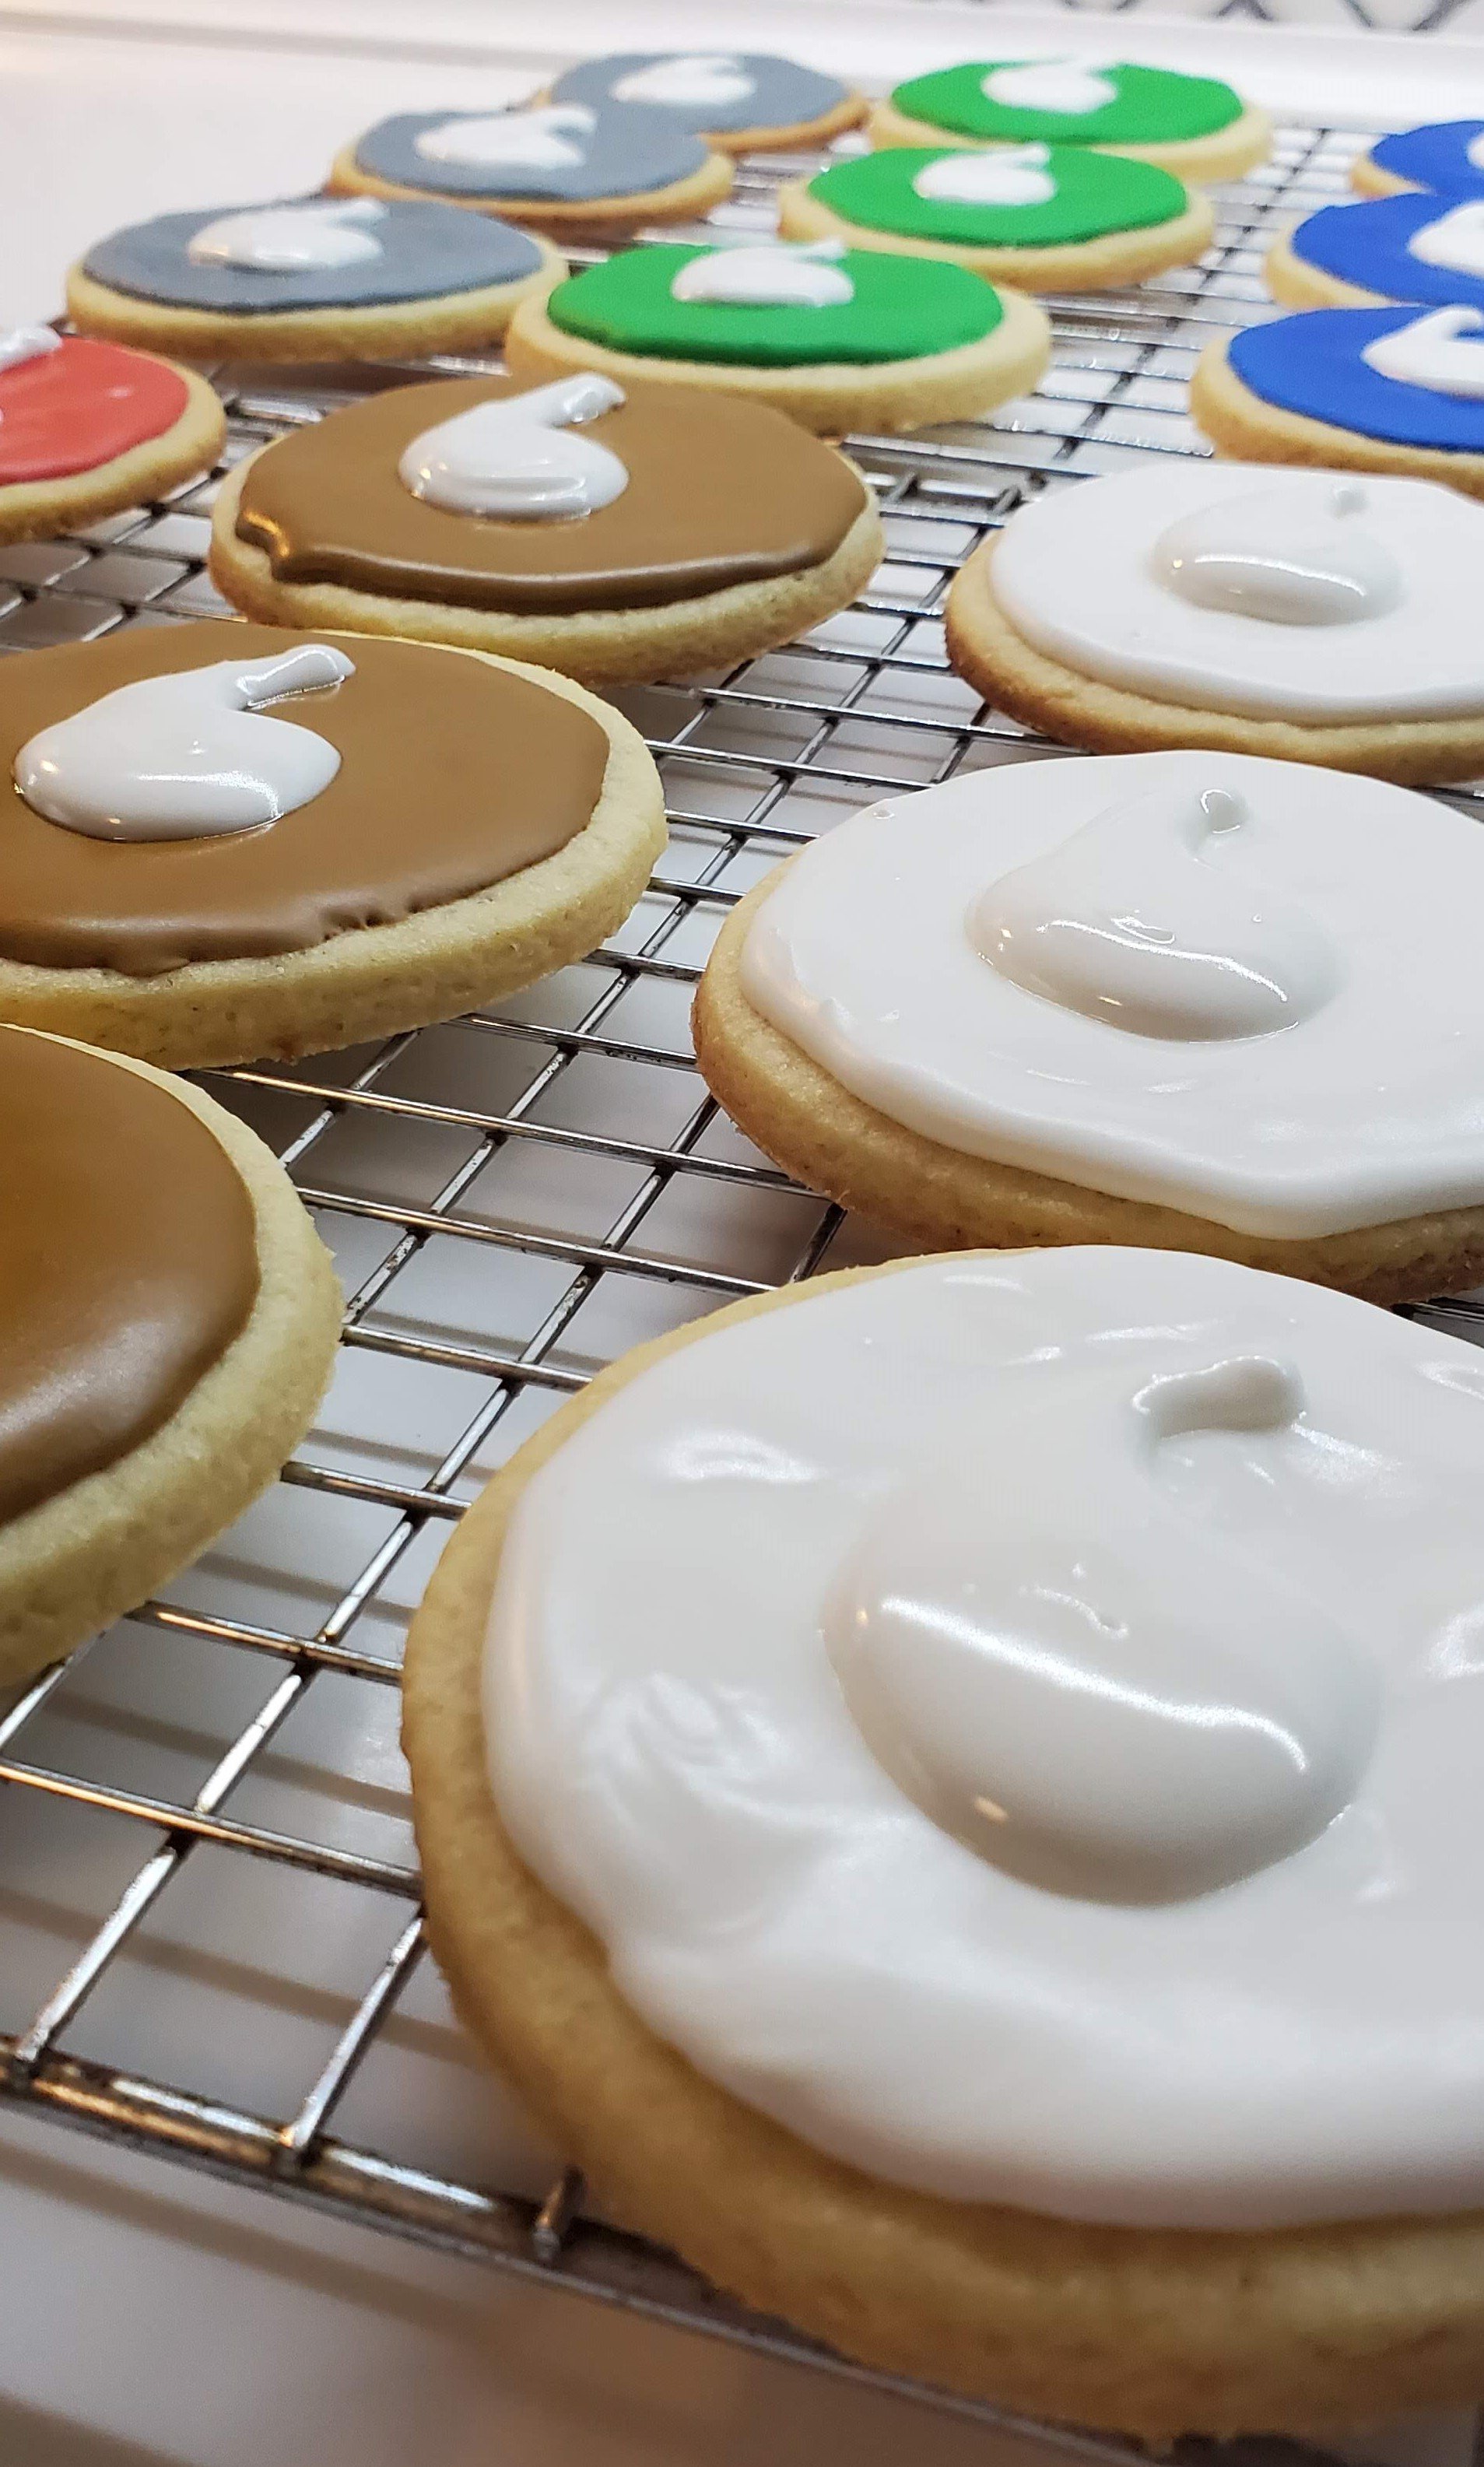
The last few weeks of the quarter always have me over-scheduled to the hilt, so baking projects usually get put on the back burner. However, the debut of the Wheel of Time television show (based on the epic fantasy series of the same name) and my friend’s hosting of a WoTch party (see what he did there?) put me in the Spirit to get baking! So I Fired up the oven to make sugar cookies and decorate them for the party.
The cookie recipe is from the inimitable Rose Levy Beranbaum and her Rose’s Christmas Cookies book , which I checked out from the library. I was at first surprised by how few cookies I’d made (what you see is what I made - her recipe claimed it’d make four three dozen). But I rolled them out quite a bit thicker than she recommended because I don’t like crispy cookies.
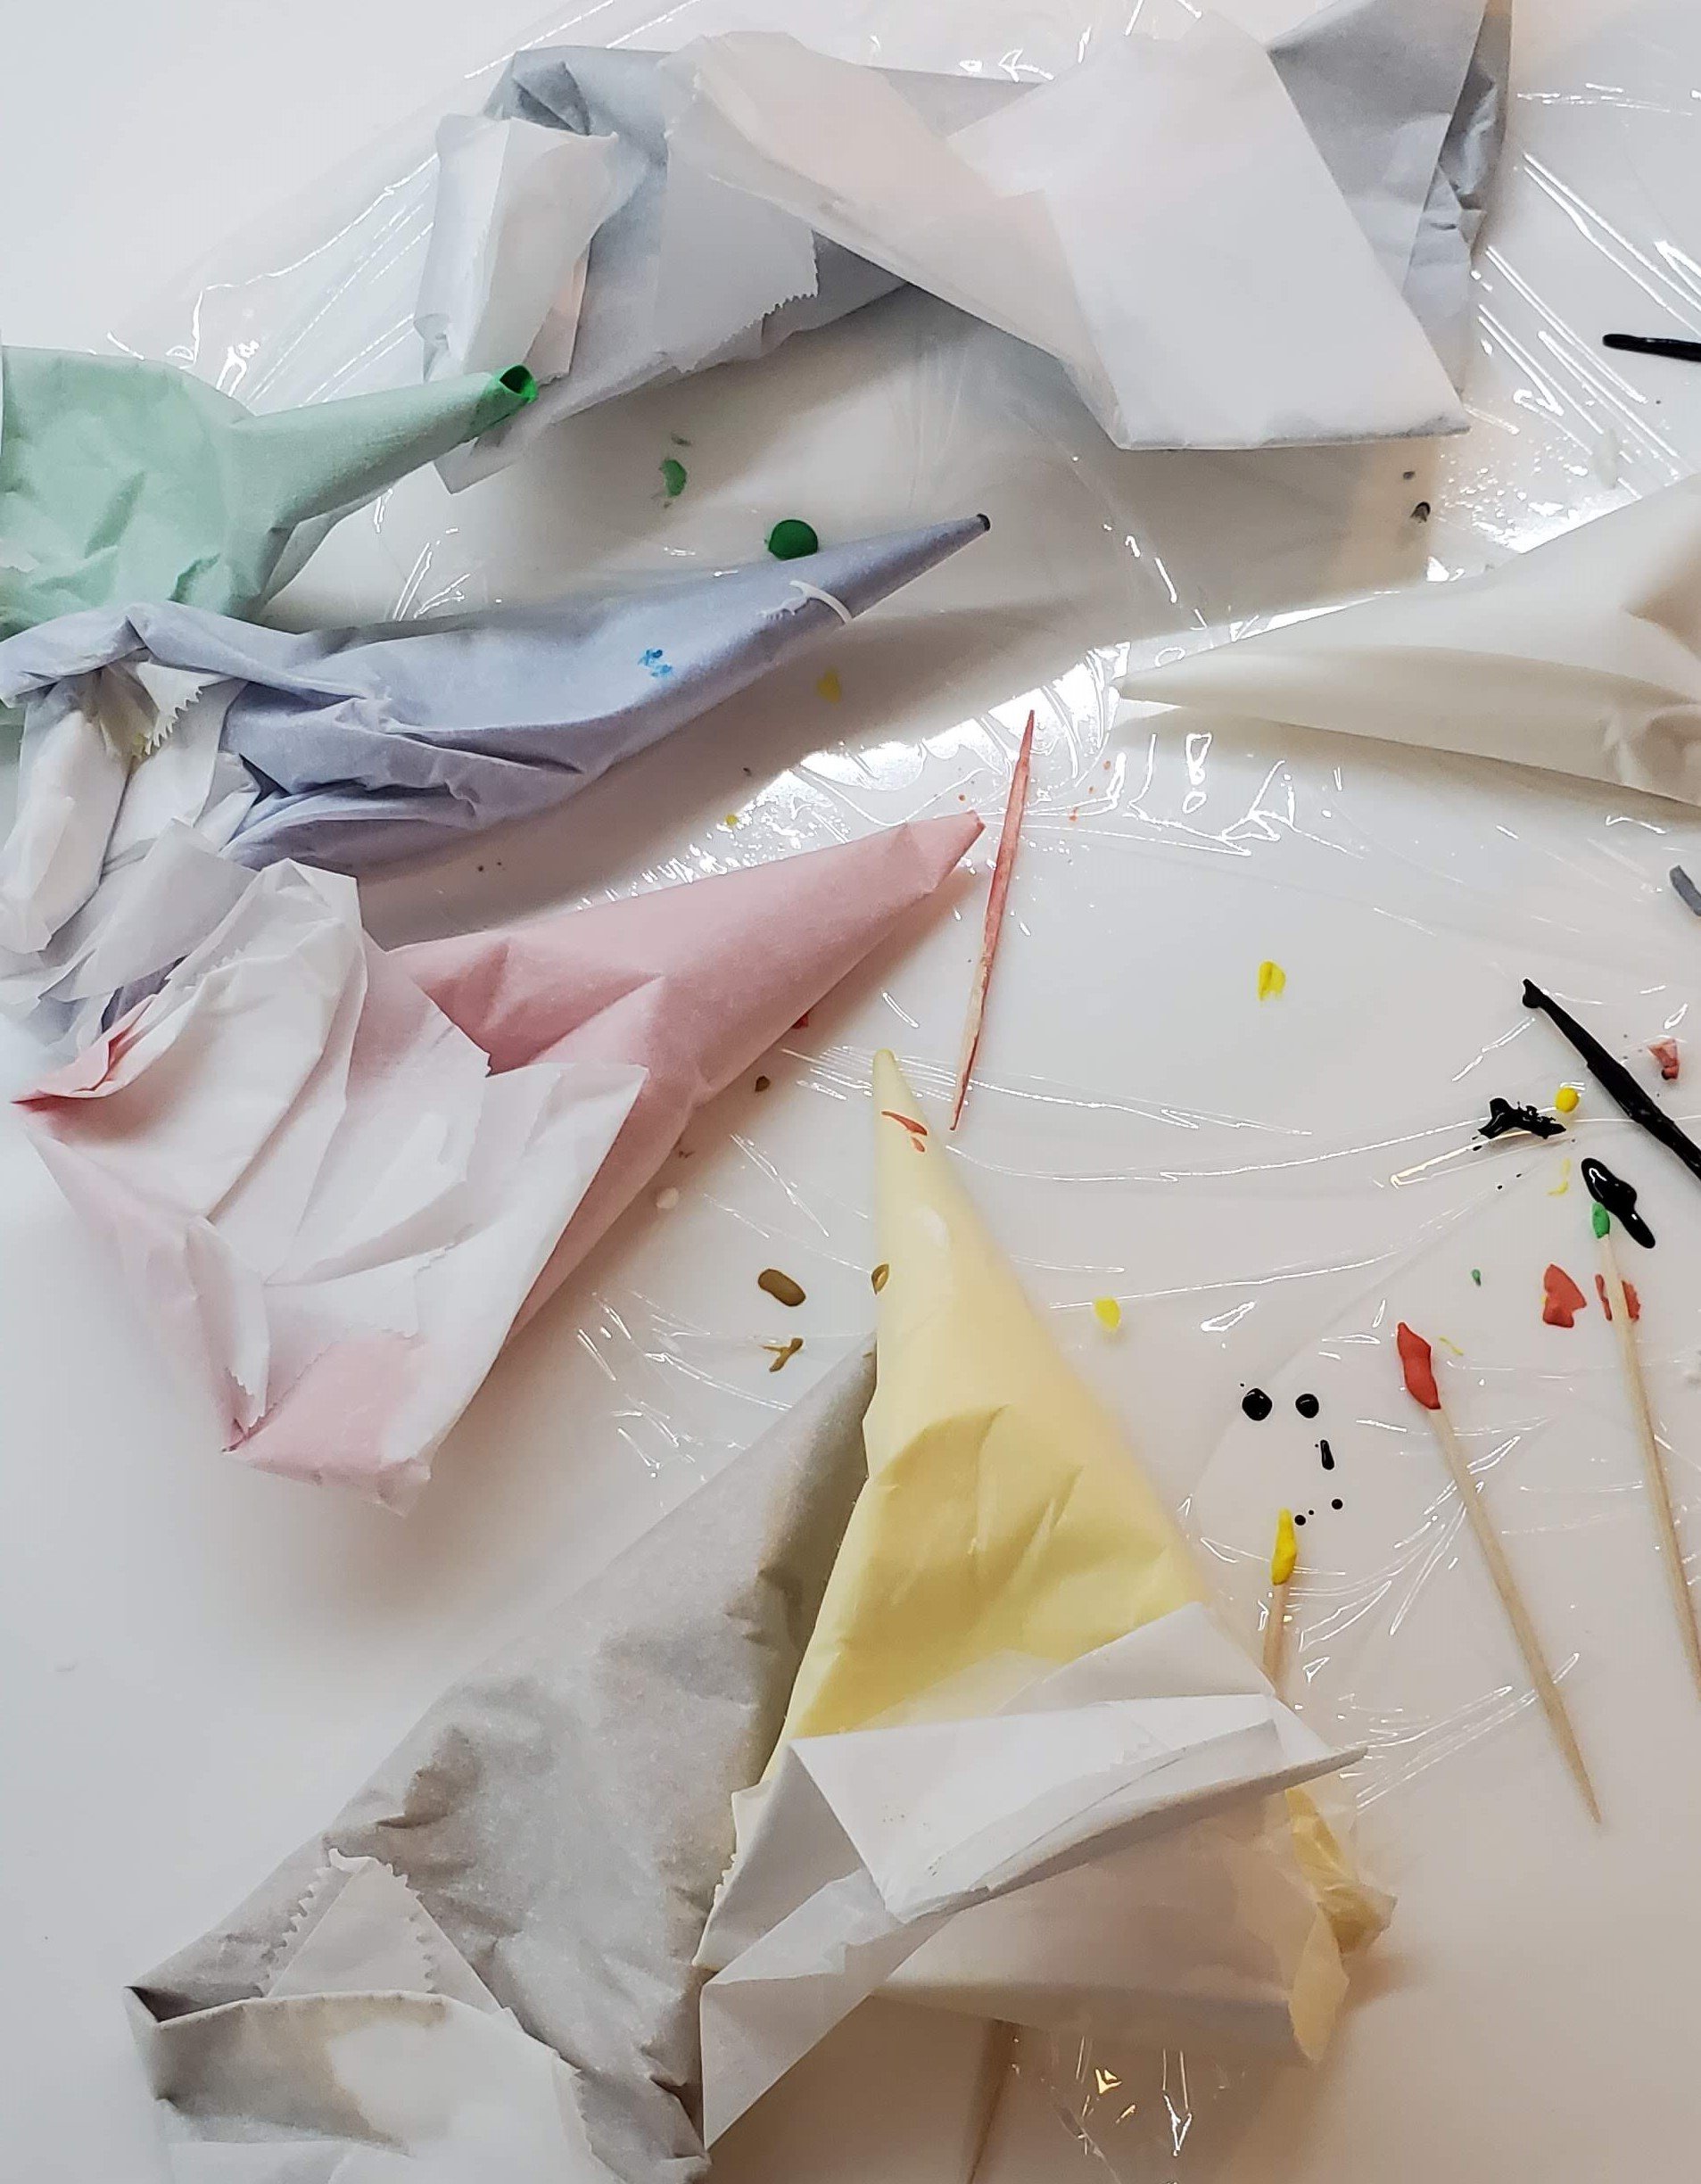
The frosting is royal icing, which consists simply of egg whites, confectioner’s sugar, a little cream of tarter to keep is brilliant white, and in this case, lemon oil for a bit of flavor. I had to thin it out a bit with Water to get the consistency I wanted so I could pipe it with parchment cones I made before hand. I also tinted the royal icing with gel colors, having a bit of a mishap with a few of the colors (the one black cookie came about when I wasn’t immediately happy with the grey color and tried to fix it with yellow, which just turned it baby-poop-green, so I started dumping more and more black coloring in there until it turned the color you see here). The brown color was particularly beautiful, in its clean, Earth-tone. I didn’t have as much time to let the royal icing Air-dry as I might have liked, but they traveled well anyway!
So what’s with the design? Well, it’s not a comma or a sperm, but rather the Flame of Tar Valon, or the symbol of the White Tower and the Amyrlin Seat. And why the seven colors? Well, they represent each Ajah of course! Which one would you be? Gray, Green, Blue, Yellow, Red, Brown, or White?
puff pastry pies
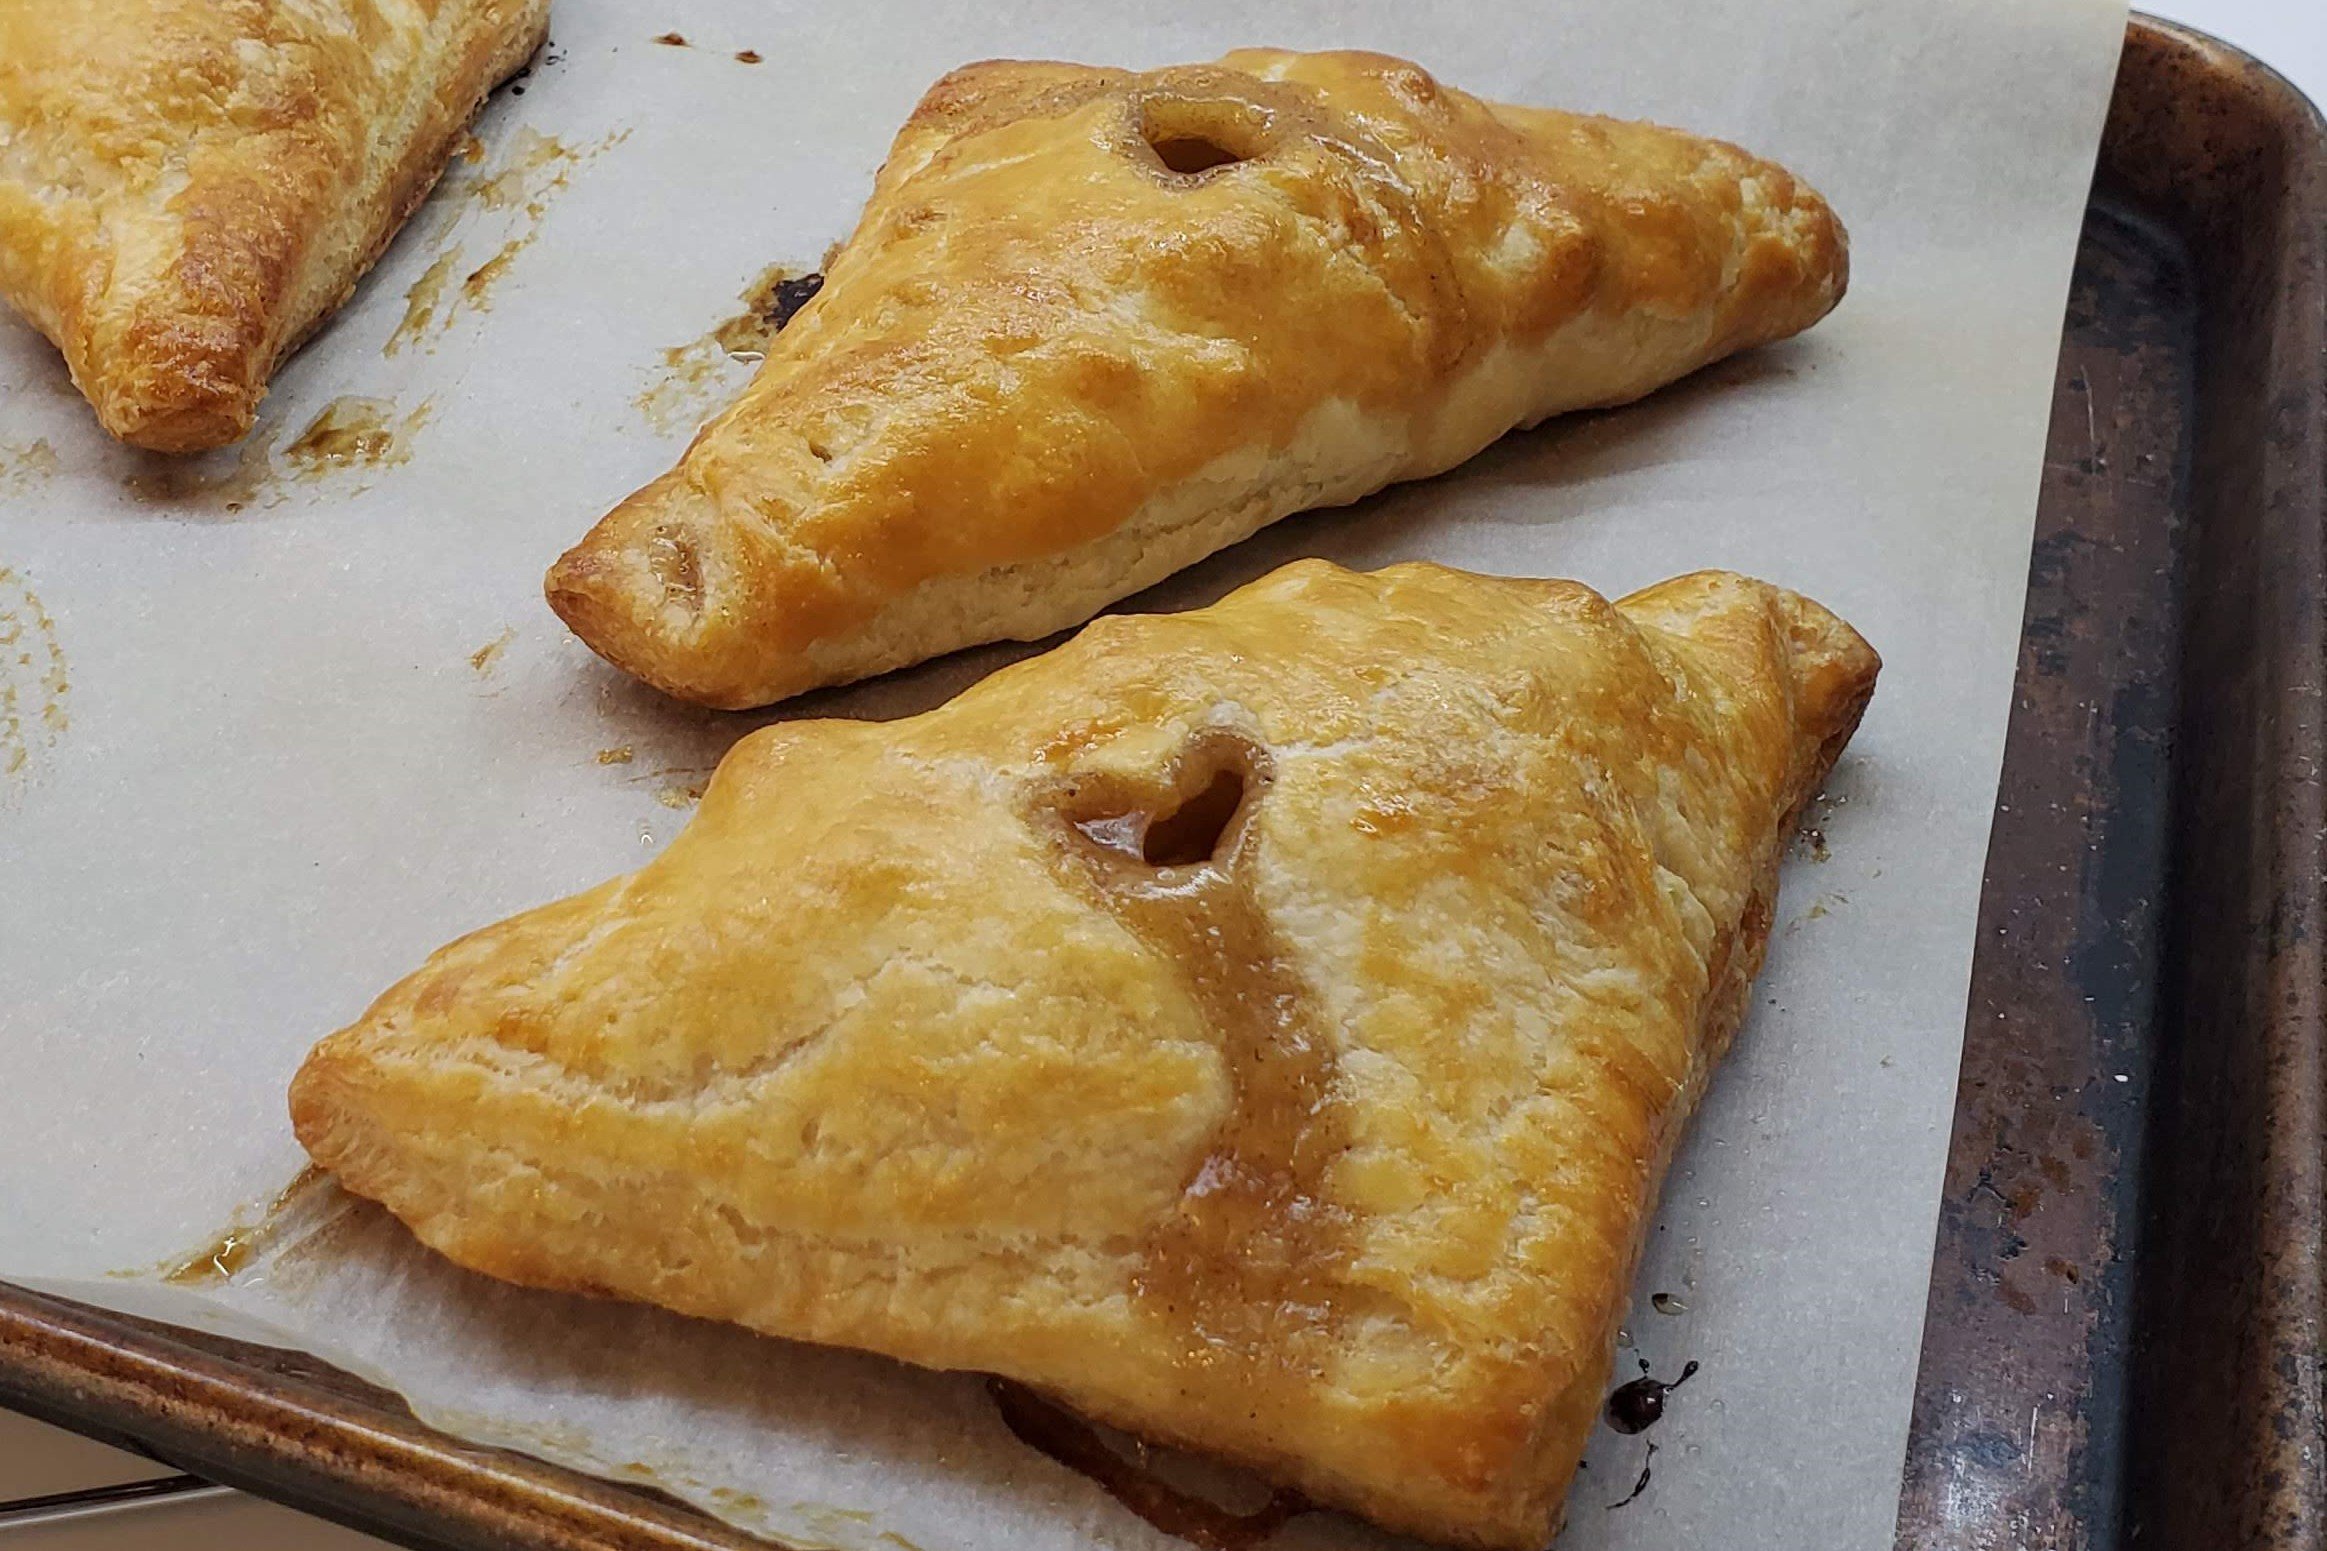
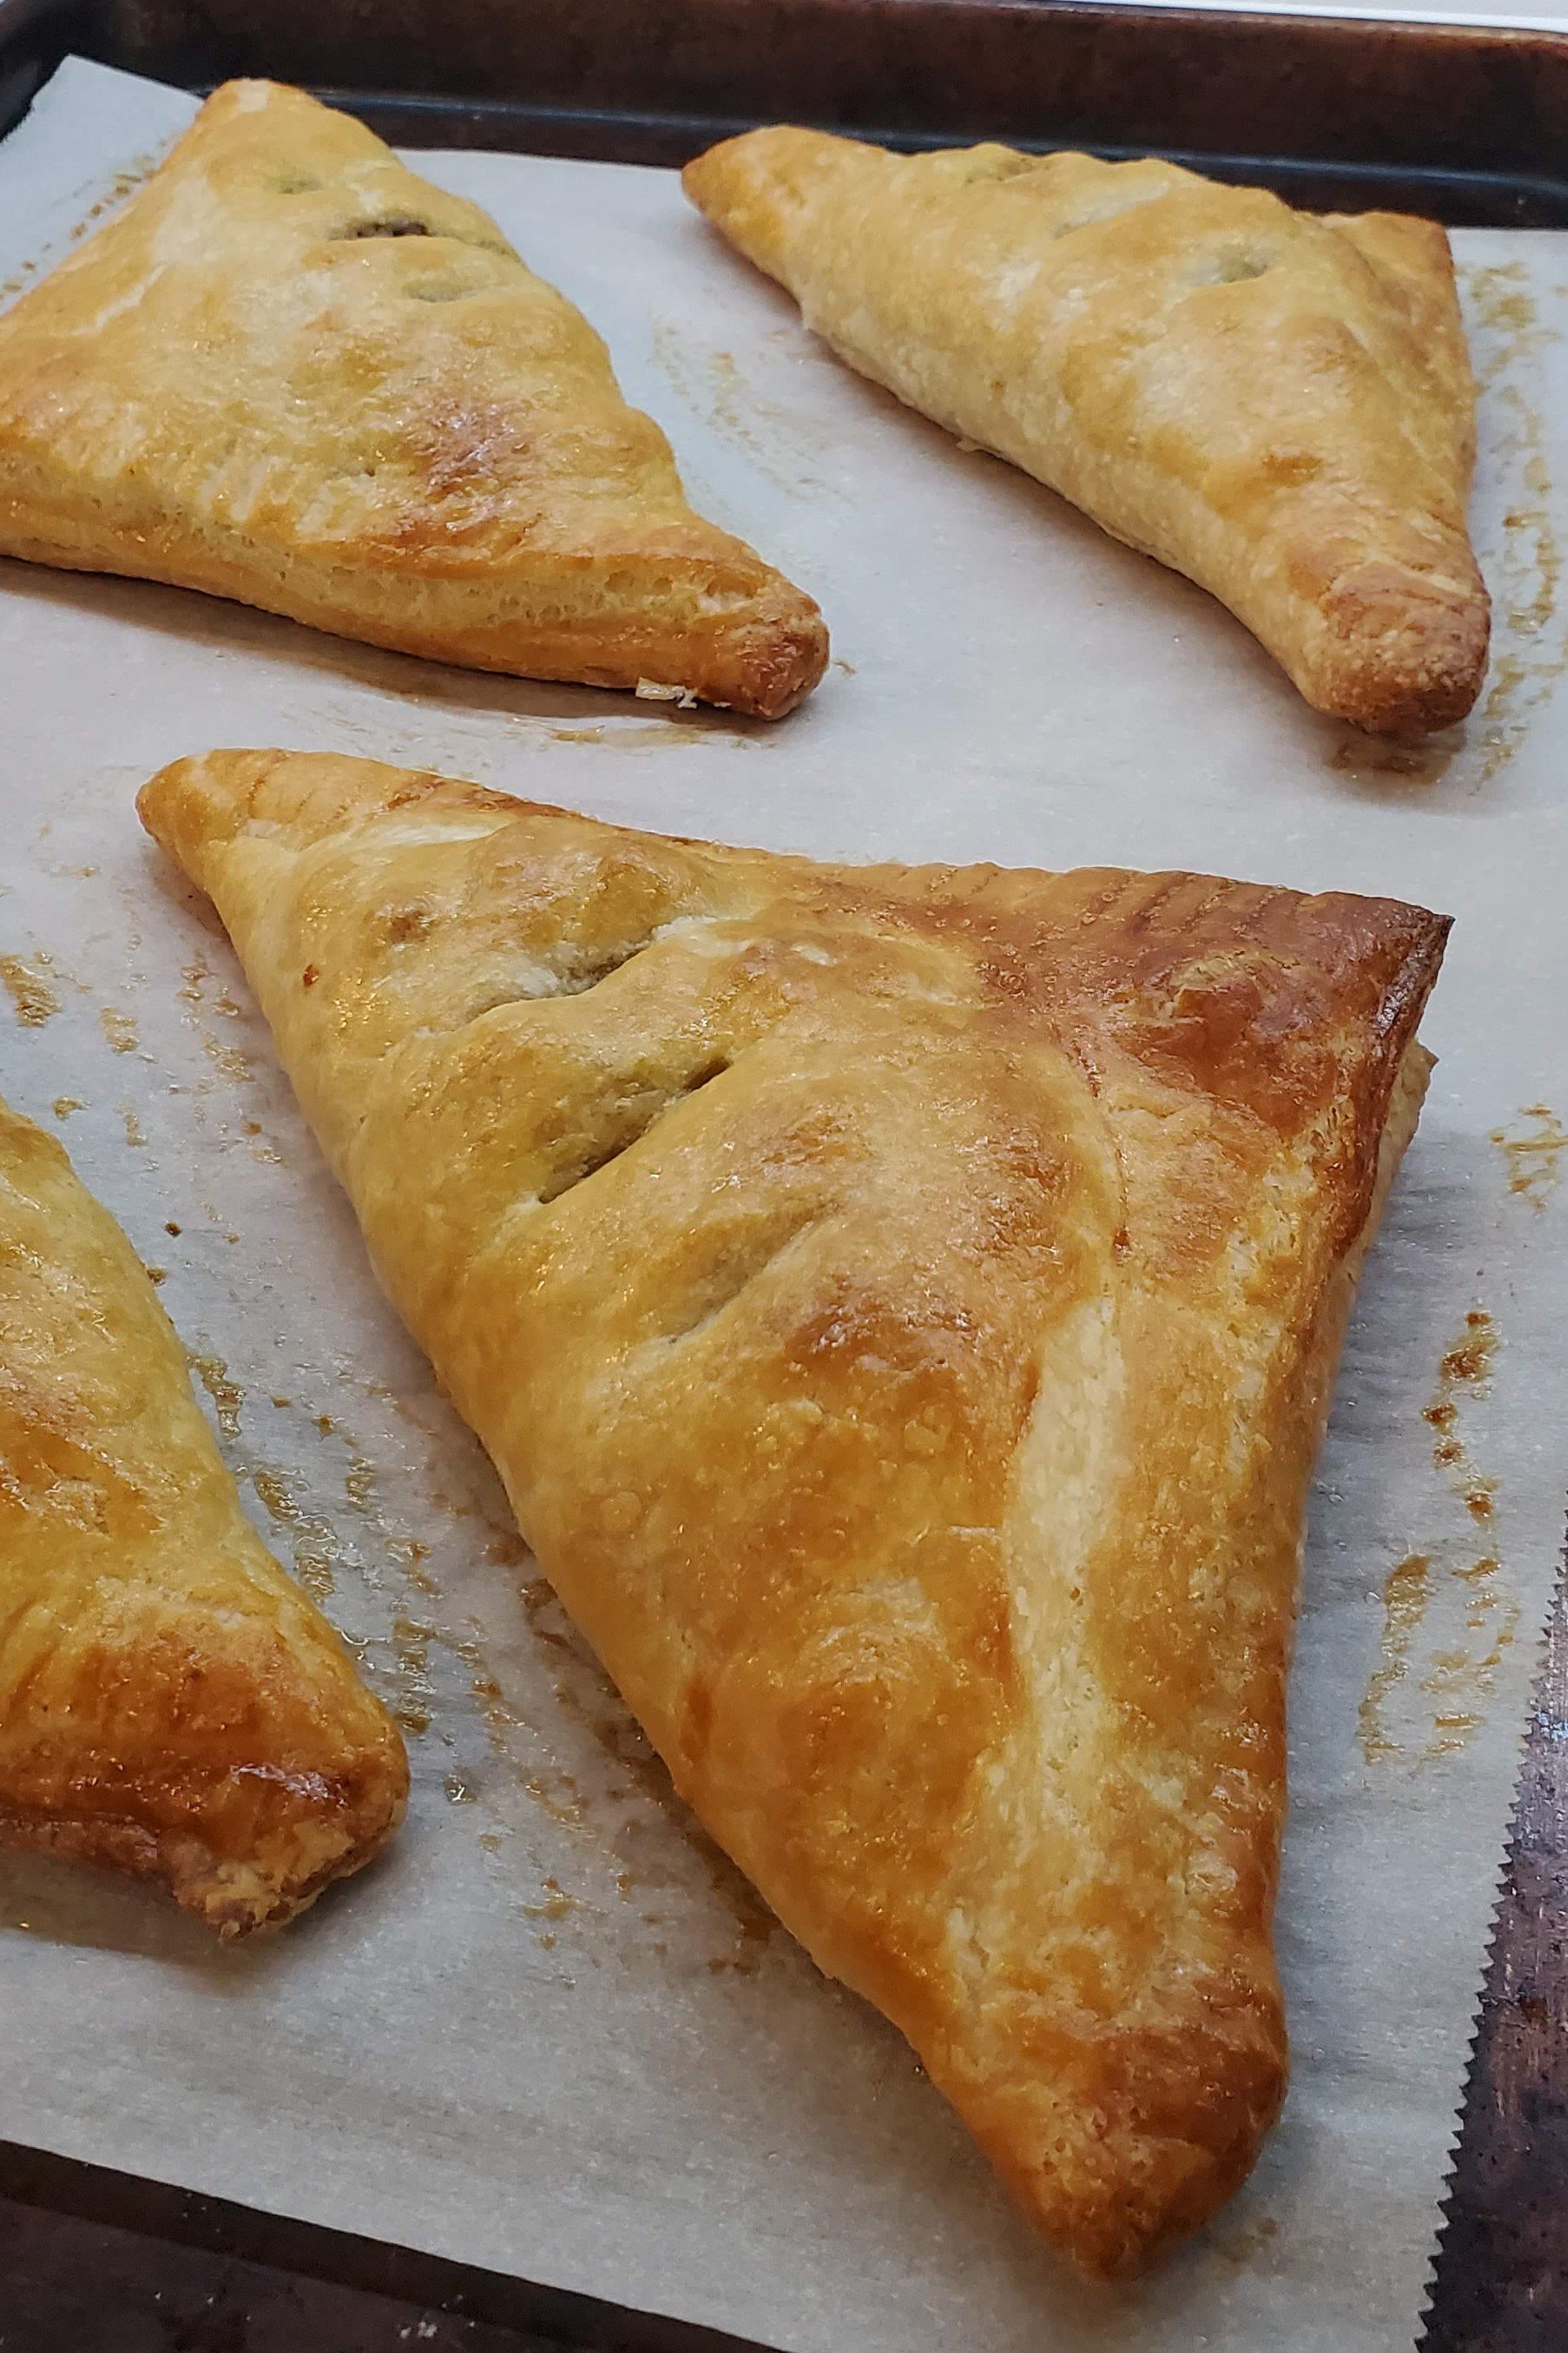
I was recently inspired by our niece Emily to try my hand at puff pastry again after seeing her delicious and television-worthy apple puff pastry pies! I also had some sweet potato to use up, as you may recall, so I decided to give it a shot and try an apple-cinnamon puff pastry handpie (seen with the single vent). I also wanted a meat pie so I made one up of ground beef, sweet potato, onion and fennel, tomato paste, and a splash of wine with some herbs. If I do say so myself, they were both delicious!
